The glue on that last spar dried up and shrunk fairly well… and it will never show… but I was still compelled to scrape it down.

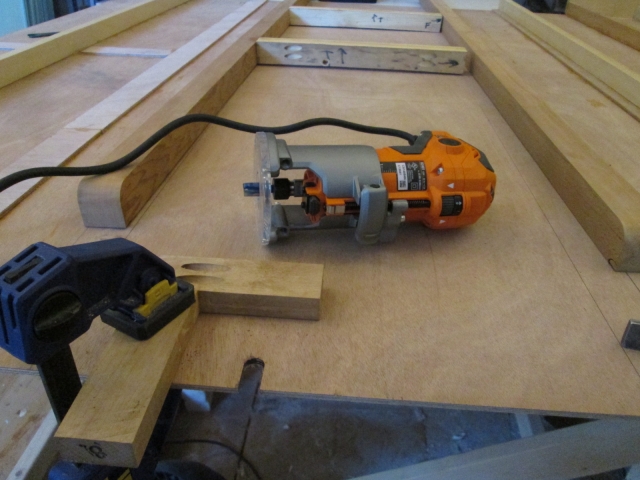
Next I measured for where the vent fan wires come up thru the curb side wall and used the new trim router (for the first time) to make a small slot to clear them. By making a slot instead of a hole I can slide the ceiling assembly on and off from the street side without having to worry about threading the wires thru a hole. The ‘L’-shape scrap used here as a guide/stop was a former test piece that I made when I was working on cabinet joinery.
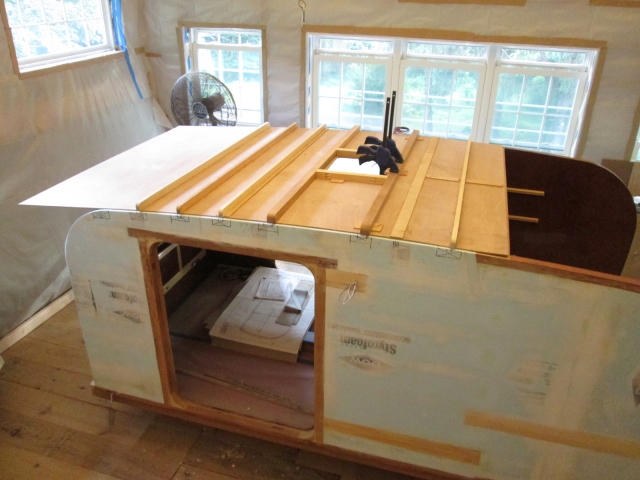
Next I set up the temporary locating pucks for the rear vent spar and side riblets; traced the fan rough opening; raised the whole panel up on a few pieces of 1-1/2 thk foam scraps; drilled a couple of starter holes; and rough cut the opening with the jigsaw. I left about 1/4 to 1/2 inch all the way around; the purpose of the opening, for now, is just so that I can locate the frame work easier and run temporary screws in for the glue up.
Then Karl helped me set the whole thing up on top for another dry fitting. The wire slot was bang on and the spars have taken care of all sagging issues, so we are good there.
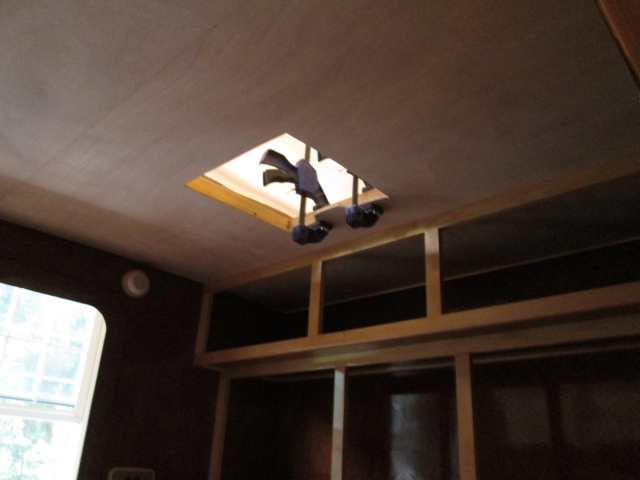
Next we put a very critical eye on how I had fit the vent riblets. The angle cuts where they butt up to the spars were both ever so slightly off. This was making the fan side of both spars kick up slightly, and we were both concerned that if I clamped the spars down hard to get a good glue fit it would likely make visible creases in the panel rather than a nice smooth arc.
Then we figured that we were looking too close and it would probably work itself out… but it had already been bugging me… and Karl had picked up on it right away, too, so… after he went back in the house I cut the riblets off using the bandsaw (thin blade). In doing so I accidentally undercut the spar a little. At first I considered just flipping the spar around to present the remaining good face, but that would throw all of my layout lines and orientation marks off. So I took a small rip cut on the table saw to true the original face back up.
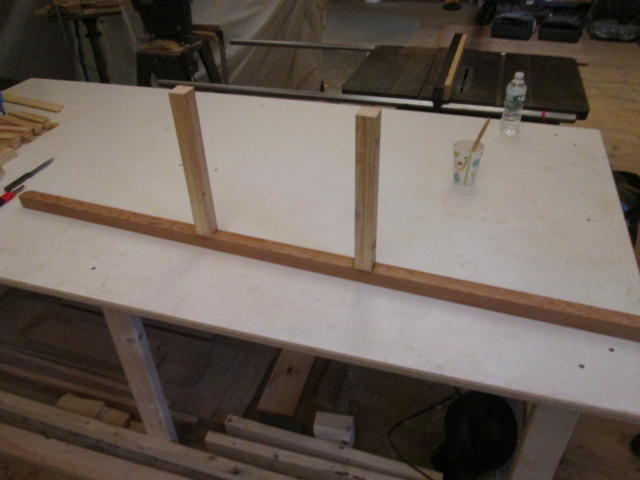
Also, to tune the angle cuts on the ends of the vent riblets, instead of trying to get the miter saw set to the exact partial angle and then cutting each riblet individually, I found that I could get a much finer and controllable angle adjustment by tilting the table saw blade and made skim cuts with the riblets paired up so that they would match exactly.
Dry fit showed that things looked a lot better now, so I reglued the riblets to the rear vent spar.
Now the whole vent frame/spar assembly fits the curve of the roof much better. The rough opening was reduced from 14-1/2 inches down to 14-1/4 inches in the front-to-back direction; but that is a lot less critical than leaving extra room for the wires in the side-to-side direction, which has not changed.
Mind you the vent frame/spars are not glued to the ceiling skin yet; still thinking about how to get that right.


 )
) 
 Sorry, one tends to forget all the little bits and pieces that have gone before ...
  This IS a rather “complicated” build , and only you really know what’s going on eh !!!


 . Hmm, good time for another “test”. Climbed into the cabin with a slab of blue foam for a pillow and had myself a little cat nap; milestone 2, my first nap in TPCE! Successful test!


