Thanks Tony.
On Friday I laid out and drilled the pocket holes for the screws that will hold the hard edge rail to the “front” edge of the counter.
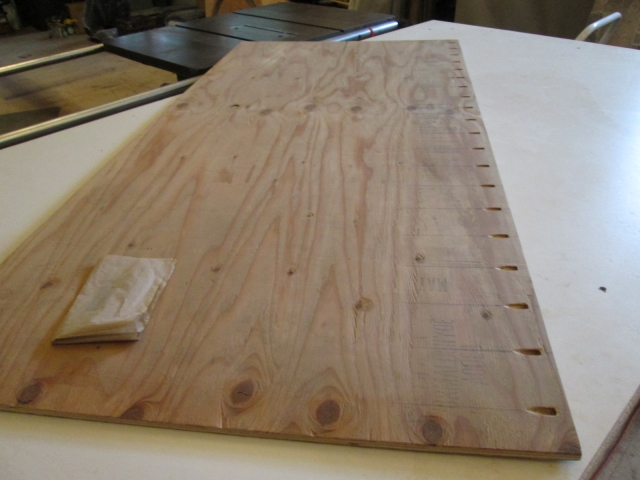
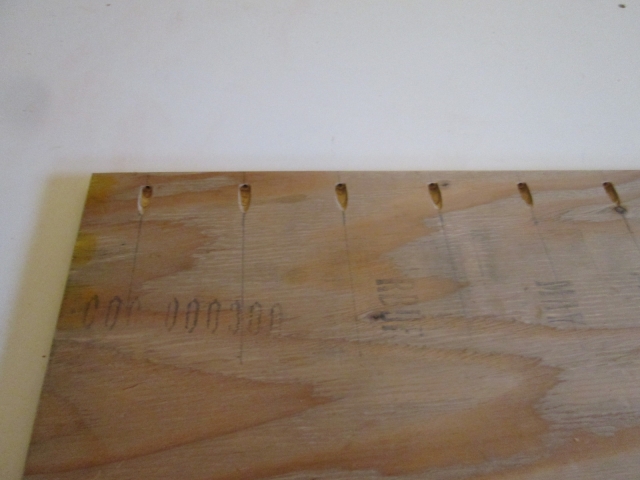
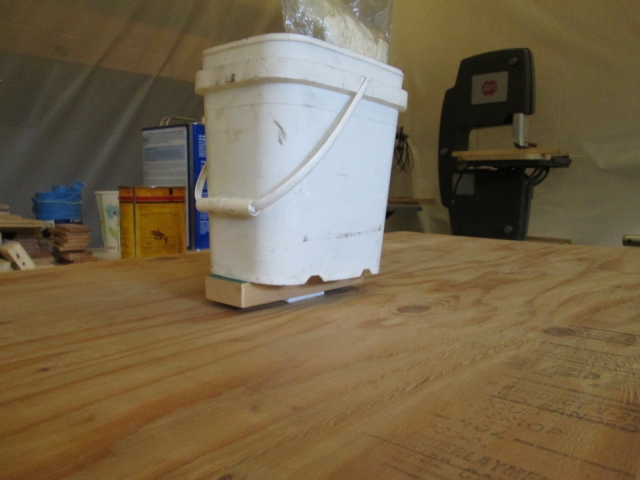
There was a flap of loose wood, a swirl in the grain in the middle of the rough side of the counter substrate that was loose; so I poured a little glue under it, put a scrap wrapped in butcher paper (plastic side out as a release agent), a larger scrap of wood, and a bucket of miscellaneous nuts and bolts as a weight. It did the trick.
Seems like I didn’t get much done, so I guess there must have been some contemplation going on.
Today I knew I wanted to get a second coat of poly on the ceiling, but I wanted to get more done than that without making a lot of sawdust. So I started by cleaning the dust off of the under counter divider for the cooler bay. Then I filled all of the staple indentations with the colored putty stick.
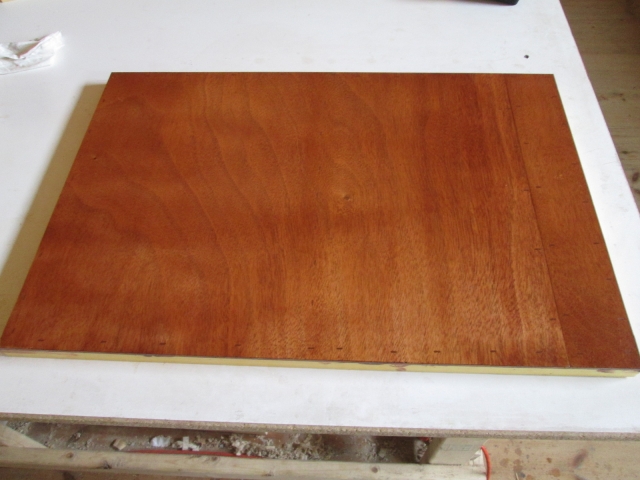
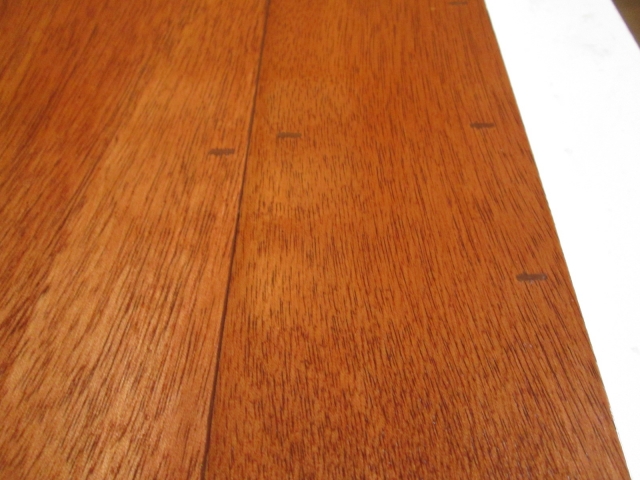
You might note that this panel seems to be a lighter color than most of the others. IIRC this piece was done toward the end of the big tub of stain where the pigment had started to clump and settle out. No worries; it will be dark under the counter anyway.
Next I started to dry fit the divider and counter face frame. You may recall when I built my cabinet face frames I had some issues with the pocket screws pulling the joints out of flush. While I had planed the fronts of the frames fair again, I didn’t worry too much about the backs. Since the divider butts up to the back of the open end of the counter face frame the unevenness would have left a gap, so even though I had already applied the poly, I decided to go ahead and plane this joint back fair again. Here you can see the face frame clamped face down on the bench. The thin piece under the orange clamps is just a dog to help keep it from sliding on the bench and marring the finish (and it is low enough for the plane to run off and not hit the clamps). The white area is where I flushed it off.
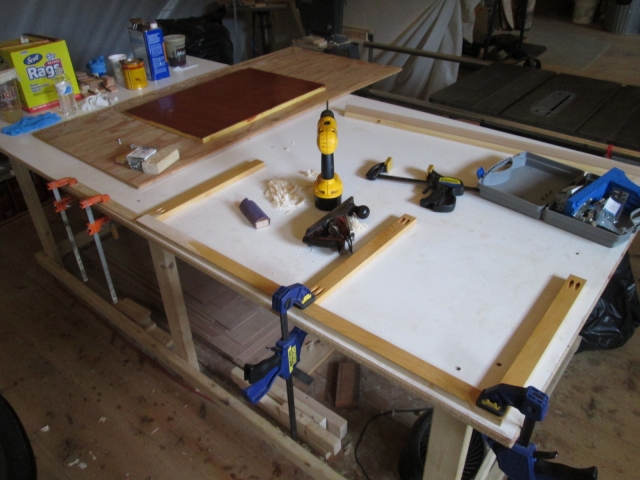
Here’s a progress check. You can see the low dog in the right foreground butted up to the face frame rail, the stile along the bench, and the divider up on top. Note the gap between the stile and divider. This is what I am trying to make go away. I had to sand the edge of the divider a little, too, where its internal frame needed a little fairing.
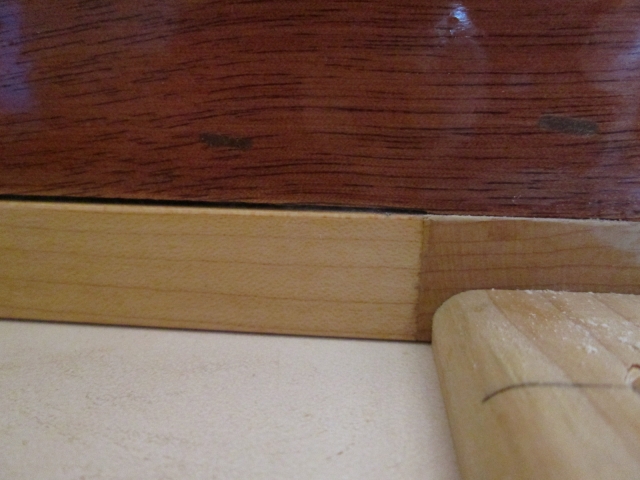
With that sorted and screwed to the face frame I set the subassembly in the galley to check fit.
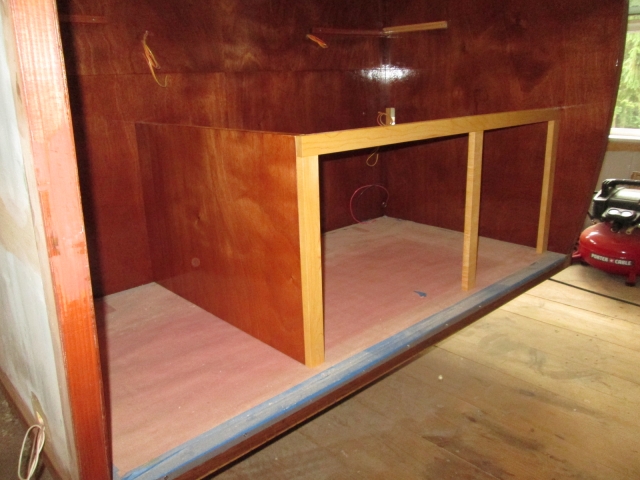
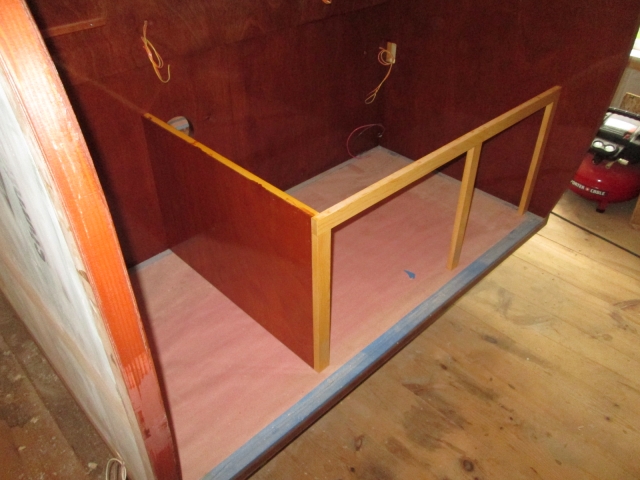
The curb side wall is sprung in some at the back so the counter edge rail blank was a snug fit and held itself in place when dry fit.
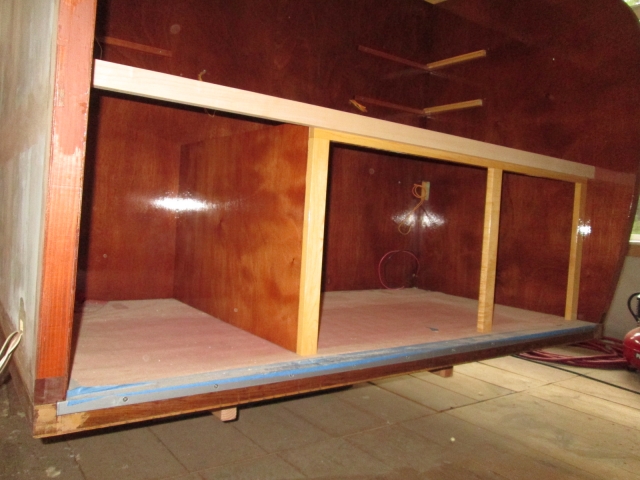
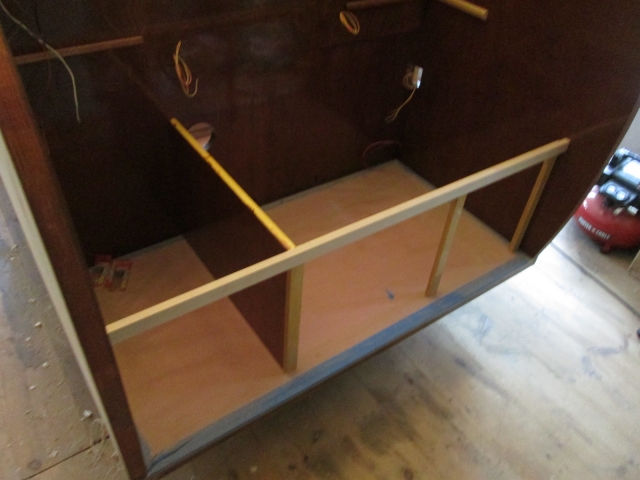
Had to drop the counter in for a test fit.

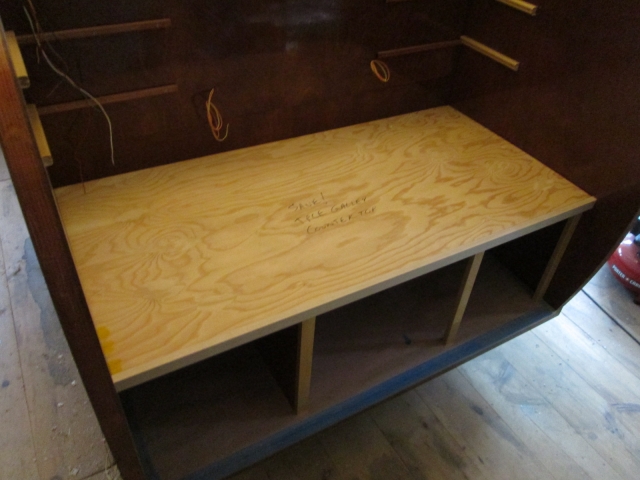
This shot shows how the rail caps the top of the face frame, but still leaves a small reveal.
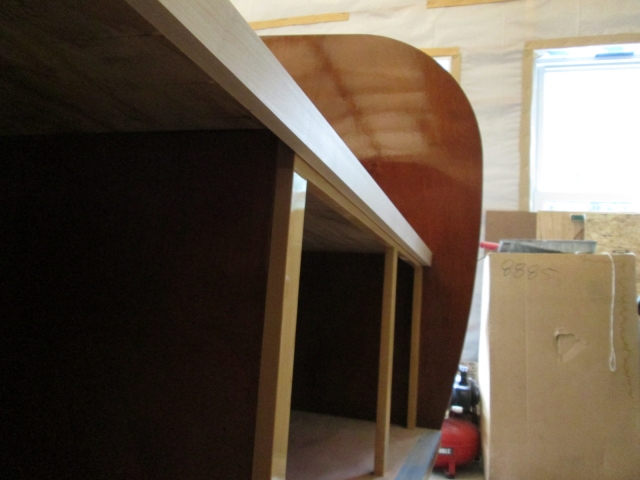
Knocked that back apart and, working on the bench, I squared everything up and screwed down through the top into the face frame and divider.
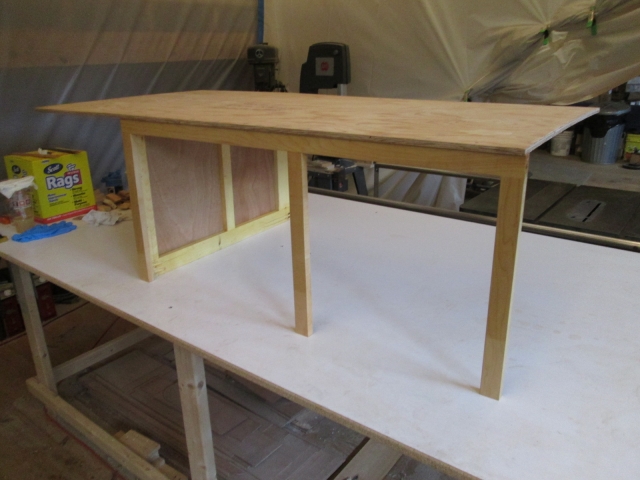
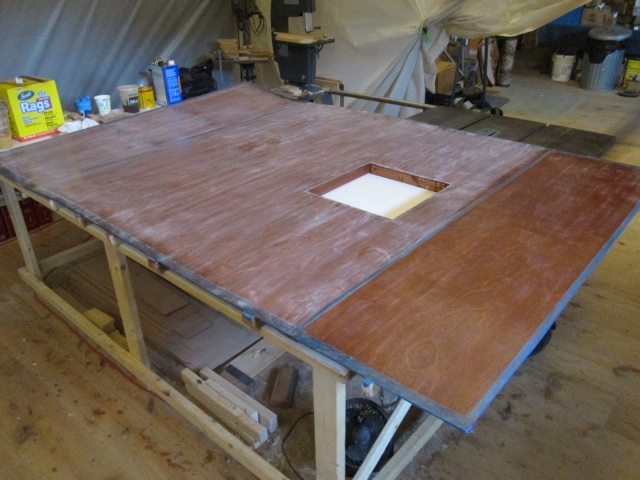
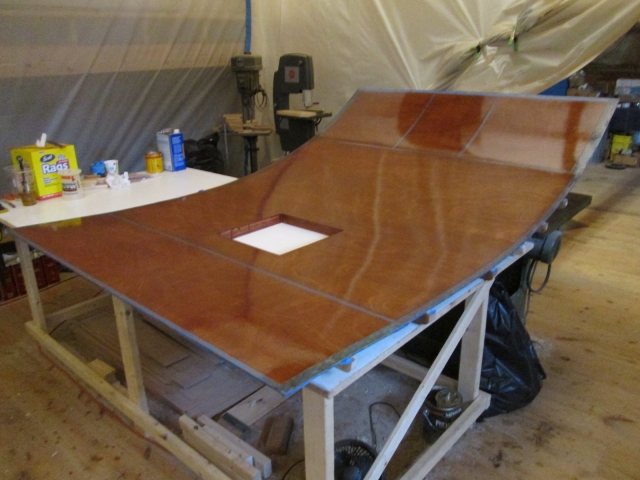
Back to the ceiling assembly. Scuffed the whole thing down with 220 grit in prep for the 2nd coat of poly. Here I have started dusting the first section off, before wiping with mineral spirits.
And here it is with the second coat on. After about a half hour drying time it seemed to be safe to prop it back up into the “curly resting position”.
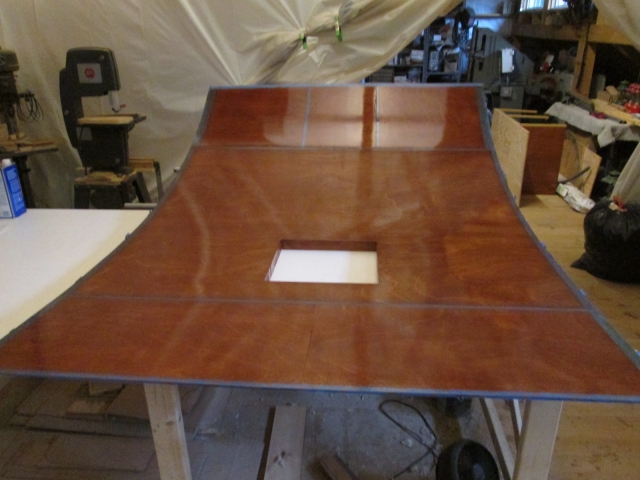
All in all, a pretty good day.


Tony


 )
)
