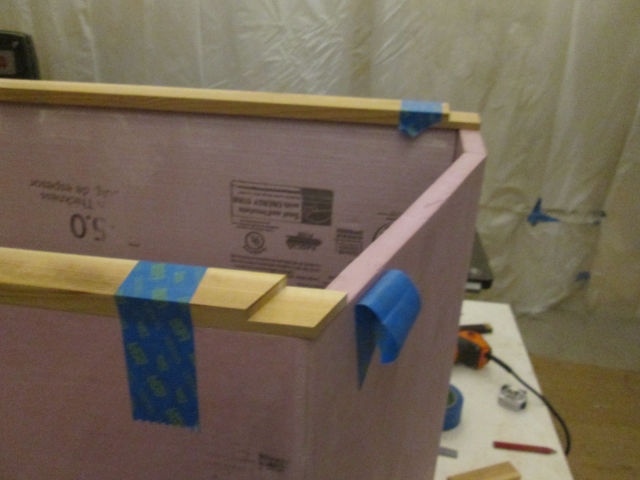
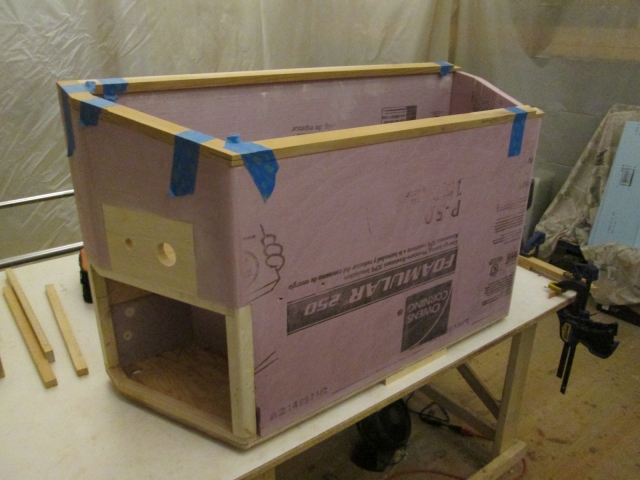
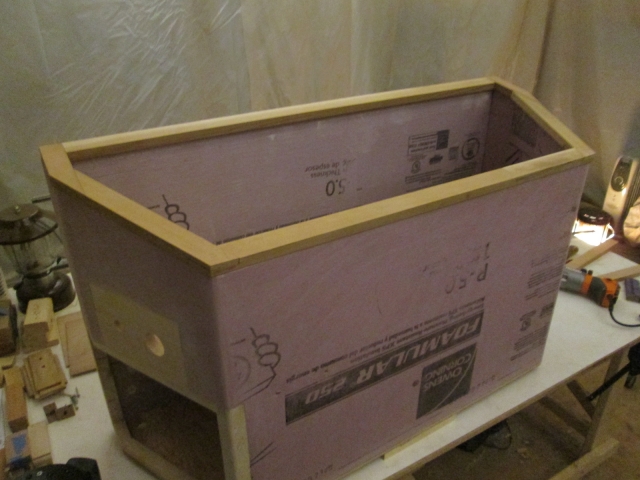
Back tracking a little to get caught up on the few pics that were in the camera; I used blue tape to hold the rim pieces to the top of the tongue box while dry fitting the half laps.
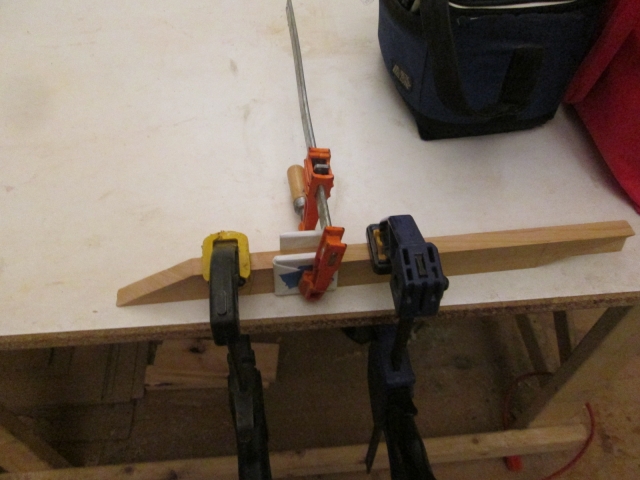
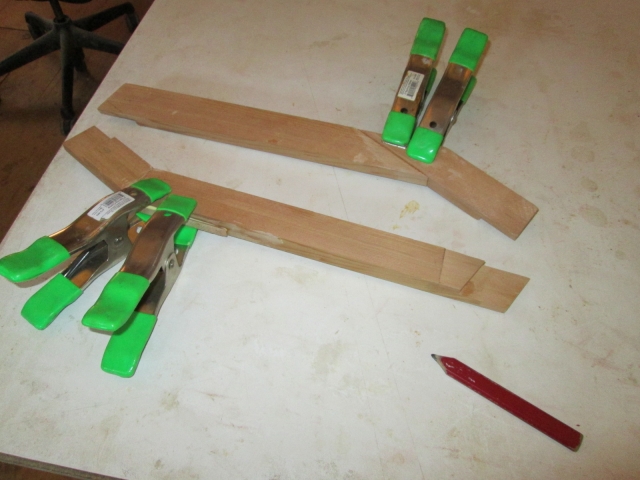
To be honest with you, I don’t recall what this picture is supposed to be showing, but it is basically how I set up for routing the half laps. Since most of them were angled, it was easier to just clamp a piece of wood as a guide, and use some smaller pieces the same thickness as outriggers to help stabilize the router base.
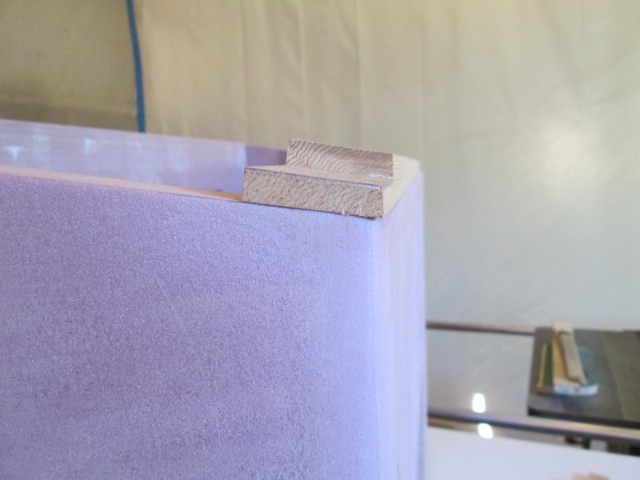
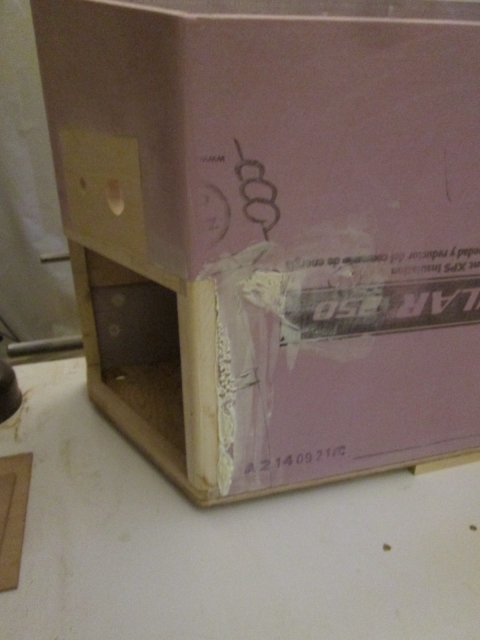
Here’s that patch fix on the curb end of the front rim piece. I missed on the router setting and cut the rabbet too deep. I used a small block to help spread the clamp force while gluing an oversized piece of 5 mm ply scrap onto the step. Later, I rough cut the excess close on the bandsaw then trimmed it flush with the bearing bit in the router, and redid the rabbet shallower leaving just one 1 mm ply.

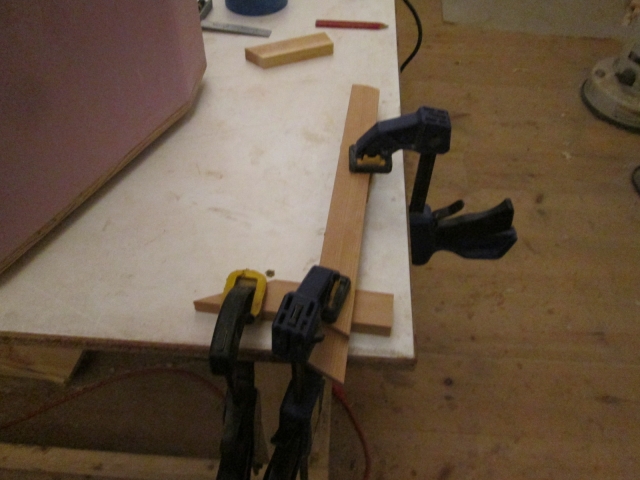
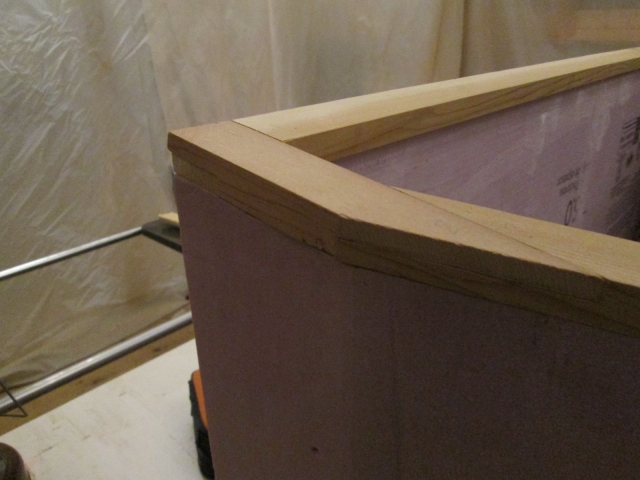
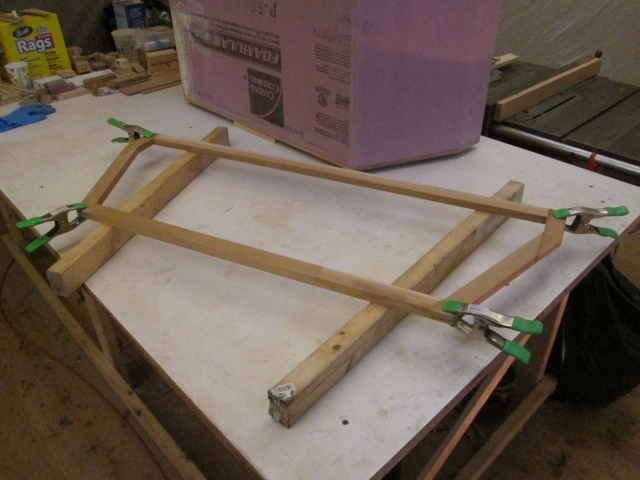
The longer piece on the street side came out shorter than the curb side. I could have made it fit the foam just fine, but when it came time to form the aluminum lid it would be much better if things were symmetrical. So I added an extra half lap to extend it with one of the few small pieces I have left. Here it is with the two halves clamped to the table for alignment, and the joint sandwiched with small pieces of ply wrapped in freezer paper under the clamp to prevent them from sticking.
Monday I ended up having to stay late at work, but last night I was able to rework the side pieces to get them symmetrical with a happy fit at the same time.
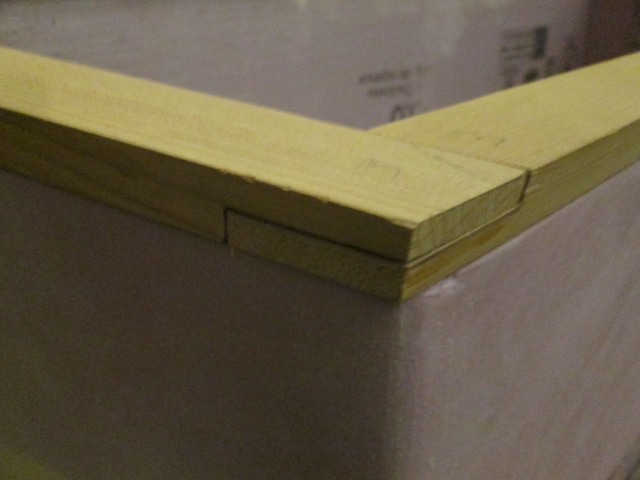
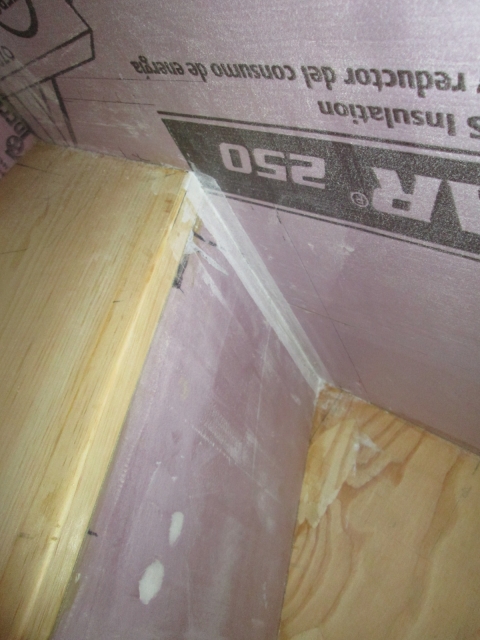
Here you can kind of see that added ply shim repair in the middle of the lap joint, just loosely dry fit here.
I made a minor adjustment to the long side piece on the curb side to improve the fit with the shorter piece, and avoided having to remake that part.
Today I only put in 2-3/4 hrs, made it over the hump on this rim frame. Started by gluing the side dog legs.
Then, while that was setting up, I ripped the front piece to match the angle of the edge to the front panel.
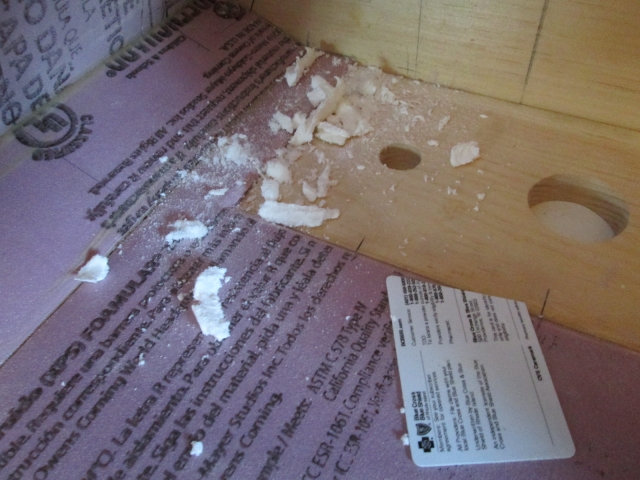
Used a tapered faux credit card to scrape the crappy spray foam out of the inside corner of the ledge. It offered no resistance and crumbled to dust readily.
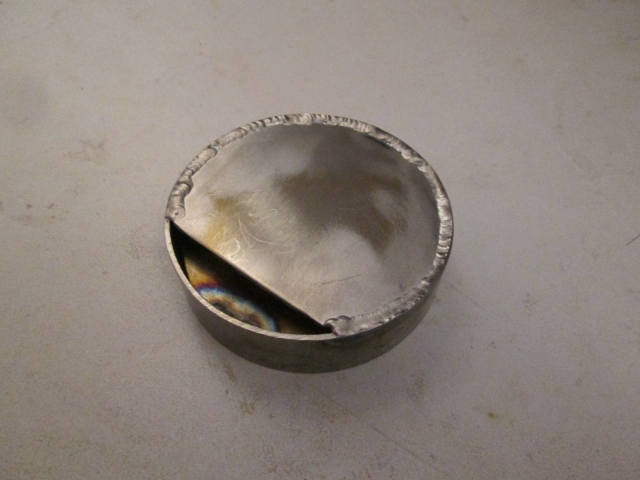
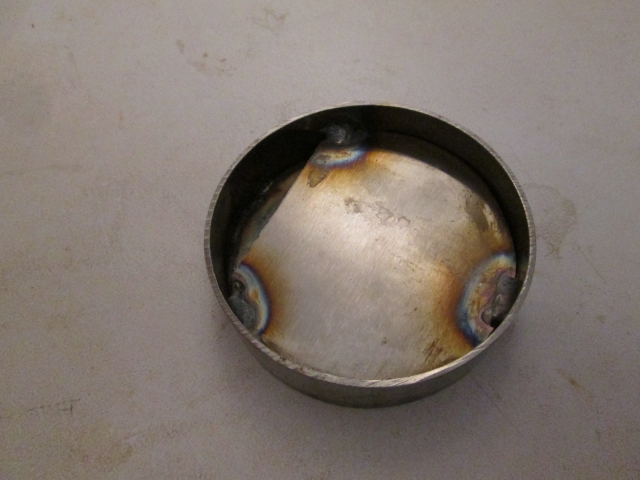
I managed to whip up this baffle. The idea is that the louvered vent hole cover for the battery compartment vent won’t really keep road mist and spray out. By making a labyrinth of sorts, any mist or spray should condense onto the baffle plates and run out of the bottom louver. The baffle consists of a 3/4 inch long section of 3 inch x 0.065 wall sanitary SS tubing with two partial circle plates welded in. One plate is flush to the inside and will have the opening at the top, while the other plate is centered in the tube with the opening at the bottom.
The plan is to stuff some mesh pad material (like greenie abrasive pad without the abrasive) inside to keep bugs out and add surface area for moisture to condense on. I had thought that I would need to weld a couple of tabs on so that the baffle could be screwed to the panel hole blocking from the inside, but I had to sand the hole open just to get it to fit at all, so I think I may skip that and just glue the baffle in using PL.
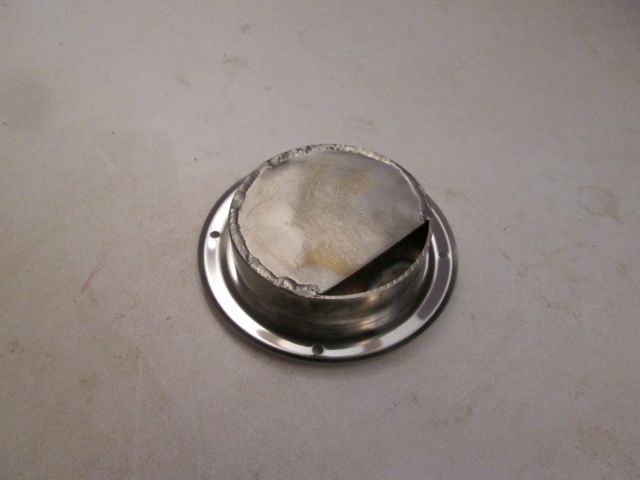
Here the baffle is just sitting on the back of the louver checking fit.
With the TB rim dog legs now cured enough to handle, I went ahead and glued them to the front and rear pieces, checking the diagonals against what I had measured during the dry fits. The frame is sitting up on 2x3’s to make sure that the clamps don’t twist things out of shape.
Having picked up another can of the proper GS, I filled that false cut at the bottom of the front panel and a couple of other small holes. I learned that while GS makes a good filler material, it is not very good as a fairing compound.
I’ll have some trimming and sanding to do, and will still need to hit it with some spackle, but it is getting there (…slowly).
The plant is closed tomorrow so I have the day off. I hope to get the rim frame cleaned up, get the lap tails trimmed flush, and get the frame glued to the box.


 making some now ...