I had one of those, “could have gotten more done today” days, but it was a nice relaxing pace tinkering and getting a few things done.
The more I work on the roof foam the more I wish I had used a single layer of 1-1/2 inch thk foam, kerfs and all. Feels like I am taking twice as long to get it done doing everything twice; though I suppose I would have had a lot more waste not using the drops from full length sheets.
Anyway, I had lost (mistakenly thrown out

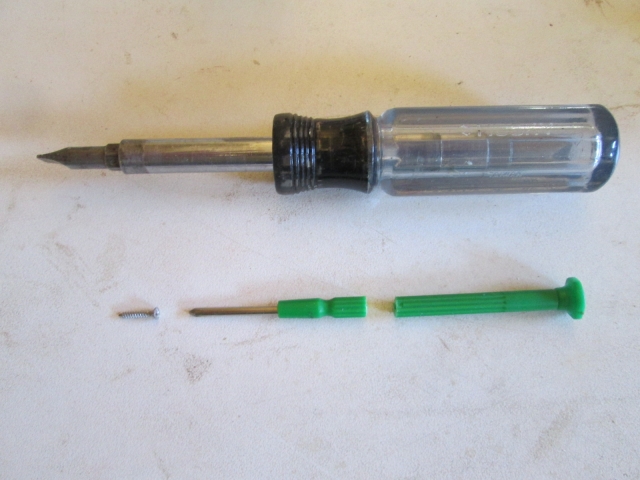
) the screw packet for the galley light, so I had to scrounge up some screws. The mounting screws were no big deal, but the screws that hold the end trim caps on are little teeny tiny #2 size Phillips head. Fortunately Karl had a pack in stock from some job he was doing. Because the trim screws go in from the ends of the light fixture, and the fixture nearly fills the distance between the hatch ribs, I had to shorten the handle on this cheap little jeweler’s screwdriver. Just scored around the plastic handle with a utility knife and snapped it.
That allowed me to get into the end of the trim cap to drive the retaining screw.
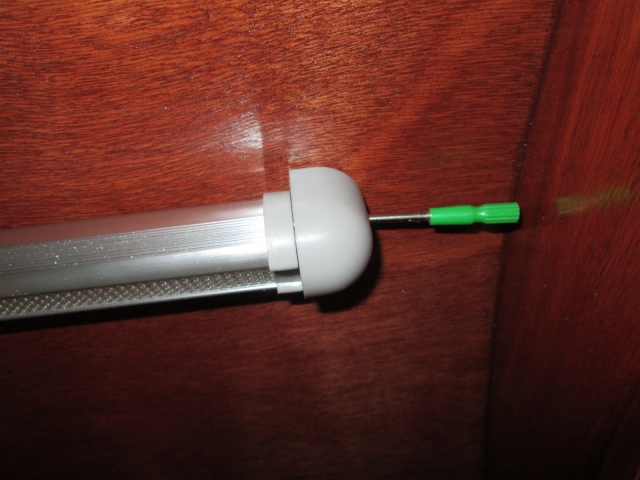
Looking up under the hatch from the street side of the hatch hinge.
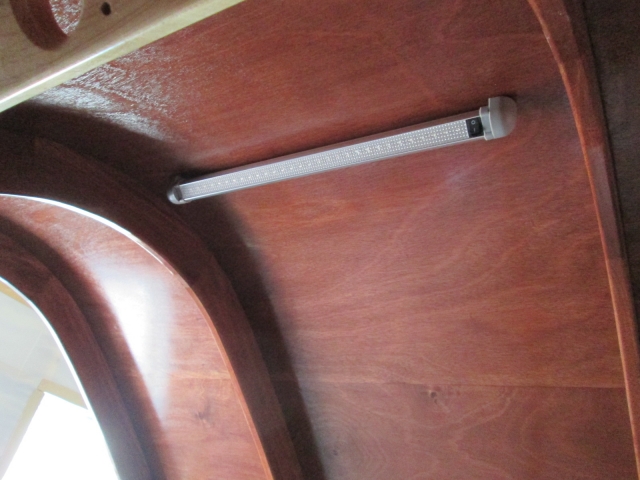
Looking up under the hatch from the curb side rear.
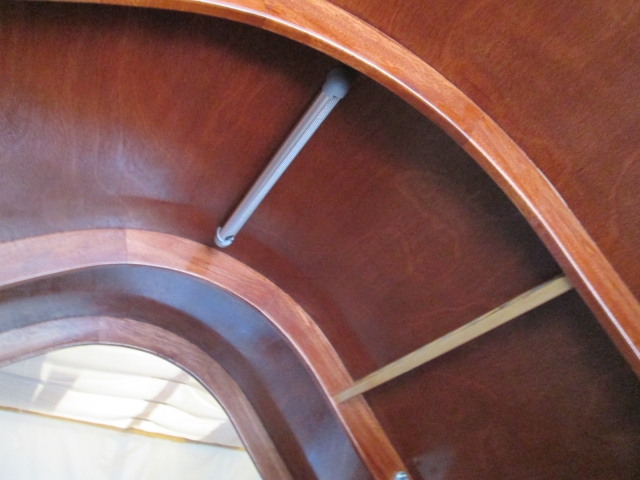
The light bar can be turned to aim the beam, but I made sure that the mounting location was forward from the edge of the counter so that a person standing at the counter does not cast a big shadow, as it would if the light was mounted too far back over your shoulder.
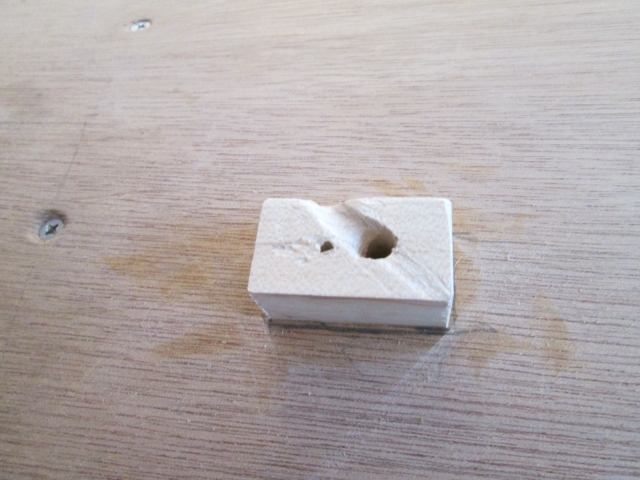
Before stringing the wires thru I used the drill bit in the drill to round the wire hole in the mounting block over toward where the main bundle comes into the hatch.
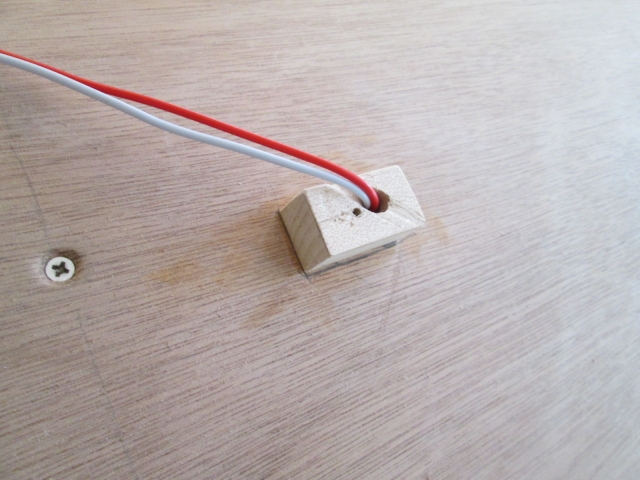
And with the wire pushed up thru. (The block is a little shorter than the 3/4 inch thk first layer of foam that will eventually surround this area.)
Next, back at the front of the cabin, I used a few stitches of packing tape to help hold the ceiling outlet wiring in the wireway while I prepared to adhere the second layer of foam onto the lower curb side front. You can barely see the swatch of tape starting about 2 inches down from the sparette in the 2nd pic here.
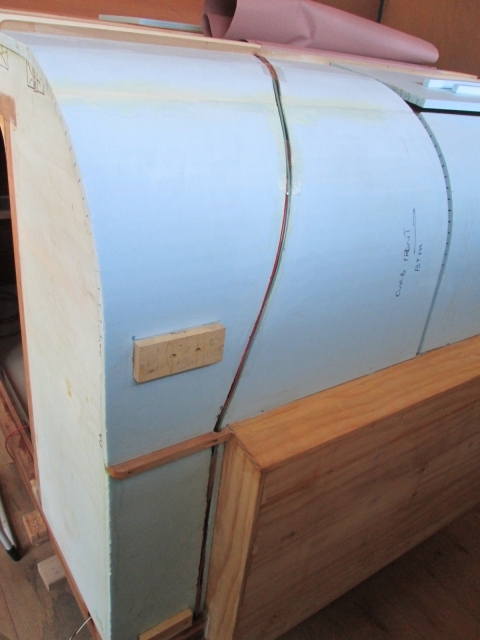
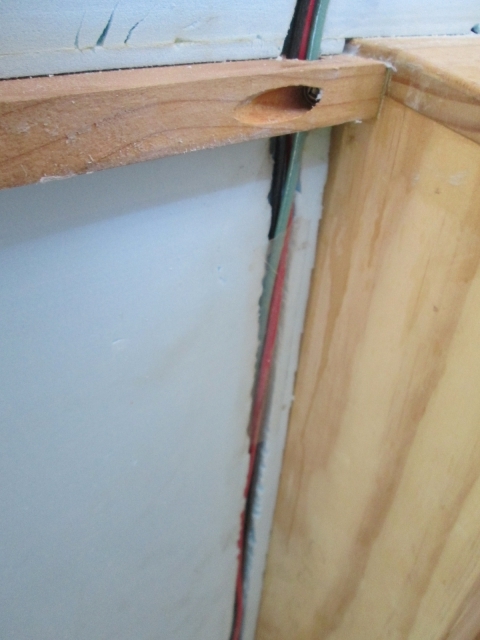
…and then I glued the second layer of foam on.
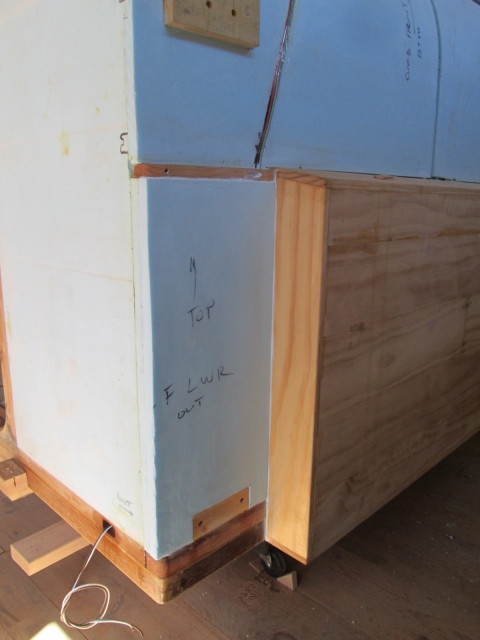
Turning to the street side, where I had glued the second layer on some time ago, I hand sanded a little before switching to the jitterbug with 100 grit and whacking it back flush to the blocking.
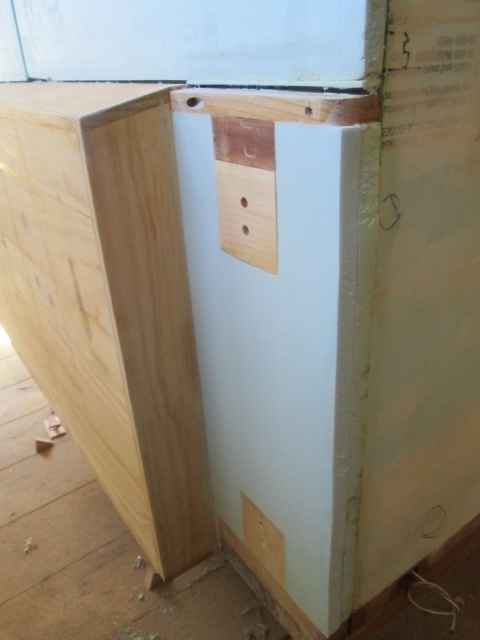
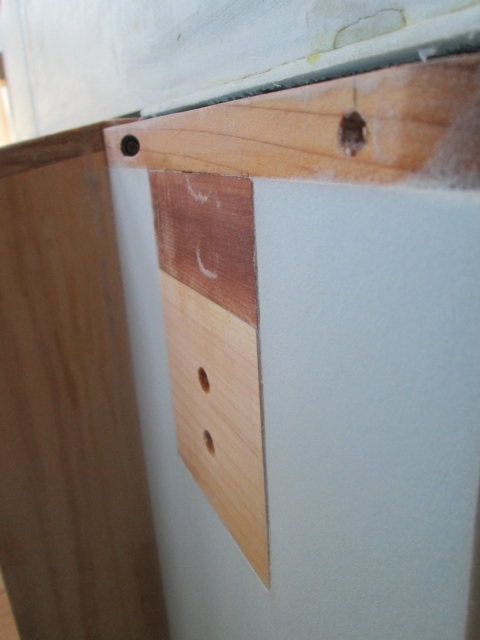
I still have to caulk a few chinks in the joints but it looks pretty good. When I glide my hand over it I can feel where the foam sanded a little deeper around the shovel mount blocking, so I will have to hold back a little and be more careful up on the roof around the spars if I choose to go this way fairing. Fortunately this area will be covered by the rock guard, so it was a good place to experiment.
Back on the hatch I decided to add the blocking for the hatch handle, just in case I ever decide or need to add the handle. I wanted a pretty good size solid block under the handle, rather than just a couple of fastener points; otherwise repeated knuckle wraps on foam could cause damage over time. And because the two pedestals on the handle have female threads, the blocking would have to be solid all the way to the inner skin so that bolts coming thru from the inside wouldn’t crush anything.
Now the lower cleat that I used to hold the lower edge of the inner hatch skin down to the bumper has a bevel on it to aid the toed screw angle there, so the first piece of blocking wanted to be counter beveled to match. I selected some maple 1x3 that I had, because it is hard and durable. Dry fitting, here you can see that I have beveled the first piece to match the cleat with the second piece on top; and how the cleat width does not match the 3/4 inch thickness of the block (as evident by the gap).
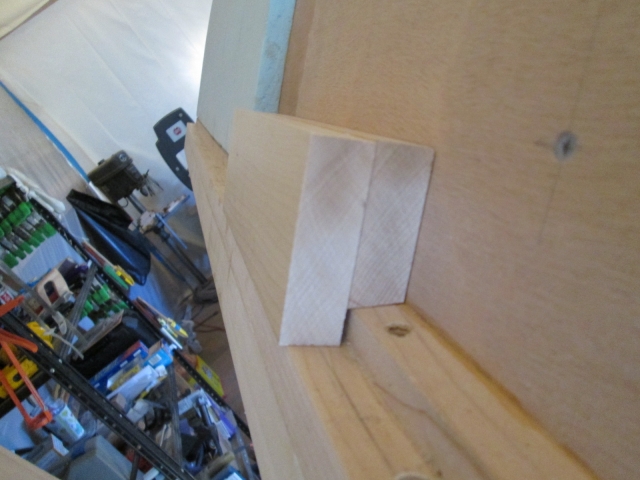
Not having a bench top planer in the shop, I used the table saw to resaw and thin the piece.
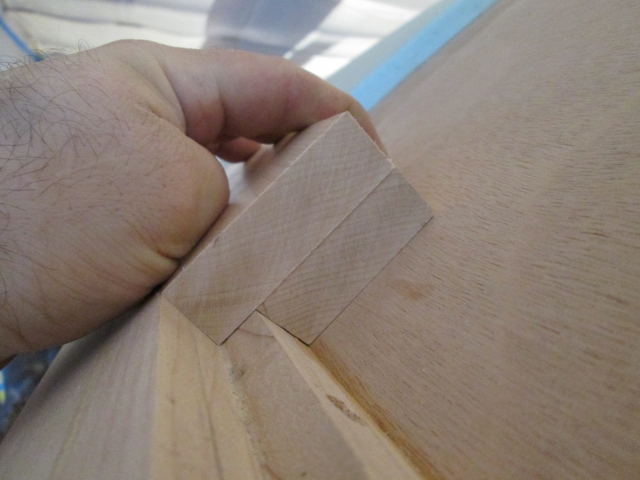
I’ll catch up with some more pics tomorrow, but in short, I split off a couple of smaller pieces from the beveled piece that will act as spacers under the larger piece at the pedestals of the handle. Then I'll fill the back between the spacers with foam, just to save a few ounces on the bitter end of the hatch.
And I will continue with the front roof foam.



 ) the screw packet for the galley light, so I had to scrounge up some screws. The mounting screws were no big deal, but the screws that hold the end trim caps on are little teeny tiny #2 size Phillips head. Fortunately Karl had a pack in stock from some job he was doing. Because the trim screws go in from the ends of the light fixture, and the fixture nearly fills the distance between the hatch ribs, I had to shorten the handle on this cheap little jeweler’s screwdriver. Just scored around the plastic handle with a utility knife and snapped it.