GPW wrote:You mean where they wanted you to Donate everything ...
True dat...I was to supply the labor to build it, set it up and take it down at events, and deliver it to the winner and set it up in their yard. I wouldn't mind that so much because I was going to build it on a trailer...but I was supposed to supply the trailer as well.
Then I found a cedar playhouse kit that would cost them only $500 plus whatever it took to make it 'crooked' (a few 2X4's and a couple extra pieces of siding) instead of my quote for almost double that.
The response ?
"Well, I'll have to run that by the board because they thought it would be a one-of-a-kind custom playouse, not something that anyone could buy for $500"
Then they wanted a written agreement, which they never got around to providing by my deadline of May 1 to start building, so it's their loss.
There isn't time now to have have it ready and, even if I
did have a spare trailer, it would be earmarked for another foamie...besides, I could spend every free minute of my summer working on boats and getting paid for it...
Anyway, enough of my whining...on to the pix !
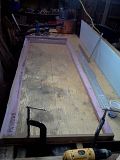
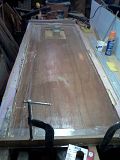
The little bit of free time I've had over the past couple weeks (two Saturdays...when I'm not catching up on sleep), I tackled the forming and glassing of the door jamb and getting the gravity furnace running - that's the one that I salvaged from that old camper I stripped mainly for the appliances...none of which I'm actually using now !

Anyway, the furnace is a "FlameMaster TR12R", built by a defunct company in Edmonton in about 1971, judging from the data plate. Had it been an Attwood or a Suburban, I could have gotten some help with it but, once I tucked into it, it was pretty straightforward to figure out how it worked (and why it didn't). I was getting no gas flow into the burner.
I checked my online gallery and it appears that the overall frontal pic didn't make it into the album, so I'll post one here later.
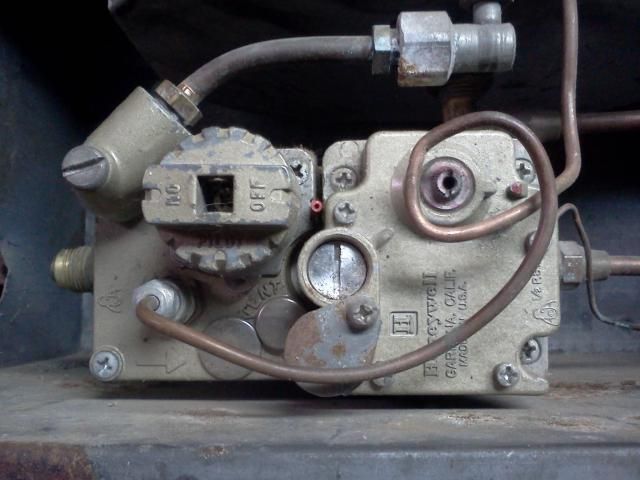
This is the valve body. I check the thermocouple with a heat gun and got a voltage, so it works. When I took the bottom of the burner can off after removing the pilot and main fuel lines, I checked to see if I had gas coming out of the valve. I cobbled a bbq pigtail hose to a length of copper pipe with a flare fitting on it.
The obvious warning here is to be very, very careful if you are using gas to test valve operation.
First was the pilot system - I had gas flow out of the valve body with the knob at the 'pilot' setting. I blew threw the short length of pipe connecting the valve body to the burner, and that was clear.
The valve body:
Then I checked out the pilot diffuser that holds a flame on the Tcouple and found it to be blocked solid. It has a tiny orifice and the deign is such that the diffuser fitting will act like a catch basin for all sorts of soot and gunk:
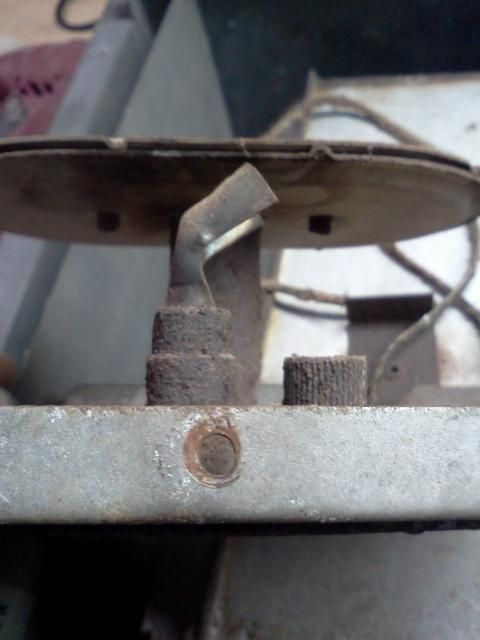
That's it on the left (foreground). On the right is the Tcouple housing and in behind is the primary burner.
I soaked it in penetrant over a few day to try and get it off but no dice. It will snap before it comes off, so I cleaned it in situ by filling it up with 1/2 oz or so of mineral spirits and leaving it for a couple days to try and soften the blockage. I used most of a can of air (my compressor is on loan, otherwise I would have used it for testing instead of gas) but was able to blow out a bit of soot. I still couldn't see through the orifice when I backlit it with a flashlight, but I reattached it to the valve body temporarily and Presto!, I had gas flow.
Notice how the flame is nice and even ?
The Tcouple is there to keep the pilot lit while I check the valve body for leaks.
Once it burned off the residue from the mineral spirits, the flame was pretty good. You can see it's running a little bit lean, but we aren't dealing with a precision metering system here.

I checked the main burner the same way and cleaned up the orifice as well, since I had it apart...
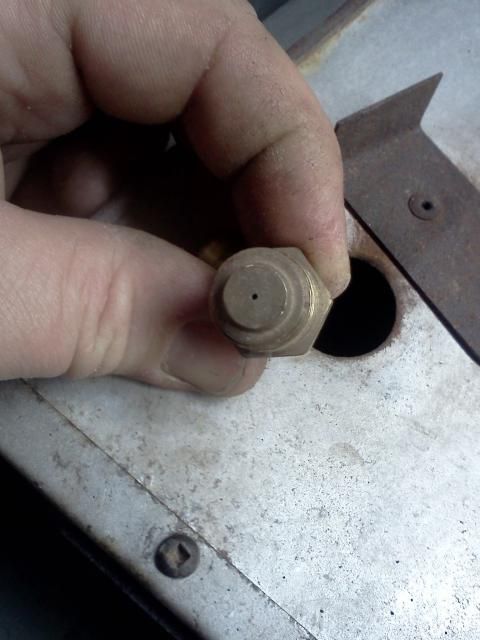
I did a test burn over several hours. I was surprised how little gas it used in about four hours despite running wide open. Obviously it came off the bench and outside for that test.
I checked the Tstat by alternately resting the temperature bulb on top of the warm (not hot) case, and dipping it in a cup of water. It worked as it should.

Not a great clip because my cam was reading the light outside rather than inside the can, but by the time it got dark enough to get a good video, I was already asleep !
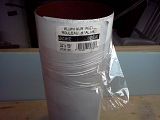
So now I have a running furnace and nowhere to use it. I can sell it on CL or (more likely) hang onto it for the next build. I've already decided not to use the fridge for lack of space. For the same reason (and weight) I've also decided to kibosh the stove/oven as well. The counter cutout will now be a shallow shelf for a two burner stove that takes spin-on cans. I can also move the heat of cooking out to the picnic table that way and don't have the problem of where I'm going to mount a 20lb bottle. Because of the canted upper corners of my walls, the regular range hood wouldn't fit without some major mods. I picked up some 24" roll flashing to fab up one that fits properly anyway, so I don't need the range hood either.
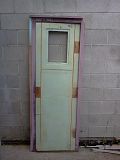
I'll post pics of the door jamb in an update of it's own when I'm done, but here's another idea I had for a hatch box for my shore power inlet.
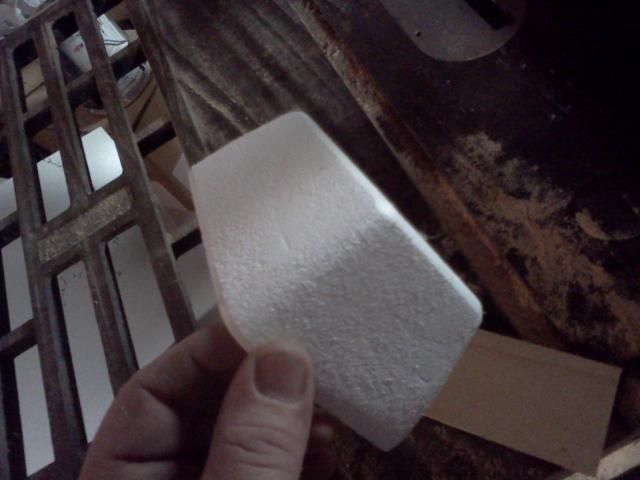
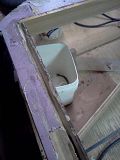
My wife picked up some gelato recently and I started eyeballing the styrofoam container. We made short work of the tastiness inside and I cleaned it out:
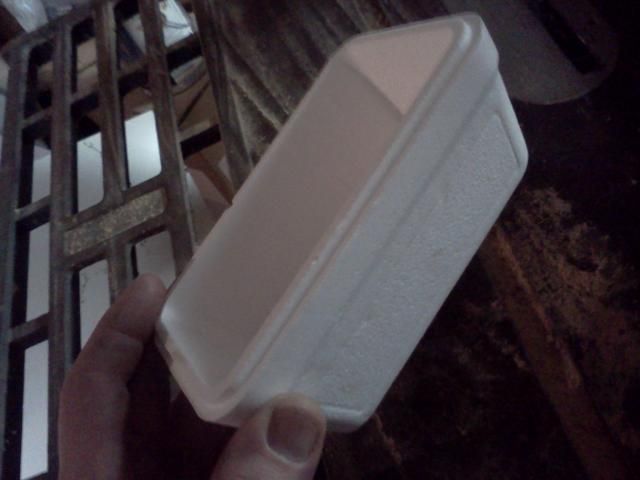
I sanded off all the lumps and bumps so it would accept glass:
Then I mixed up some epoxy, wood flour and microballoons and cut a scrap of ply for the inside to screw the shorepower fitting to. Well truth be told, I cut the ply first...you always want to mix up the resin last

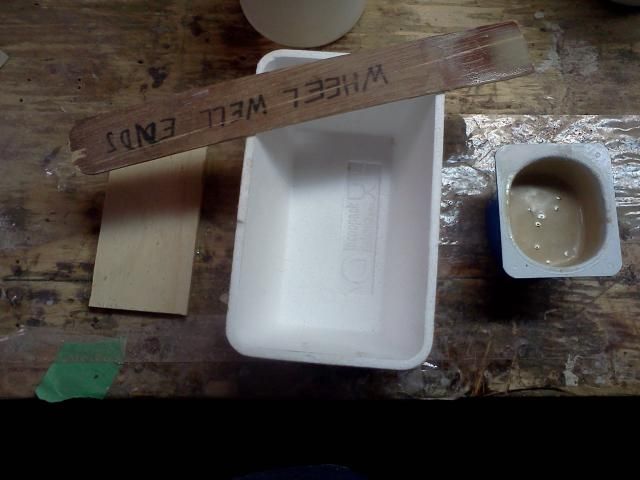
You can see one of the doorskin scraps repurposed from a stick pattern to a stir stick - I get my $7 worth out of doorskins !!
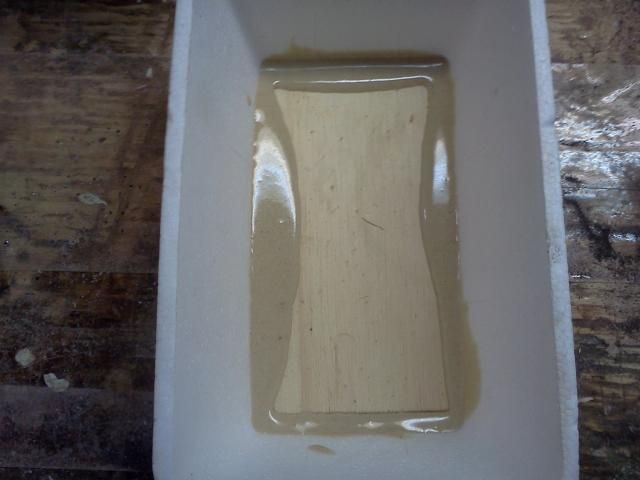
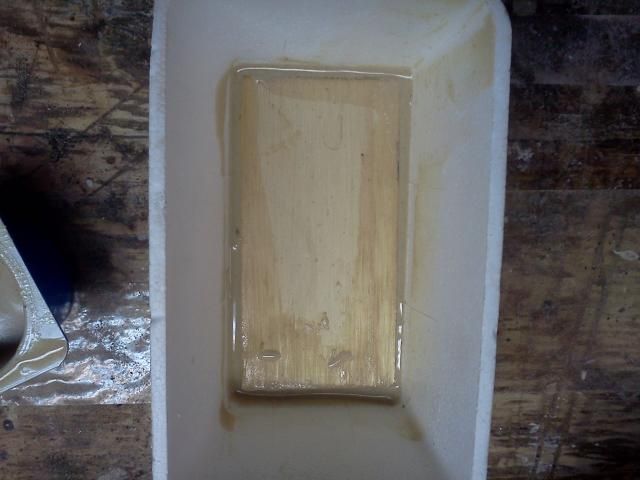
I'll glass it inside and out with scraps and leftovers from doing the bigger panels, then I'll glass it to the wall when I decide where it's going and cut it out from the outside. I'll also give it some wood to give me something to screw a hinge to for the access hatch.
More later, gotta head off to work. an 8 hour day is gonna go by so quick after the last few weeks !

 Typical !!!
  No loss , no worries eh !!!
 Typical !!!
  No loss , no worries eh !!!


 What the **** ? Seems the board must be smelling the furnace fumes ... or some other fumes ...




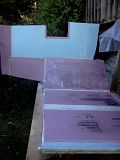
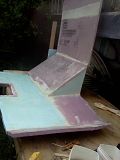
 but still having fun.


 ...will be able to weld up a frame to accommodate some of the compromises I made to be able to use the frame I had.


