Today was kind of an experiment to see what method I would use to fill the exposed ends of the kerfs in the roof and hatch foam. I was leery about just stuffing spackle in there since there really hasn’t been any long term testing that I am aware of and it is kind of fragile. Whatever I use I want it to sand easily like the foam, since I still need to round over the profile edge.
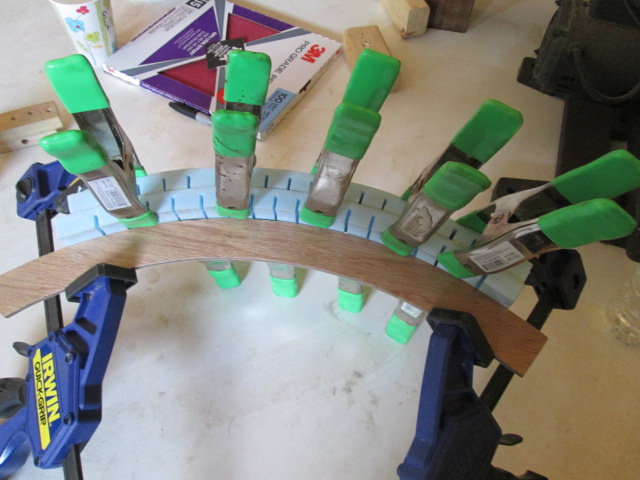
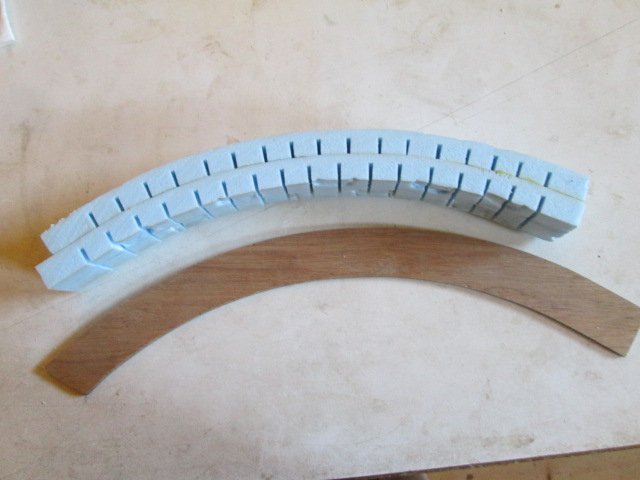
When I mentioned that one of the builders (I think it may have been Fred Trout) recommended mixing some TB2 in with the spackle to give it a little more strength, and that I was thinking of adding foam sawdust as a filler/binder, Karl suggested that I do a test. So I took a strip of the 3/4 thk foam, cut the length in half, kerfed both pieces and glued them with TB2 over my front riblet template as a form.

But that was going to take time to cure, so I dug out an appropriately sized strip of foam from the “spare parts” pile and started stuffing. The dents and gouges around the kerfs from my fingernails was discouraging, but the area will need a skim coat of spackle anyways, so I suppose that could work.
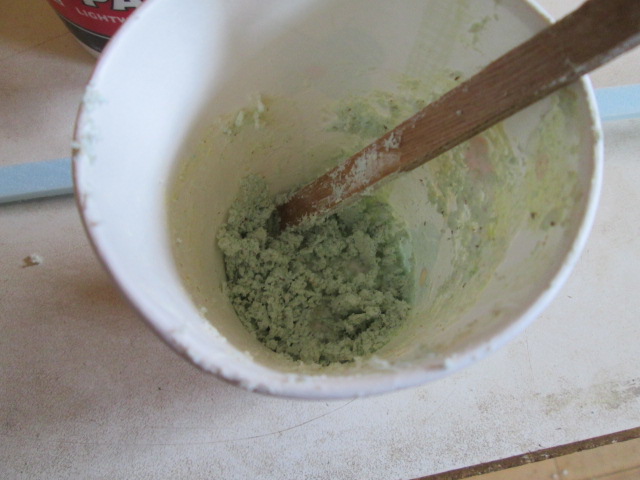
I got impatient waiting for the test coupon, so decided to go ahead and experiment on the street side front. I scooped about 1/4 cup of mostly blue foam dust, with a little wood sawdust mixed in, out from under the table saw.
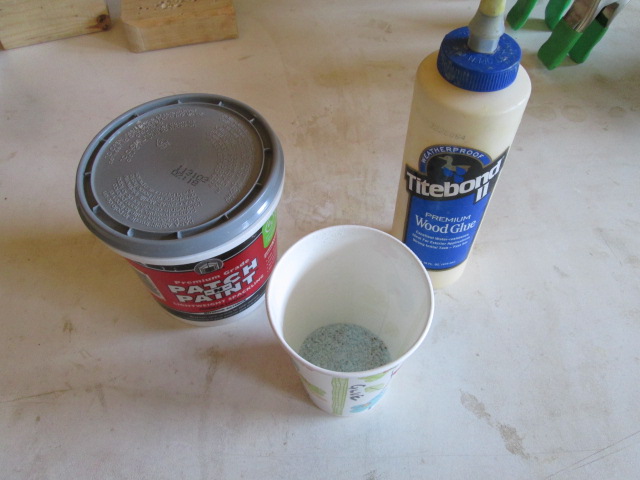
Mixed in about 2 tbs of spackle and 1 tbs of TB2 and stirred with a stick getting a somewhat grainy consistency.
Used the stick as a spatula to smear the stuff on and pushed it into the ends of the kerfs with gloved fingers.
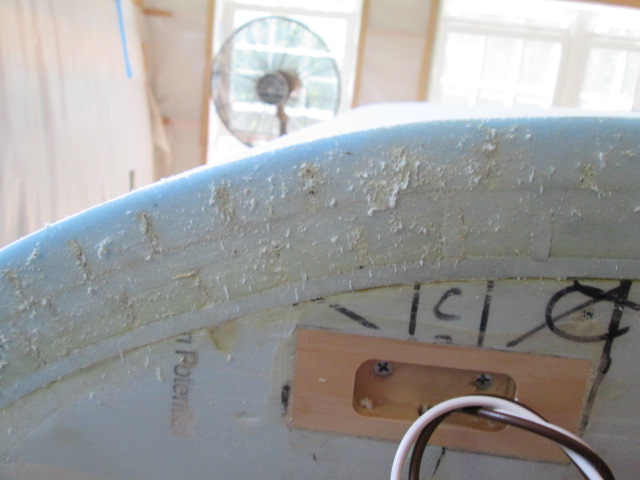
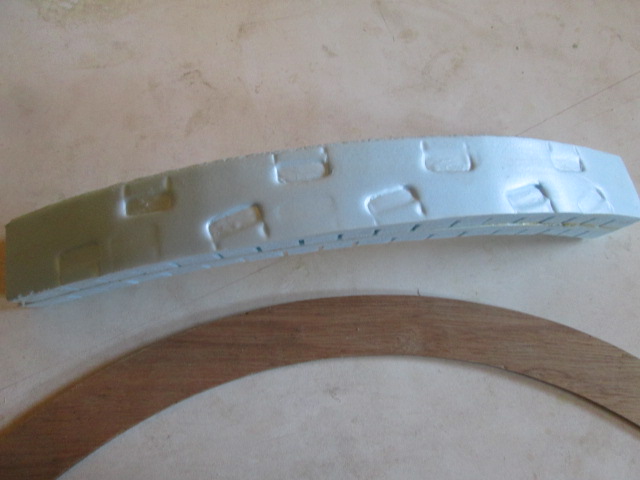
Rather than let it harden with all of the bramble, and rather than clogging up sandpaper, I just burnished the rough stuff off by rubbing a small block of pine over it. The dark specks are wood sawdust.
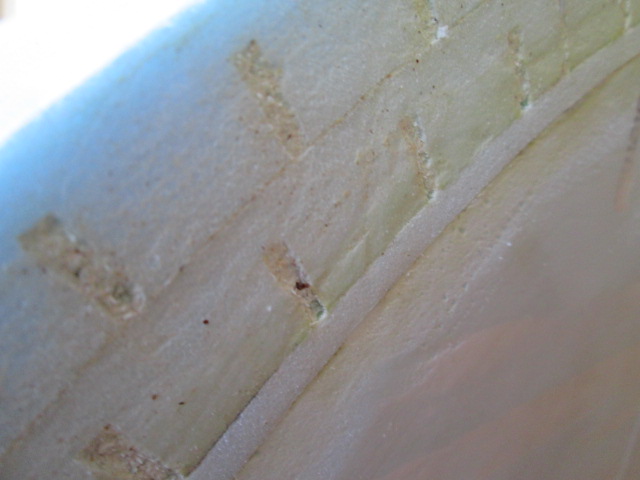
I’m not sure how deep I was getting it, whether it would be enough to allow for the round over, and it seemed to suck in some, either from the burnishing or from shrinking as it dried, so a skim coat of spackle would still be needed.
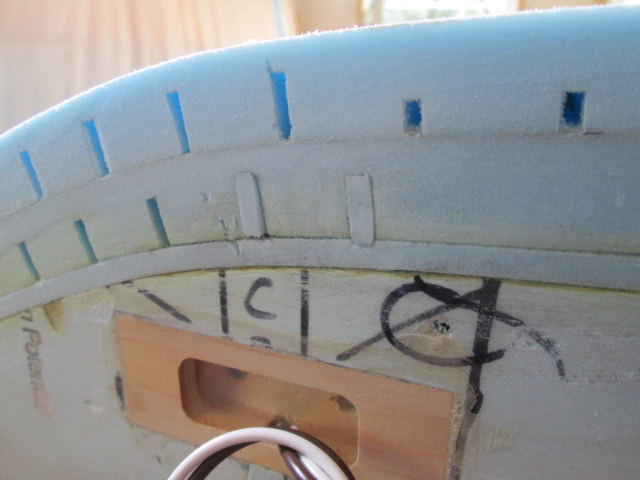
That was also a little messy with crumbly bits falling on the floor. So maybe I could improve my technique “chinking”. Back to the hatch. The strip of foam I was using was just a little wider than the kerfs were deep, and a bit thicker than the kerfs were wide.
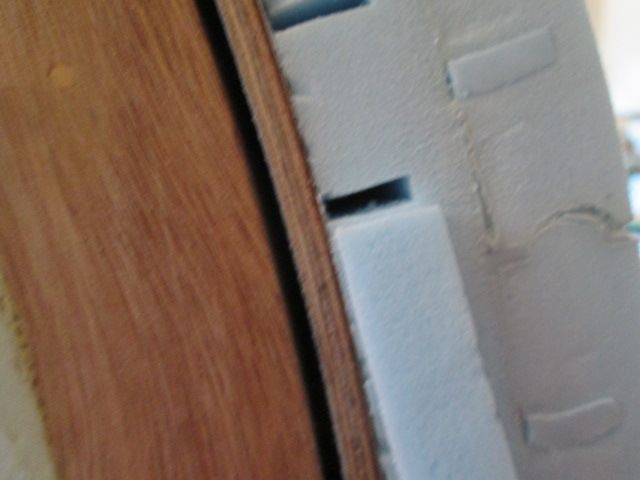
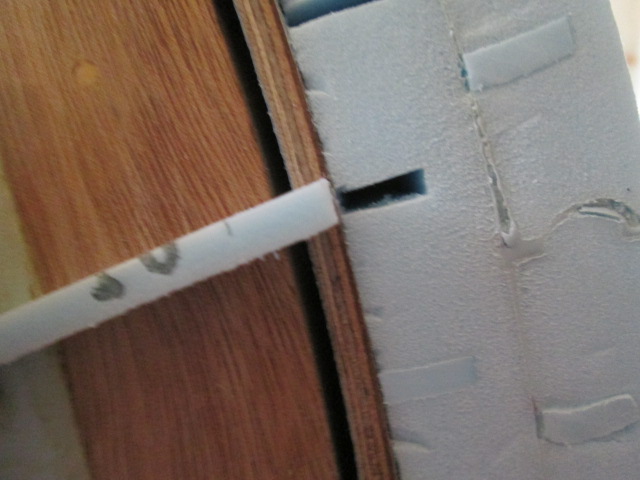
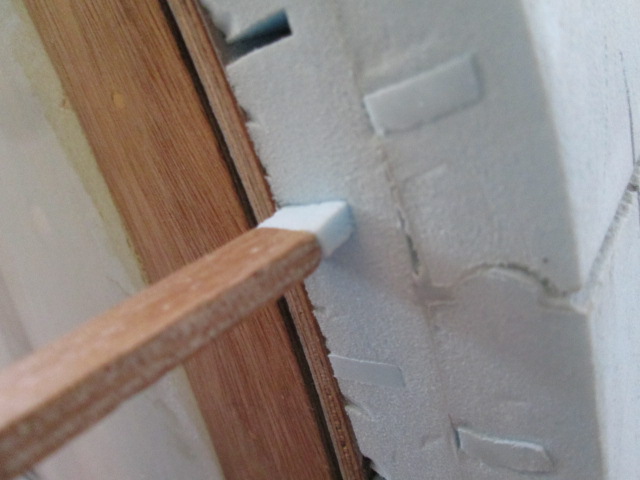
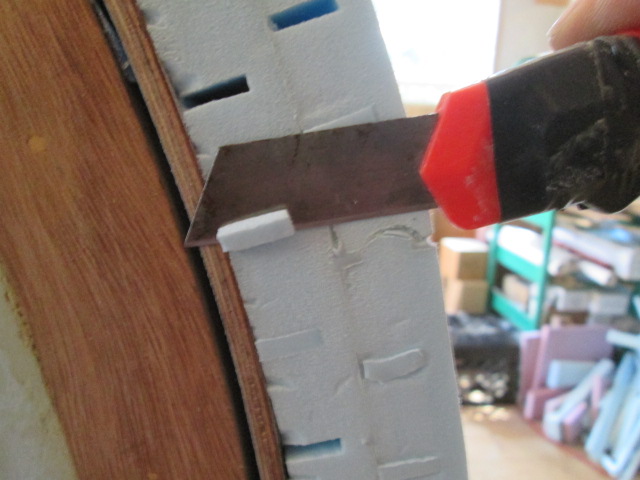
After cutting a piece about an inch long, by squeezing it between my fingers to flatten a bit I could stuff it in the kerf about 1/4 to 3/8 inch before friction made the resistance too much. Later I found that if I stuck a thin oak strip in the kerf and pried gently up and down I could compress the foam into a slight funnel shape and it made it easier to get the plug started, while the foam would spring back sort of self-healing and tighten up again.
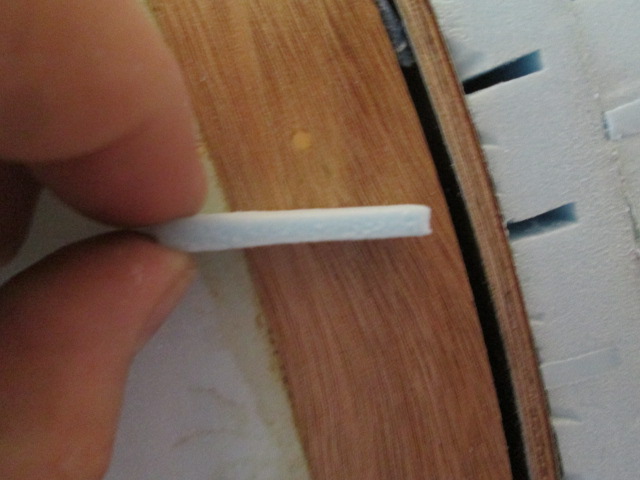
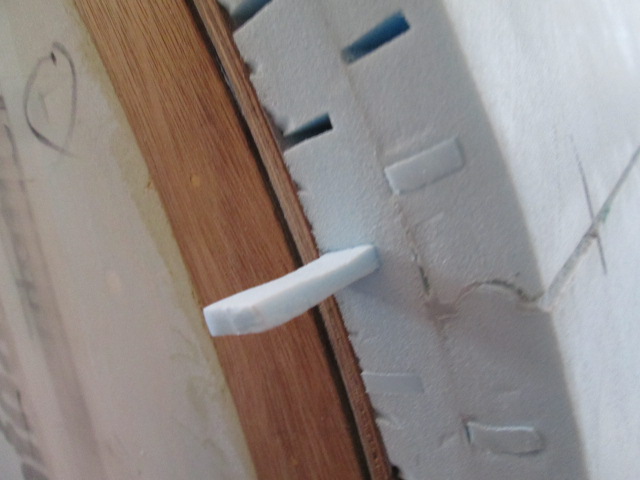
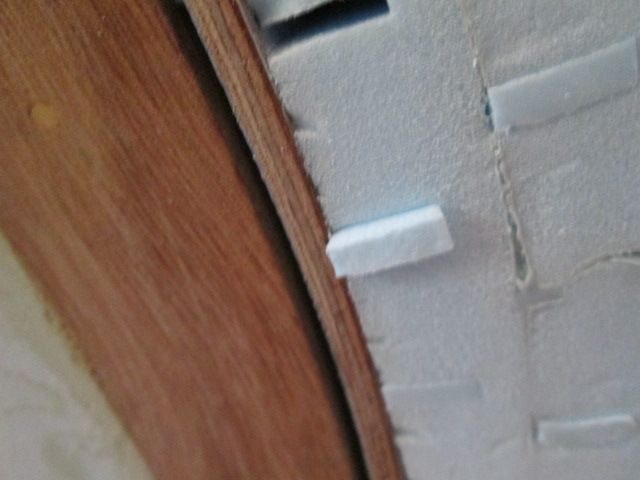
Then I rough cut leaving about 1/4 inch proud.
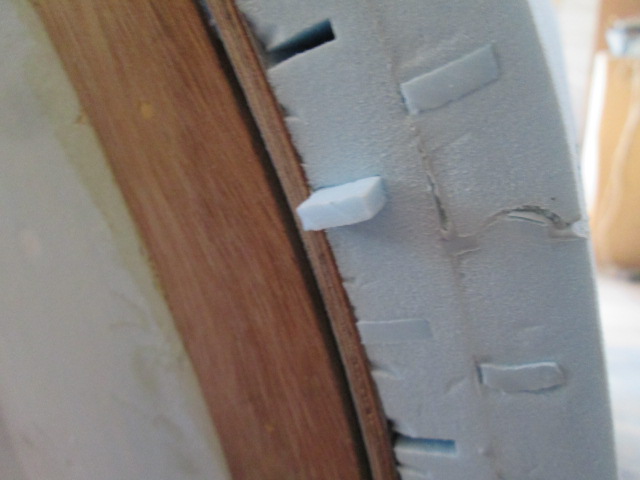
The stick came in handy again stuffing the filler that last little bit before final trimming flush.
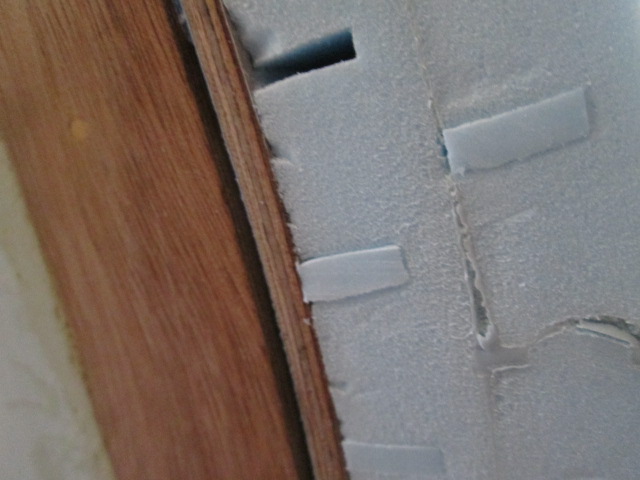
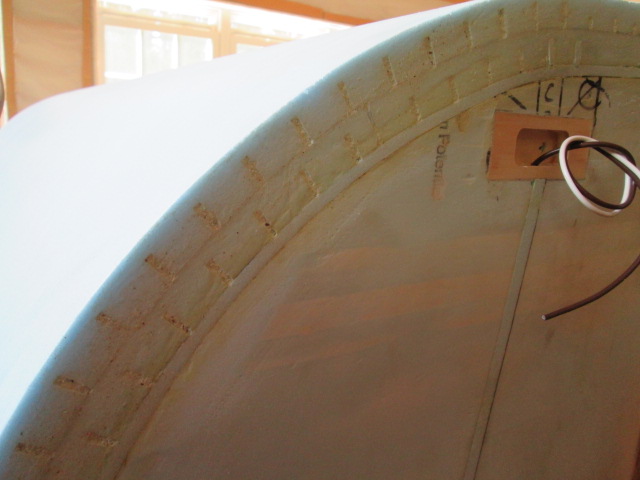
Then a quick scrub with 220 grit on the small block.
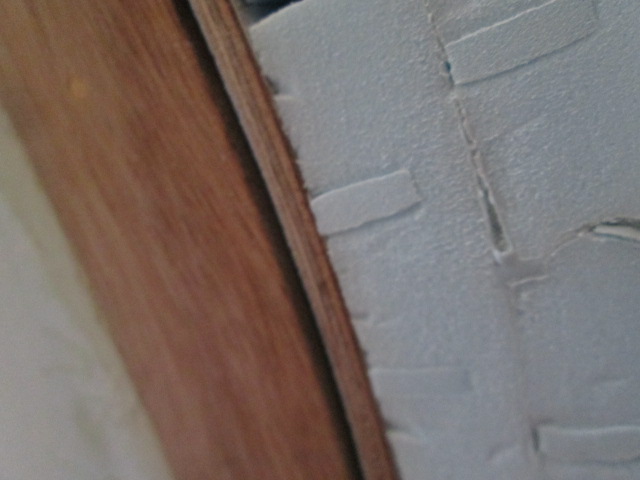
Still tended to crush the foam around the plug a little, so still needs some spackle. And it was slow and tedious compared to the filled spackle blend.
By this time the test coupon had set up. The spring clamps crushed a bit, but that just provides more opportunities to test filler recipes.
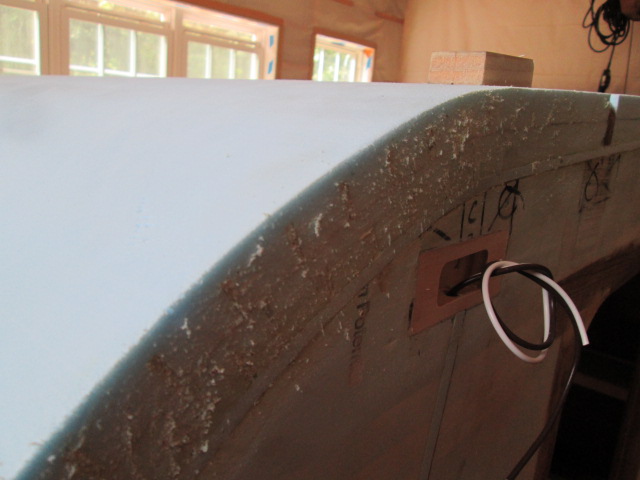
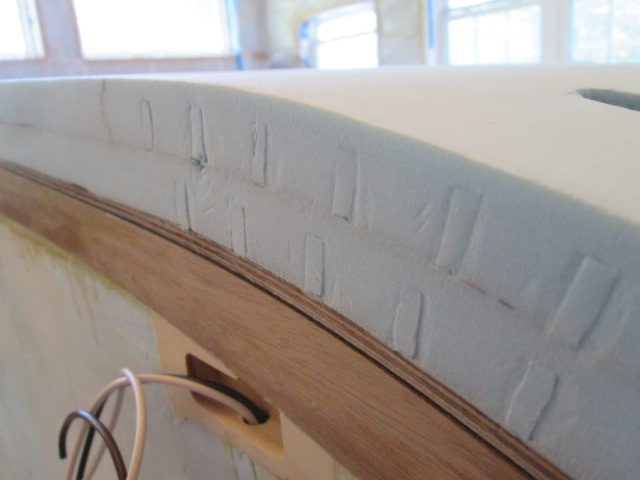
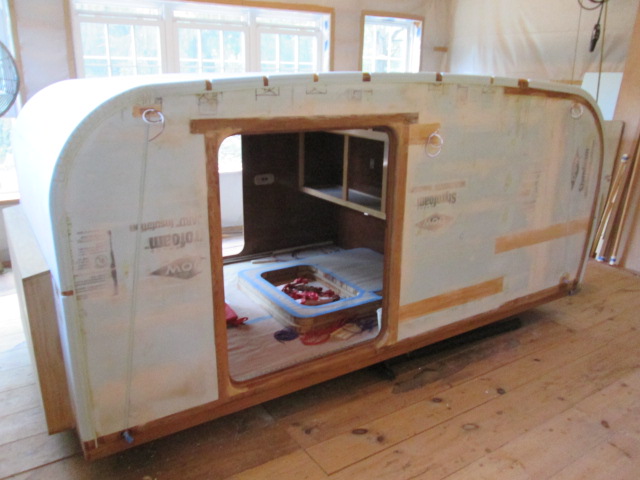
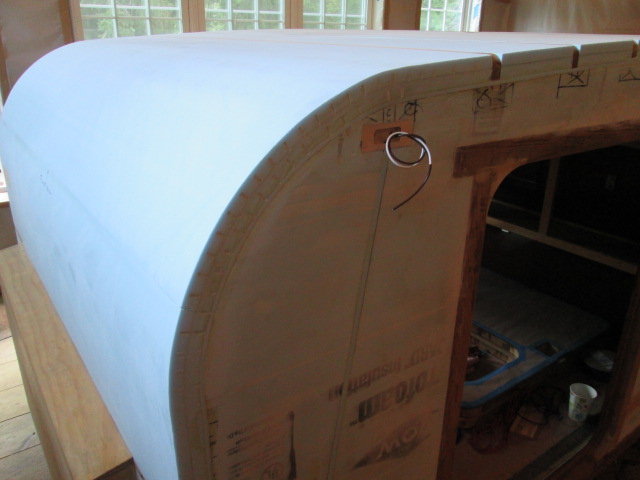
That was enough for today, so I will leave with a couple of overview shots.


 Sounds like you want to use too much mud and not enough sandpaper