Lost a couple of days of posting progress to getting caught up in checking the forum and falling asleep before getting to post my stuff. Damn forum, can't live with it, can't live without it.
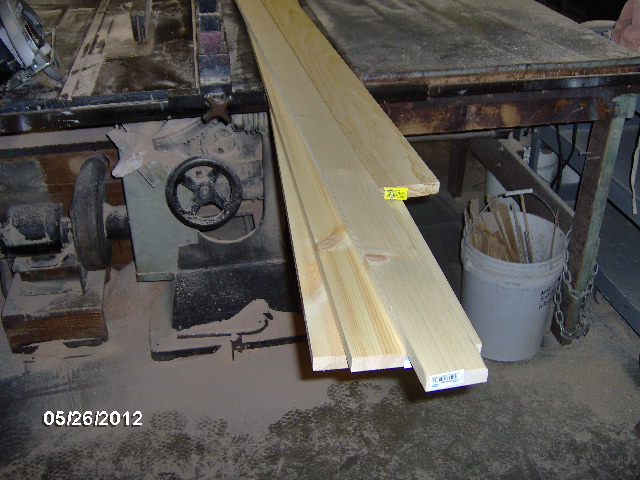
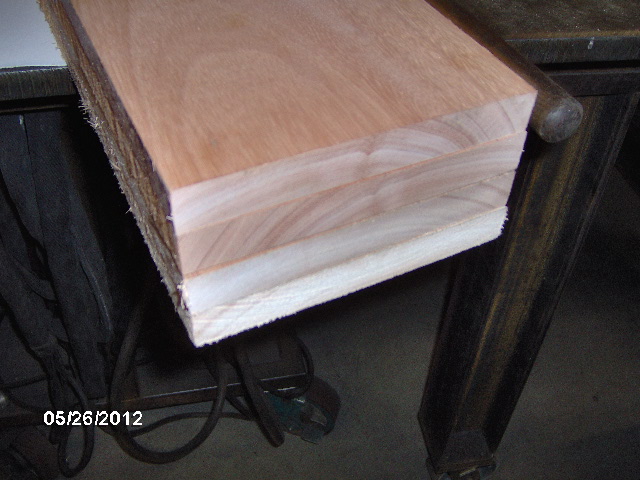
I'll try to catch up. Saturday morning I ran an errand and went by Ho-De-Po to get some pine to make a plywood scarfing jig. They called it "select". I think that means that you have to be very selective when you choose your boards. There's two 1x6's x 8 ft, one 1x4 x 6 ft (when did they start selling 6 footers?) and a 1x2 x 8 footer. Here they are after dragging them into the wood shop at work.
The jig I am making is inspired by the one linked in the construction techniques sticky for stretching plywood here
http://www.oneoceankayaks.com/stitchglue/plyshophtm/scarfjig2.htmI used drywall screws instead of hot and wood glue, used more of the gussets blocks, and used 8-1/4 deg instead of 7.12 deg just to hedge my bet on panel length (I had not allowed any extra overhang for trimming around the edges of the floor frame and walls, so by cheating the scarf angle I could get a little extra length by having a little less scarf overlap). Should give me about 1/8 inch to play with.
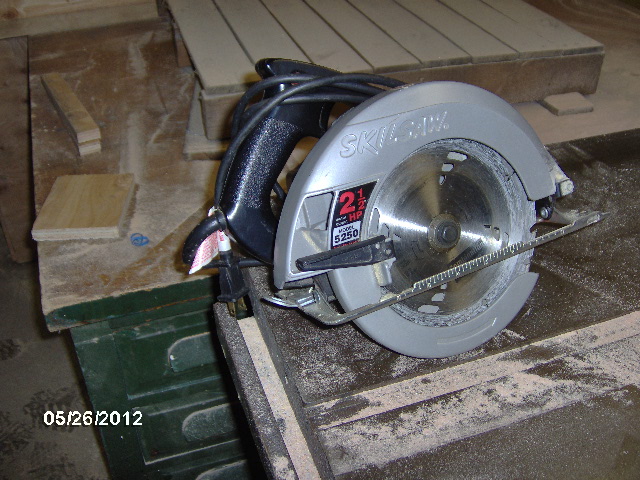
So I had brought my Skil-Saw along to check measurements for starting position run out, shoe to blade offset, and motor housing to shoe clearance.
Since the longest length I should need to scarf is my 64 inch width I went with 76 inches long, allowing for the start position of the saw and a little run out at the end of the cut. So first I cut the 1x2 and 1x6's to 76 inches. The 1x2 is the clamp block used to span the jig and clamp the plys to the jig. It has a bit of curve to it that will be placed crown down to help preload the center of the ply when clamping.
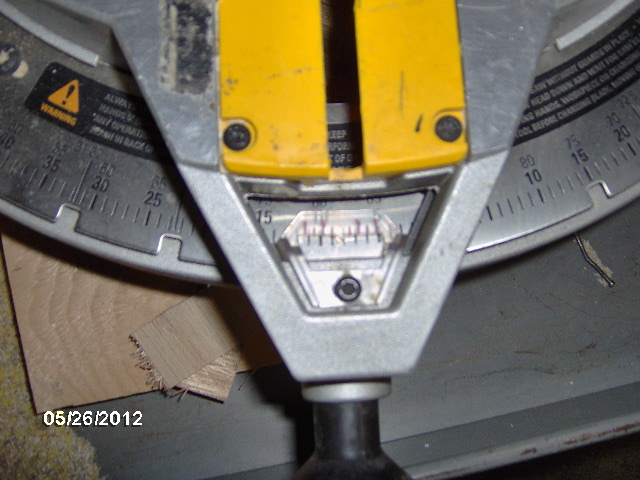
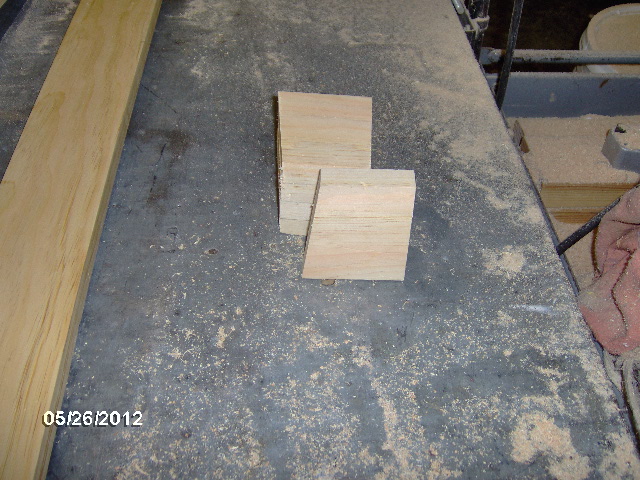
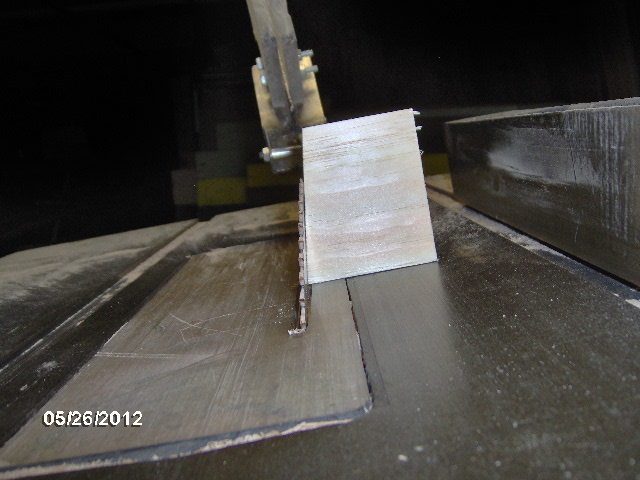
Then I set the miter saw to 8-1/4 deg and cut the gusset blocks from the 1x4's.
The heavy cast iron table on the table saw has a cast iron sector gear and pinion with hand wheel that tilts the table instead of the saw blade. I used the accuracy of the miter saw via the gusset block as a gauge to set the angle on the table saw.
Here's my feather board set up. Note the spacer block behind the vertical feather board to put the downward pressure closer to the center of the work board.

Same shot with the blade guard flipped down ready to cut.
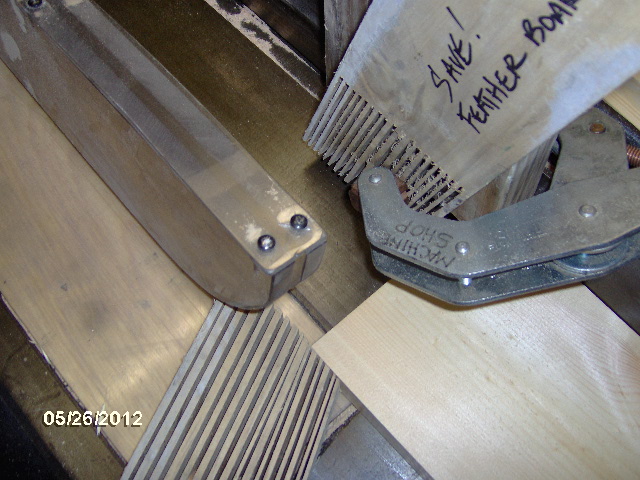
Here's a better shot of the tilting table with one of the drop pieces being used to set the feather boards up.
Had a little trouble when I started the saw. After a few seconds it tripped out on high current overload. Seems that the filler board around the blade had not been clearanced for tilting the table. I had to right the table some, drop the blade down, reset the motor starter (after it had cooled down) and plunge the blade up through the cover plate a couple of times to establish clearance. Had to redo the whole feather board set-up, too, because it all had to come out to clear the blade board so I could clear out the built up saw dust under the edges.
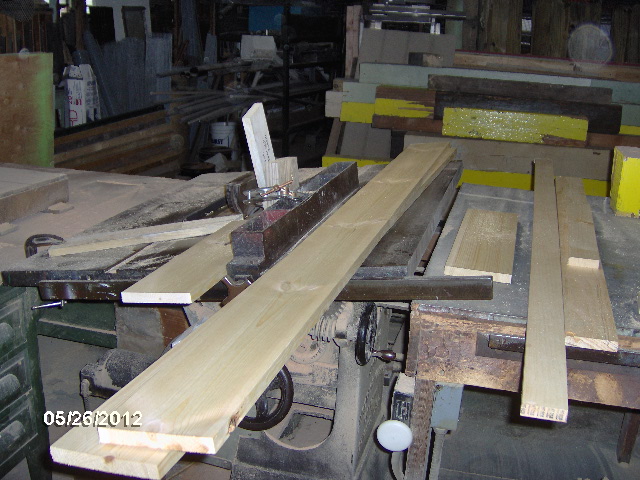
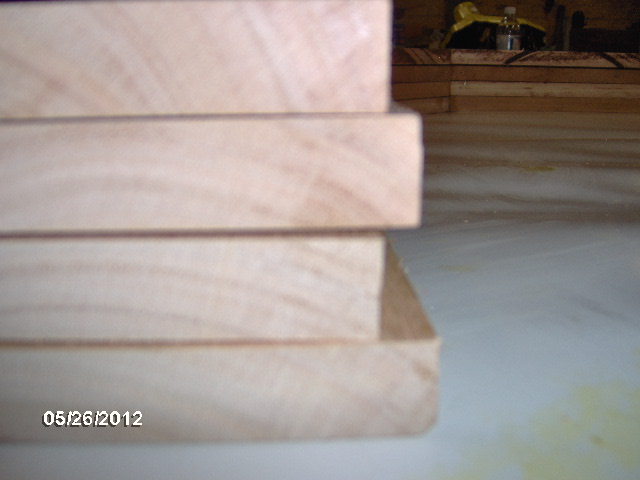
Once that was sorted out I pushed the two 1x6's through the saw ripping the edges off at the prescribed (modified) angle. Then loaded up for Mecca.
Once at Mecca I stripped the clamps and tape off of the last two hatch rib blank glue ups and checked progress.
Here I have aligned all of the tail ends of the bottoms of the blanks.
And the first joint is pretty close.
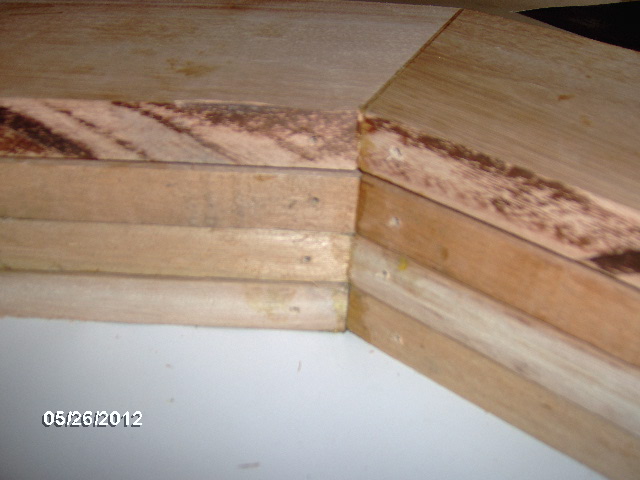
And here you can see the run out at the top end. I was not familiar with the miter setting on Ben's saw. It would snap into place when you released the handle and, at first I assumed that it was locking in on my desired angle, when in fact it was locking in where ever it happened to be at the time (I told you...I have limited cabinetry skills).
It's OK tho, because there is plenty of meat for the hatch rib profiles to land on.
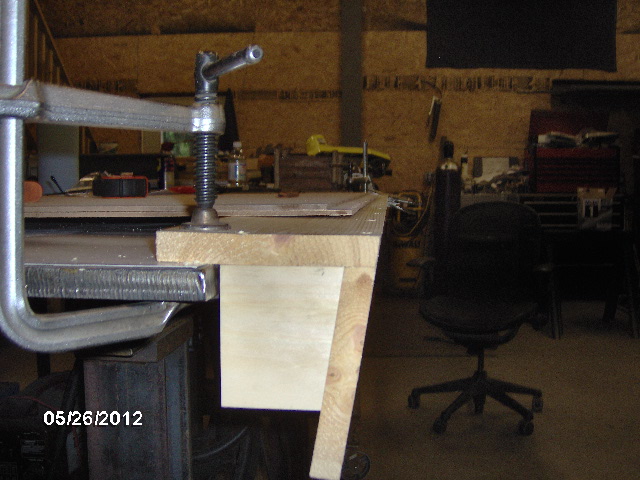
Here I have started to assemble the scarfing jig.
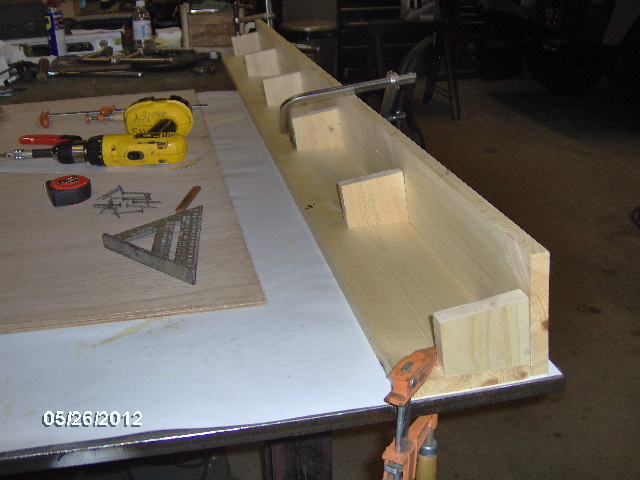
And here I have mocked up the jig and a couple of pieces of scrap 5 mm to demonstrate how the jig works for Karl. I still need to decide how thick the saw guide fence can be w/o interfering with the saw motor (i.e. the depth of cut on the Skil-Saw vs. how high the motor is above the shoe).
In order to keep my stuff out of Karl's way as much as possible, I keep it on the back of the bench, hopefully out of the way. Here's a shot of my glue up kit, including glue, painter's tape, staples and stapler, brad nailer and brads, clamps, etc.
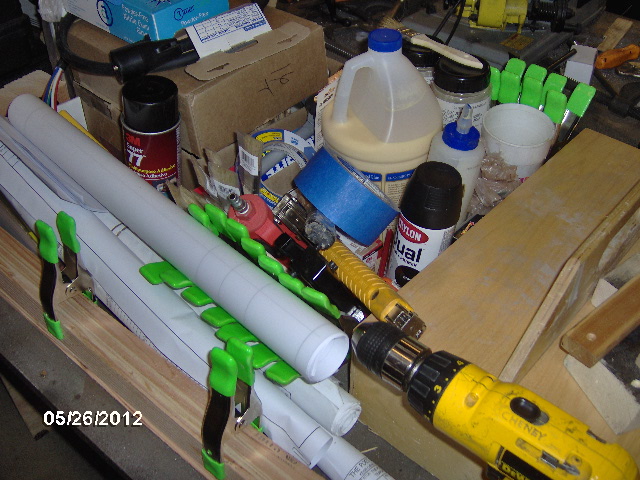
Rubber gloves on top. In the foreground you can see the remaining slats for the other wall edge rail clamped up to try to stop any warping. To the left are sanders, biscuit cutter case, and pneumatic nailer case.
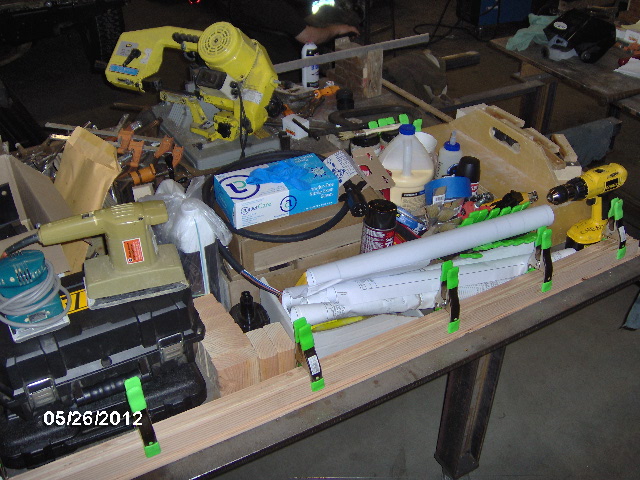
Here are some parts stored at the base of the shop stairs.

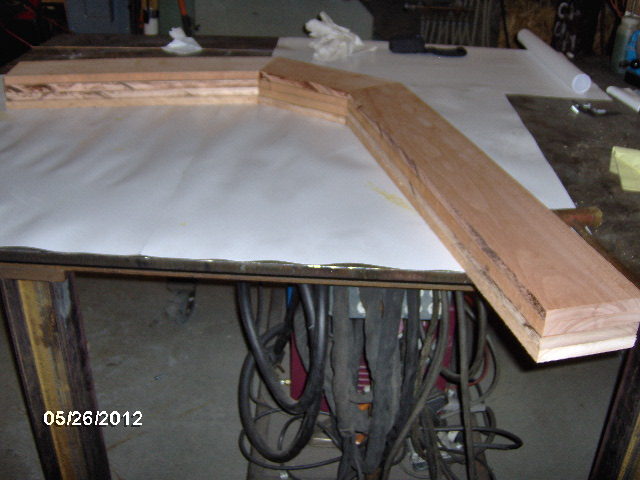
I finished up Saturday by setting the wall edge cap rail laminating jig up on the bench in prep for Sunday.
Busy day. Falling asleep now. Will have to update you about Sunday tomorrow, Monday.


 ). Anyway, if you saw my post on Big Mike's Memorable Ride Home (or something like that) thread you know about the poorly maintained "tunnel" sections in the city funneling into the GW Bridge. Long story shorter, the way he had the heat exchanger blocked up on the ends, more or less bent the main frame rails enough to bow the inner fender skirt into the passenger side tire causing it to blowout. Believe it or not he took the spare from the truck, which was amazingly the same lug pattern, but the wrong offset, and bolted it on backward. What? Yes backward. Drove 50-75 miles to the next service area (exits are few and far between in the rural sections of the Jersey Turnpike). He was able to get a new tire mounted and they loaned him a cutoff wheel so that he could remove the offending skirt.
 Works out well for both of us.
 JMHO.. FWIW
 We will see what it turns out to be in the end.

 ).
).
