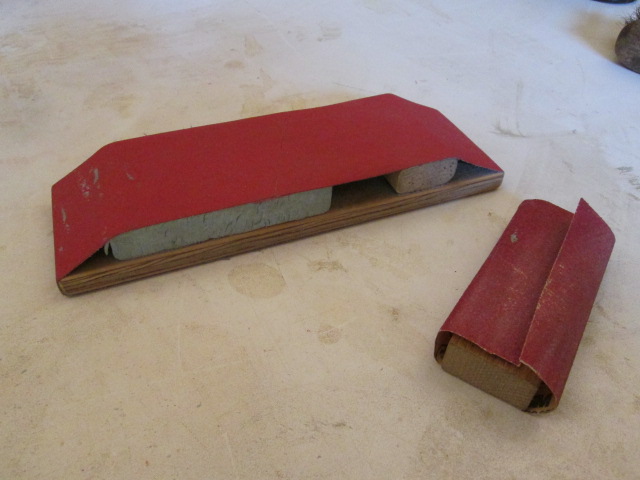
Today I made another long board, a flat one this time. Since I’m doing so much bodywork here lately, I thought I’d do a recap of my sanding tools.
On the right is my “right hand”, the small oak block with 1/4 sheet wrap. The larger board is my second “medium” sized board; just a 3 inch wide piece of 1/2 inch ply sized to take a std belt sander belt. The ends of the board were just sanded over a little so that the belt wraps around a little easier. The foam block takes up slack and gives me a little something more to hold onto, while the 1x2 piece with radius corners locks the tension into the belt by sliding toward the end.
Here’s the long arched board again. Just a piece of ply with a pine strong back that had been cut on the band saw to mimic the shallow curve of the roof. You can see how it doesn’t touch the table in the middle. The abrasive is a fabric backed belt cut from one of Karl’s big commercial belt sander belts and glued on.
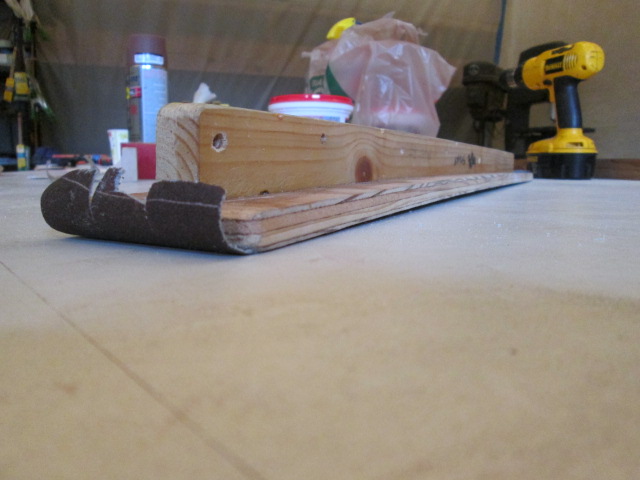
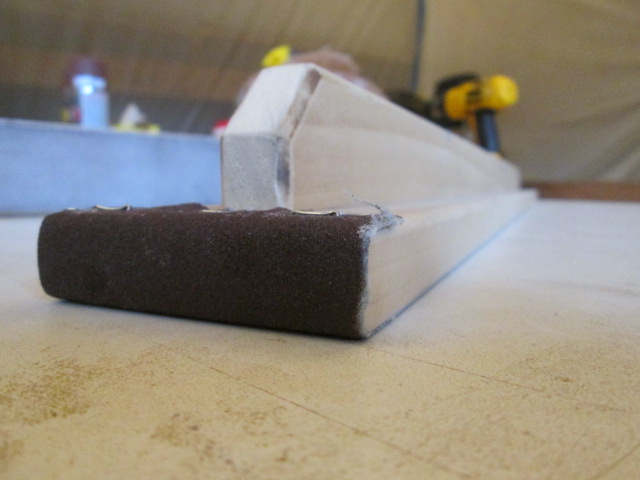
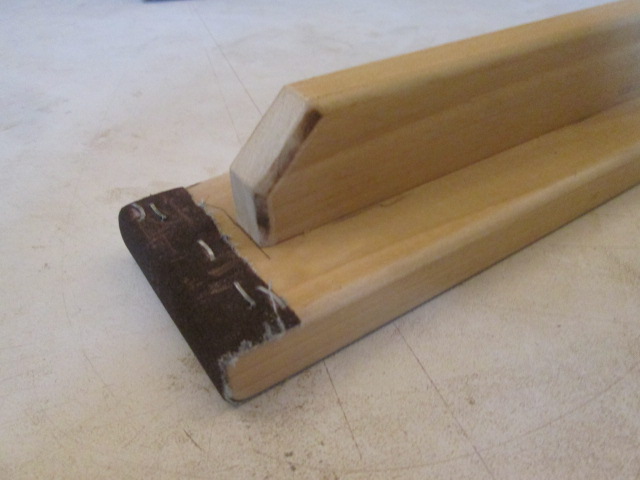
The new flat board is 3 inches wide x 38 inches long ripped from a piece of 1x4 poplar that I found already chopped short in the bin at the big orange box. The strong back is 1x2, also poplar, held short 1 inch at either end so that the belt can be wrapped around the end and stapled down. The ends and top edges, as well as the strong back, are all rounded over 3/16 inch. The long edges along the bottom were just broken slightly with the small oak block, just to take the sharp edge off. Finish trim screws up thru the face of the board into the rib, TB2 to glue the belt on, then clamped to the edge of the table to make sure there aren’t any bubbles or ripples.
These, along with the little corner block for rounding the roof edge over and the Bondo spreader, have been my main tools lately.

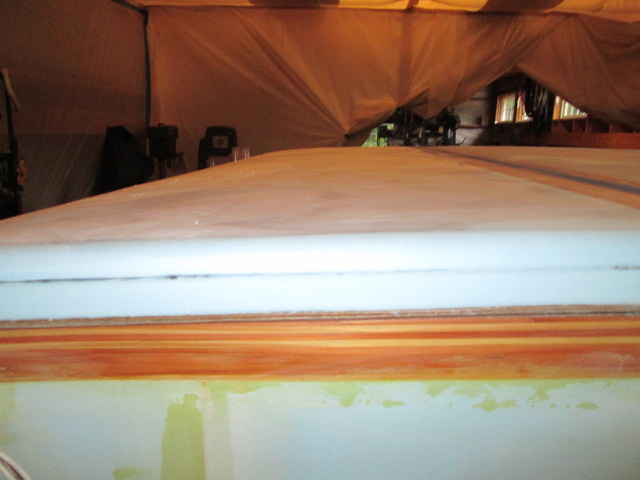
After another round of sanding and filling on the front roof I am more and more confident that it is finally about as good as I can get it. Which is to say that I am pretty happy with it and glad that I spent the extra time to get the shape the way I had intended it to be; no swale and no big lumpy junk. The lighter areas show where the last very thin skim coats went on today.
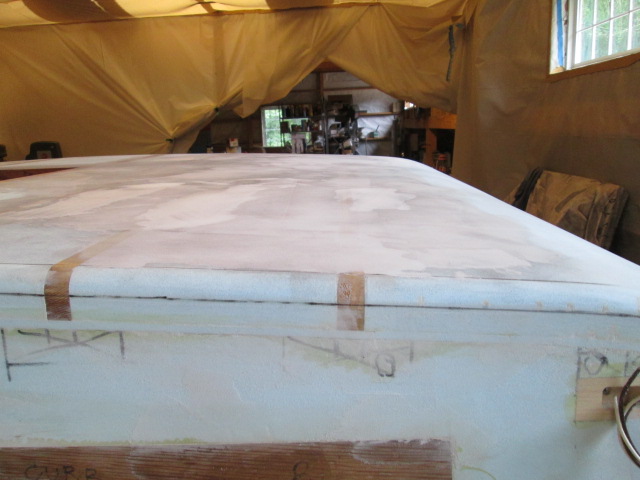
The long flat board really helped get the hatch top to where I could do what I hope is the last major skimming of spackle, with only minor touch-ups left. At least I think and hope so. GPW… and Angib’s advice to others elsewhere… was right, the longer board gets it on larger surfaces. I did have it pretty close, but just a few strokes with the new longer board made it all come together in short order.
Next I made a quick trammel from some thin scrap to mark the new profile for the top of the license plate recess. Just used a short drywall screw as a pivot point down in the lower hatch foam.
Carved a little, sanded a little and got it halfway decent, sort of. It was still going to need some spackle so, on the outside corner of the little scrapper I had made to drag the roof edges, I cut an ogee shape, thinking that it would help keep things uniform.
Turns out that my thumb worked just about as well, if not better. It is still not especially symmetrical, but I think it won’t stand out so much with the more rounded shape.
Tomorrow we are going back up to Nashua to celebrate Yvette’s aunt’s 100th B-day!!! So probably won’t get a chance to work on the camper, but I am getting plenty of bodywork experience.


 I am a big fan of old, well built things. It should serve you well.


 Am hoping that’s not the case , but might be something to be aware of ... A foamie, unlike a metal skinned cargo trailer , doesn’t “oilcan” in the heat , just Grows a bit , stretching everything tight ... sometimes too tight ...


 ) and to recontour the radius edges. Tomorrow I will knock that back down and see what I get.