After sanding the filled holes on the hinge spar, and realizing that I didn’t have any white glue for sizing canvas cut lines, I decided to get after the blocking for the top edges of the rock guards where they will wrap onto the side walls. I started by making a pattern out of rosin paper (because I didn’t have any poster board handy).
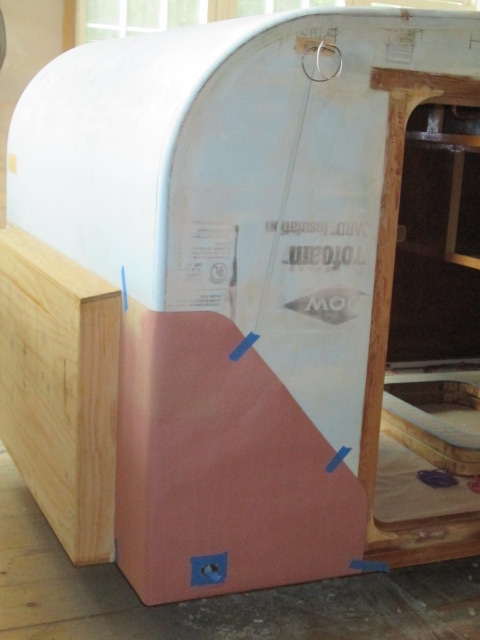
To find the side marker light wiring recess I just nipped an “X” with the razor knife, pulled the wire (wrapped in blue tape) thru, then pushed the flaps in to crease them over the opening. Then I taped around the edges of the hole to reinforce the paper which tends to tear easily. In this pic you can also see how I fogged the top edge of the pattern with gray primer to transfer the location onto the wall (being careful not to soak the foam by holding the spray can well back to avoid chemically melting it).
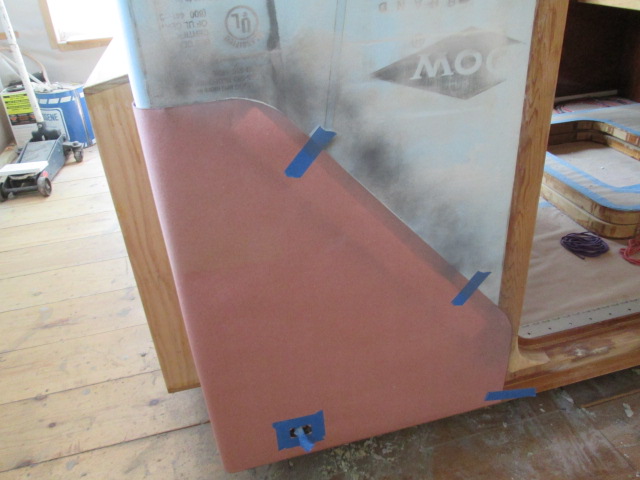
This gave me a nice line to use so that I could get the blocking close to the edge of the guard, but not have to worry about it running past and telegraphing thru the canvas; in other words, I can get the blocks close to the line but not over.
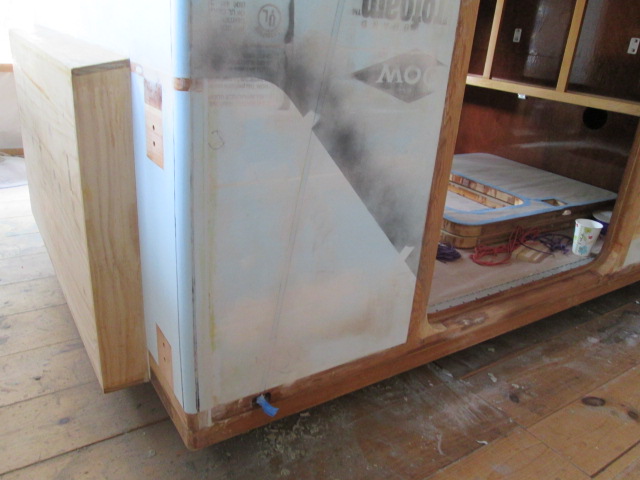
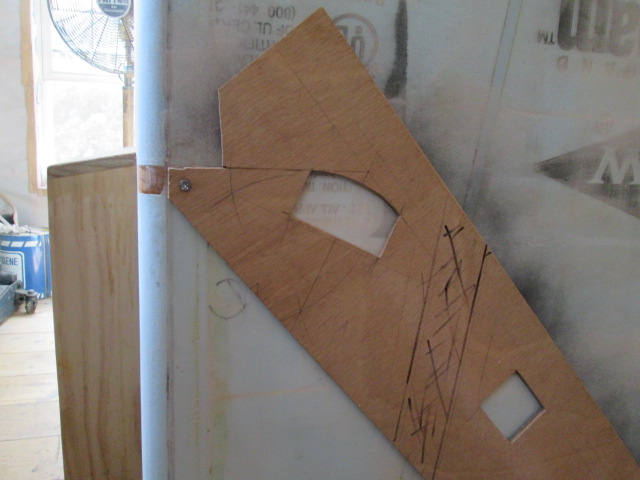
This is the router template that I came up with. A contoured block at the top corner and two equally spaced along the angled edge. There will also be screws into the door frame, along the floor edge, and into the end grain of the front sparette. Also note the “no cut zone” (sharpie marked area) over the wireway for the side clearance light.
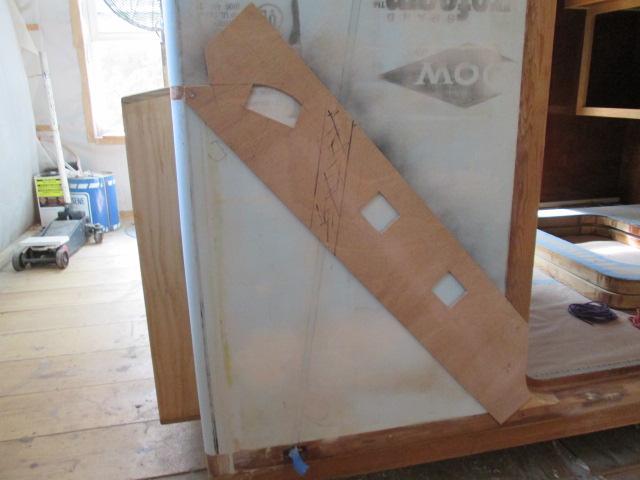
The notch at the top helps align to the end of the sparette.
The cut at the bottom helps align to the door jamb.
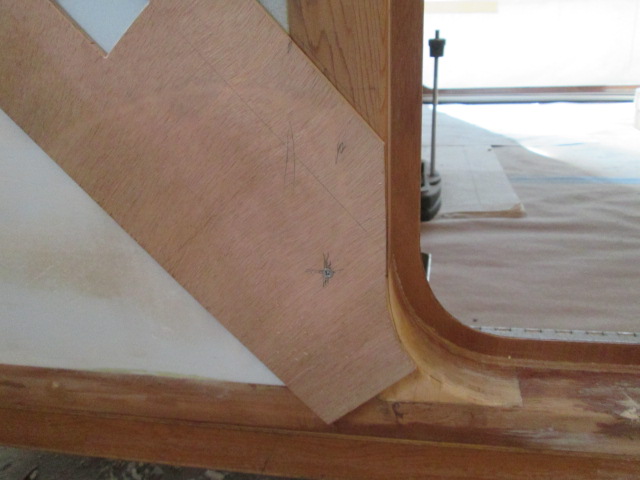
Between these two, and sighting the primer line thru the cutouts in the template, I was able to locate the template pretty accurately. Also, both the pattern and the template can be reversed for use on the curb side.
Made the router cuts using the guide collar.
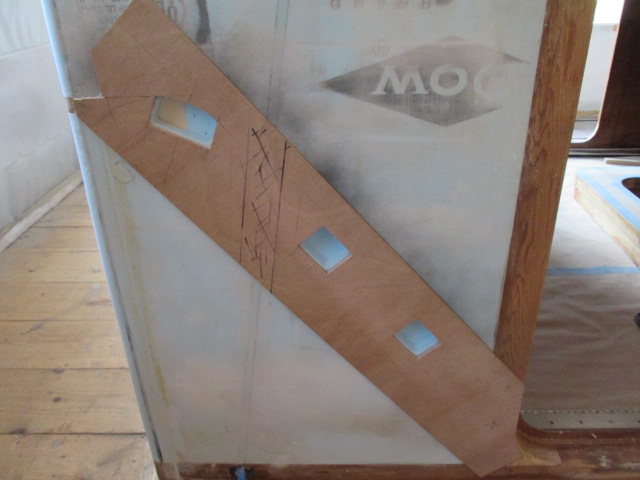
You can see where it found the back of the blocking for the pillow light on the inside.
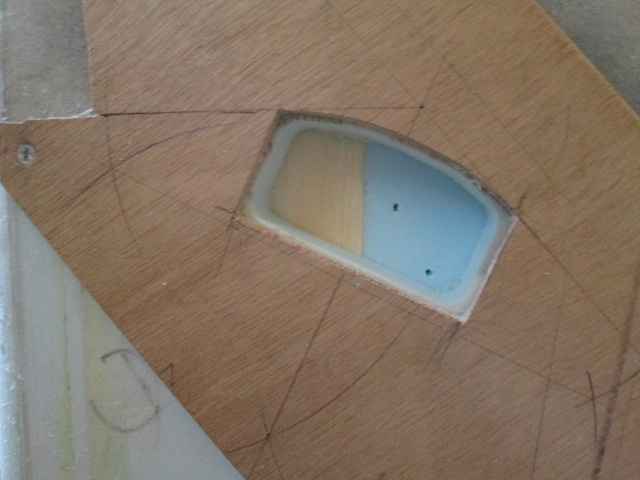
I decided to use up some scraps of maple for the blocking due to its good screw holding capability, even though I have used pine everywhere else. Here you can see the dry fit was very snug, to the point that I did not want to push them all the way in, lest I would not be able to get them back out again (trouble brewing).
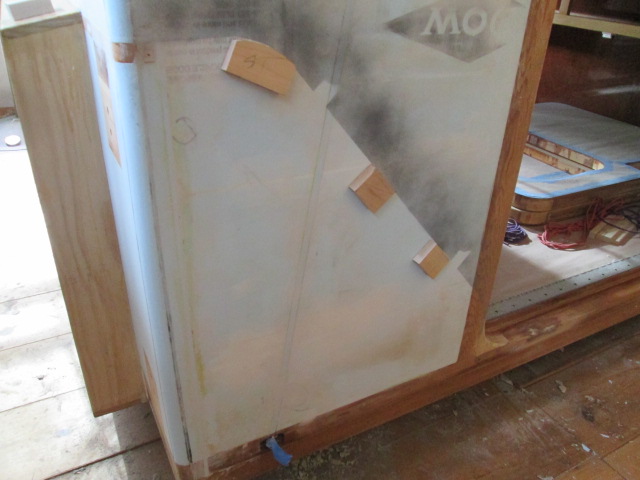
Damped the blocks slightly with a damp paper towel and used GG spread very thin to glue them in.
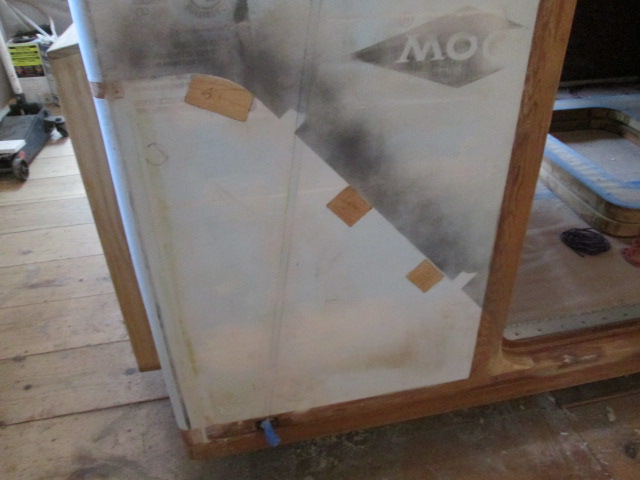
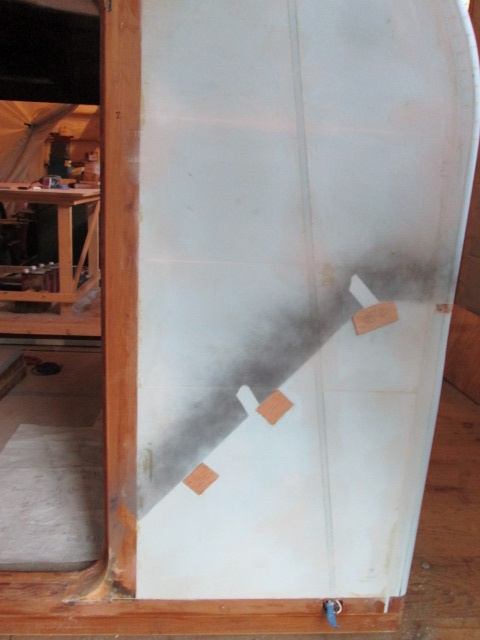
The street side came out nice and flush,
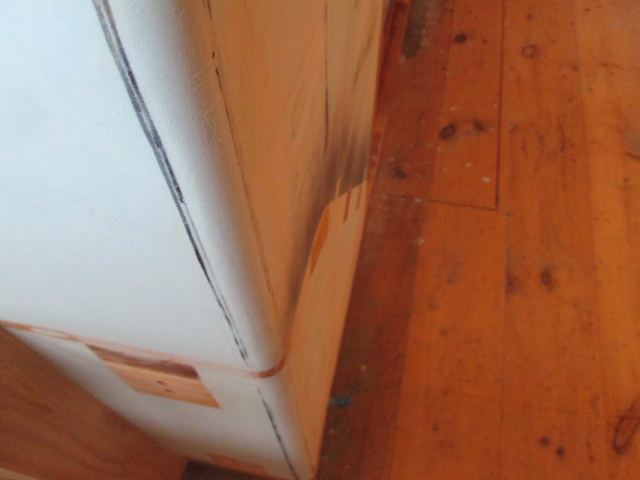
…but on the curb side the upper block stuck out almost 1/8 inch, despite tapping it in with a mallet.
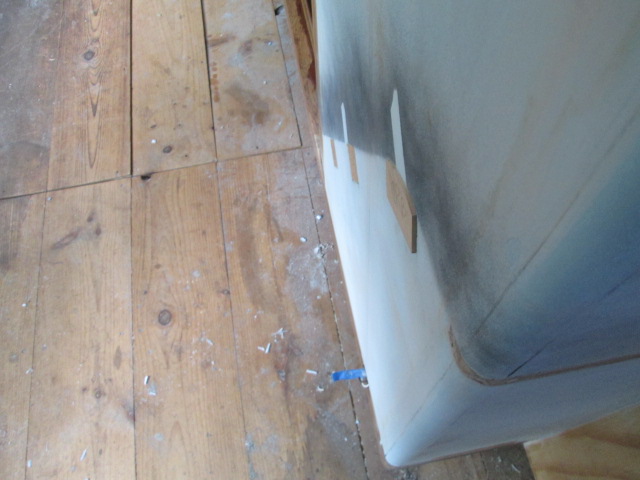
I went back and checked the scrap that I had taken that one piece from and, sure enough, it was over size. That maple is going to be hell to sand flush, unlike pine. Doh!
Oh well, if you want to make an omelet you have to break some eggs.
All in all I was happy with the progress I made.


 Saw some that looked carbon fiber cloth weave
  Crumbs for thought...


 They’ve been saying that for 5 Years now ...


