Here are the pic's that go with my previous post.
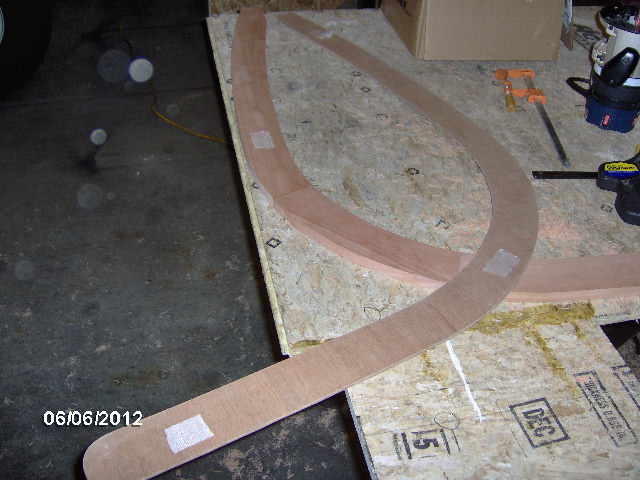
Continued routering out the hatch ribs. Put the double sided tape on the work first then set the template down on the tape using the cardboard sticks to aid alignment. Used four pieces of tape instead of three. This time when I pulled the template half of the tape staid on the template.
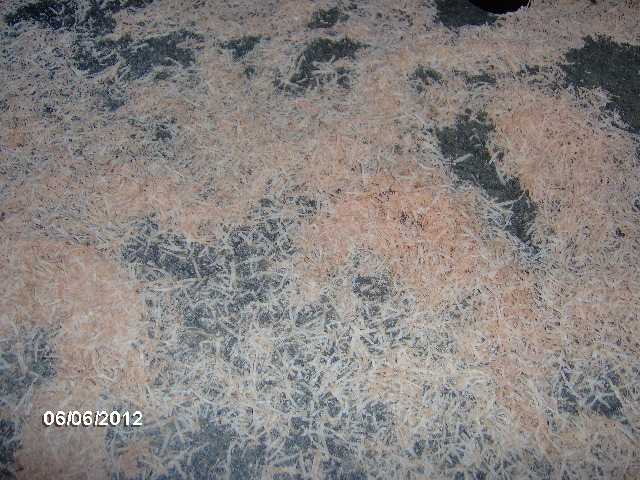
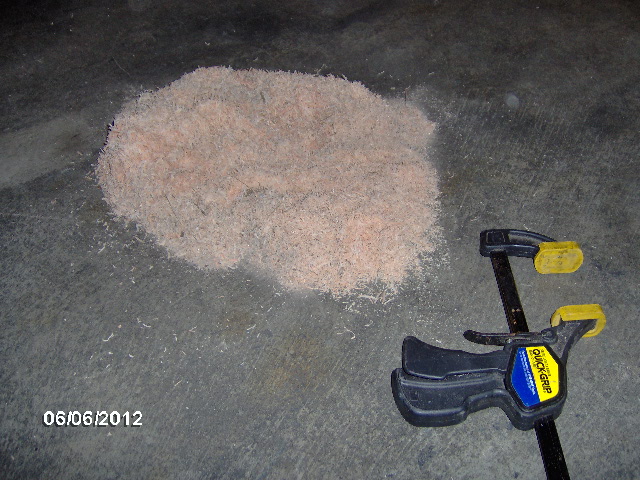
The nice thing about Karl's shop is that it is so big I can work inside and my whole dust pile lands in one place, not all over the shop.
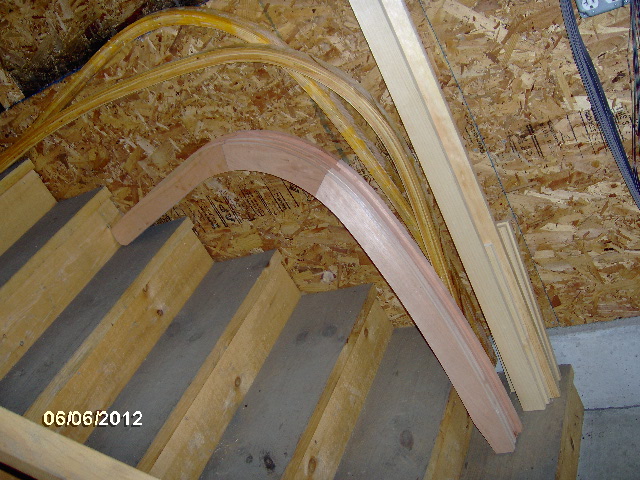
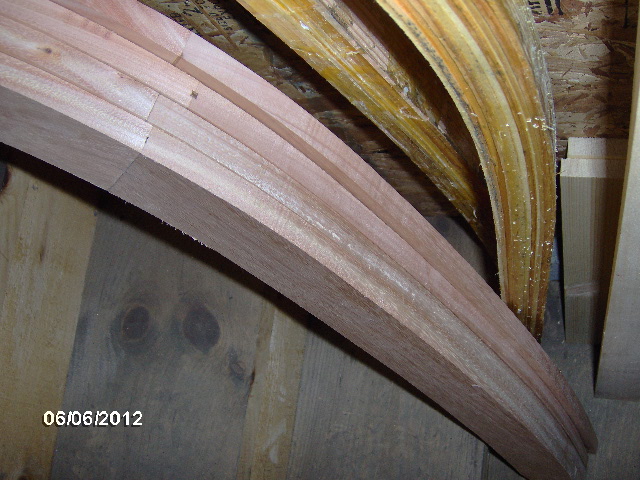
The Red Grandis makes nice even chips.
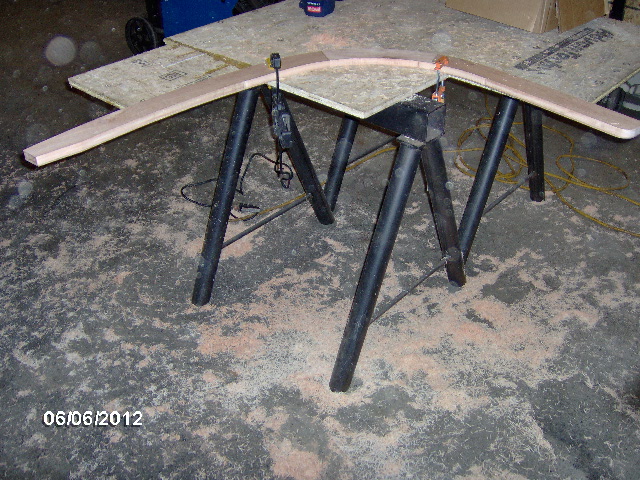
Here you can see that I have the tips of the rib clamped to the corners of the wall rail jig (flipped upside down) so that I can get as much done in a few passes.
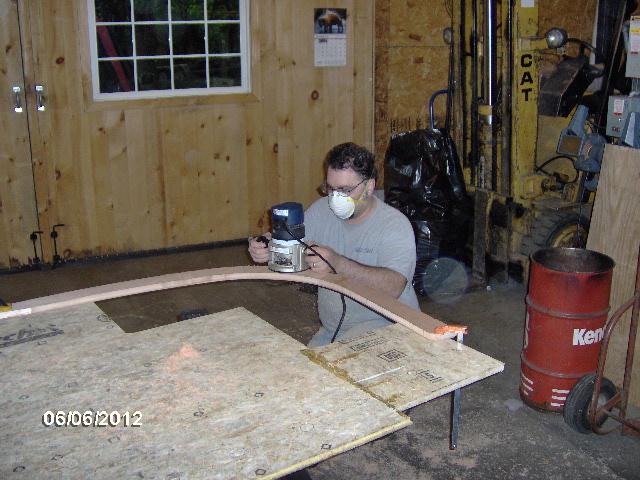
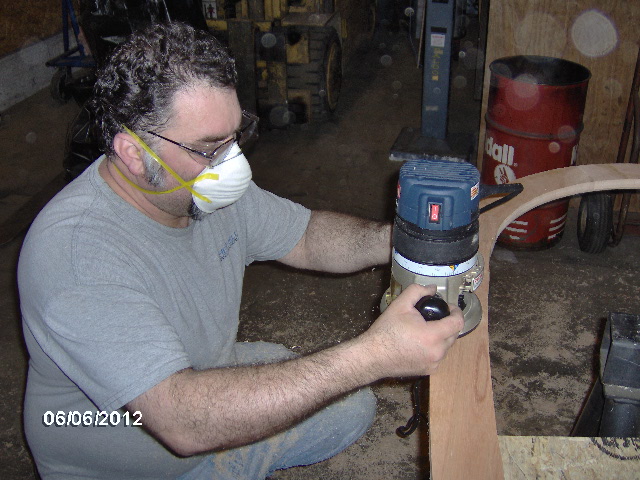

About half way through the last rib Karl noticed the grabbing I was getting and figured out that I was feeding the router in the wrong direction. Doh, not an experienced wood worker.
Things went a lot smoother for that last half rib, but a did get a small area where the grain chipped out. Very minor.
Parts pile is growing.
Clean up.
On to the scarfing jig. Here it is sitting up on the back of the fence. You can see that I moved the end gusset blocks away from the ends so that I can get a clamp on there.
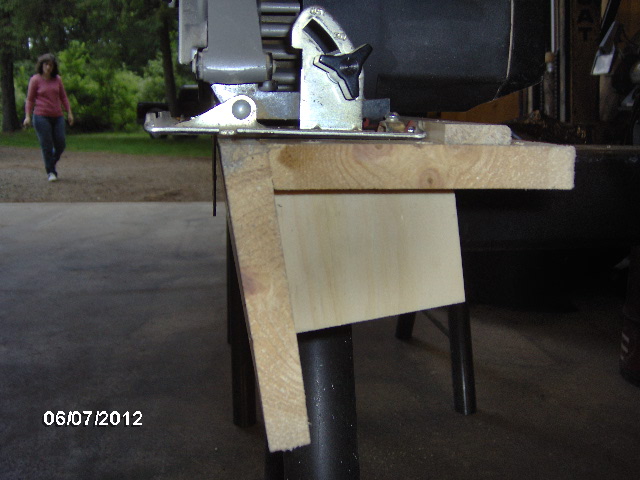
You can also see the low piece of sash trim that is attached to guide the shoe on the saw. The sash trim is tall enough to positively guide the shoe, but is low enough that the saw can still be set deeply without interfering with the motor housing on the saw. Also, you can see the angle of the saw blade (the thin vertical dark shadow) relative to the platform where the ply gets clamped (turn the picture 90 plus degs CW in your head).
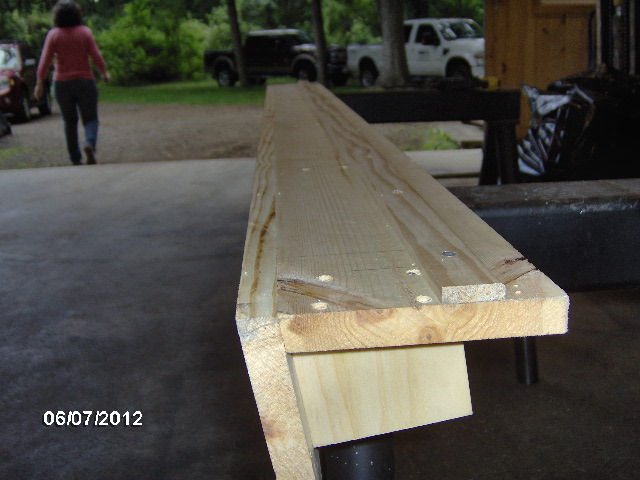
And another shot with the saw removed.
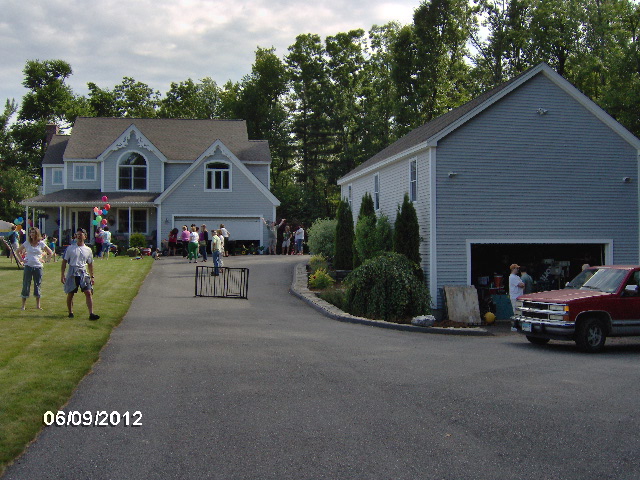
On Saturday we all gathered at Dave's place to celebrate his kid's birthdays, so between the gathering and the ride up and back from Mass., no work got done on the Camper. Dave is a tool junkie. This is the lower shop, chocker block full of machine tools.
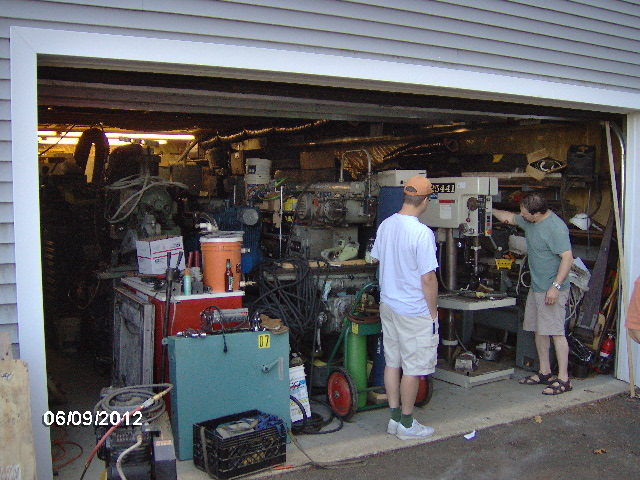
That's Dave on the right inspecting his new drill press (that we brought up from Karl's with us), and chunker team Captain Eric on the left.
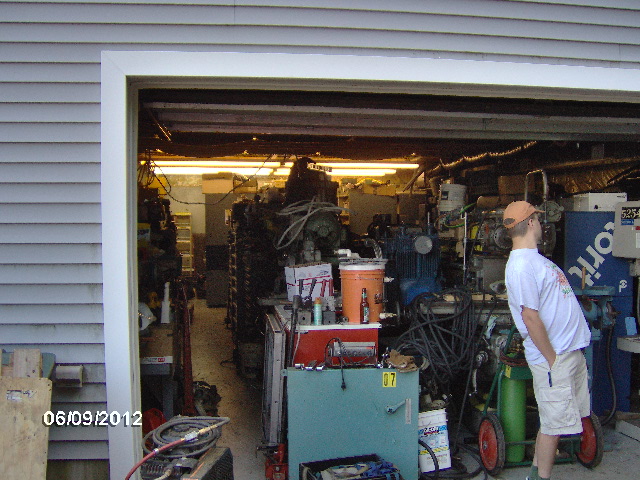
Dave is actually making great strides to make the shop functional. For many years there was no path inside. Something had to come out before anything, including people, could go in. Now there is a big horseshoe path that makes it 90% of the way around. You can just make out the library style traveling shelves in the far back.
Upstairs is the wood shop, still in progress of installing drywall and electrical service. The one stipulation when they built the house was that the shop could not be bigger than the house. It's not, barely.


It's a guy thing.
The party was fun. Good food, bounce house and lots of activities for the kids, including piñata and air cannon demos.
Last Wednesday was Yvette's and my 13th wedding anniversary, so yesterday we spent the day together (mostly) enjoying lunch, a movie and dinner out, so also no work on the camper.
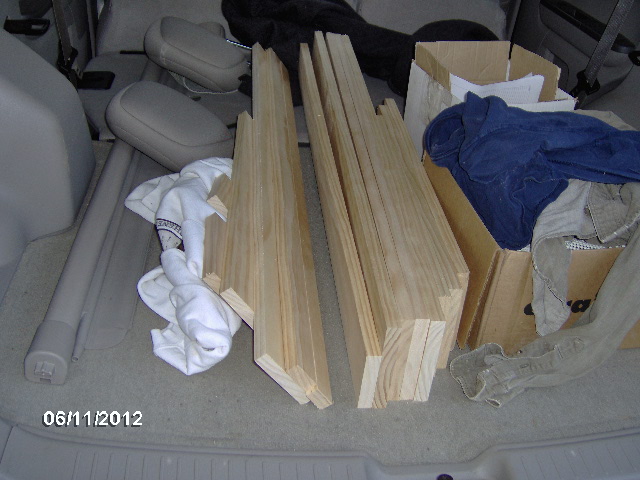
Tonight I ran out after work and got a sheet of 1/2 inch (15/32) sanded B/C fir ply to use for the floor of the tongue box and the galley counter underlay. Had them rough cut it in their panel saw so that I could get it (almost) into the hatch of the Escape. Had to bungee the hatch closed. I hate putting big pieces of ply back there. The 4 ft width is just doable but always seems to scratch a panel, or in this case snag the seatbelt. Oh well, guess they don't stay new forever.
Also got 4 sticks of 1x6 x 8 ft select (knot free) pine to build the gun locker frame and tongue box bulkhead. Picked out some rubber isolation mounts to go between the floor of the tongue box and trailer. Need to make a slight adjustment for the added height of the mounts, but went ahead and cut all of the locker frame parts to length. Ripped the "cap" and "shed" to a miter angle where they will butt to form the slope on the top of the tongue box just after it penetrates the front wall (the top of the locker is flat where it penetrates the wall, but then transitions to a 10 deg slope to shed rainwater). Clear as mud, right? Keep watching, you will see eventually.
I didn't have the camera with me, but here is the result, just to prove it really happened.
Build expenses are at $3500.
Rover Mike called today to work out a few details. I had asked him to rip all of my 1x and 2x floor, wall and cabinet structural members from 2x10 DF, but was concerned that any knots would affect yield. He thought he might have select cedar in stock, or could order select pine, but wasn't sure if I was ready for the cost. How does Big Mike's quote go? "The quality is remembered long after the price is forgotten, so build your teardrop with the best materials." No time to mess around with crap knotty lumber. The time and extra material spent working around crap lumber must be damn near just using the good stuff from the beginning.
My boat restoring friend Dale called to encourage me to use West Systems epoxies, said he had really good results using it. Hmm.


 made that mistake... a few times


