Michael, I guess I’m confused. The DuPont DTM (Direct to Metal) epoxy primer is a non-sanding primer (so long as you recoat in the allotted time). From reading the application notes I got the impression that it is more of a sealer coat and not a sanding filler. Are you saying that goes over the weave filler urethane or before it?
I looked to see if I could find where you previously recommended a filler primer, but I couldn’t find the reference.
Anyway, there is still plenty of progress to be made. How often have you heard this? I got everything done today that I had planned to get done! Hot here lately so I took a cue from Noseoil and got out early today to beat some of the heat.
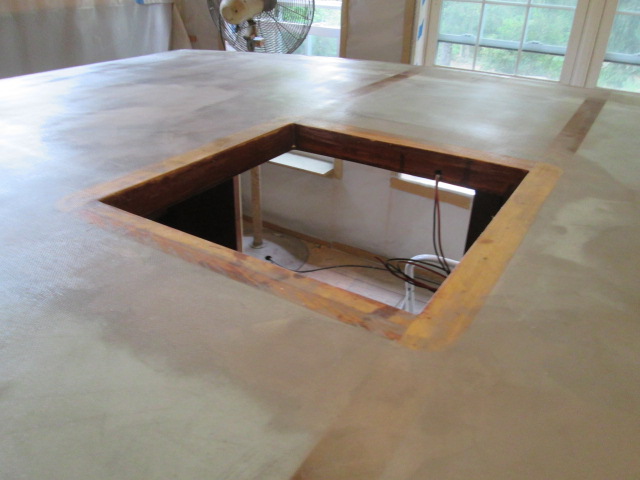
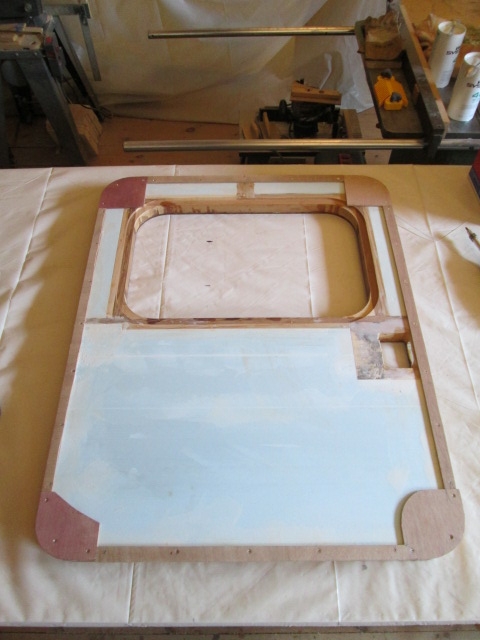
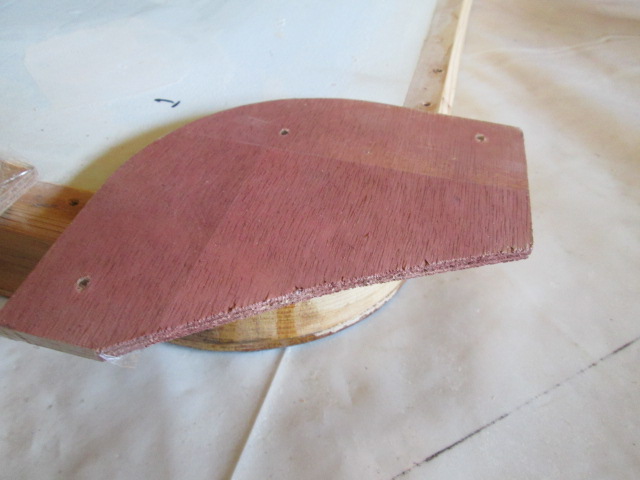
But first, let’s get caught up with pics from earlier in the week. As mentioned, I popped the church blocks off of the tail light nacelles and trimmed the excess skirts off using the serrated steak knife, cutting just below the slightly thicker area where a bead of epoxy formed on the back side of the glass at the edge of the foam. It was easier to saw thru just the saturated weave leaving a slightly thicker lip at the edge, about 1/16 inch proud that needed to be sanded back to the foam. Here you can see the separated pieces. I used the razor knife to cut thru the middle of the glass over the center hole, first lengthwise and then across. This relieved the tension in the skin, allowing it to flex enough for the thickness of the blade in order to cut flush around the inside edge of the embedded ply flange.
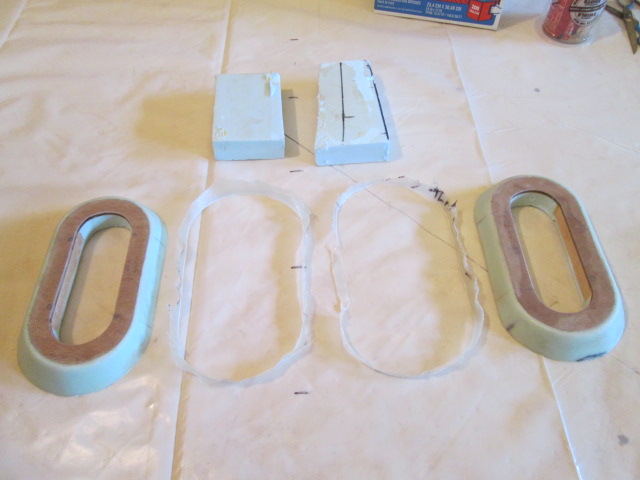
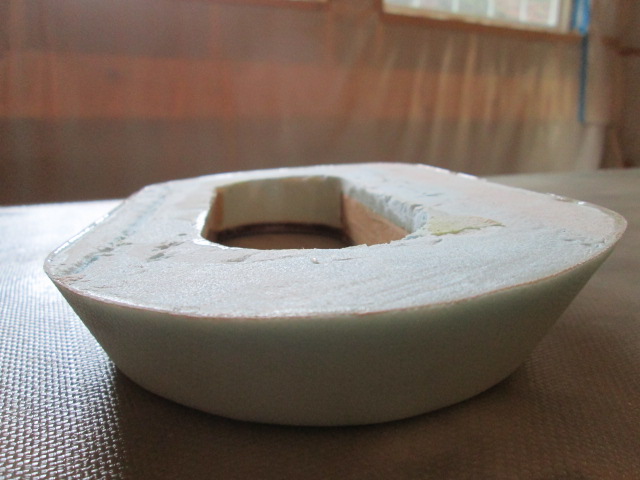
Here’s the “front” (under) side after sanding the edge of the glass back flush to the foam. This side will get glued to the hatch with thickened epoxy.
Here’s one all cleaned up and ready to go.
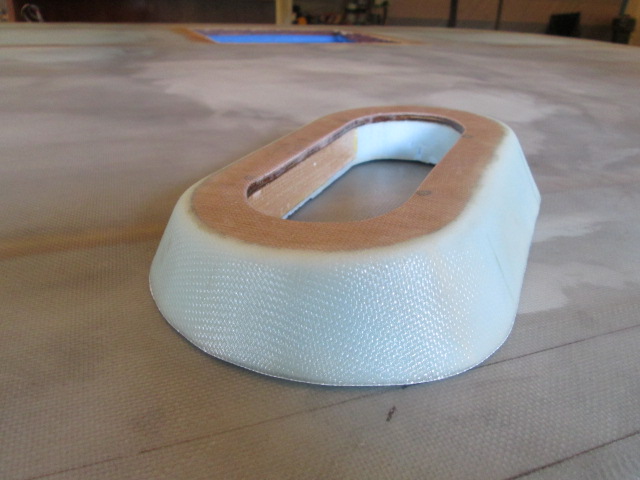
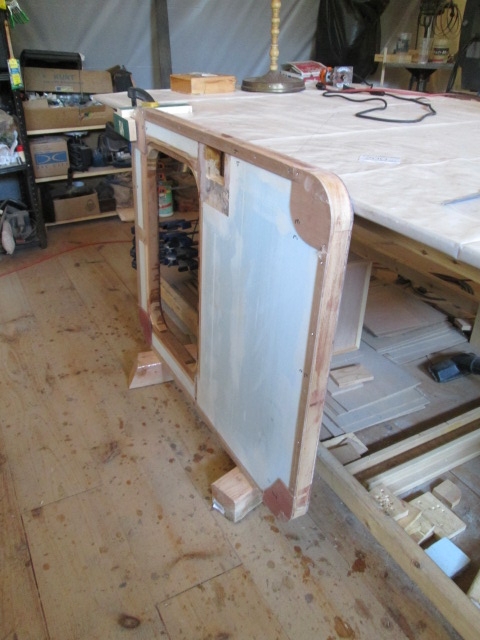
The hatch was in an unfavorable position for taking a mockup picture, but at least you can see how it will fit the curve of the hatch. The prospective for this would be looking up from the ground from just behind the street side of the hatch bumper, left tail light (the hatch is laying on the floor on its curb side edge).

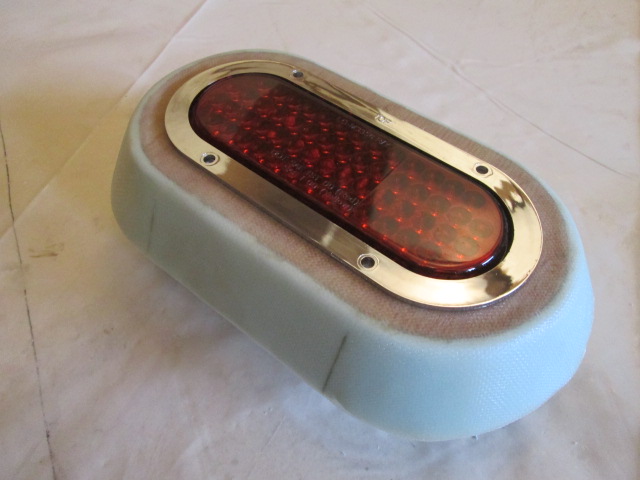
Just double checking that the tail light still fits.
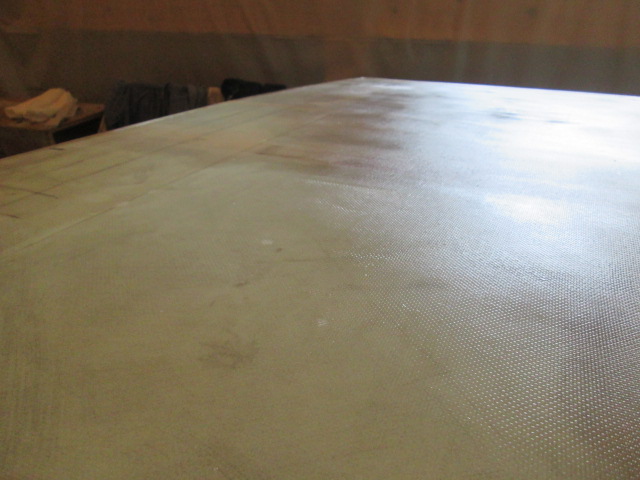
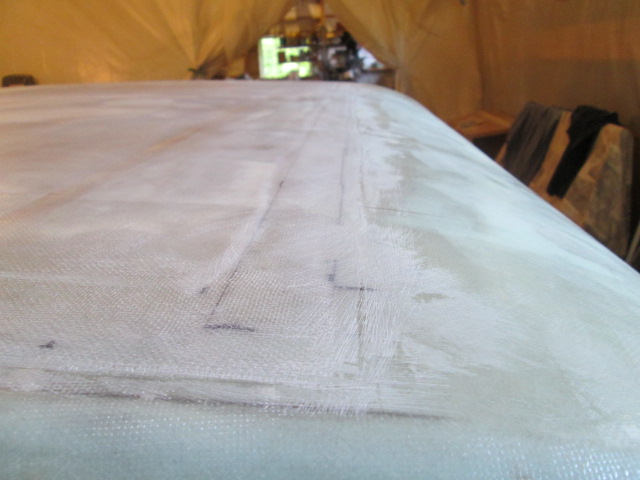
Here’s the roof vent opening with the FG all trimmed out, after scrapping a few drips and given a light sanding to knock the edge off.
This is the weave texture to the left of the roof vent as seen from the galley. If you look real close you might be able to make out 2 or 3 small light dots; fish eyes. Just ignore them.
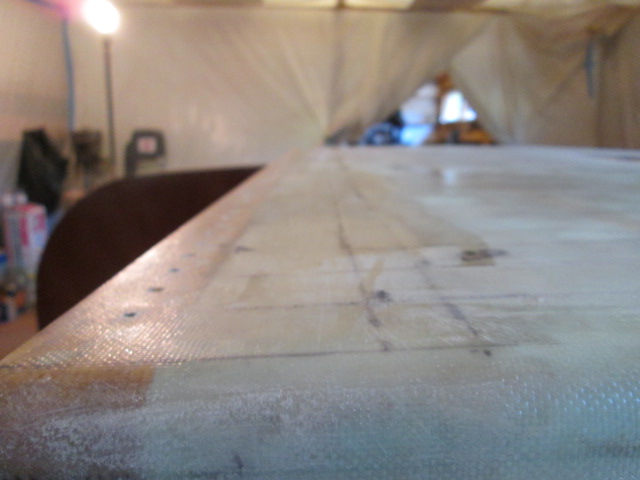
Here’s a shot looking forward along the curb side roof “zipper”.
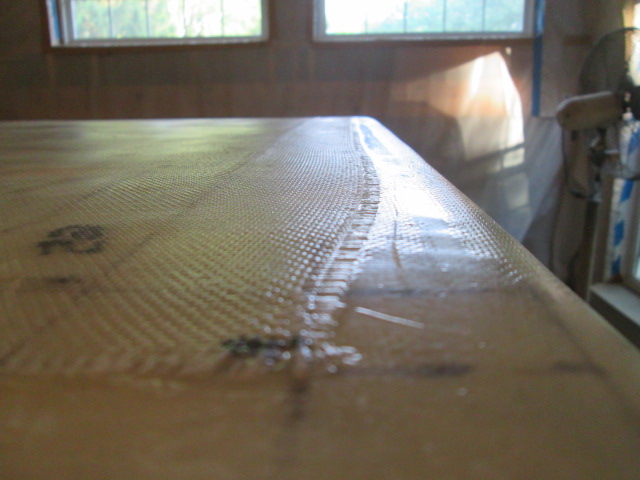
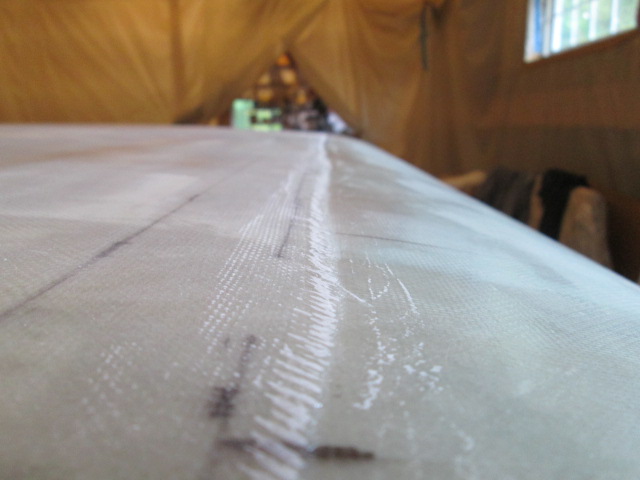
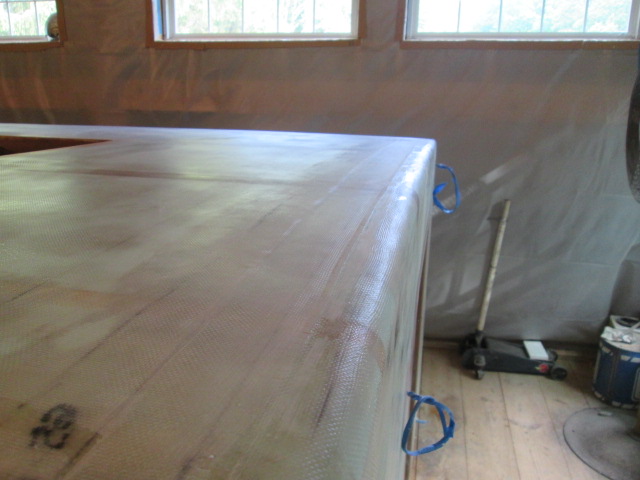
Here’s the street side after scraping and sanding with 36 grit on the medium block.
Same thing, street side looking toward the rear.
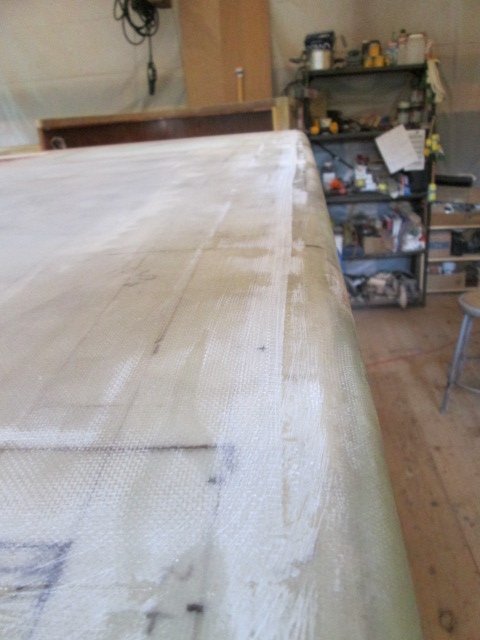
Looking from the curb side across the lap between the roof glass and front radius after scraping the zipper nibs, but before sanding.
I had switched the hardener pump over to the smaller can of slow hardener, so when I mixed up the fast wet out for the tail light nacelles I just tried to pour from the can of fast hardener (using the digital scale). I got a little too much hardener, so I had to add some resin to get the ratio adjusted back again. That left me with a bit of extra, so I gave the curb side door surround a coating. This really sealed the sill and corner between the jamb and the seal flange well. I could have done a better job filling all of the weave, especially higher up, so will have to hit some areas again next time, but you can see that the sill is well sealed.
Yesterday (Friday) I remembered to wash the amine off, scuffed the hinge side and started getting plastic set up to wet out some strips to true up the jamb. I decided to measure the opening to get a base line first. When we first discovered the uneven gap I had put the small level from my combination square up and it seemed to indicate that it was the jamb that was out, not the door. Imagine my surprise when the door opening measured the same top and bottom. Sure enough, when I measured the door I found that it was the culprit. Caught that just in time; measured twice, three times.
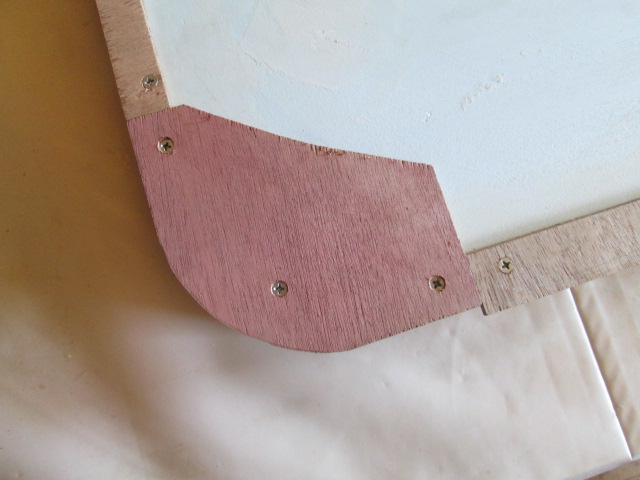
So the fix will be to lay a few extra strips of the 2 inch glass tape in a stagger step arrangement along the offending edge of the door. But since it will all be glass/epoxy anyway, it made more sense to me to do the flox corners on the outside edges of the door first, and then lay the built up “shim” over it. So the next thing to do was route the beveled edges on the doors. Here you can see them leaning face to face up against the street side wall, looking down toward the floor along the chamfers.
That brings us to today, Saturday. I dug out the same strips of 5mm ply that I had used for the flox dam around the door openings. It was easier to strip the old packing tape off, taking the excess beads and blobs of epoxy from the previous use with it, than it would have been to pick off each little piece. These were already about the correct length and already had screw holes in them. With the existing screw holes off to one edge it just made sense to align the screws to the wood frame and let the strips hang out over the edges of the door, to be trimmed with the router. Most of the corner pieces were found in the scrap bin, presumable the cutouts from the flox dam corners used on the door surround, though I did end up remaking two of them. This is the dry fit prior to trimming.
At this point the outside was somewhat random still.
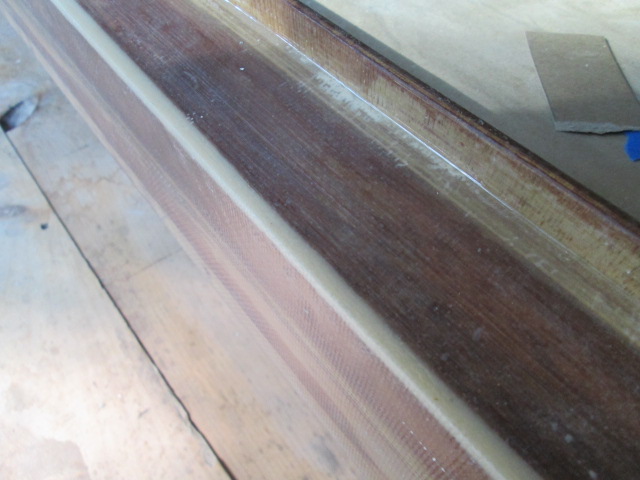
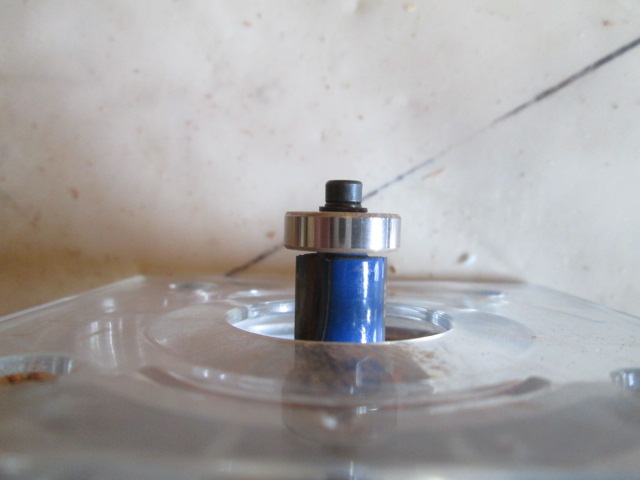
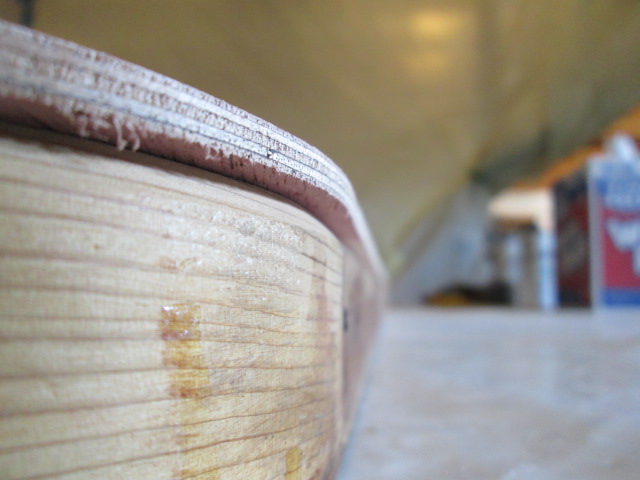
From my experience with the 403 filler, it tends to go on a little jagged, and can pull away with the squeegee action, or perhaps suck down some as the resin soaks into the substrate, so there can be plenty of low spots after the cure. I decided to trim the dam proud of the door edge to allow a little extra flox to build up and be trimmed off later; hopefully with no pocks. To get a uniform yet offset trim I swapped out the 1/2 inch bearing from the flush cutting bit with a 5/8 inch bearing from my rabbeting bit set, which will leave a 1/16 inch lip.
Here is the flox dam and beveled edge of the door after running the router around.
After match marking all of the pieces, I took them back off again and knocked the frizzies off with a quick swipe of the sanding block to get them ready for the packing tape release treatment.

Here you can just see the contrast with the packing tape, which wraps over the edge of the dam.
As I was screwing the dam pieces back onto the door I suddenly realized that I may have fit them to the curb side door; the crooked one, meaning that they might not fit the straight door that well. I was relieved to find that I was working with the street side door and that when I reuse them on the curb side door they won’t come up short. In hindsight it really wouldn’t have mattered that much.
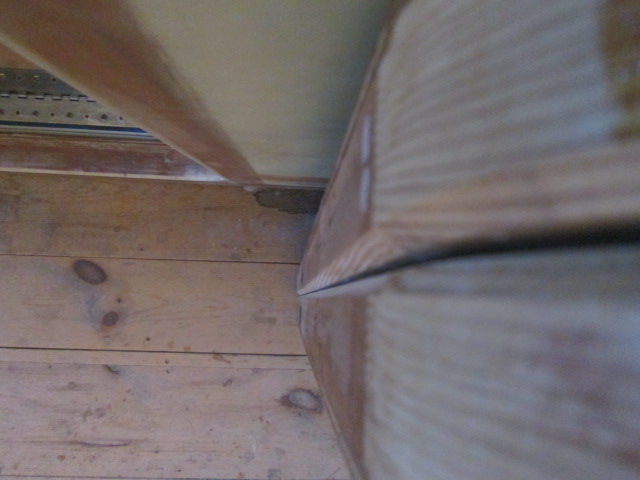
I wanted to “work down” on the edges of the doors when applying the flox, but on their sides they are shorter than the work bench, so I put some packing tape on a couple of scrap 4x4 blocks to boost them up so that they can lean against the edge of the bench top.
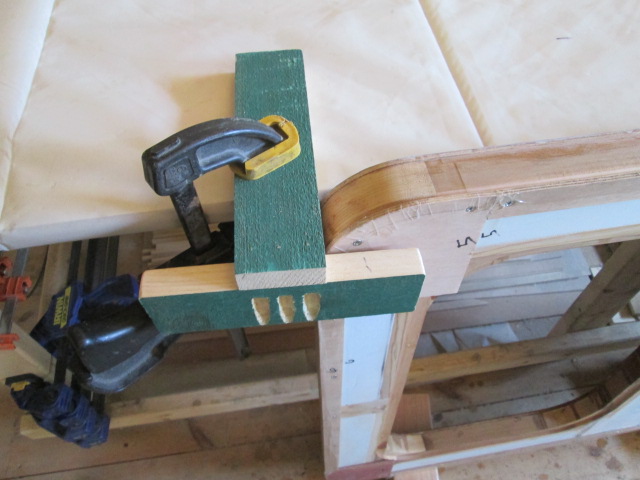
I clamped that same ‘T’ rig that I had used for marking the roof glass layout (...and reused for propping up the roll of glass cloth on the bench) to act as a loose dog clamp... just a parking stall to keep the door from falling or being knocked over, but not actually clamped... so that I could flip it around at will without having to reset any clamps with gooey gloves during the application.
Next I went around the outside edge of the door scuffing and sanding any of the polyurethane that had migrated from the inside skin.
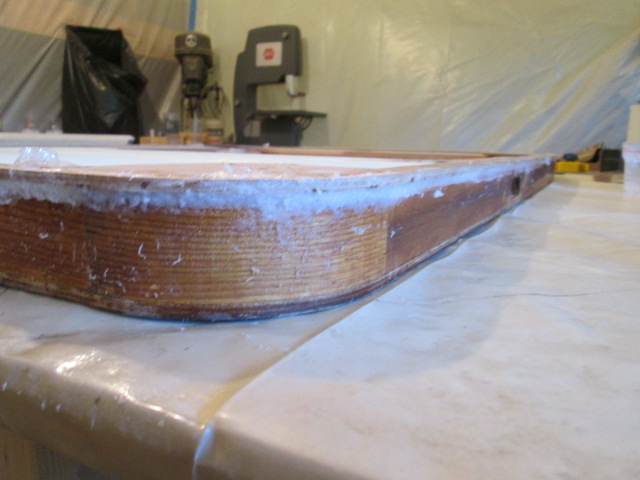
It has been being pretty hot round here the last few days getting up into the 90’s in the loft. By this time in the day it was 91 deg F so I took a break in front of the fan to replenish fluids and collect myself. I wasn’t looking forward to suiting up. In fact, once I suited up I switched over and finished sanding the roof edge zippers wanting to get that out of the way before stinking the joint up (not that it matters much, because both operations require the respirator). For continuity I will jump ahead and show the filled edge with the door laying down on the bench. I figured it would be less likely to slump in this position. Kind of ugly at the moment, but should clean up nicely.
Having a little filler left over, I squeegeed it along the freshly sanded rear edge of the roof glass. Even though I had sanded the lap relatively fair, I hadn’t wanted to burn thru the glass, so just a thin skim of filler. No need to waste it.
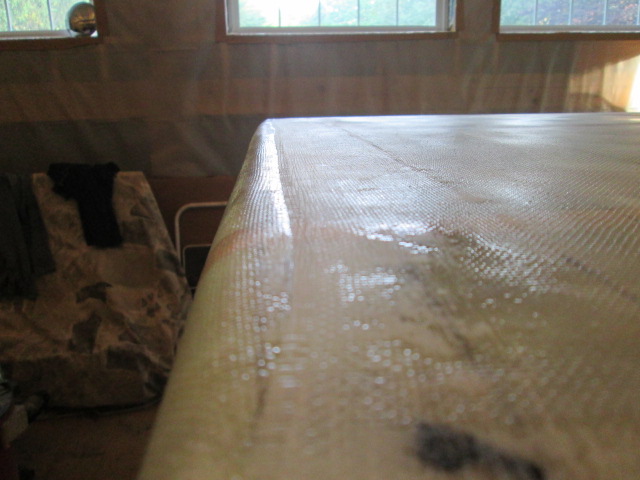
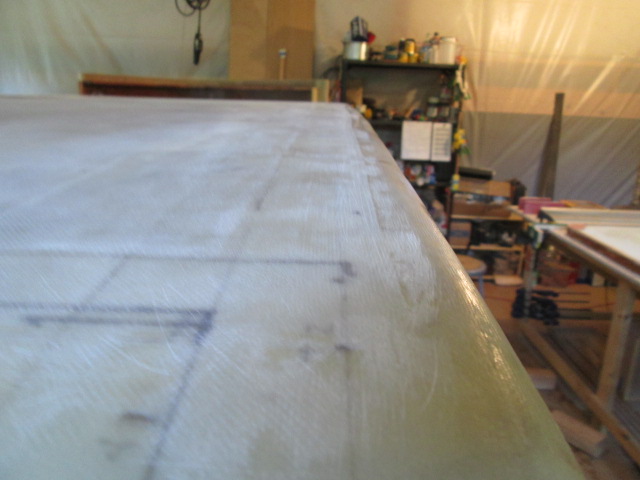
Compared to the prior picture of the curb side zipper, after sanding to near fair.
For most of the roof edge fairing work I used both the medium block with 36 grit and the small hand block with 60 grit (the small block used on edge could get the edge of the top ply without breaking down the bump from the first ply). However, for the lap across the front roof radius, after the initial knock down with the 36 grit I switched to the long board working in short opposing diagonal strokes (I think the long board has 100 grit on it at the moment). There is still a little low spot there that kind of wanders across the front, but I’d rather build this up some more with a bit of fairing filler, than burn thru.
And a look back along the street side of the roof after sanding. Again, just a little fairing filler, the 410 mixed with epoxy, will finish this off and get it ready for primer.
Train. Rolling.


 Otherwise if you have to sand it , it’s like sanding rubber and gums up the paper and resists a smooth finish . Once Latex fully cures , it sands just as easily as anything else ... Take Latex primer for instance .... Everybody wants to pile it on and then immediately sand it flush .....
 Remember “a Starry Night “ was painted on a burlap sack ... ( I saw this up close )


