It felt like another productive day today; about 6 hrs more.
I started by doing a few more little touchups on the galley wall edges and transition areas between walls and floor using the 3min epoxy and 410 fairing filler (no pics).
While that was kicking off I masked the insides of the galley wall and the back of the floor hard edge trim.
Then I worked on the hatch clearance light nacelles. Just a reminder, the hatch clearance light nacelles will be mounted across the hatch near the top of the upper radius; one near either side and the three light grouping near the middle.
Sometime back I had made small templates for the hatch radius profile that would be used to cut the bottoms of the foam blocks for these nacelles. The nacelles streamline the “blisters” for the surface mount lights and give the lights a rearward facing vertical surface so that the lens is oriented with the light beam facing rearward, not up.
Since I have had some trouble with the hot wire knife blowing out or dragging thru feathered edges strangely, I decided to use the templates as a guide for a coping saw instead. This little fixture worked pretty well once I dialed it in (i.e. the first one shown here was the worst of the lot, and the last of five came out the nicest… as is typical with a learning curve). The blank is the part in the clamps, upside down, shown here with the cut off flipped upright.
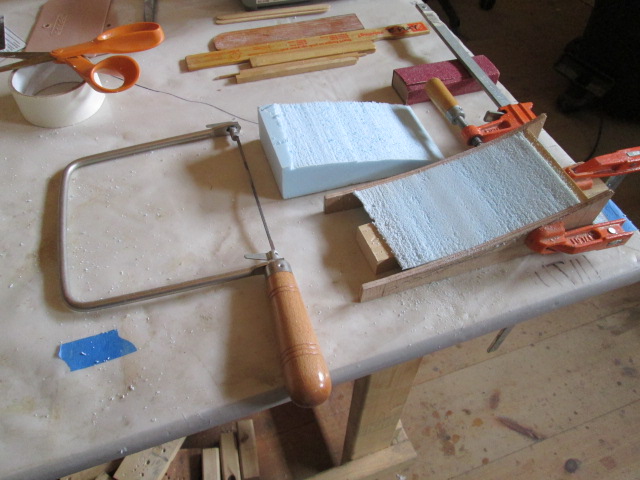
Before removing the nacelle blank from the fixture I used the sanding block a bit to knock down any of the high stuff where the saw may have strayed.
The cut away piece became a work buck to support the blank while sanding the corner radii to match the rear facing mounting block.
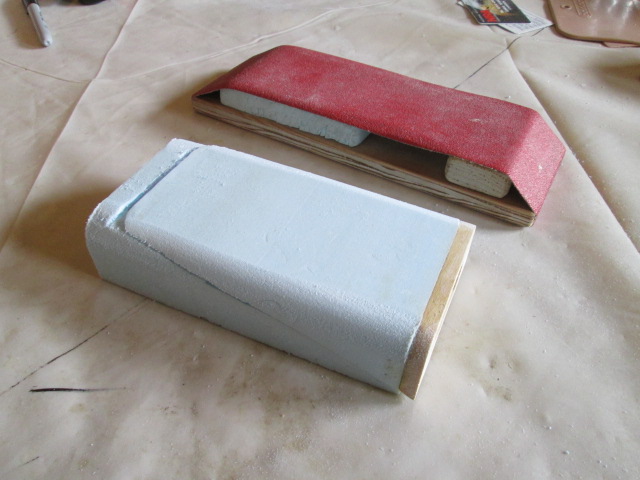
Here’s the finished blank. Top.
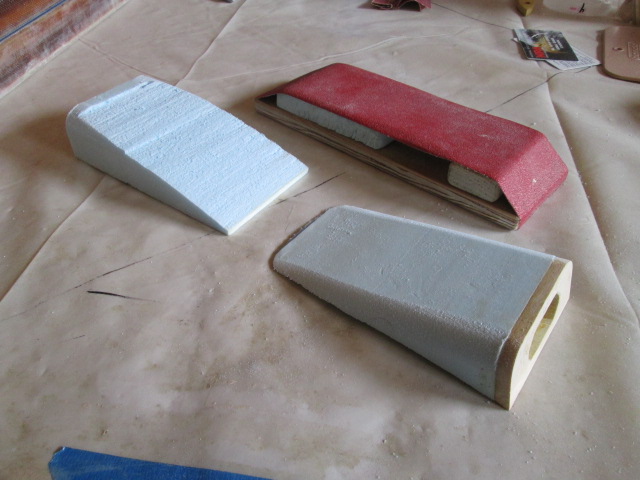
Bottom.
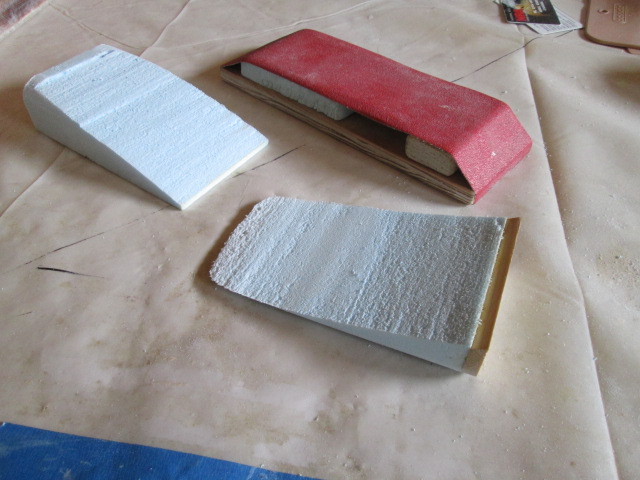
You can’t really see it here in the pic, but I covered the buck with packing tape to act as a release agent so that the buck could be used to support the thin flap of foam during FG lay up.
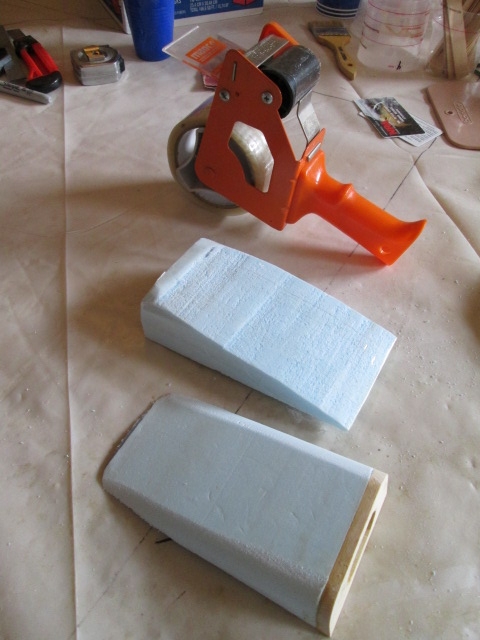
Then I used double sticky tape to pair the blanks up with their bucks. In the end they all came out similar enough that when I bond them to the hatch and fillet around their perimeters they should all look about the same without too much scrutiny.
Next it was time to start mixing epoxy. I mixed up and applied several small one pump batches of epoxy using the fast hardener and brushed it onto the wall edges. I took care to wet the edge at the step well without allowing too much of a drippy buildup; as well as trying to make sure that all plywood edges were well soaked. I used the fast hardener because I wanted to try and get two coats and, despite the heat, it seemed like I could work quickly enough with the small batches. First coat.
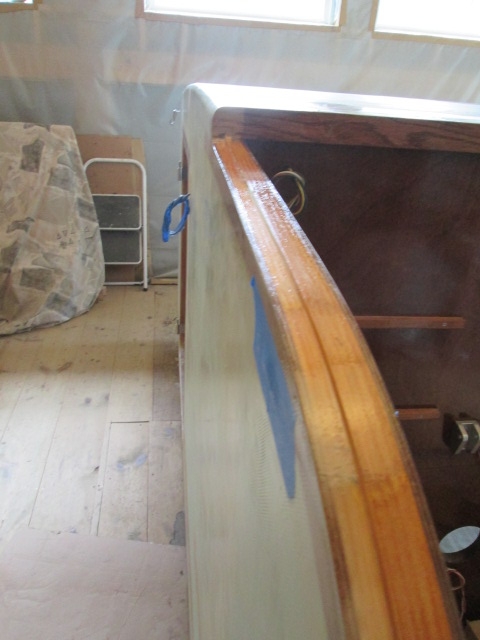
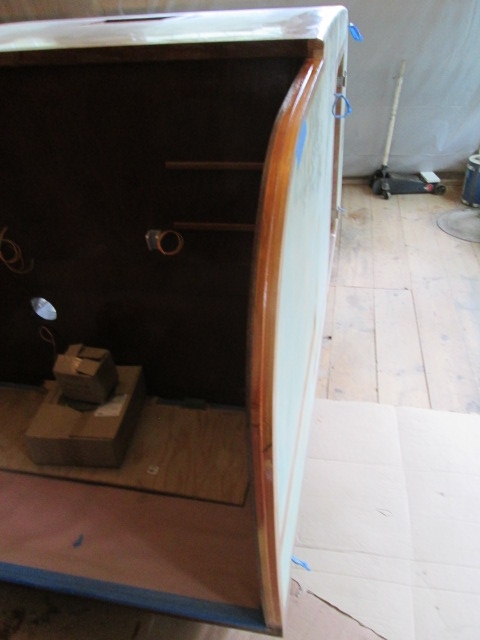
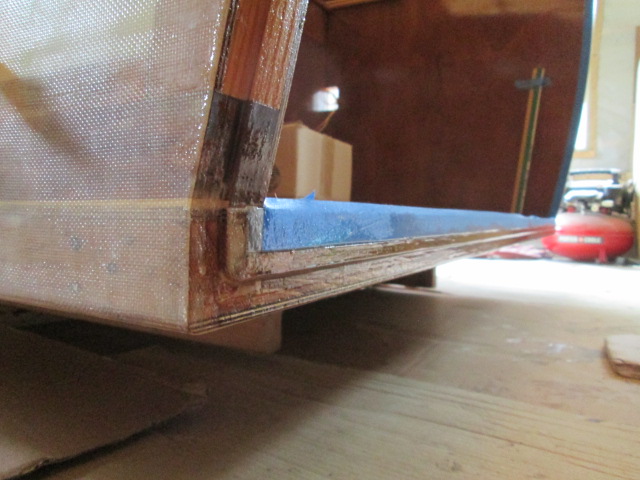
The area along the floor looks kind of ka-ka due to all of the motely colors and previous operations, but I promise this will look really nice once the black trim paint ties everything back into the color scheme. This is all about water proofing at the moment. (I wish I had listened to the early advisers and just started using epoxy from the beginning. As it is now I am sanding some areas that I had previously finished with poly. Not ideal, but should be well sealed despite.)
I had a little wet left over, so I thickened it with the 410 and smeared it along the glass seam on the front roof to front wall overlap.
While the walls were flashing off I dug into the bag of scrape glass cloth and cut enough bias swatches to do 2 plies on each of the nacelles, and just kept mixing small batches of neat epoxy. I brushed a wet coat on the wood and foam; did the first ply dry on wet; added some more wet as I daubed the first ply down; added the second ply dry; and then daubed it down without adding much more wet. It seemed to work out really well with just the right amount of wet.
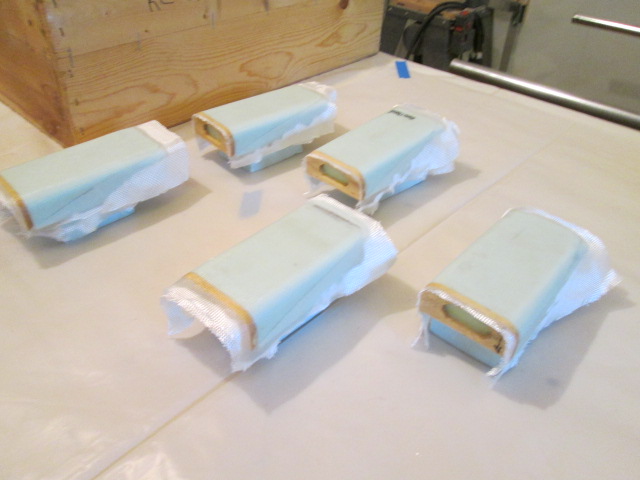
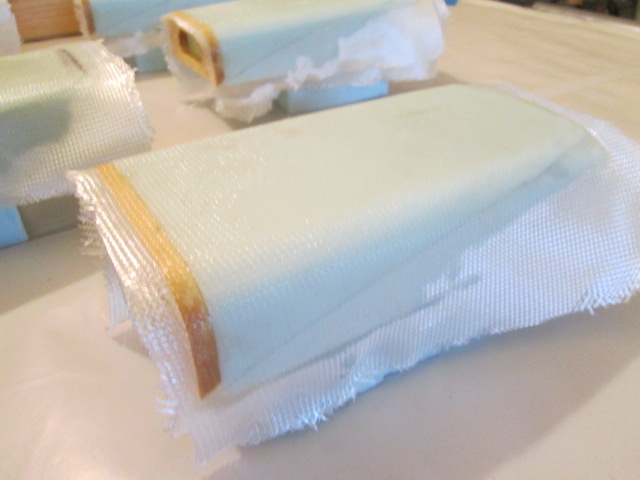
That worked out well timing wise as the wall edges had tacked up nicely by this time. So I went back to the second coat there starting with the tailings from the nacelle wet out; and just kept mixing small one pump batches. Second coat.
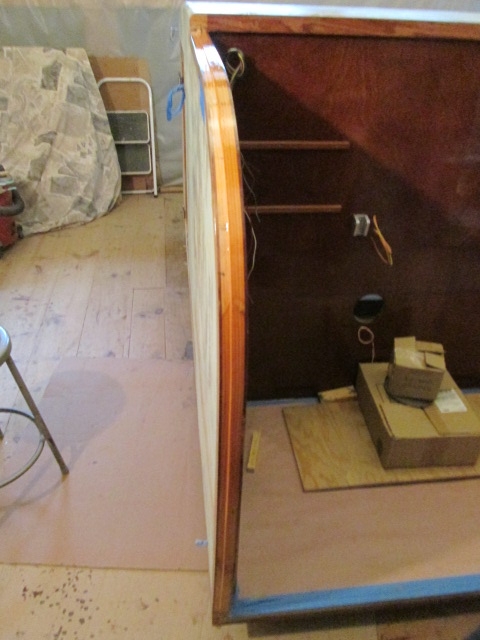
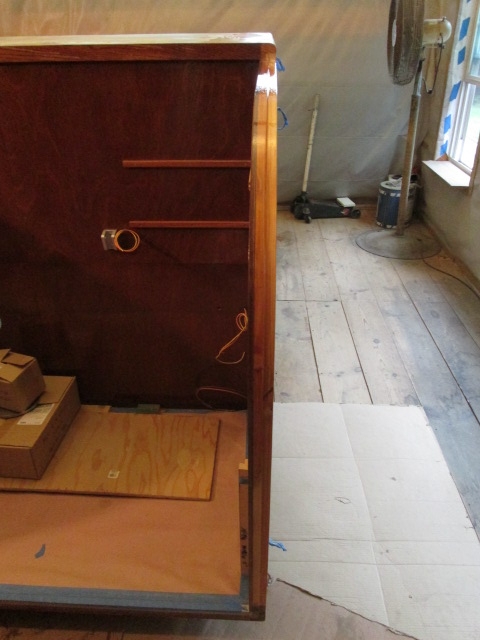
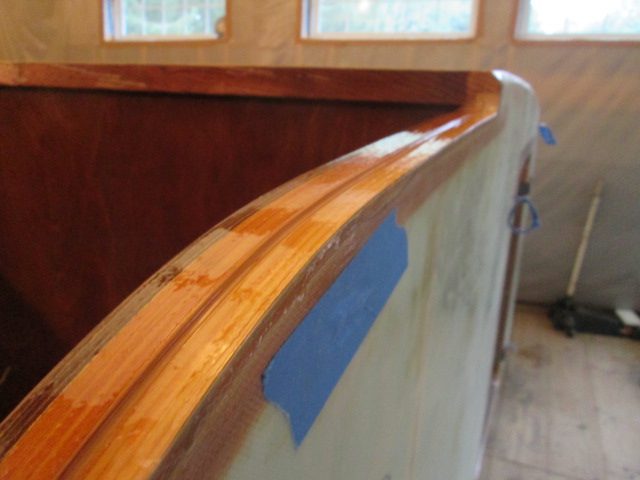
Once this cures, gets washed and sanded I’ll decide if it needs another coat before paint.
I had about a foot or 18 inches left to do when I ran out of wet, so I did one more one pump batch. That left enough over that I thickened it with the 410 and smeared it all over the rear of the roof, filling the weave over most of that spar bay from the area by the hinge spar that I had already started to fair all the way to the roof fan opening.
Then I (…finely wised up and…) peeled the masking tape back off of the galley walls and floor edge while the epoxy was still just tacky; no poly finish was injured in the making of this post.




 ) between the hinge spars, I needed to use a temporary stop to prevent cutting into the spar, and yet still have a nice transition at the tangent point of the radius block. Since my ultimate depth on the rabbet would be 1/8 inch that would have been the ideal stop thickness, but I hedged my bet and used a piece of the 5mm trimmed to fit the existing corner block. Here you can see how that worked on the first of four passes.
