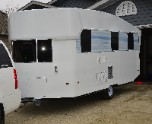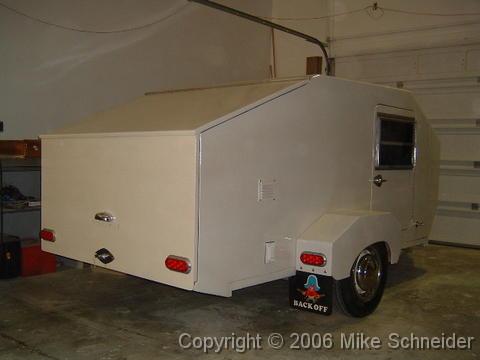
The Poet Creek Express - Foamie Hybrid
Moderator: eaglesdare
Re: The Poet Creek Express - Foamie Hybrid
The windows look nice KC. Do you have a sketch or could you explain how your home made windows will work? I am asking because I will be doing my windows. Thanks. 

-

OP827 - Donating Member
- Posts: 1596
- Images: 414
- Joined: Fri Apr 25, 2014 7:27 pm
- Location: Bruce County Ontario
Re: The Poet Creek Express - Foamie Hybrid
OP, the windows aren't homemade, just the doors. The windows look a little different than most because they are a flush mount rimless style made by Hehr. I went to the extra effort of rabbeting them into the door so that they truly are a flush mount on the outside, but that pushed the inside of the case frame in past the inside surface of the inner door skin; hence the need for the shims.
The provided 'Z'-shaped trim flanges (clamp rings that screw onto the inner case of the window and clamp it into the door from the inside) would have only worked with a much thicker door, or a thinner door if inverted. By making these shims just the right thickness I can make new trim flanges from flat stainless steel sheet and just get the needed squeeze on putty tape that will go in the recess under the window flange outside. (Actually, I won't be making the trim flanges personally; I hope to have them laser cut).
I'll take some better pics on Monday, but trying to describe it, the windows have an aluminum case and operating flange for the opening part, but the glass is adhered flat on these frame parts without a separate trim or gasket around the outside edge of the glass. The edge of the glass has a sanded finish like you might find on a glass table top. The thin flange that is behind the glass beds into the putty, so all you see outside is the glass. If I were to just surface mount them w/o the rabbet around the RO they would sit something like 1/4 to 5/16 (or something like that) proud of the surface and the edge of the glass could be subject to chips and scrapes from incidental contact. So I decided to recess mount them so that the outside face of the glass is flush/flat/fair to the outer face of the door skin.
I think they are in the 6400 series of Hehr's line up, but I will confirm that as well. The lower part of the glass tips out at the bottom with a hand crank mechanism and they have a built in screen. The top part of the glass is fixed.
Last edited by KCStudly on Fri Apr 08, 2022 10:35 pm, edited 2 times in total.
KC
My Build: The Poet Creek Express Hybrid Foamie
Poet Creek Or Bust
Engineering the TLAR way - "That Looks About Right"
TnTTT ORIGINAL 200A LANTERN CLUB = "The 200A Gang"
Green Lantern Corpsmen
My Build: The Poet Creek Express Hybrid Foamie
Poet Creek Or Bust
Engineering the TLAR way - "That Looks About Right"
TnTTT ORIGINAL 200A LANTERN CLUB = "The 200A Gang"
Green Lantern Corpsmen
-

KCStudly - Donating Member
- Posts: 9640
- Images: 8169
- Joined: Mon Feb 06, 2012 10:18 pm
- Location: Southeastern CT, USA


