Wow, thanks everyone for the kind comments and support. It is reassuring to know that you all are still watching and enjoying.
Last night when I got home I stashed the maple for the face frames in my basement for now (for temperature stability).
This morning after I slept in a bit and Yvette got back from her morning workout (Jazzercise) we had a nice breakfast out at our favorite diner
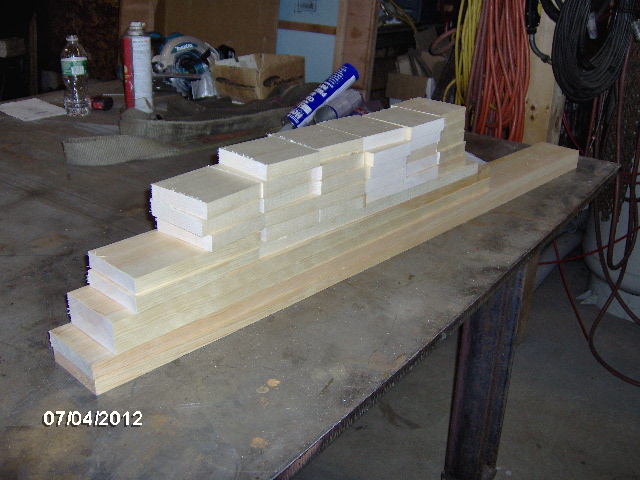
Somewhere In Time Then took the 1x4 white pine out to Mecca and cut all of the wall blocking (at least the ones I have worked out so far). There's a couple at 46" for the galley bulkhead, a couple at 30" for the fenders, a couple at 7 inches for the porch lights, and 14 per side at 3-1/2" for all of the ends of the cabinet "spars" or rails that span from wall to wall (such as the top and bottom of the face frames and the back of the cabinet floor ledgers).
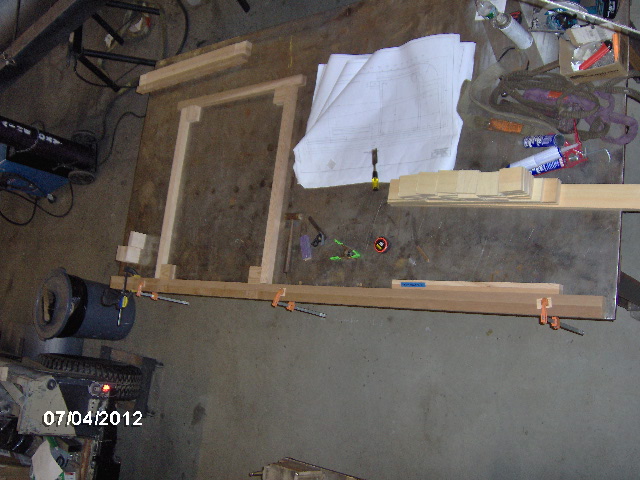
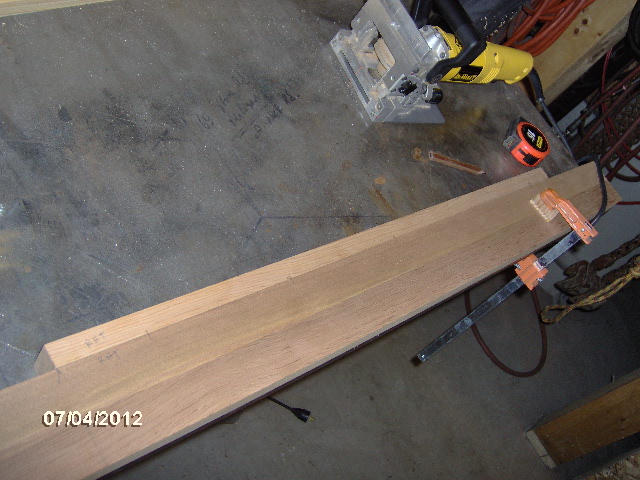
Then I switched to laying out and dry fitting the wall sills and door surround frames. The second wall sill is in the foreground.

Here's a longer shot from up on the stairs. You can see the extra 1x2 block dry fit back in the galley area. This is for the ice chest glides to screw into; the hole pattern on the glides I have selected would have been marginal in just the 2x2 sill. The sill was left long and will eventually be trimmed to match the curved laminated wall cap rails that I built earlier.
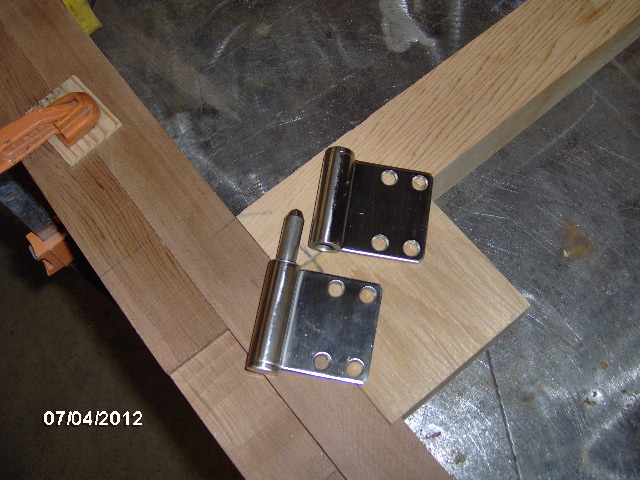
Here are the stainless steel door hinges that I mentioned previously.
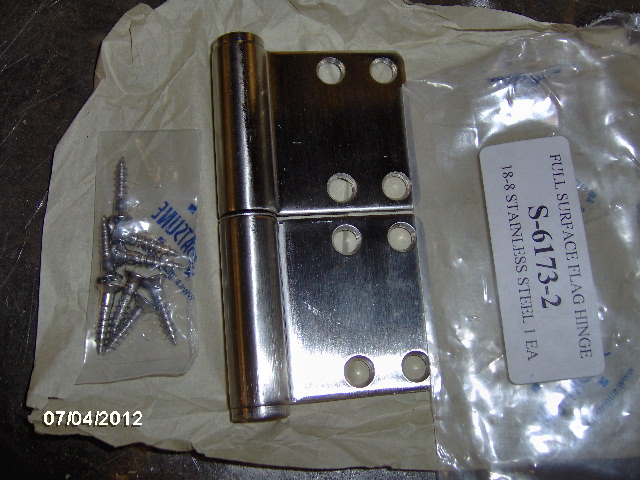
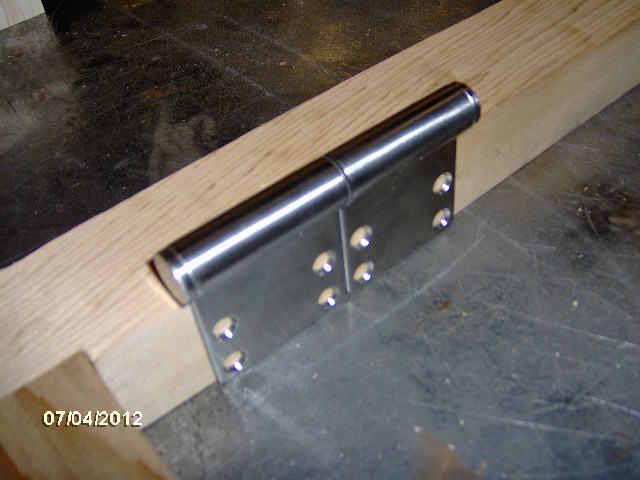
The screws go into the jambs and are inaccessible when the door is closed, adding security, and, just like the Jeep, they lift off.
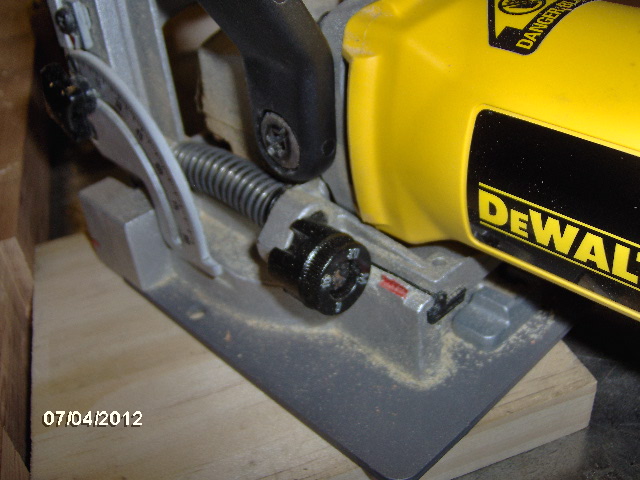
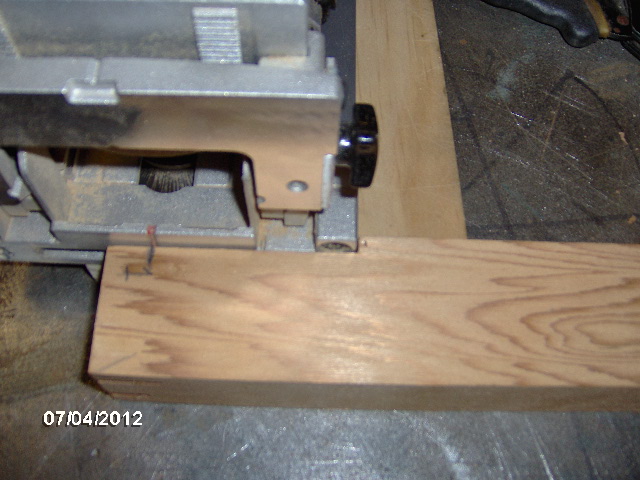
So after dry fitting the door surround, which involved some fine work with the chisel making sure all of the corner blocks fit tight and the joints would pull up tight, then checking that it would come up square (it did), and laying out the biscuit locations, I had to figure out how to make everything work with the width of the biscuit slot cutter shoe. It was wider than the 3-1/2 inch wide dado's in the sill. So the cutter has a depth setting adjustment that accommodates 'M', '20', '10' and '0' size biscuits. The little dial on the side of the jointer has little half round slots in it of varying length that set the depth that the blade can extend out of the housing. By measuring the lengths of the slots I could tell that the difference between the 'M' and '0' was the same 1/4 inch as the dado. So if I set the jointer on the 'M' setting for the slot at the bottom of the dado it would come out the same as the '0' setting on the corner block. Here's a pic.

Here's the adjuster knob on the jointer. If you look closely you can see the slots on the knob that receive the depth control rod on the jointer fence.
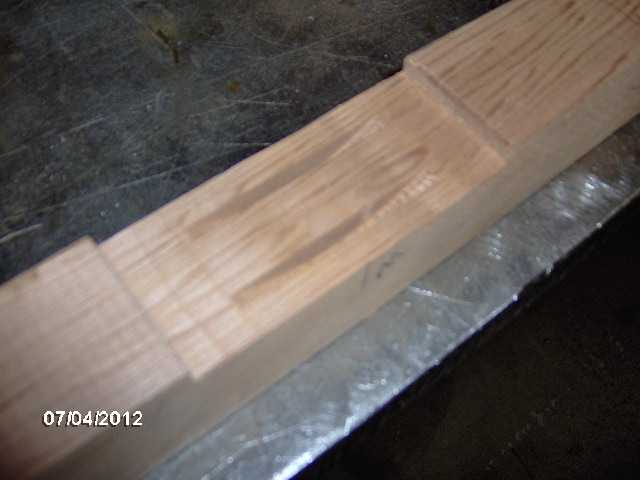
And here are the resulting slots in the wall sill dado.
All of the biscuit joints were made using the same stacked technique as before, first cutting off of the table at 3/8 inch, then adding the 3/4 inch spacer and cutting another slot on top. So there are two biscuits at each location.
For the biscuits in the rabbets in the tops and bottoms of the door jambs I used nice fat '20' size biscuits and just held the jointer shoe into the notch of the rabbet and plunged.
This meant that the slot ran out the end, so I had to cut the biscuits down using the "Bob Vila" cutters. The Bob Vila cutters have a long replaceable razor blade on one jaw and a soft plastic pad on the other. They were pitched in television ads for Sears by Bob Vila and make great cutters for making square cuts in poly tubing and small diameter hose, shrink wrap, etc. They also work well for cutting biscuits.

This is Karl's pair, but I have a set at work that I also use often. You can also see the slots cut into the end of the jamb, aligned to the outside edge. This corresponds to slots that I cut in the wall sill and door header next to the corner blocks. So each corner block/jamb end gets 6 biscuits; two stacked in the sill dado and adjoining corner block; two cut down stacked in the corner block to jamb; and two stacked in the end of the jamb mating with the sill or header.
I want these door surrounds to be solid, square and stable. I want the seals to run true and to seal well.
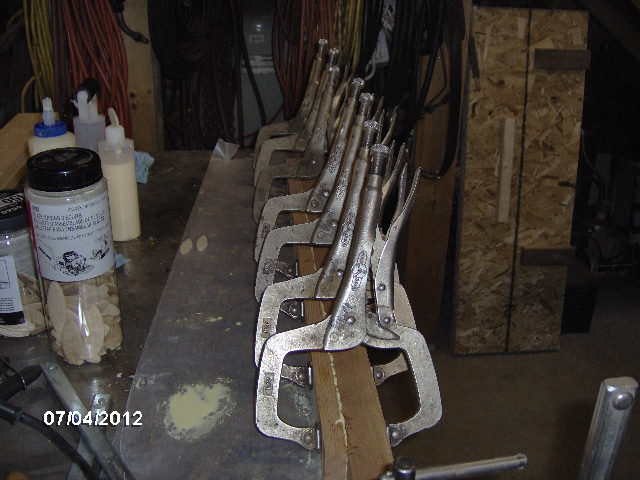
Measured and dry fit the cooler glide block, marking for double stacked biscuits every 6 inches.
Here it is glued and clamped.
And then I moved on to the door surround and glued that up.
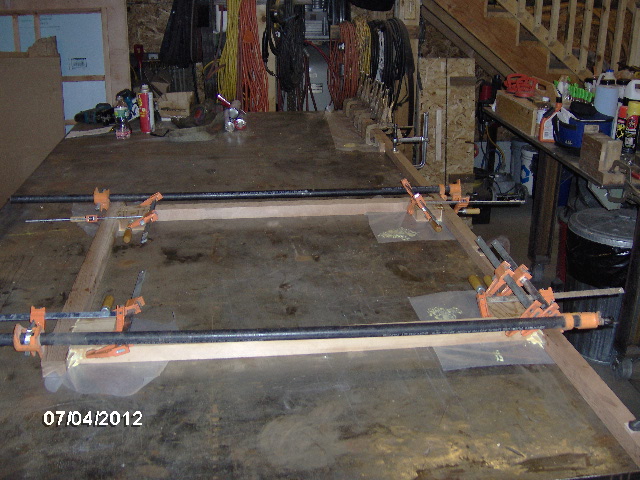

Came out within 1/32 inch on the diagonals (1/64th from square) with no outside influence or adjustment.
I owe a lot of this success and accuracy to the sawyer work that Rover Mike did. So this is a good time to shamelessly plug his business.
So that was about 5 hrs work. Jeff (the concrete artist, photographer, friend I mentioned earlier) had invited us out for food and fun. So up the road a piece we went. Had some funky locally made Watermelon Ale.

Jeff built this smoker/BBQ grill.
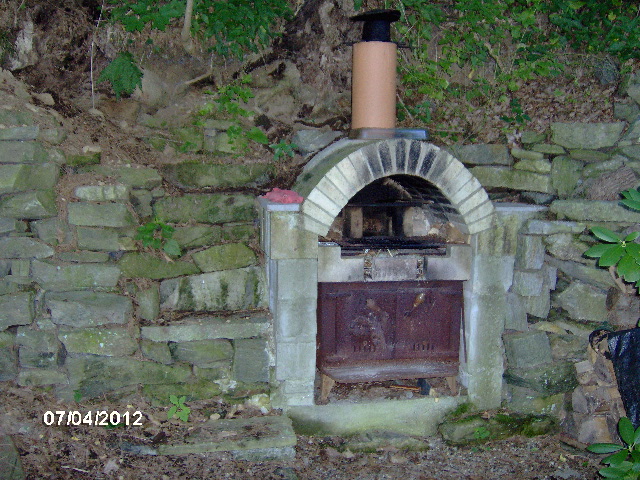
It's set into the hillside next to his "Grotto" (which is an arched stone recessed Koi fountain) with a stone patio and fire pit in front. Sorry, no pic of the Grotto. The steps on left allow him to climb up to the chimney.
The smoker has a cast iron fire box with a grill on top under an arched hood. The hood feeds the tile chimney. Jeff hangs ribs, brisket, corned beef, whatever under the chimney cap down in the flue and builds the fire in the cast iron stove fire box. When done smoking he simply shovels the coals up under the grill and can reheat or grill using the same set up.
Here's the result. Yummmm.

There was also a delicious cold orzo salad with tomato, shredded carrot, Greek olives and herbs, and brats simmered in beer with kraut and horseradish mustard on a nice soft roll. Chris (Karl's wife) brought fresh berries sliced and macerated in sugar with short cakes and whipped cream.
Had a nice visit with Jeff and his neighbors who gave me a tour of their class C Toyota RV. Box was about 6x9 plus the over cab bed, standy with range/oven, fridge, shower/potty, sofa and dinette for two. Nice little RV. They've been all over in it, from the Florida keys to Alaska, to northern Maine. A pleasant and relaxing time was had by all.


 And you save half the weight .... as with anything, it’s the Little things that add up ...
 I do appreciate the kind comments ever so much. Helps to justify the effort and time spent documenting.


