Okay, so the plan is to round over the bottom corners on the bottom rails (the long cross pieces that span between the walls of the cabin) of the cabinets, and all four (4) corners of the rails for the shelves. I'm doing this both for appearance and so that there are less sharp edges to go bump in the night.
Saturday, couple of hours of work.
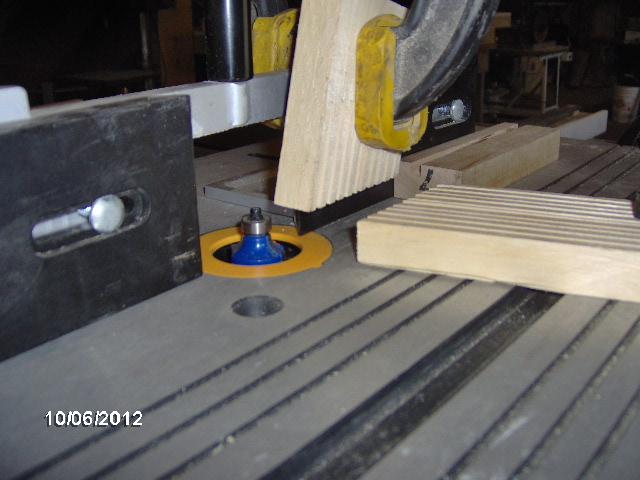
Here is the router set up in the router table using the same feather boards that I made for the table saw. Also note that the little window piece on the router fence has been removed to clear the bit.
At home I fasten the router table to a scrap of ply and then I clamp that to saw horses. I didn't want to screw the router table to the work table, and because of the configuration of the router table legs, I had to get creative to clamp the router table down to the work table.
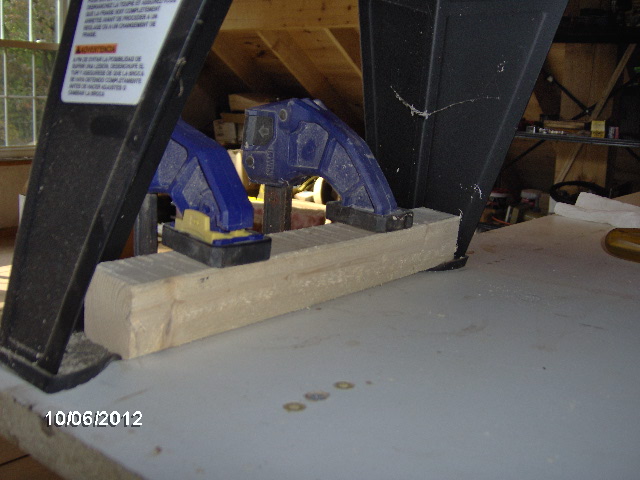
The 2x2 is pinching the feet on the router table legs down to the work table.
Here's my test piece mocked up to represent the configuration of my shelves. This arrangement will be used for the key catcher over our pillows, and for the two upper galley shelves.
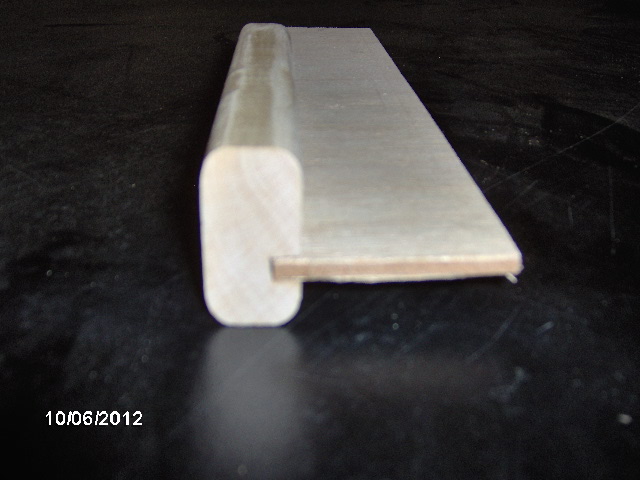
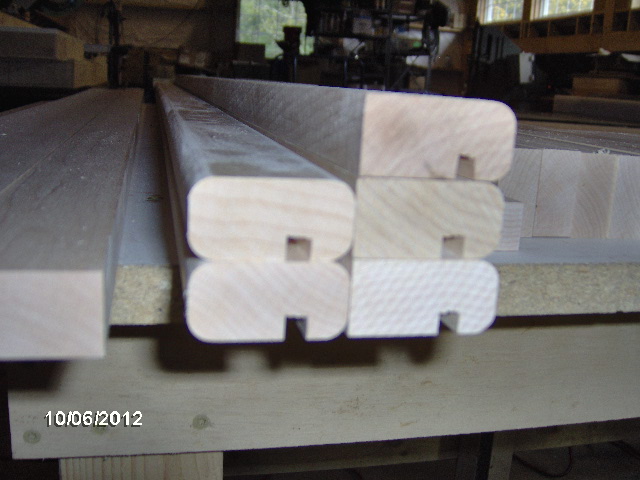
Zipped 'em all through.
Jeff had another cookout at The Grotto (a koi pond cave like deal in his backyard). Mmmm, smoked ribs.
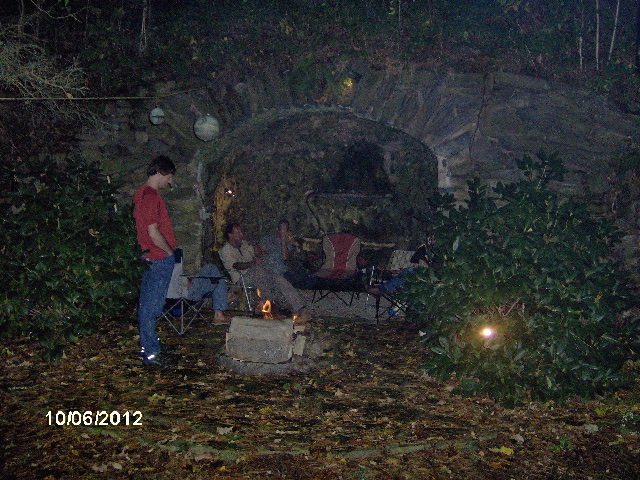
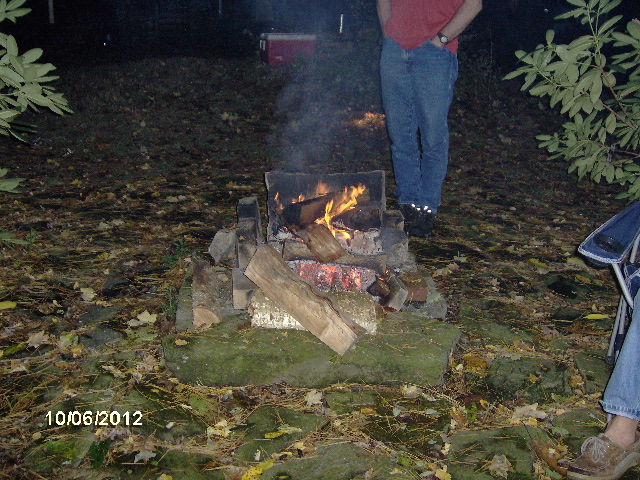
It was a bit on the cool side and rained some, but we snuggled into the grotto in front of the campfire and enjoyed the food and company.
Sunday, 4 hours work, including a quick jaunt up to Jeff's to retrieve the camera.
I had decided that I would use the Kregg to secure the center mullins to the rails, and the rails to the sides of the cabin walls, but there would be a conflict between the screws if I tried to do that and use them to also connect the side stiles...so a combination of pocket screws and biscuits.
Sorted through the cut pieces, facing them and tried to balance the colors and grains as best I could, then I started in running the Kregg jig.
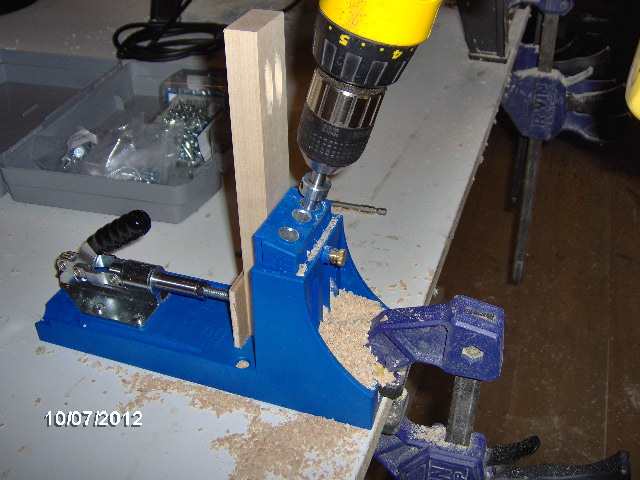
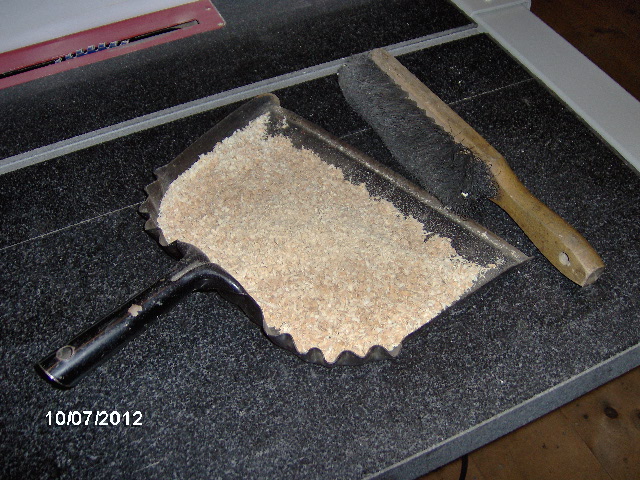
Please note the generous pile of wood chips for your consideration.
Used a little piece of scrap luan to keep the Kregg clamp from marring the good face.
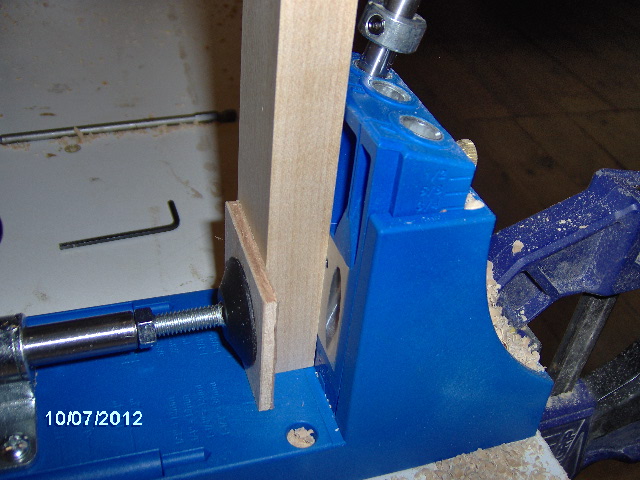
Making progress. Note middle pairs with pocket holes and outer pairs without.
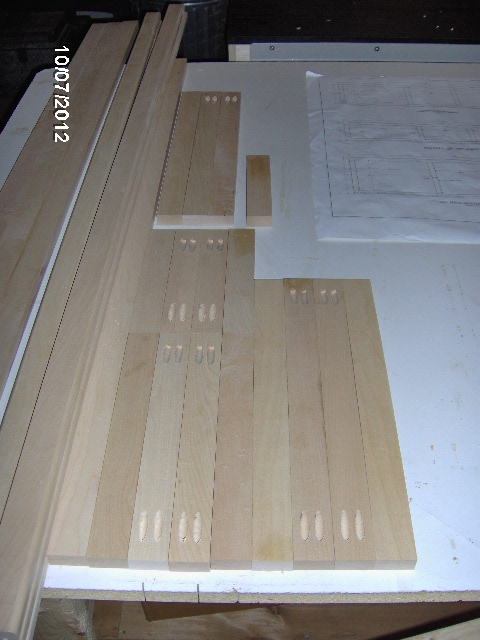
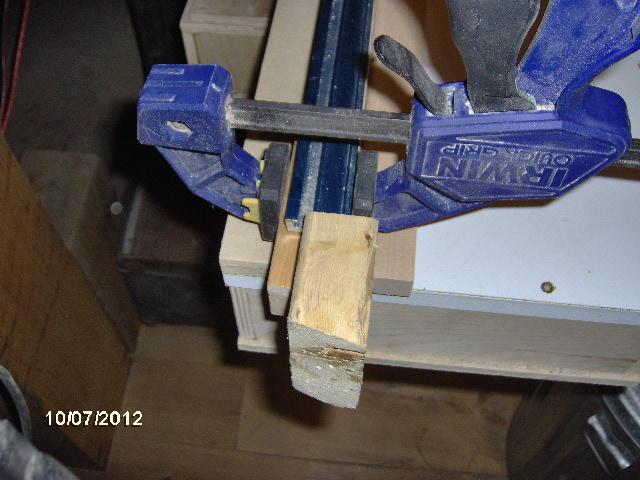
I had left the long rails a little long because I didn't want to have problems with chip out or kick at the ends of the round over operation. With the set up I used and the hard maple it turned out not to be a problem, but I still had to trim the rails to finish length. It seems that the miter saw table is a little shorter on the left than on the right. Being right handed I wanted to hold the piece on the left and operate the saw with the right, but the table and fence were too short to just clamp my little block to. Well look-ee here, the dog block I had made for the forming jig was the perfect thing to extend the fence just enough to suit.
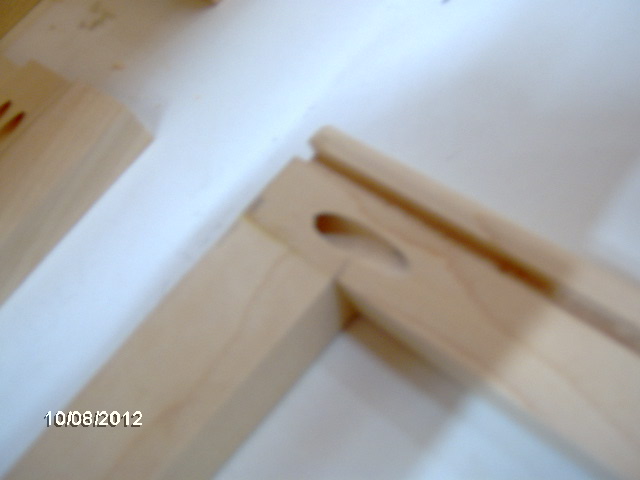
Here is a little test piece to see that the pocket screws don't interfere with the biscuits. Biscuits offset to outside so that the slots do not poke through the inside where visible.
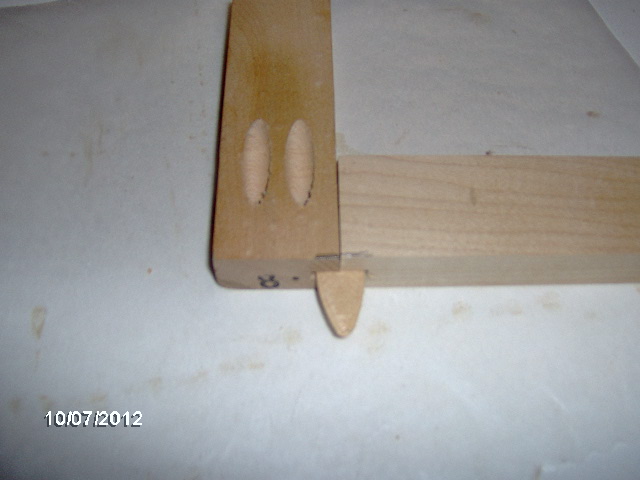
Only room for one screw at the bottoms due to the slot. I think that will be fine, two at the top and one at the bottom. Between that and the shelf/cabinet floor panels, and side wall cleats glued in later to support the outer edges of those, it will be very secure.
Slotted test piece.
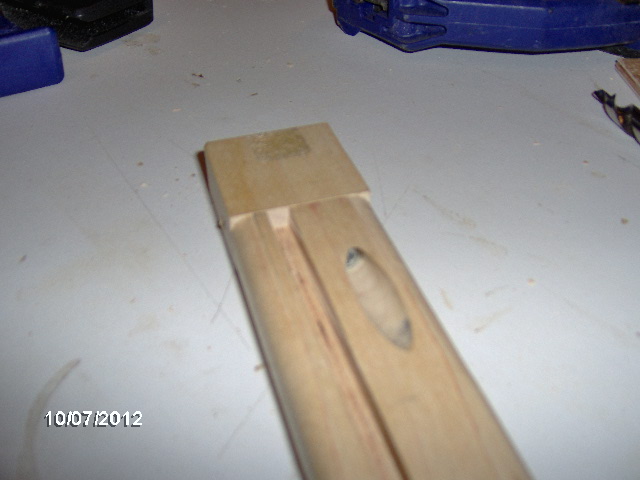
With that all figured out I proceeded to run the rest of the pocket holes.
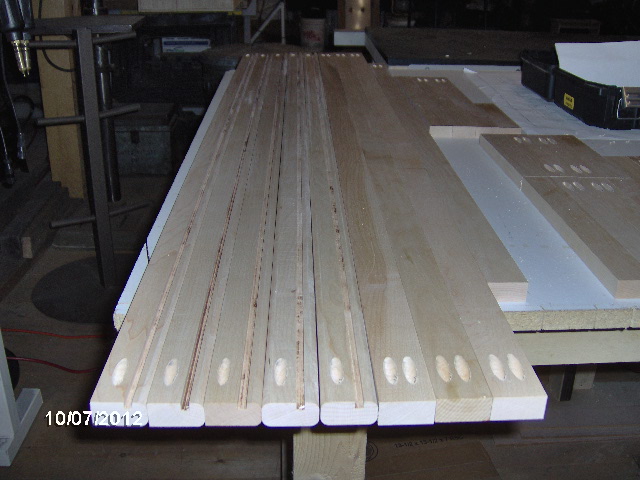
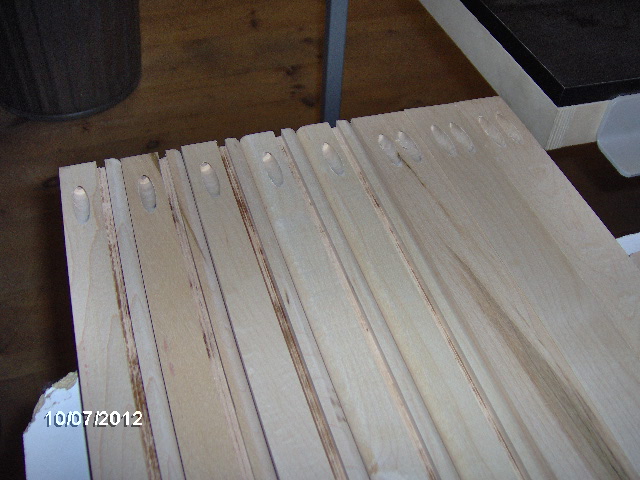
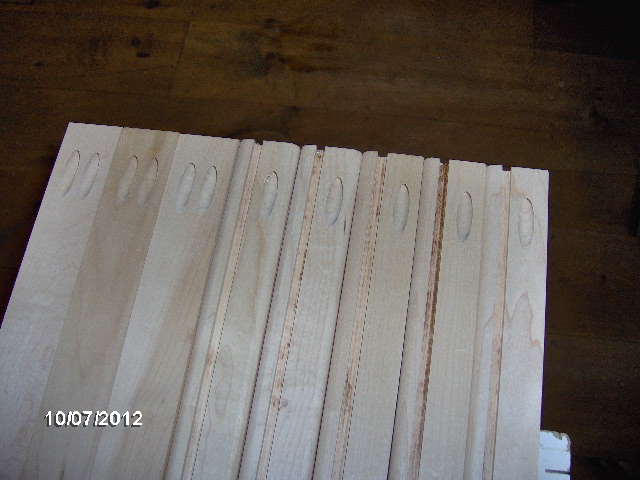
Started with the largest cabinet face frame, the lower rear. Did a dry fit.
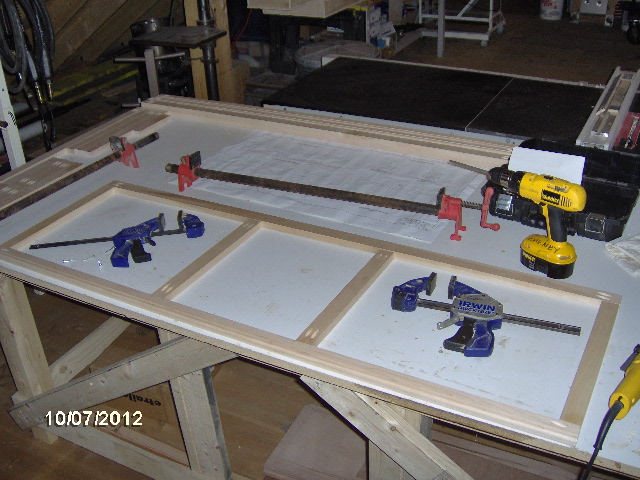
Then, after strategically taping waxed paper down to the table, and masking the areas around the joints to prevent the glue from getting every where (I hate the way the stain gets blotchy where the glue has gotten...less sanding this way), I glued, screwed, biscuited and clamped the assembly.
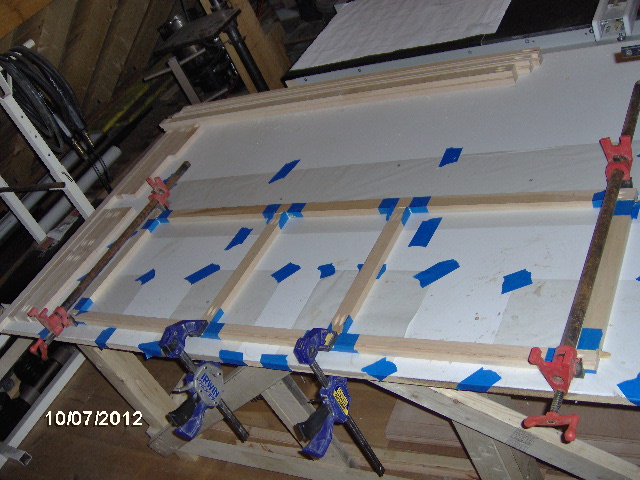
Squared itself up perfectly.
I did have a little trouble with the upper rail shifting out of flush when I screwed the joints. On the bottom I had the rail clamped to the table, but on top I just tried to hold it down while screwing (no way to clamp in the middle of the table). Saw it happen, backed the screw out, tried again on the second screw location with the same result. On that last little twist the two boards would jump out of flush. So I had some sanding to do later. Next time I will clamp and screw the near side, then flip, clamp and glue the second side and that should work better.
A modest pile of sawdust chips.
Monday, couple of hours of work.
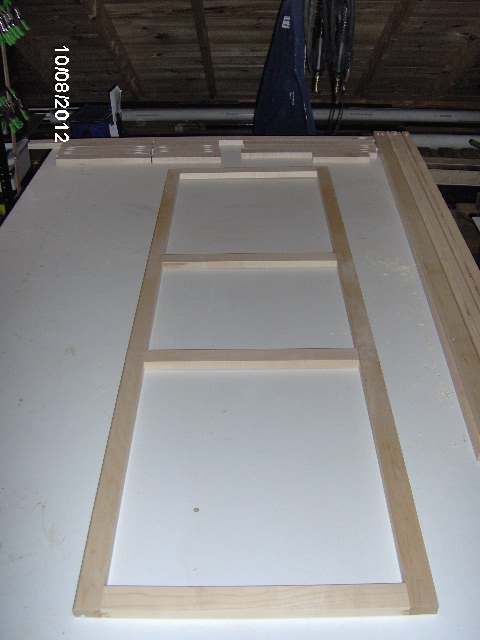
Pulled all of the tape and waxed paper up, trimmed the excess biscuits sticking out the ends, sanded the little uneven edges at the joins, eased the sharp corners in the openings with the small sanding block, and was pretty pleased with myself. In this pic the bottom is to the left and the top is to the right.
And here are some detail shots of the joints and back side. (These pics are a little shaky because I had the flash off to combat glare from the white table top.)
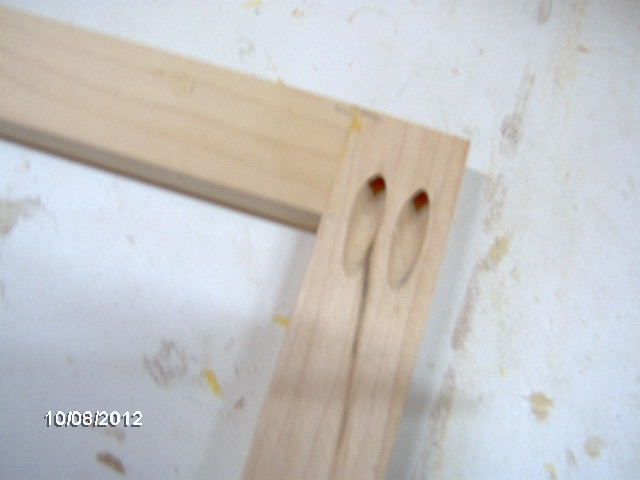

One down, few more to go.
 ), before I hit submit again. Not sure what happened this time.
 ), before I hit submit again. Not sure what happened this time.


 Everything takes longer than you think it should. Everything you touch must be planned, materials collected, resources arranged, work area prepped; many times special tooling must be developed (start at beginning of this sentence...wash, rinse, repeat), then you get to build. Then you must apply finishes and/or weather proofing, and/or erect/assemble...repeat this sentence...repeat it again...keep doing it...take a break...do it again...etc. When things don't work quite the way you intended, sometimes it is necessary to find a solution and work through it. It takes time to both contemplate and execute.
