Thanks a bunch for the enthusiasm, Ned. It shouldn’t be too much longer now (although back when I moved up into the loft I would have said that I would have been there already). I still need to figure out the optional strut anchor point up near the hinge; I need to figure out my wire routing (which I am doing in my head a bit as I go along, but have still not figured where the main circuit panel will go); and I need to get the inner panels on. One step after the other. Need to keep putting time in and keep productivity up.
On to the build. Today was the second of two fabulous spring days. Loft got up to 63F. Had all of the windows open and still wished I had worn shorts instead of jeans.
Reached a big milestone on TPCE and I’m very pleased with my progress today! Read on.
Peeled the clamps, weights and freezer paper off of the curb side galley wall edge glue up, then decided to use the chisel to trim the excess glue squeeze out. It worked great using the hard surface of the edge piece as a guide.
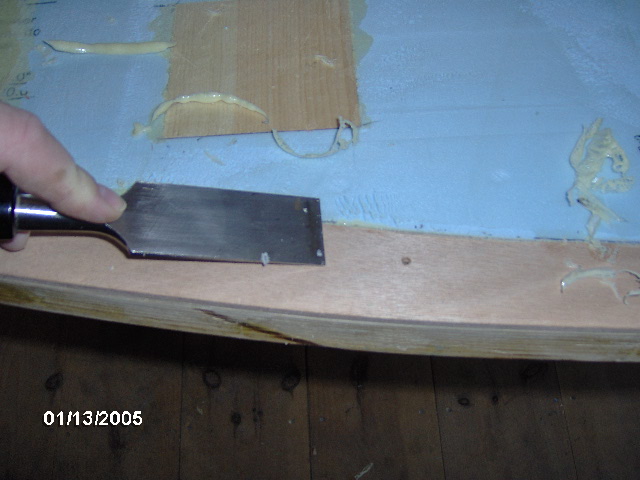
Then I hit it with the hard sanding block and cleaned it all up nice.
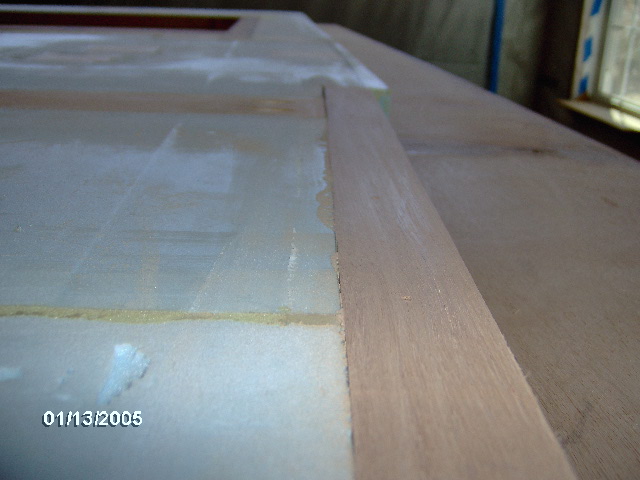
Next I laid the CNC template back into position and marked the margin that will be trimmed off with the router later.
Then I flipped the wall over (still amazes me how light it is) and cleaned up the glue that had squeezed out on the other side.
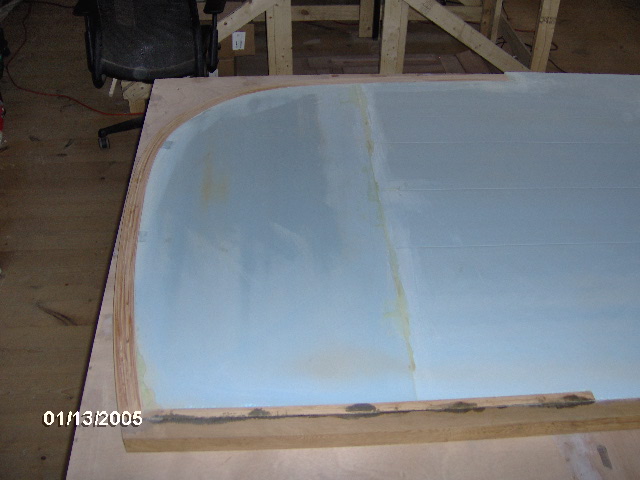

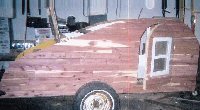
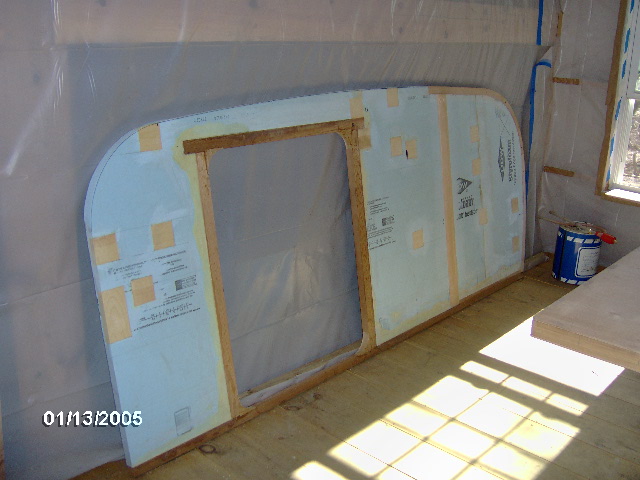
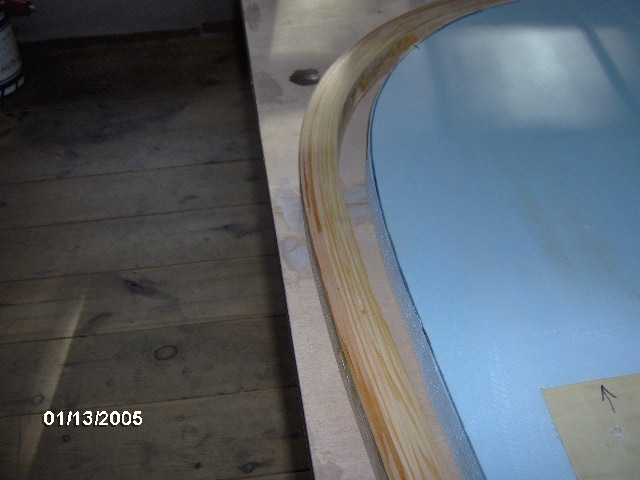
Then the only logical thing to do was to trim the rest of the profile into rough shape! Drum roll, please.
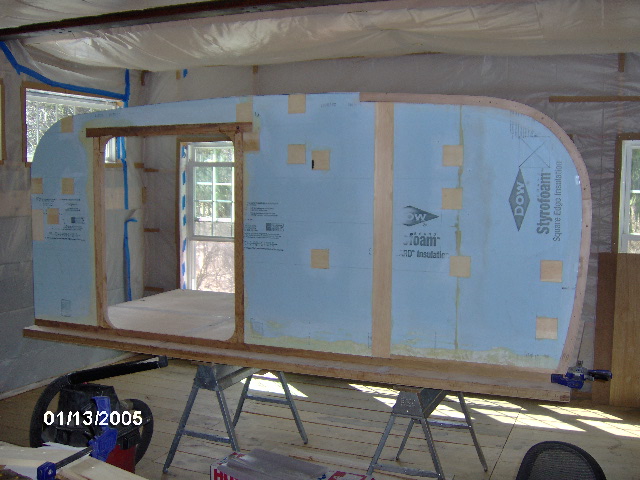

I had to sit and stare at it for a while. It really is looking like the plan, and I just love it when that happens!
This was just the rough cut made with the jigsaw. The final edge will be trimmed to the template with the router and flush cut bit.
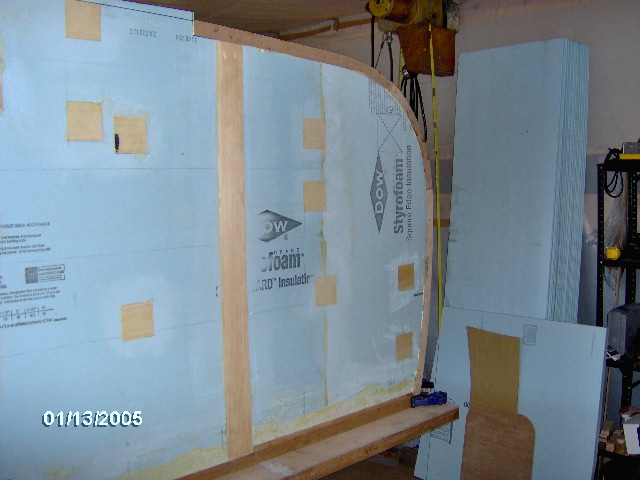
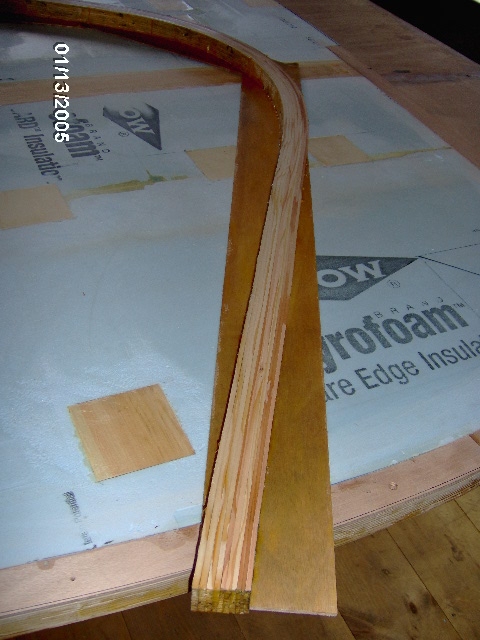
Here are a few more pics that I took of the wall before the top arc and front radius were trimmed.

(That is the street side wall edge piece under the clamp blocks in the foreground.)
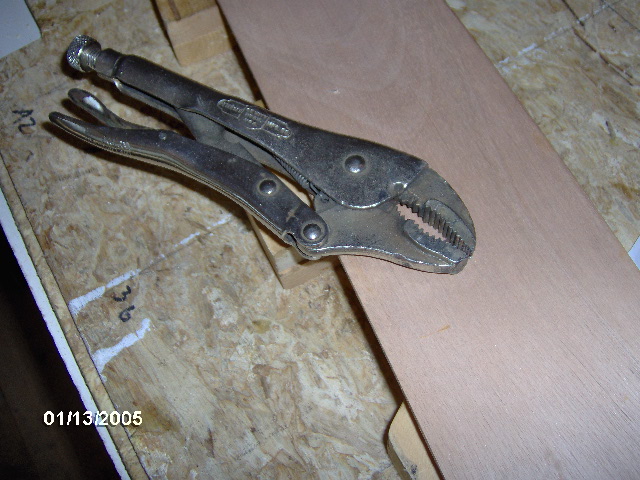
Then I turned my attention back to the second (street side) wall edge piece. When I went to unscrew the clamp blocks three of the drywall screws snapped off at their heads.
So I extracted them with vice grip pliers.
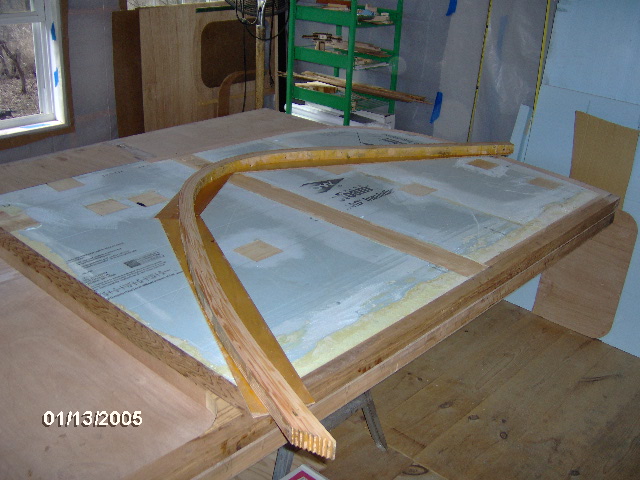
When I pulled the clamps it only sprang about 3/8 inch (down from 7/8 inch). Here it is laying on the plywood side while I moved the jig off of the out feed table.
Then I went to town scrapping the excess glue so that the router bearing would follow a relatively smooth surface.
As before, I ran the carpenter’s pencil around as a reference for the jigsaw, as well as a sharpie mark as a dumb idiot reference so I wouldn’t run the jigsaw into the table top.

Took a few iterations of clamping to the edge of the bench, cutting and repositioning to get all the way around both sides, during which I noticed that the gap at the saw cut had opened up considerably.

The laminated part continued to move back more and more (closing the tips together) as I trimmed the excess ply off, but I did not check it against the jig to see how much.
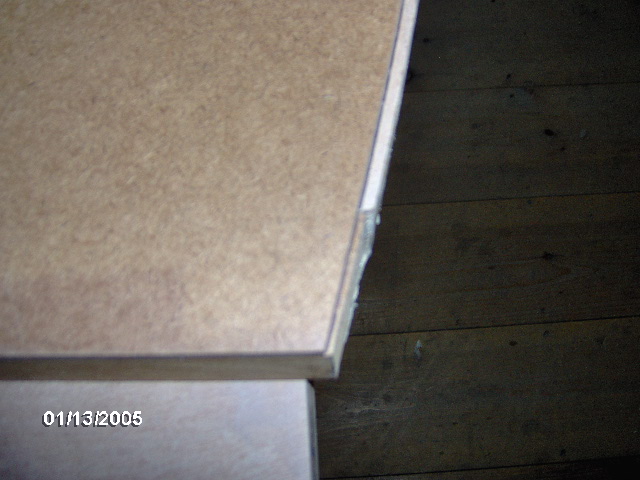
Here it is all trimmed close ready for the router with flush cut bit.
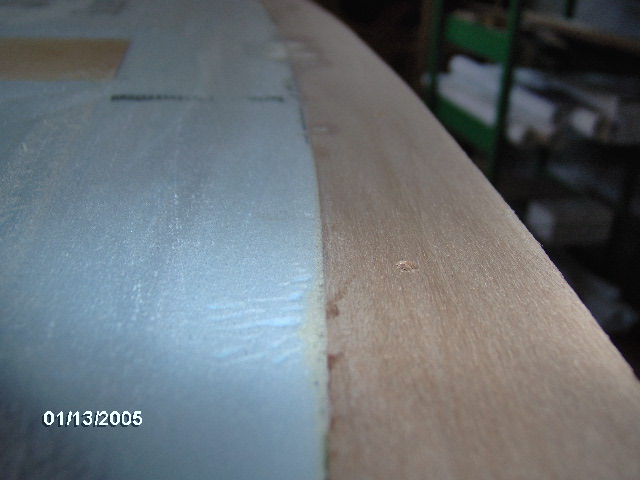
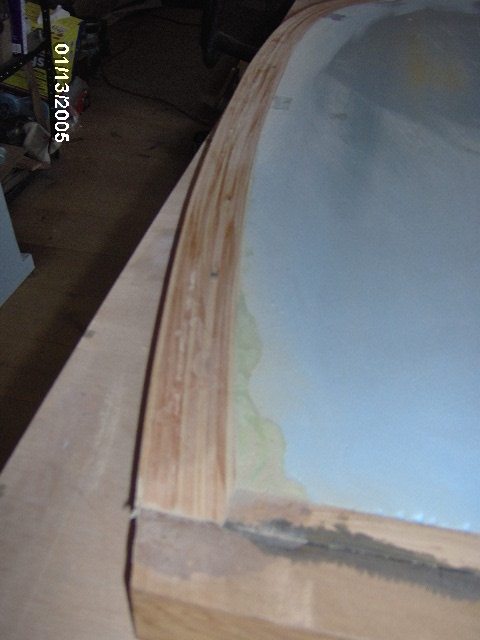
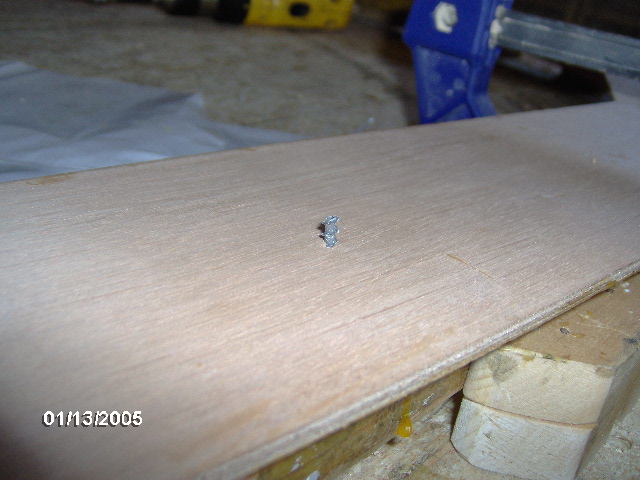
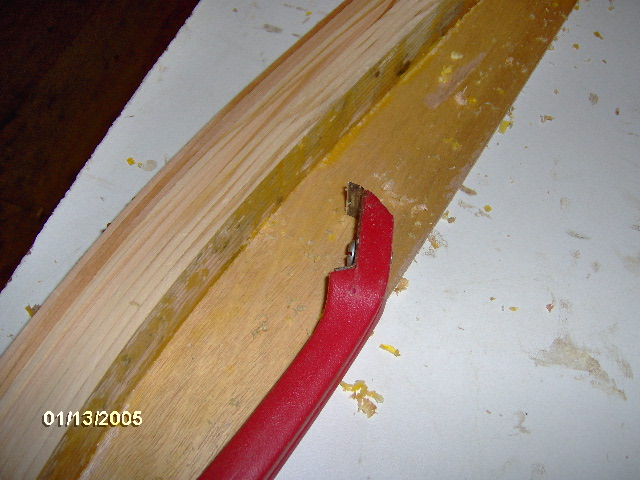
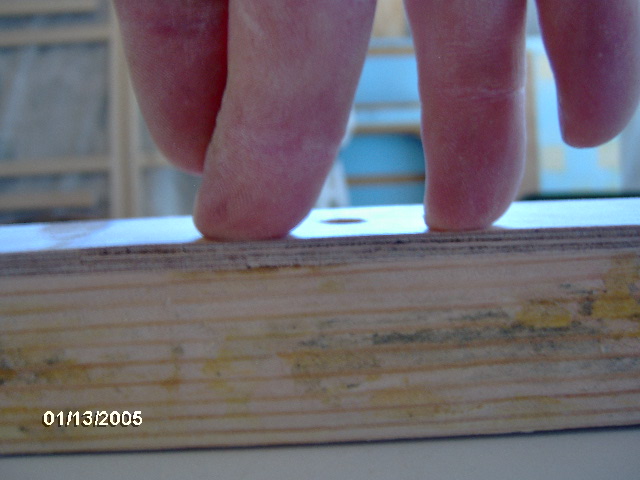
After running the router around it I found this area of delamination near one of the half lap joints. I suspect that it was either from backing the drywall screw out, or more likely from pushing the jigsaw too fast and having the blade dig in and lift it. It goes all the way through to the other side.

No problem. I’ll just squirt some TB2 under there with a hypo and clamp it down to set…
which is about the time that I realized that I had forgotten my glues at home. Drat. It sure will be nice when I can be sure that we won’t have any more freezing weather and can safely leave my glues in the loft.
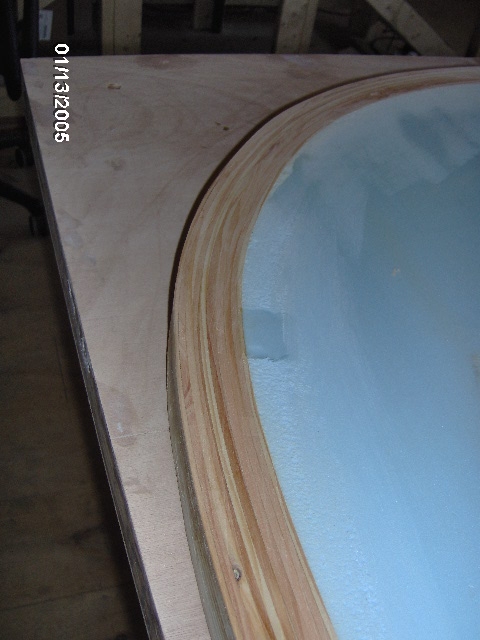
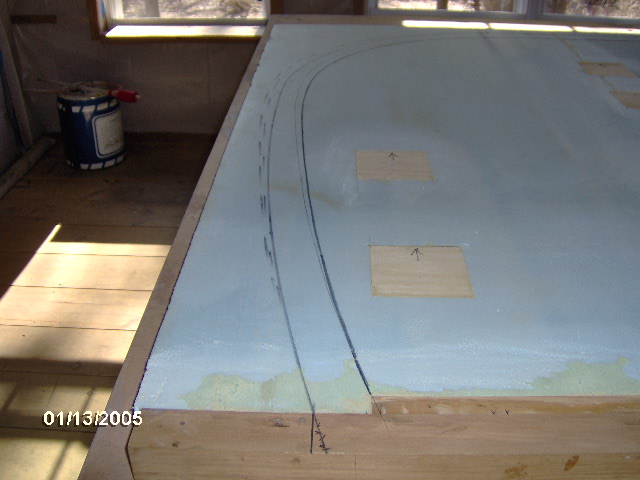
Swapping things around, I couldn’t help but take another picture of the curb side profile.
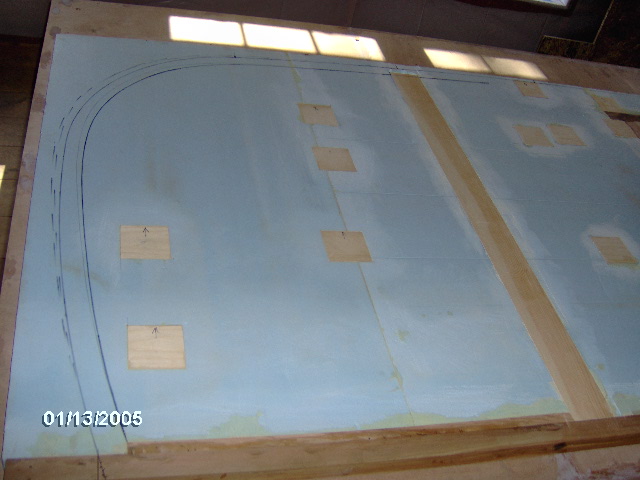
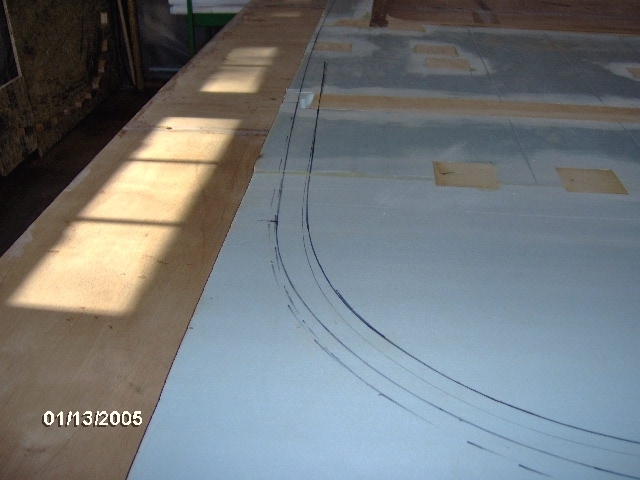
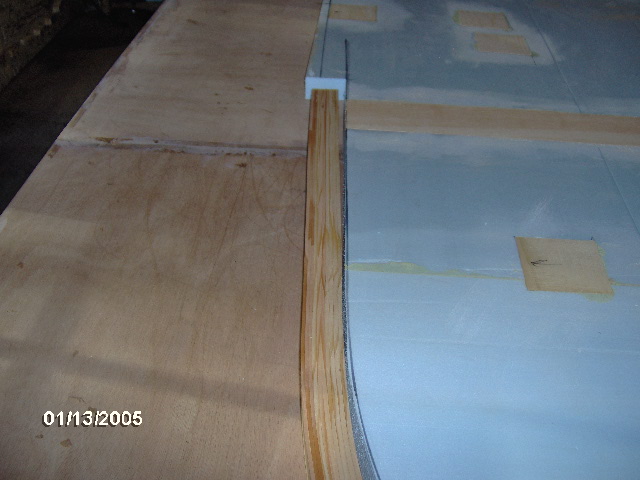
Moving on to the street side wall. The two solid sharpie lines are the desired profile. The dashed outer and fainter inner lines are tracings of the wall edge piece from before the plywood fix.
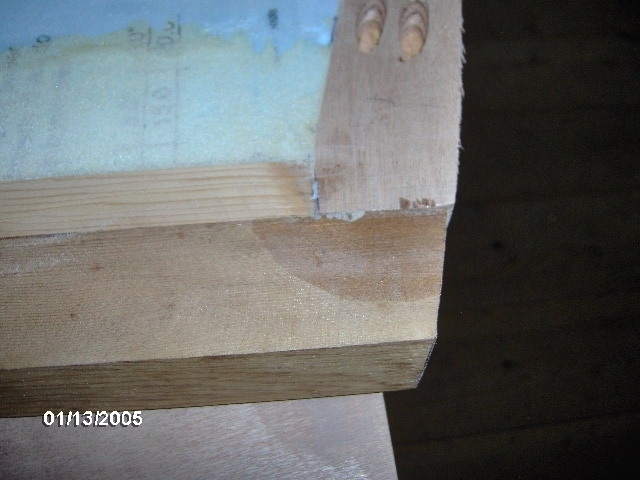
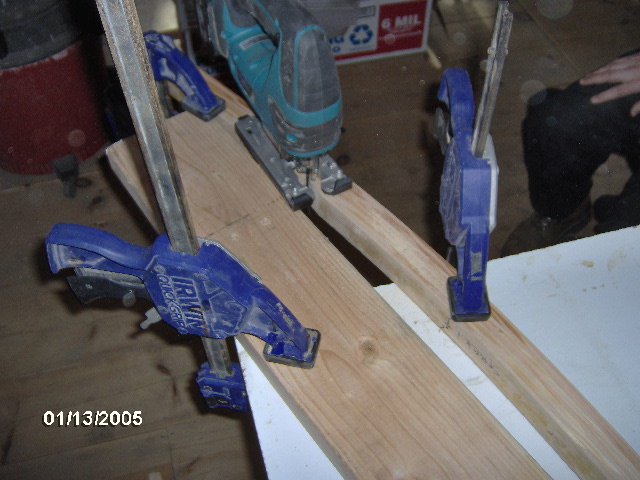
I did it a little differently this time. After laying out the bottom trim detail I clamped the part and a 2x6 support to the bench and made the little notch cut first.
Then I used the miter saw to cut it to length.
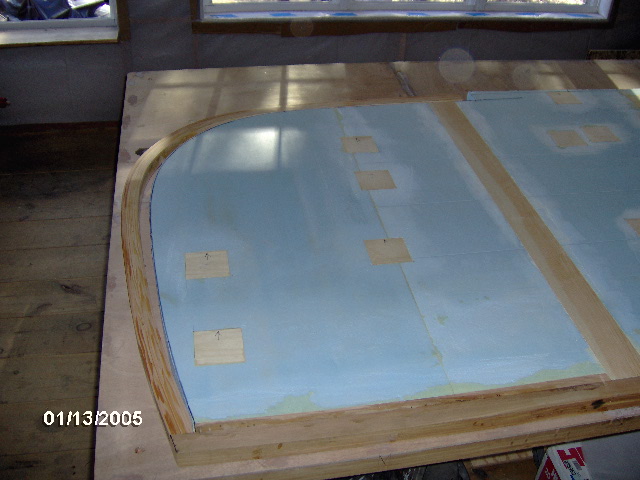
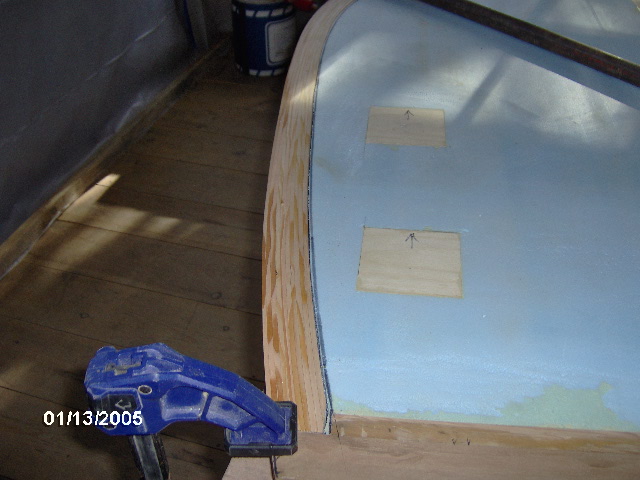
Here it is after rough cutting away the recess in the foam and starting the dry fit.
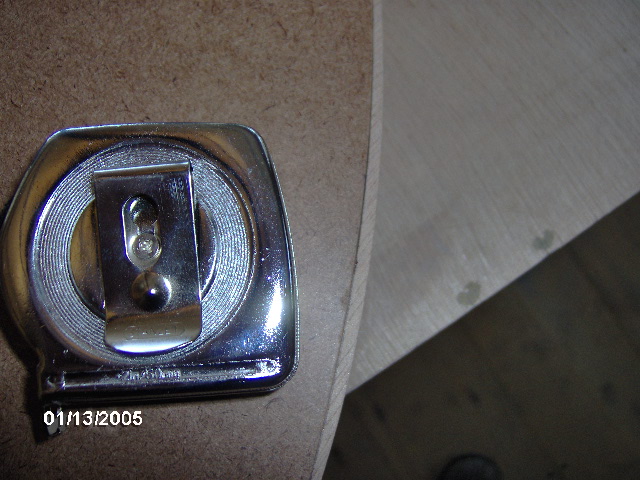
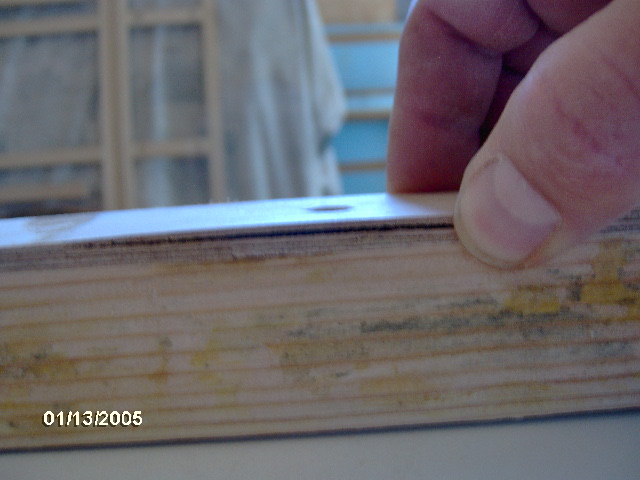
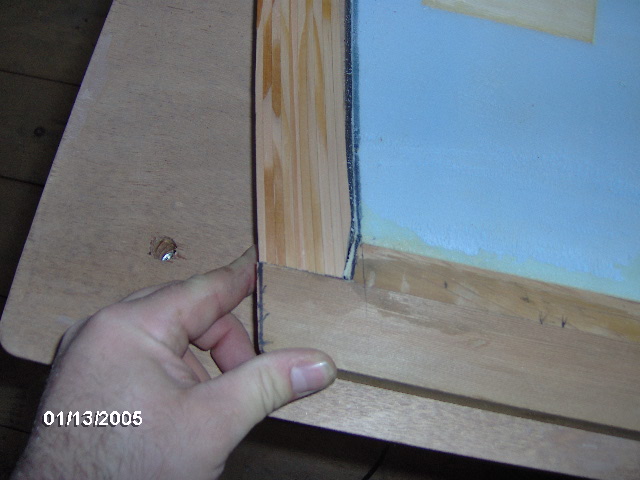
Look at the size of that gap, oh my!
I trimmed a little too much off of the vertical edge where it butts up to the corner of the cooler slide block, so I will need to glue a little shim in there where the bit of blue foam shows for now.
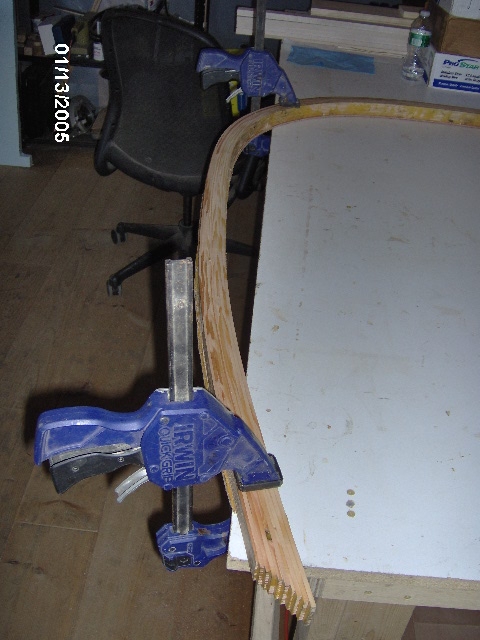
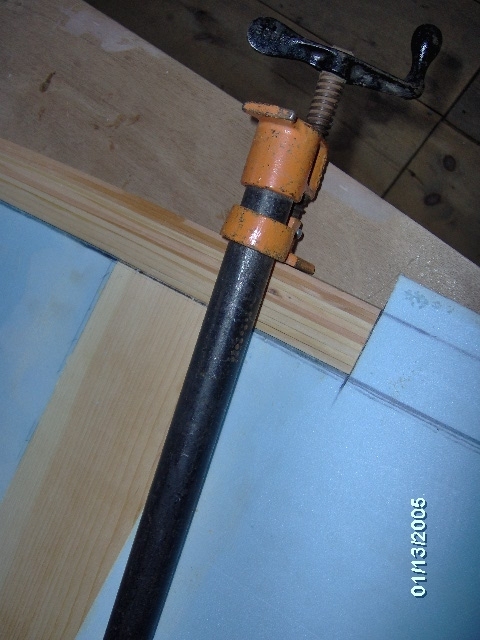
This is all with the recess cut in the foam just rough cut. I will creep up to the line with the sanding block to get a nice tight fit. But for now I wanted to get the clamps dialed in so I can start checking the dry fit.
Just like the Grand Canyon.
If I had worked in sequence and made these edge parts right before I needed them, I don’t think I would have had nearly so much of a problem. No problem really, just a little more effort.
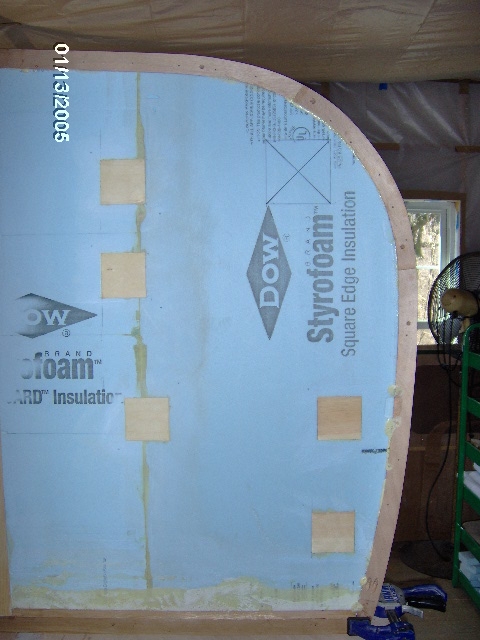
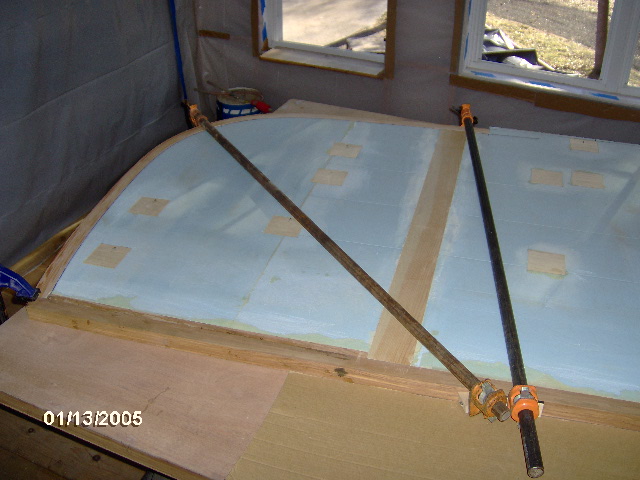
Here’s the top (top to left in pic).
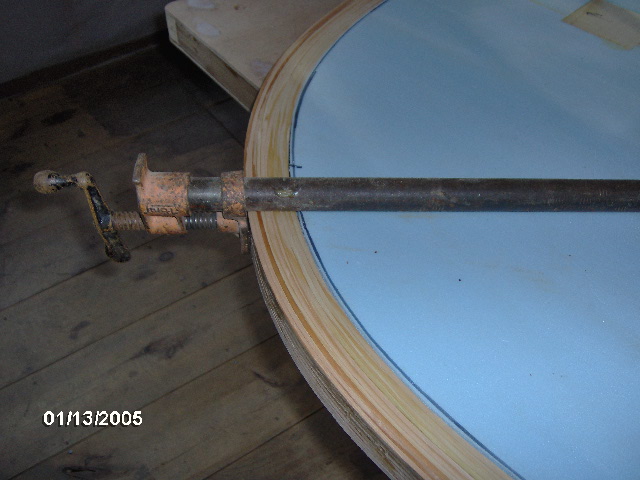
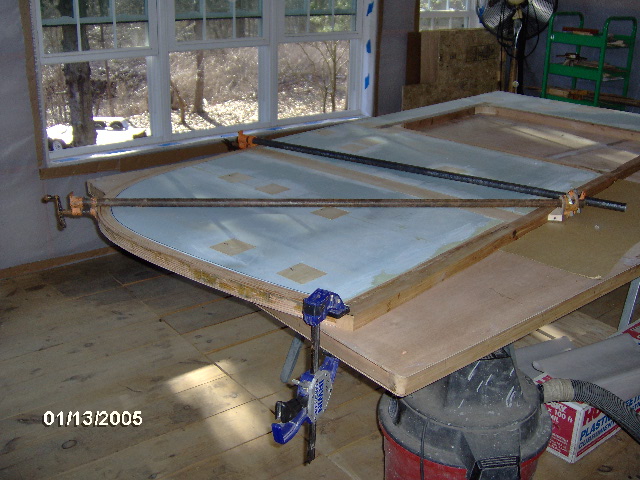
And starting to clamp up the dry fit.
All in all I was very pleased with the progress today. Quite chuffed to have the profiles taking shape.
On the way home I snapped this pick of the front yard at Dow packed to the gills with blue foam.
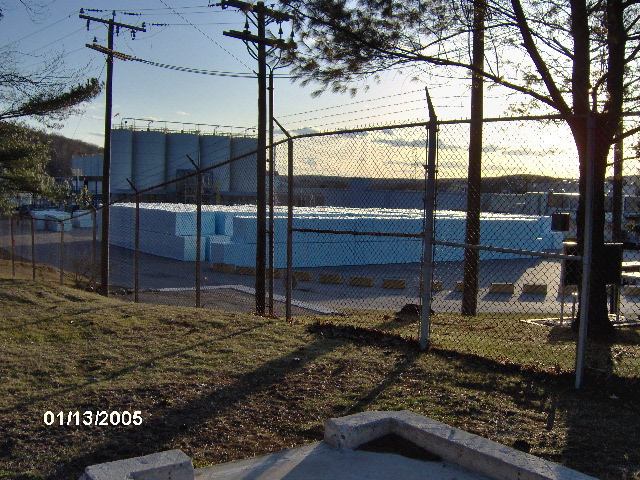
This is just a small portion. The pile down in back by the railroad tracks is still just as big as it was before.