Thank you all for your attention and comments, both constructive and kind.

Okay, let’s try to get caught up. I’ve been working away but have been finding it hard to keep up with the forums, doing the build, down loading the pic’s and still posting progress.
I’ll try to keep the days straight.
Shop update: Karl and a “network” partner landed a high end bronze railing to be set into a stone terraced patio and outside stair system with multiple flights and landings.
I’ve never seen $10,000 worth of bronze all in one place; how about you?
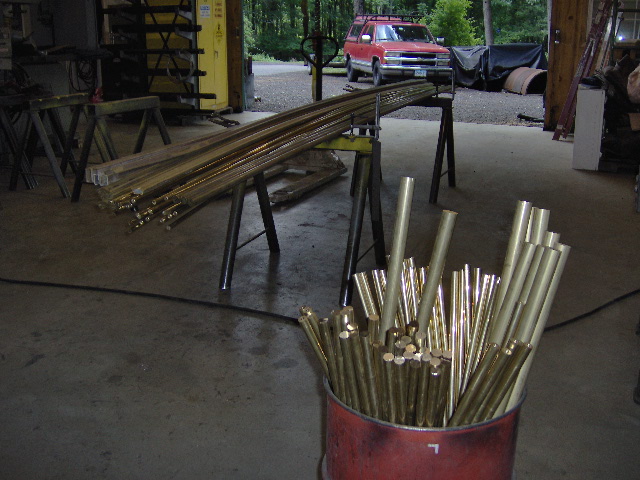
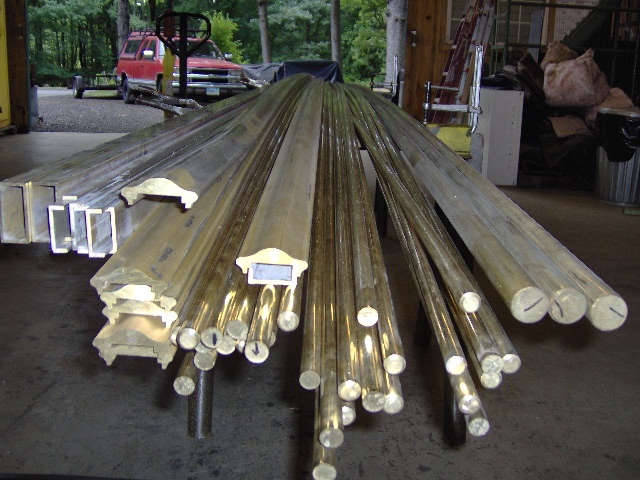
The stuff in the barrel (pickets and posts) has already been cut to length, drilled and tapped for end fasteners.
CT has a very high per capita income average due to it being a suburb of NYC, and I suppose I shouldn’t complain, but at my end of the state we are lucky to try and keep up. It’s all relative to where you live, I suppose; per capita income versus cost of living. We do okay in income but pay a lot everywhere (cost of living, state income tax, gas tax, liquor tax, local property tax, etc.) that it must become relative in the end.
Bottom line, it must be nice to be able to afford a $40,000 railing for your luxury home. This is the type of job that sets Karl up for a decent year, after his split and expenses, so I am happy for him.
Don’t get the wrong idea, this is completely out of my area code, but I am happy for Karl to be able to sustain his business. I network with him and he networks with me. We are lifelong friends. Somehow I have to believe that I am getting the better end of the deal so I must pay tribute.
Yvette worked this weekend, and I didn’t feel that I could afford a day off from the build, so we missed the annual B-Day party for our chunker friend Dave and Andrea’s son’s party. Since Dave is a regular watcher I’ll say that I hope you all had a good time, and understand my build priorities.
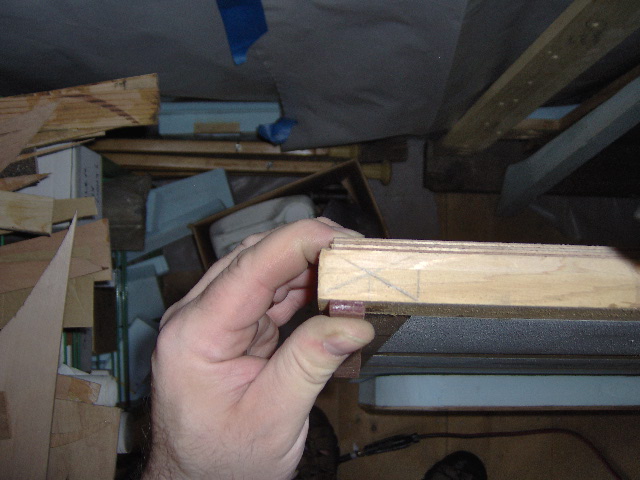
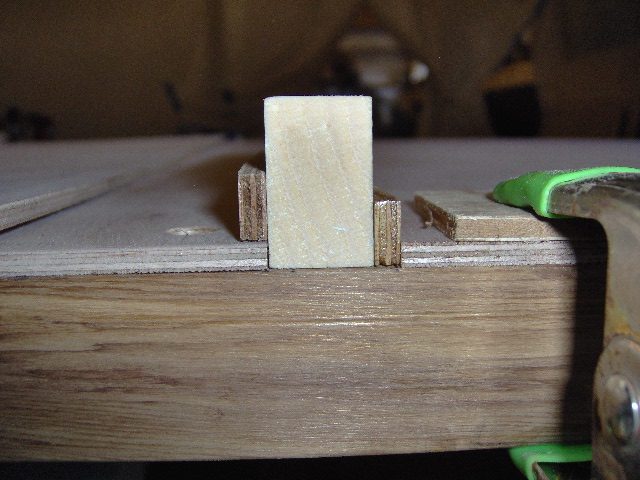
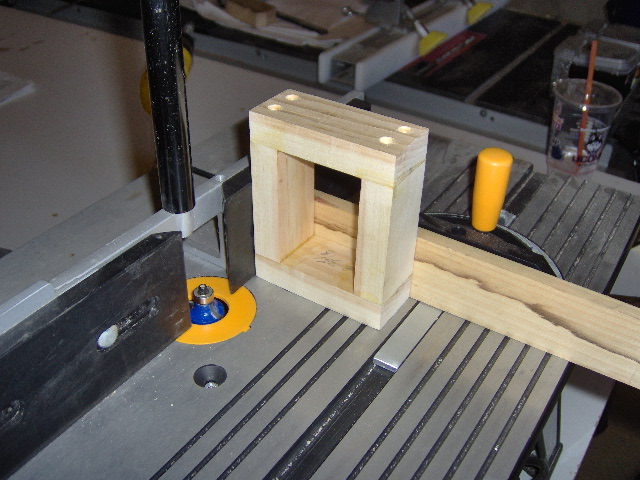
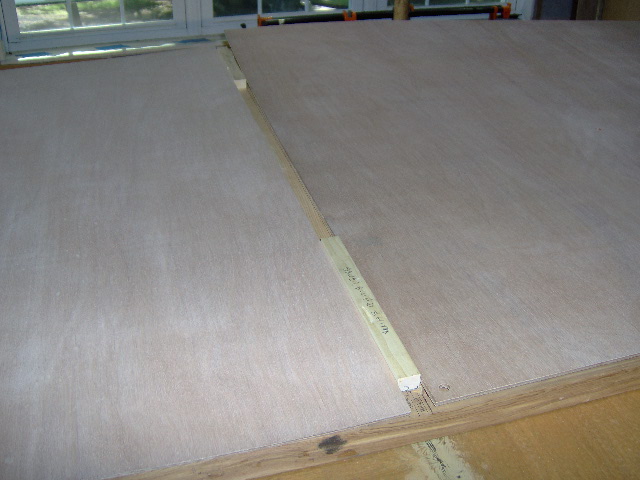
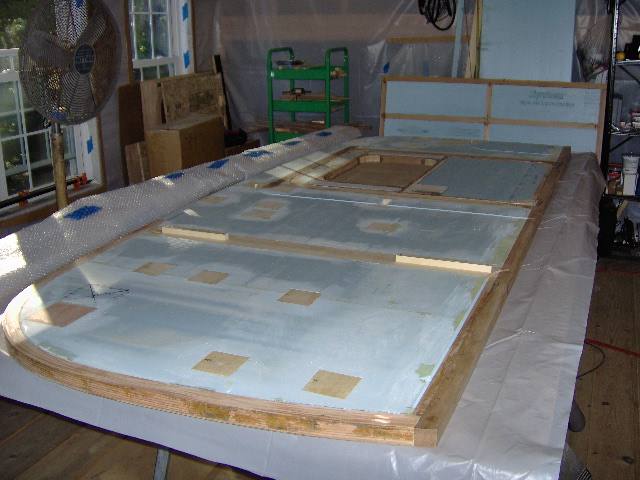
Okay, this is a mock-up of how I had originally planned the bulkhead edges to fit the side walls, with the subframe fitting into the dado made by the mid cabin wall skins and the galley wall skins. This is looking down on the top of the bulkhead. At the top is the cabin side skin under my index finger, in the middle is the bulkhead subframe, and under my thumb is a scrap of 5 mm ply representing where the rear galley skin would have been.
After making the adjustment for the curb side inner wall skin panel placement and shifting the bulkhead forward 1/8 inch, the only troublesome fallout was the fact that one of the galley side wall panels had already been precut with little excess tolerance (the other was part of the cut schedule confusion that I have since rectified). Trying to minimize the number of expensive marine ply purchased, I had attempted to optimize my cuts, and that had limited the amount that I had allowed for hanging over, and thus the allowance for trimming to fit as needed.
Anyway, there would not have been enough ply hanging off the back of the galley inner wall skin if I were to have shifted it 1/8 inch forward. The curse and blessing of CAD.
So instead I thought for a few minutes and realized that I could adjust the joint configuration and still make everything work.
Since I have not put the rear skin on the bulkhead wall yet, I could use the thickness of the rear skin to supplement the 1/8 inch bulkhead wall offset. By letting the rear bulkhead wall skin run to the outside of the bulkhead frame, as shown in this mock-up pic, I could keep the galley side wall skins in their same relative location and still dado the bulkhead wall into the side walls.
Cabin side of bulkhead skin under index knuckle, galley side of bulkhead skin (scrap sliver) mocked up under thumb.
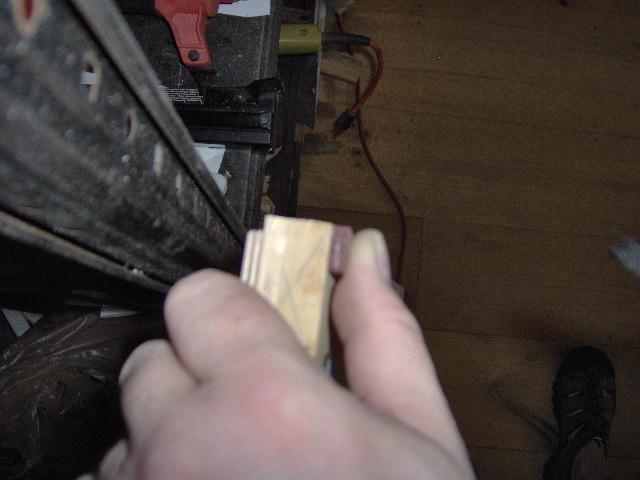
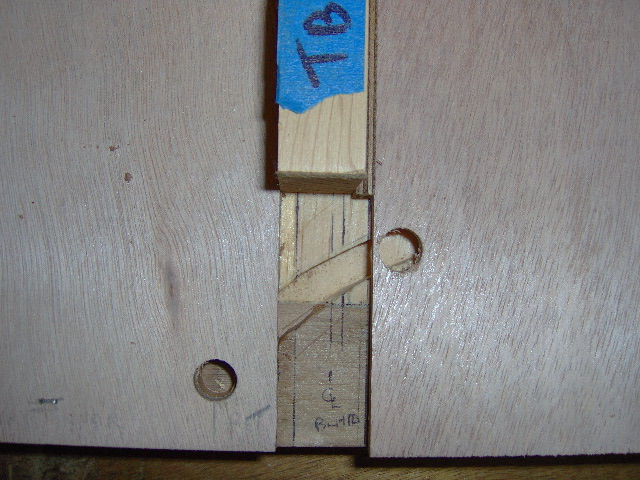
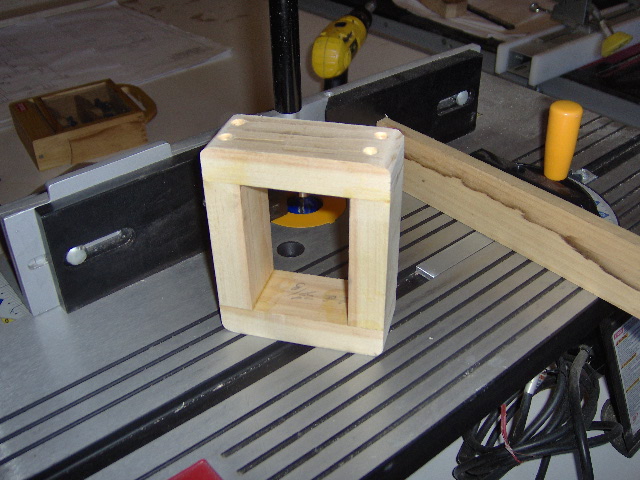
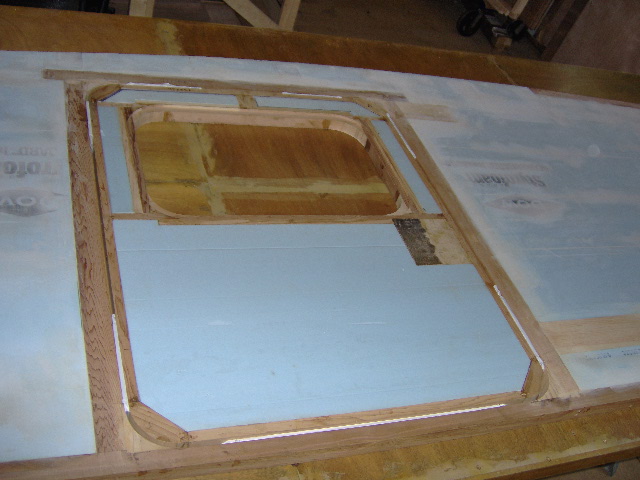
Here’s a better explanation. The curbside wall is at the bottom with the bottom of the 2x cedar sill running across the bottom of the pic. The mid wall panel (rear of cabin) wall skin is above that to the left. The sliver of 5 mm ply on the left represents the cabin side bulkhead skin that has already been applied and rabbeted to the front of the bulkhead, and the sliver of 5 mm ply to the right represents the new plan for the rear bulkhead wall skin. By eliminating the rabbet in the rear skin of the bulkhead, the galley inner side wall skins (under the protective scrap and clamp) can remain in the original position and not run short at the rear.
Sorry if this is complicated, but I am a detail kind of person. If you got it on the first go, you too have “The Knack”. There is a prize at the end; I promise.
What day was that, Monday?
Tuesday was prior commitment.
Wednesday was lost to circumstances surrounding the Jeep starter motor being replaced (thankfully that is behind us now).
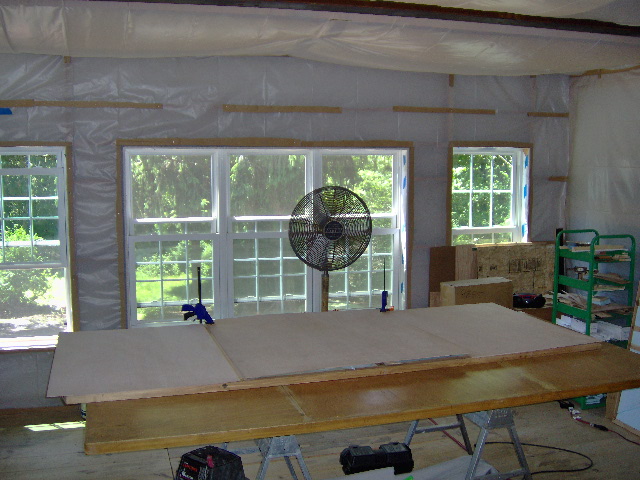
Thursday I stayed late at work contemplating the hatch actuator switch recessed switch plate and mounting frame blocking location on the curb side wall. Here is the switch plate drawing and switch.

Getting a late start at Mecca, I started fitting the curbside galley inner skin. Note the 1x spacer and nearly hidden 5 mm shim.
I had been concerned about pulling the wiring around the back of the bulkhead and then changing directions back up into the rear of the bulkhead, so I had been thinking of adding an extra access hole behind the bulkhead (shown). The little bit left between the hole and edge will be trimmed out later.
I had been thinking that a small stainless steel cover plate would probably be needed, but was pleasantly surprised when I realized that the cooler tray slide would cover the hole on that side.
I’ll be sure to keep any cover screws on the opposite side below this level so that, should I add a slide out tray on the other side, it would also cover all of the holes.
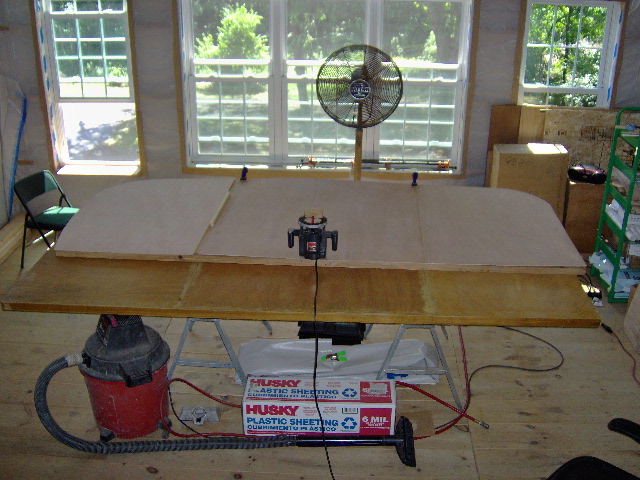
Next I pulled out the curbside galley inner wall skin and rough cut it to the rough wall profile.
I’m guessing that we are into Friday now. The Curbside door latch blocking was a bit below flush on two sides so I broke out the Bondo to fair it out. I had used a piece of glass to mix Bondo on previously, but that seemed to have gone away. Karl offered this great piece of .120 thk #2 finish SS, which seems crazy, but when you realize how hard it is to make something useful out of an odd shaped round-ish drop that has already been paid for by the job that sponsored it, then it starts to be easier to swallow. Made a really great pallet for mixing filler.
After filler.

It will need a little more fairing, but I got the worst of it in the first application.
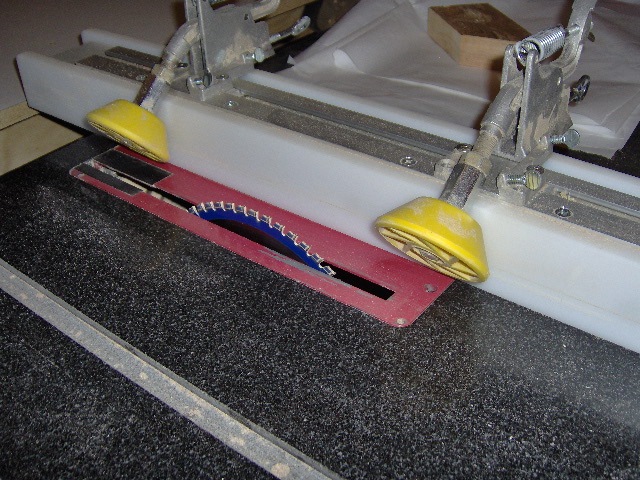
I sort of showed this set up before, but it wasn’t really secured to the fence yet (needed Allen wrenches). Here it is all secured down. After using it a few times and figuring out how to get the push sticks to work around the rollers, I can honestly say that it seems very much safer, and does indeed tend to hold the work into the fence, making it easier to feed stuff thru the saw.
Used that to rip some 1x2 pine from scraps and made a frame that will be set into the curbside wall to act as blocking for the hatch actuator switch bezel.
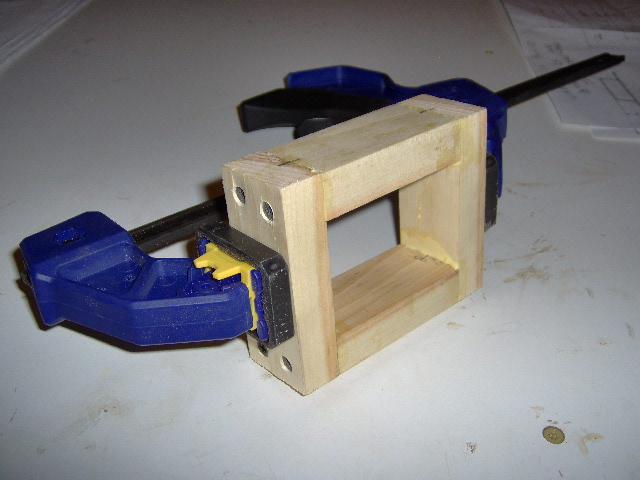
If you look closely at this shot of the plan you can see how the switch bezel and blocking will be set into the corner under the galley counter and just to the rear of the bulkhead.
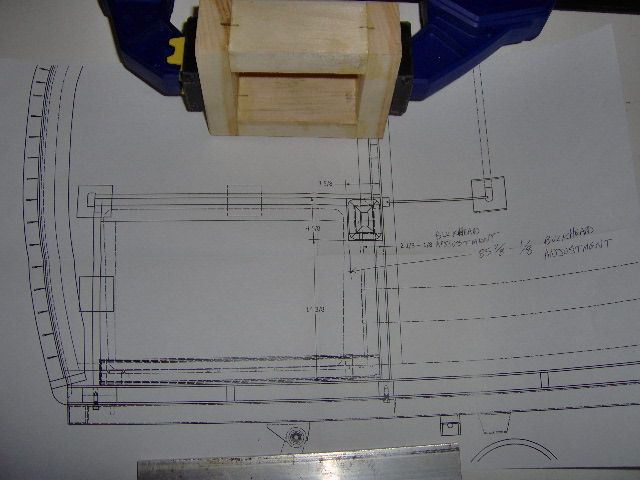
This drawing sketch helped me to figure out how the switch bezel and frame will interact with the bulkhead wire way, side wall blocking for the bulkhead, and under galley counter side ledger.
I had wasted a bunch of time Friday trying to get the wrong gauge brads to feed thru my nailer before resorting back to the option of using the biscuit joiner. Well, the biscuit joiner would have likely cut the corners off of a frame this small, so I resorted to plain old drywall screws to “screw and glue”. I needed to be able to remove the metal fasteners so as to be able to notch out this frame later so that it will fit partially over the bulkhead blocking in the inside of the wall. Complex, but I hope you will see eventually.
Here is the switch bezel frame this morning (Saturday) after the glue had set up and I removed the drywall screws. It is set up on the router table getting ready to round over the corners.
Since it is kind of small, I used the miter guide and a backing scrap to help keep my fingers clear and to help back up the piece against chip out.
Here it is done and cleaned up a bit with 220 grit on the small block.
Next I spent a few minutes clearing off the out feed table and table saw so that I could cut that last piece of 5 mm ply up in accordance with the cut schedule. Karl helped my handle the full sheet on the first cut and that was a benefit. Due to the curl in the sheet (from sitting in the pile leaning against the wall for so long, and the fact that the saw table and out feed table had not been trued, the ply wanted to catch on the edge of the out feed table rather than riding thru. I spent a few minutes routing a bevel on the edge of the out feed table and making some ramps that would kick the sheet edge up and over the out feed on subsequent cuts. Not ideal, but quick and effective.
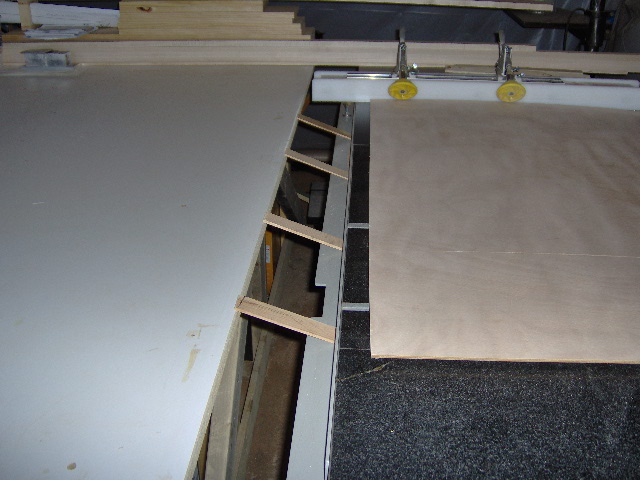
In order to handle the full sheet I had to open up the drape on the infeed side of the saw. Dragged a step ladder up and sprig clamped the plastic drape to the joist.
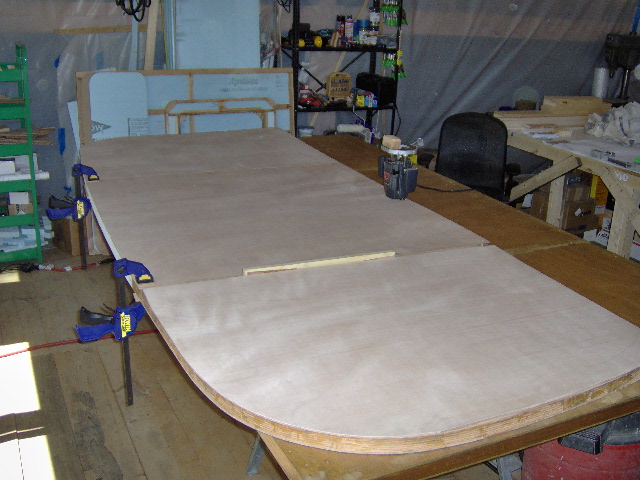
Dry fit the street side inner panels to the street side wall panel.
Laid out the rough cuts, jig sawed them out, mocked up a cleat to help align the bulkhead dado and did another dry fit.
Measured and transferred all of the wire way holes, and as per par, managed to miss one of them; the front pillow light hole. Some mental block between 3/16 and 13/16, combined with a similar error on 7/8 vs. 7/16. Doh.
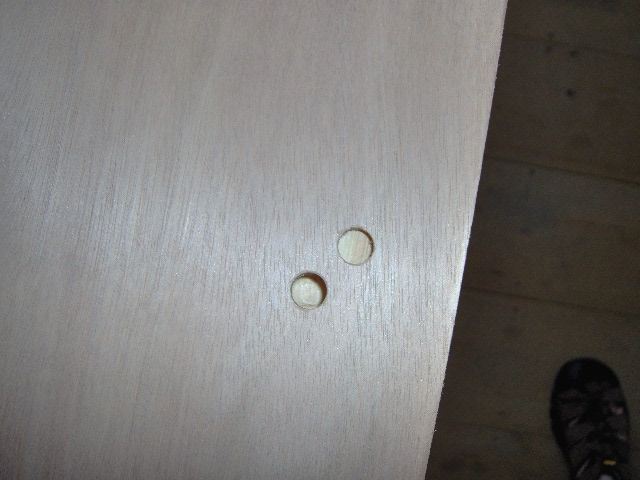
Fortunately the switch and light mounting bezel will cover the wrong hole entirely.
To hedge my bet on the skin placement I ripped some dedicated cleats to screw into the bulkhead dado location and butt the skins up to during the lamination process.
The cleats will be pulled after the skins are stapled down and before the vacuum bag is set into place.
Shimmed the street side door into place.
Put the skins and wall aside and laid the vacuum bag back out to improve. With the confidence gained in the first effort I decided that I can do the second wall all in one go, cabin side and galley skins all at once.
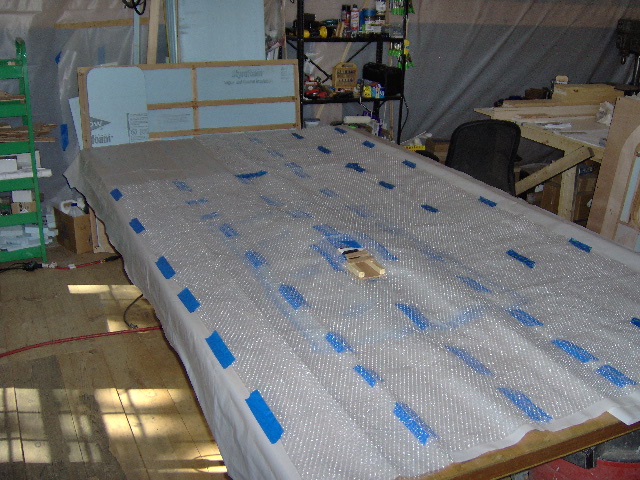
Here I have folded the bag out and back to expose the upper side of the bag. Added some sections of bubble wrap to the far right end before running out.
After a quick trip to Wally for some more bubble wrap, I was able to add an extra strip all along the top, and to fill in the galley end (and mirror image front for this wall).
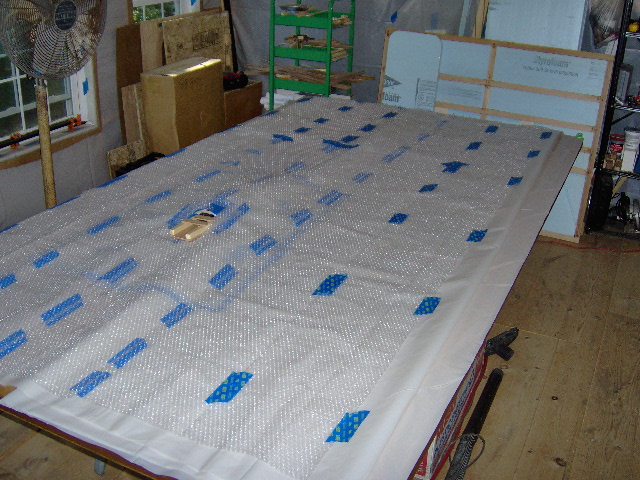
And here I have laid the bag back out right side up, folded the bubble wrap top side back on itself, and positioned the wall so that the edges match up as well as the inner bubble wrap lines.
Not shown is the “dry” test where I taped the bag off at the edges and sucked it down to make sure that the extended bubble wrap would still pull down.
So now I am all set up to do the glue up in the AM when the temps are cool and I will have a little more working time with the glue.
About 7 to 7-1/2 hours in today, depending on how you call the run for bubble wrap.
 (one size fits all ... Humbug!!
  ) You look nice and Comfortable in your doorway , and that means you’ll have Lots of headroom too ...


