Road Foamie - done for the year
I've been threatening to do this for a while, but I finally got started in earnest on my build. I'm glad I waited to get started because during my period of inactivity, I became convinced that building with foam was the way to go. Light weight and lower expense were part of the appeal, but I also like the creative aspect of working with foam. So here are the basics, the body will be 7 feet wide, about 6 1/2 feet tall and about 10 feet long. The inside bulkheads will provide lots of strength. The bulkhead in the rear is a well equipped galley which includes a tap system for my homebrew (thus the name, Road Foamie). It will have running water, a grey water holding tank and will be piped for a propane stove. The rear bulkhead will also provide shelving and storage inside the trailer and serve as the headboard of the bed. The bed will tip up at the head and will be equipped with overhead reading lights fed by a 12V system. The bulkhead at the front of the trailer (the foot of the bed), will also provide storage, a place for my dog's bed and the stereo/CD/ipod player. There will be storage underneath and wheel wells are inboard.
I will be using 2 inch foam on the exterior and will be gluing in hard points for a lot of the stuff mounted to the outside such as lights and the like. I will be covering the foam with foam coat and nylon mesh instead of the traditional canvas and TB2. There will be a roof mounted fantastic fan and a small indoor propane heater but no A/C
The profile is a modified grasshopper, which I will post a sketch of shortly. In the meanwhile, here are progress photos to date:
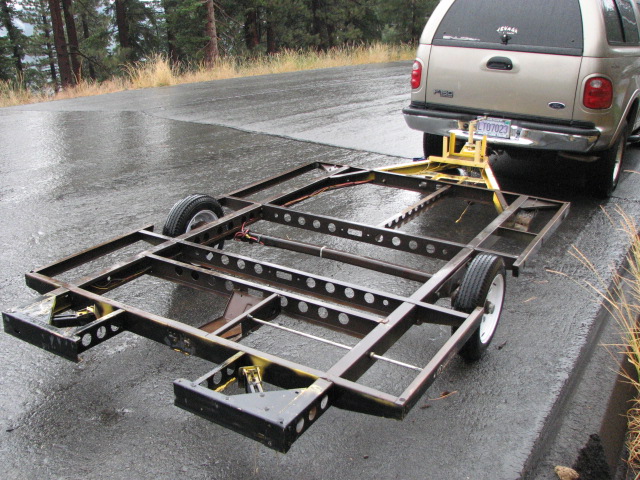
Back in October of last year, I purchased this frame off of Craigs List for $200. It used to be a frame for a pop up tent trailer. About the only thing I managed to do to with it at that time was park it beside my house and wait for the snow to fly and then wait for it to melt. This year the snow didn't melt until the first week of July
In mid July, after what seemed like the longest snowiest winter ever, we dragged the frame into my neighbors' shop for some modification work.
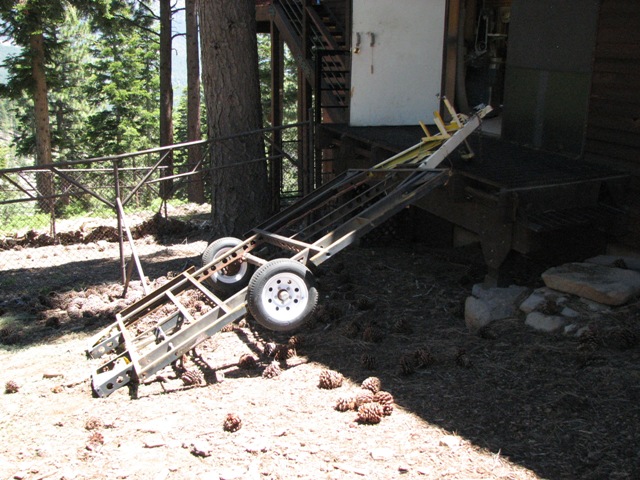
Here it is as we literally dragged it up into his shop because that's where his welder is. We moved the axle back, ground off some unneeded fittings, replaced the nose wheel, straightened the mounts for the axles and fixed some poor welds
Here's the hill off of our street that we had to lower it down to get it to his shop door
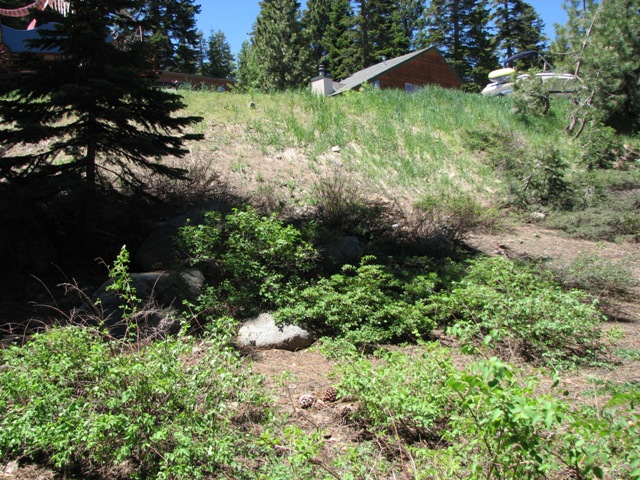
That's the tip of the three story roof of my house across the street that you can see in the background of the photo. And yes, we had to lower the frame out of his shop and pull it back up the hill to get it back to my house.
So here it is today, sitting in my garage.
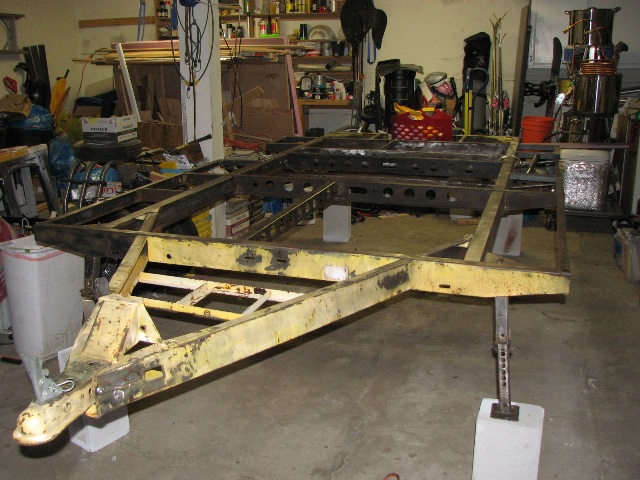
After 12 hours of wire brushing, it is now ready for primer and paint. That will happen tomorrow. Yup, there's a lot of stuff in that garage. I just finished a complete bathroom remodel of our master bath and I didn't spend too much time cleaning up before getting to work on the trailer. I just wanted to get going on the build!!!
I might be able to work in the garage all winter if I do some clean up and if I get the permission from She who must be obeyed...

Anyway, I hope to document the build here, as completely as I can, partly because I know I will need help as I move along and also because I hope it will prove to be instructional to those who want to do the same thing.
Wish me luck, here we go!!!

I will be using 2 inch foam on the exterior and will be gluing in hard points for a lot of the stuff mounted to the outside such as lights and the like. I will be covering the foam with foam coat and nylon mesh instead of the traditional canvas and TB2. There will be a roof mounted fantastic fan and a small indoor propane heater but no A/C
The profile is a modified grasshopper, which I will post a sketch of shortly. In the meanwhile, here are progress photos to date:
Back in October of last year, I purchased this frame off of Craigs List for $200. It used to be a frame for a pop up tent trailer. About the only thing I managed to do to with it at that time was park it beside my house and wait for the snow to fly and then wait for it to melt. This year the snow didn't melt until the first week of July
In mid July, after what seemed like the longest snowiest winter ever, we dragged the frame into my neighbors' shop for some modification work.
Here it is as we literally dragged it up into his shop because that's where his welder is. We moved the axle back, ground off some unneeded fittings, replaced the nose wheel, straightened the mounts for the axles and fixed some poor welds
Here's the hill off of our street that we had to lower it down to get it to his shop door
That's the tip of the three story roof of my house across the street that you can see in the background of the photo. And yes, we had to lower the frame out of his shop and pull it back up the hill to get it back to my house.
So here it is today, sitting in my garage.
After 12 hours of wire brushing, it is now ready for primer and paint. That will happen tomorrow. Yup, there's a lot of stuff in that garage. I just finished a complete bathroom remodel of our master bath and I didn't spend too much time cleaning up before getting to work on the trailer. I just wanted to get going on the build!!!
I might be able to work in the garage all winter if I do some clean up and if I get the permission from She who must be obeyed...
Anyway, I hope to document the build here, as completely as I can, partly because I know I will need help as I move along and also because I hope it will prove to be instructional to those who want to do the same thing.
Wish me luck, here we go!!!
 Good Luck !!!


