A Foamie for one
Hello fellow foam-ites:
I have had my eye on George Coe's "Bug Out" trailer for some time and following his youtube https://www.youtube.com/channel/UC3xVuHPVJm1kSSiploqPyrw videos detailing how he built his trailer.
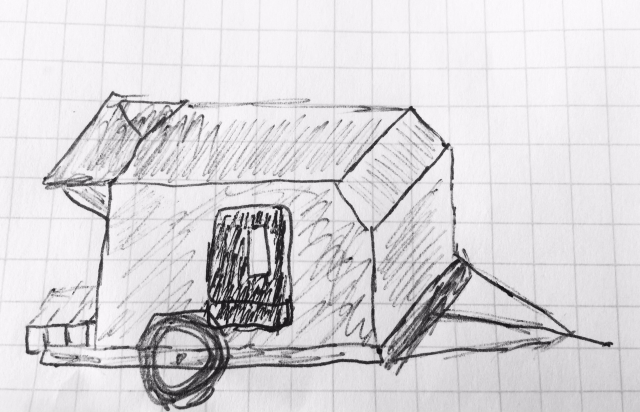
Decided to take the plunge for myself. My vision for a "foamie for one", just me and my small dog...was this:
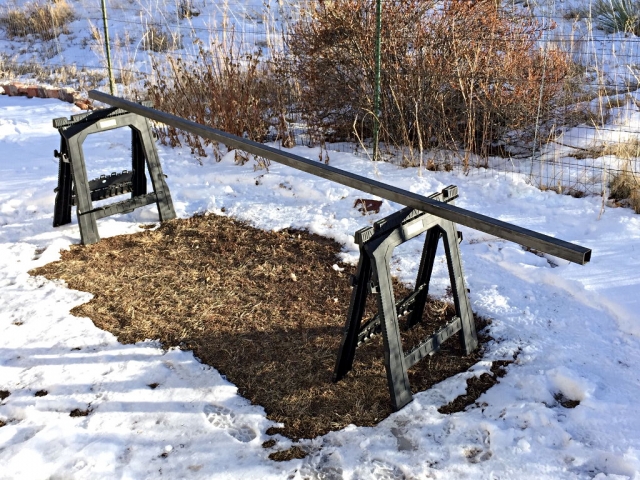
When I saw George add the 2x2 inch steel tube to his trailer, I knew I wanted to do that as well. Bought the tube before I bought the trailer or started the actual build.
When I went to buy an HF trailer they had the "problem with DOT" sign up and did not sell me a trailer. Went back to the same store days later, different people on duty, sign about suspended trailer sales was still posted, but they did sell me a trailer!
So I bolted the trailer together, and painted it grey:
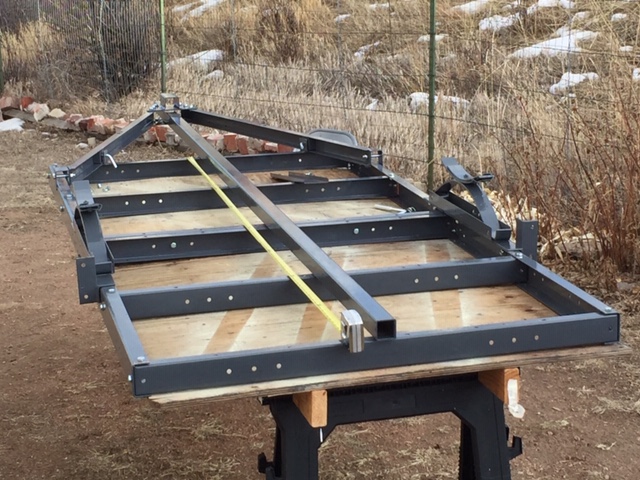
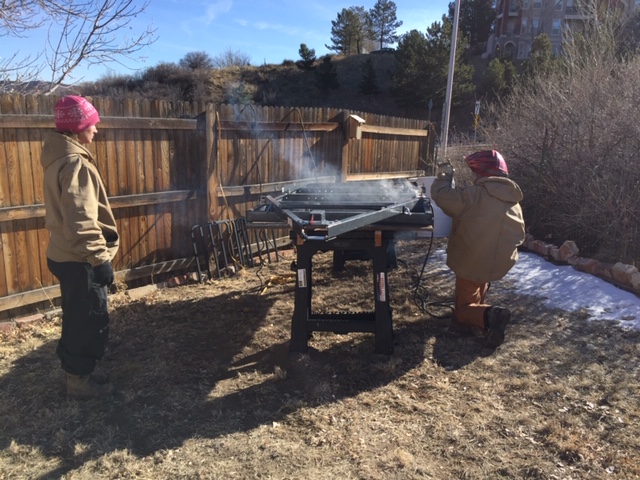
I was going to bolt on the 2x2 inch steel tube, but decided to hire a "mobile welder" off Craigslist, so that I could also move the axle back a few inches in case I wanted to go with the larger 13 inch rims in the future:
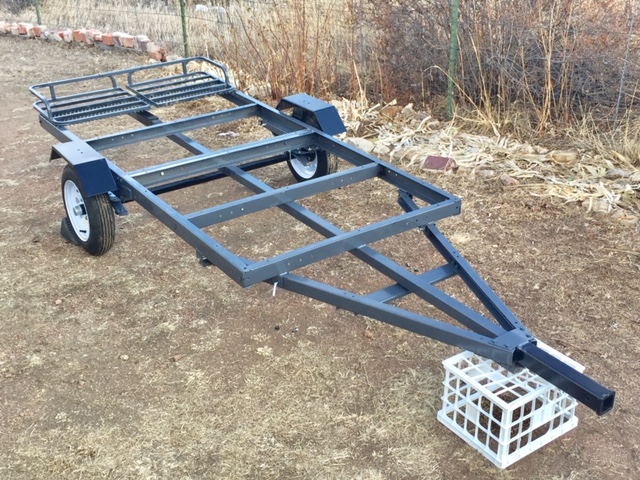
The "mobile welder" went buck wild and every time he saw a bolt, he welded! We moved the axle rearward 3 inches, sawed off the holders for the fold up wheels, and installed the 2x2 inch steel tube "spine" (really transforms this trailer to be MUCH nicer). He also installed (welded on) a rear cargo carrier with extruded metal below. There are 2 inch receivers on both ends of the trailer. I will fabricate a removable hitch for the front:
Before I had the windows/door, I did a quick mock up of the panels:
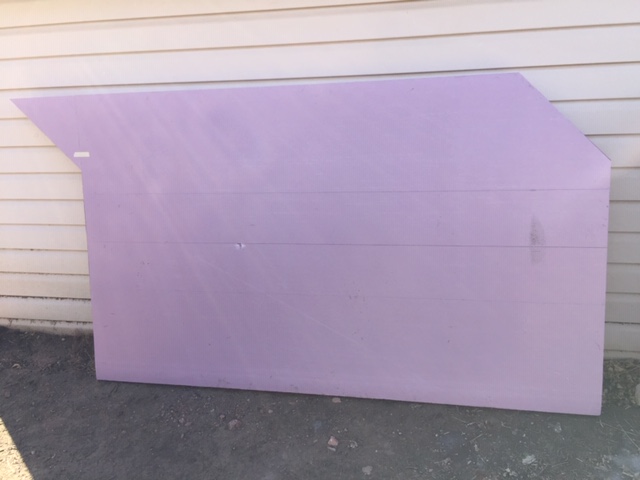
Profile:
Quick Mockup:
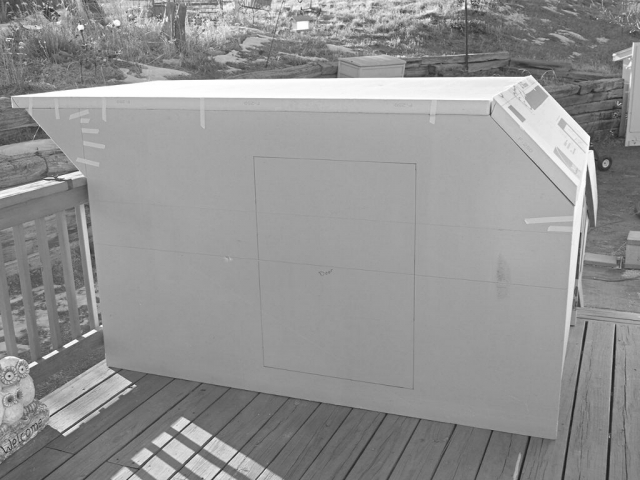
I thought looked a lot like my initial concept drawing....
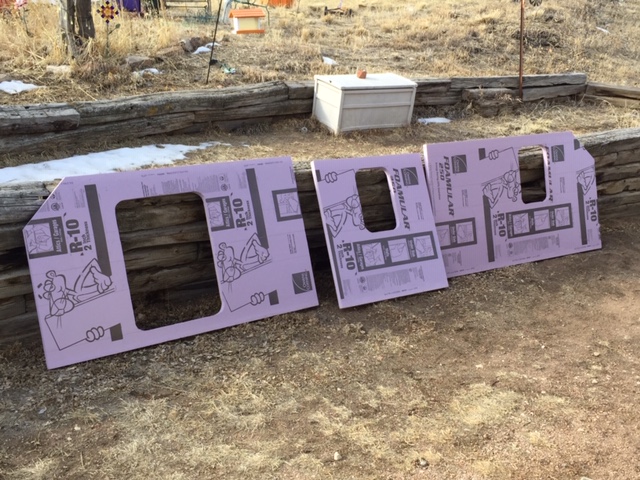
So far so good. My windows and doors came in, so did the cuts for them:
And then spackled:
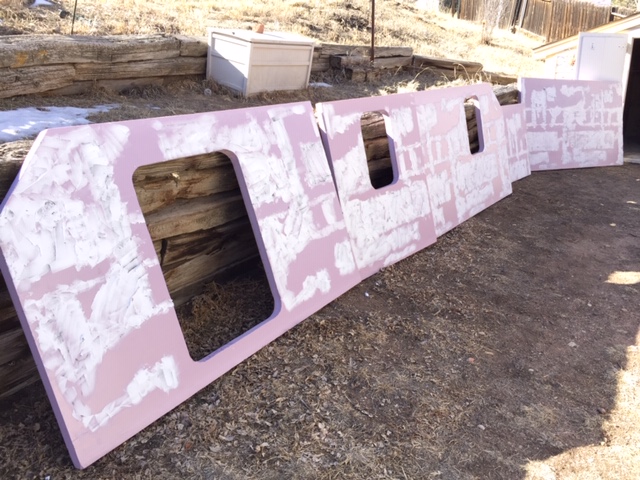
I messed up on the drivers side window cut out, so had to buy another panel. Wasn't too upset by this as I didn't like the window location on my first attempt. So bought another panel and made my cuts, and spackled for the deep printing on the printed side:
Here is the corrected panel:
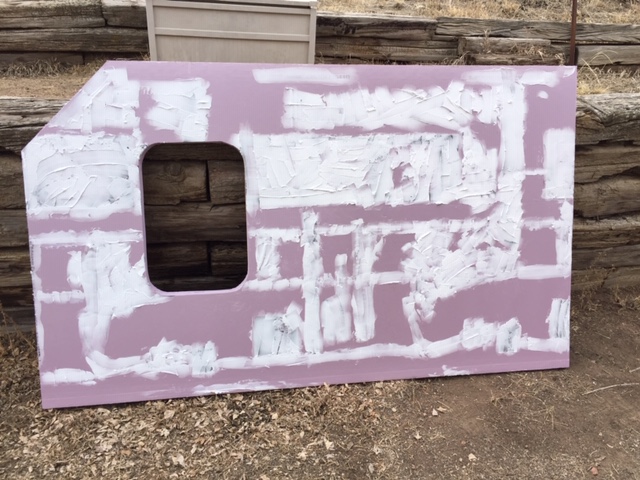
When the spackle was drying I thought "oh no"...yep, did it backwards and the printed side will be on the outside! Was supposed to be "all printed sides on the inside"!
Oh well, will just spend more time on the spackle/smoothing for this panel before the canvas goes on.
Snowed here this evening, so my jets will be cooling for a few days.
Wanted to say thanks again to George Coe, for his generosity in sharing of his knowledge and his help!
Thanks George!!
.
I have had my eye on George Coe's "Bug Out" trailer for some time and following his youtube https://www.youtube.com/channel/UC3xVuHPVJm1kSSiploqPyrw videos detailing how he built his trailer.
Decided to take the plunge for myself. My vision for a "foamie for one", just me and my small dog...was this:
When I saw George add the 2x2 inch steel tube to his trailer, I knew I wanted to do that as well. Bought the tube before I bought the trailer or started the actual build.
When I went to buy an HF trailer they had the "problem with DOT" sign up and did not sell me a trailer. Went back to the same store days later, different people on duty, sign about suspended trailer sales was still posted, but they did sell me a trailer!
So I bolted the trailer together, and painted it grey:
I was going to bolt on the 2x2 inch steel tube, but decided to hire a "mobile welder" off Craigslist, so that I could also move the axle back a few inches in case I wanted to go with the larger 13 inch rims in the future:
The "mobile welder" went buck wild and every time he saw a bolt, he welded! We moved the axle rearward 3 inches, sawed off the holders for the fold up wheels, and installed the 2x2 inch steel tube "spine" (really transforms this trailer to be MUCH nicer). He also installed (welded on) a rear cargo carrier with extruded metal below. There are 2 inch receivers on both ends of the trailer. I will fabricate a removable hitch for the front:
Before I had the windows/door, I did a quick mock up of the panels:
Profile:
Quick Mockup:
I thought looked a lot like my initial concept drawing....
So far so good. My windows and doors came in, so did the cuts for them:
And then spackled:
I messed up on the drivers side window cut out, so had to buy another panel. Wasn't too upset by this as I didn't like the window location on my first attempt. So bought another panel and made my cuts, and spackled for the deep printing on the printed side:
Here is the corrected panel:
When the spackle was drying I thought "oh no"...yep, did it backwards and the printed side will be on the outside! Was supposed to be "all printed sides on the inside"!
Oh well, will just spend more time on the spackle/smoothing for this panel before the canvas goes on.
Snowed here this evening, so my jets will be cooling for a few days.
Wanted to say thanks again to George Coe, for his generosity in sharing of his knowledge and his help!
Thanks George!!
.
