Sportsmans' Cub
I decided to start a thread to keep interested parties up to date on my build. I will add to this as I get more done. I haven't worked on it much the last 2 months due to the holidays, me being a bit under the weather and some other responsibilities. I mentioned in an previous thread how I am making 2 of these with the intent of selling 1 for the cost of building the 2. So the extra parts you may see in the pics aren't my mistakes.
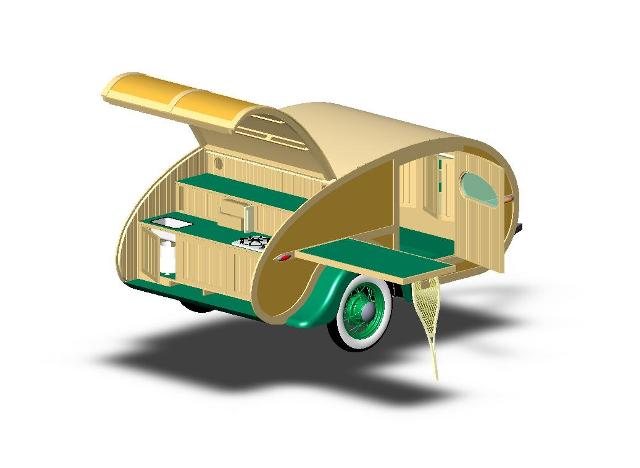
This is what I shooting for.
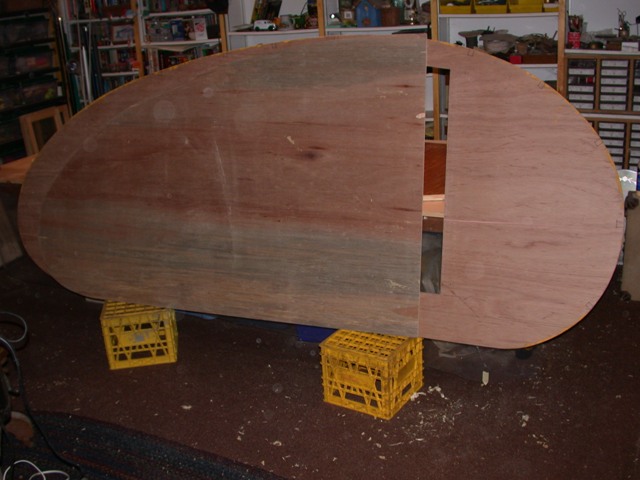
Patterns of the profile. One the full side, the other for cutting the hatch notch.
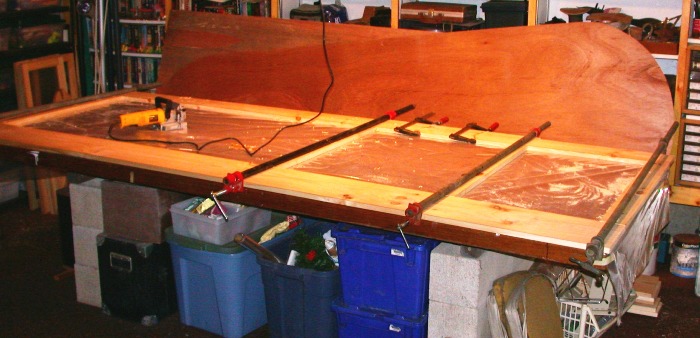
Gluing up the side frames.
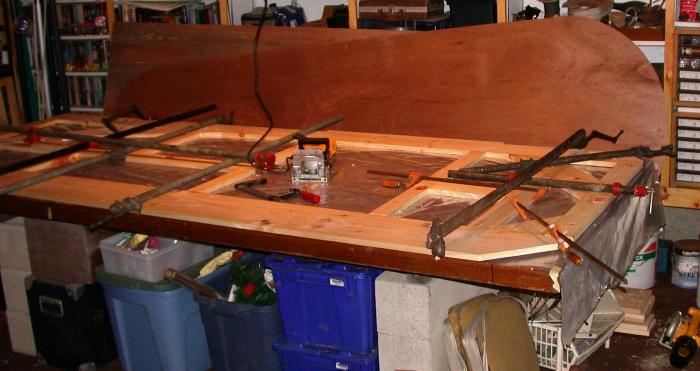
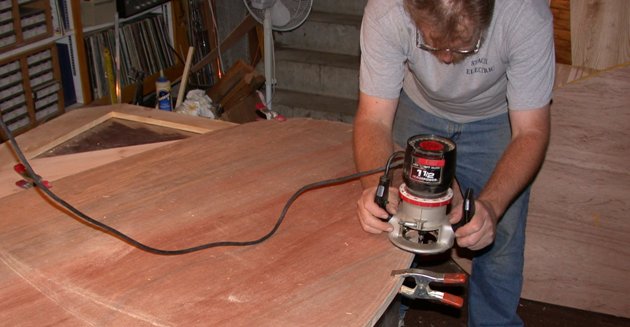
Using the pattern to router the profile.
Gluing oak bead board panels for the inside walls.
After I'll trim the paneling with a router using the frame as the guide.
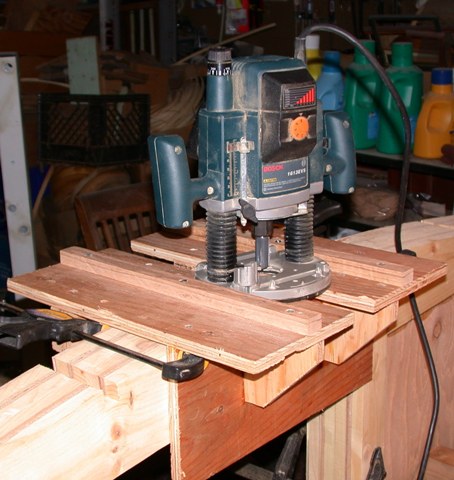
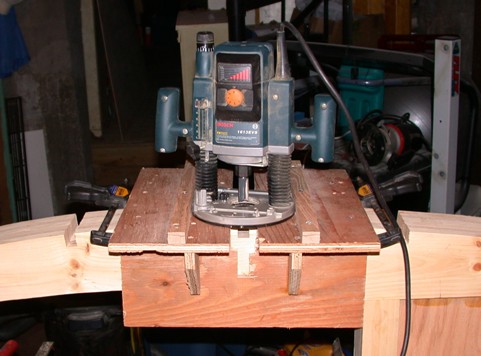
Using a fixture to mill the notches for the roof spars. Thanks Davel.
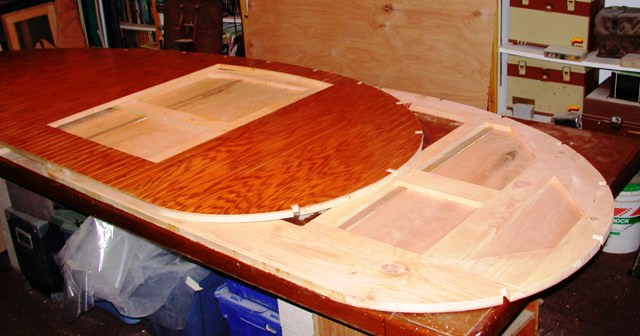
Finished sides with inside walls stained and spar urethaned.
I've just about finished the front bulkhead/headboard/cabinet assembly
Also, I guy I work with is finishing up school for his degree in mechanical engineering and needed a project. I gave him my welded chassis design to engineer for optimum strength/weight/cost. His professor thought it was a great project. I'll post the report when it's done.
Regards, Bob "O"
This is what I shooting for.
Patterns of the profile. One the full side, the other for cutting the hatch notch.
Gluing up the side frames.
Using the pattern to router the profile.
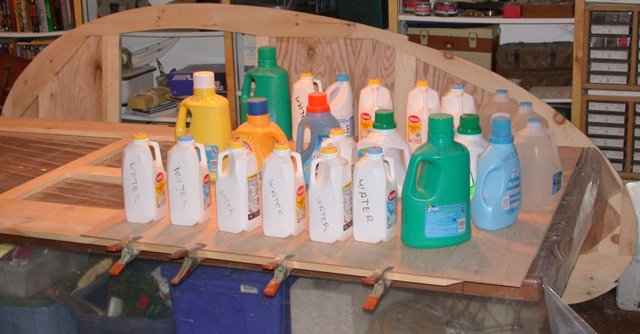
Gluing oak bead board panels for the inside walls.
After I'll trim the paneling with a router using the frame as the guide.
Using a fixture to mill the notches for the roof spars. Thanks Davel.
Finished sides with inside walls stained and spar urethaned.
I've just about finished the front bulkhead/headboard/cabinet assembly
Also, I guy I work with is finishing up school for his degree in mechanical engineering and needed a project. I gave him my welded chassis design to engineer for optimum strength/weight/cost. His professor thought it was a great project. I'll post the report when it's done.
Regards, Bob "O"


