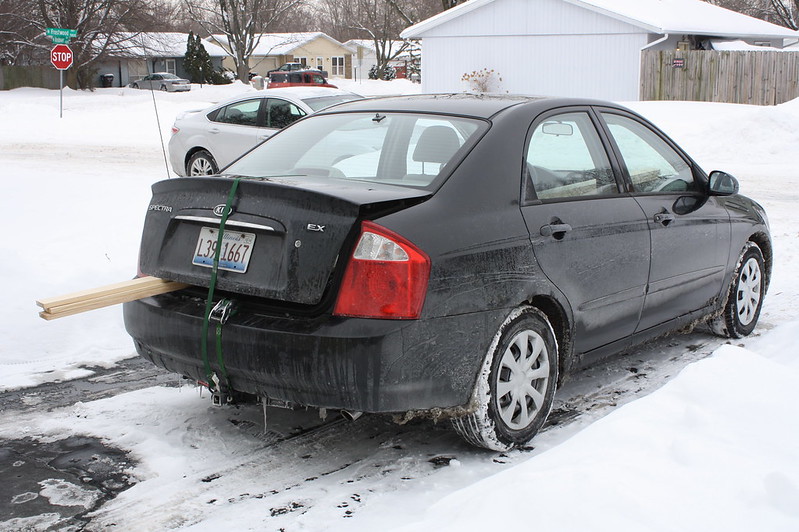
The cashiers at Harbor Freight recommended I don't go to the DMV to register, as they've heard stories from people saying it could be a nightmare. They recommended a small title place, I went there, paid $136, and I have a temp plate right now, and within a month should have my title and real plates. I did some research here, and if a cop asks why I have regular trailer plates and not recreational trailer plates (Illinois has both types of plates), I'll tell him it's a utility trailer hauling my camper, and show him how I could unbolt the camper from the trailer if desired. The cool thing is that once I assemble my trailer I can slap on the temp plate and use it to go get my wood, instead of borrowing someone else's trailer to do so.
I don't have a whole lot planned specifically yet, but I have a general picture floating around in my head of how it will be. Rigth now I think it will be built with 1x1 framing, skinned on both sides with 1/4" ply and insulation in the middle. Will have a 7' long sleeping section, since I'm 6' 5", and will probably be built 5' wide. I plan on having a deep cycle battery, roof vent with fan, LED interior/exterior lights, high mount brake light and amber turn signals, including flashing amber running lights, and a automatic connect/disconnect via relay and microcontroller to charge the battery when my car is running but not when it's off. The electrical part should not be an issue, I dabble with some electronics and microcontrollers. Still a lot to research, and it'll be a week or two before my trailer is running anyway. It will sure be a learning experience, and look for my questions in threads I'll post elsewhere.
Hope to have the trailer built by spring, so I can camp before the summer heat hits.

<EDIT Jan 22nd, 2014> I changed plans after stumbling across the foamie section, I will now be building a foamie, not a sandwhich ply/foam as described below. Title has been changed to reflect this.
<EDIT Feb 17th, 2014> You can track the costs on my Google Spreadsheet. This will be updated as time goes on. It's split into three sheets (at the bottom). The first sheet is Essential Building Materials, this is a list of all the materials required to build my teardrop. The second list is Optional/User Added Items. This is anything that is not part of the essential building materials but added by choice, such as an AC, interior lighting/wiring, extra outside lights such as different stop/turn lights or area lighting, etc. Please note I'll try to separate the essential and optional materials from between the sheets, but there may be some crossover (I'm adding a Fan-tastic Roof Vent/Fan. Ventilation is essential, but power ventilation is not really essential, depending on who you ask I suppose. See how it could go either way? Finally, the third sheet is Required Tools, a list of tools I needed to build this Teardrop. Obviously this list will not be the same for everybody, as some will have more tools then others. If I have a tool that I use, I'll try to enter it with a special color showing it was one I already owned but didn't buy, so people can get a good idea of what's required to build a Teardrop. This is the least helpful page, because people won't always use the same tools as other people, or will use a different tool because that's what they have and it works.
On the top of each page you'll find a running total of the costs of everything on that page.
Finally, realize the spreadsheet is a work in progress, and can and probably will evolve as time goes on. Once I fill in the backlog of purchases I've already made, I'll try to keep it updated soon after I buy the item. So if you see me mention I bought something, there's a good change it'll be listed in the spreadsheet so you can see the price if you're curious.


 Although I