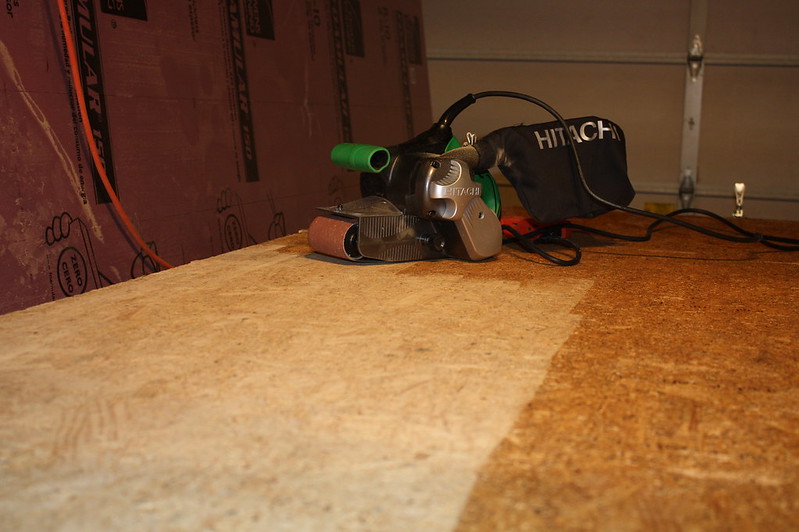
I was a little slow on continuing my build due to overtime at work throwing off my sleep scedule, which was not helped due to my recent spurt of Minecraft gaming. However, I now have progress to report. On Monday I picked up a belt sander. After reading reviews and debating, I decided not to get the $40 Ryobi, but instead got the $150 Hitachi SB8V2. This is a 3"x21" adjustable speed belt sander. It comes with an 80 grit belt and more importantly, a 5 year warranty, so I believe this will last. It appears to be well made, as it should, it's not a bottom line low cost tool. The reviews mentioned the dust collection system works very well for a belt sander.
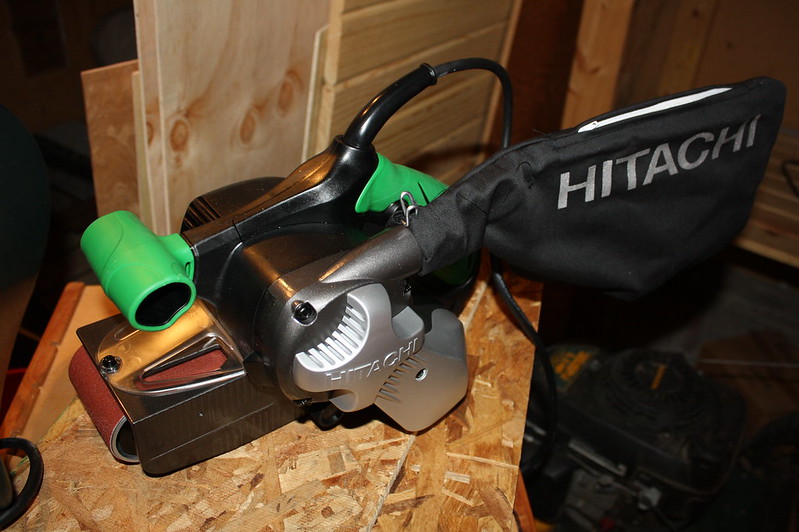 Hitachi SB8V2 3"x21" Belt Sander
 by
jseyfert3, on Flickr
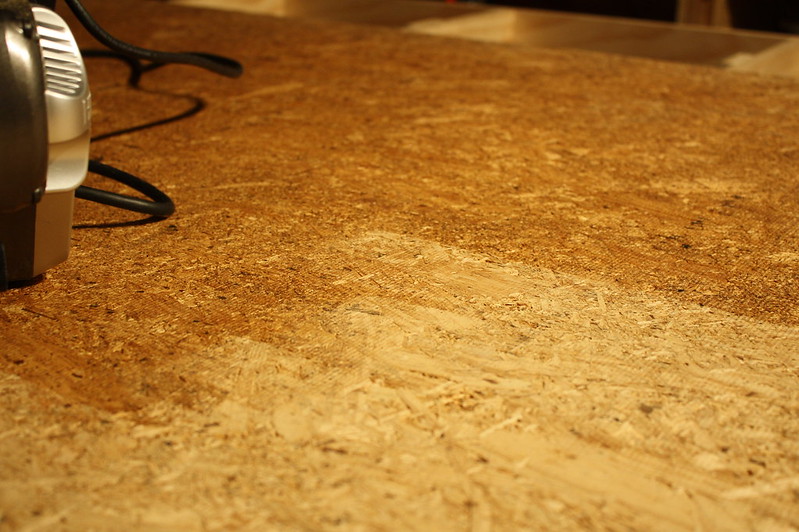
The 1/2" OSB I got from the Home Depot had a very rough side, and this was the side the OSB said goes up. My dad had a name for it, but in plain terms said it's assembled on a mesh type belt, which causes the rough surface on one side. I used the included 80 grit belt to sand down the OSB. I may give it another pass with 120 grit before soaking it in the mix (75% paint thinner, 25% polyurathane).
 Sanding The OSB
 by
jseyfert3, on Flickr
This is a closer view of the rough surface and the sanded surface.
 Close up of Before and After
 by
jseyfert3, on Flickr
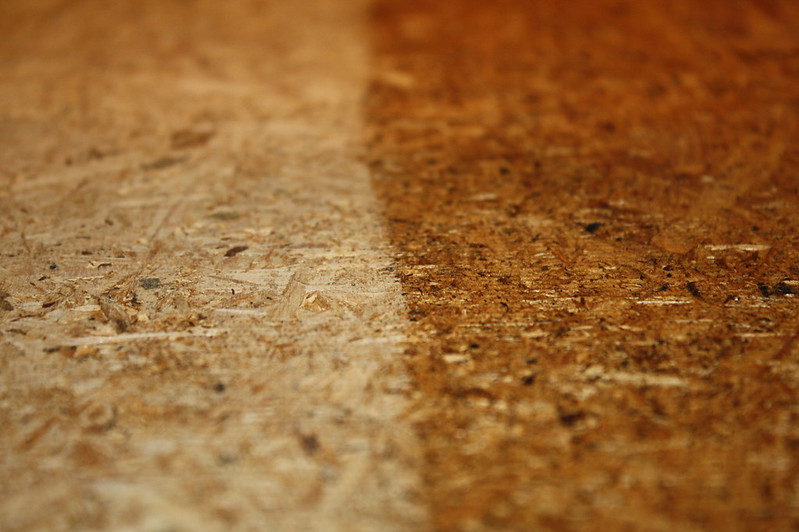 Extreme Close Up
 by
jseyfert3, on Flickr
Finished one side in under 10 minutes, belt sanders cannot be beat for rapid sanding. Note the dust bag is sagging quite a bit, it was pretty full after this.
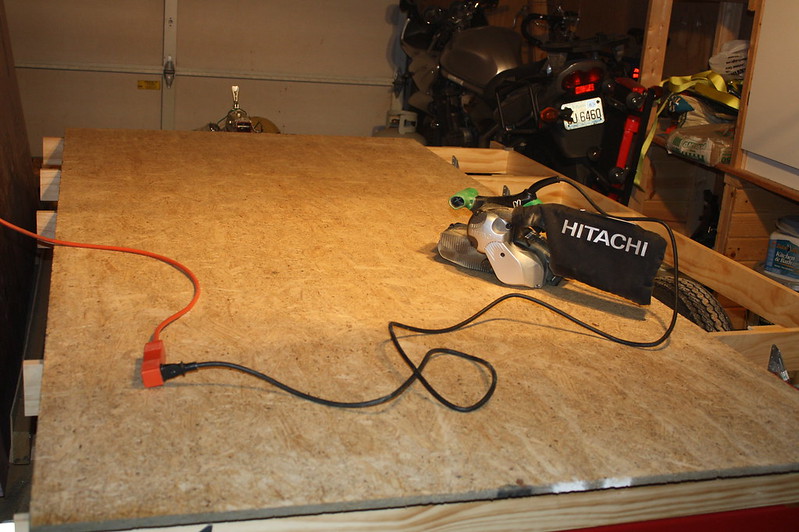 First Sheet Sanded
 by
jseyfert3, on Flickr
By the time I got the second sheet sanded, the sander was looking like belt sanders always do, covered in dust. Despite the dust on the outside, the sander does do a good job with dust collection, much, much better then the 25-30 year old Craftsman belt sander my dad has, if I remember correctly. There were definitely no piles of dust left on the wood or dust shooting out of the sander while it was running. It did of course kick up some, but for a belt sander, I'd say it wasn't much.
 Looking Used Now
 by
jseyfert3, on Flickr
Speaking of great dust collection, this is how much it collected.
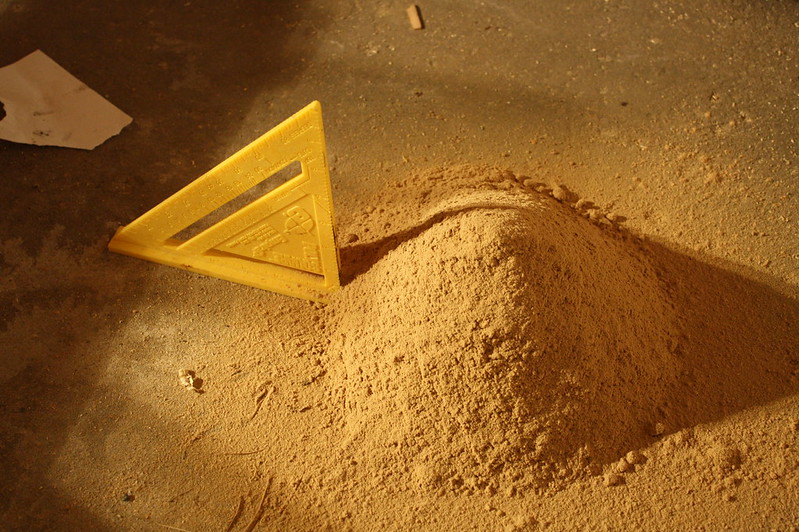 Mount Sandmore (1)
 by
jseyfert3, on Flickr
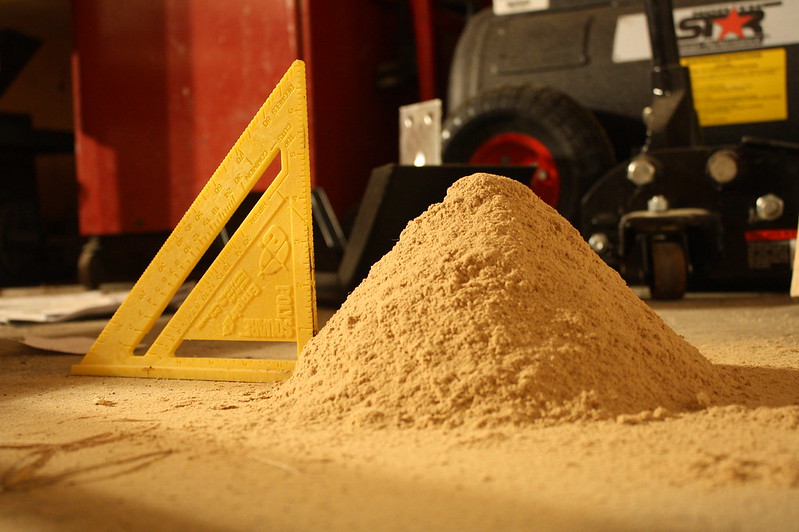 Mount Sandmore (2)
 by
jseyfert3, on Flickr
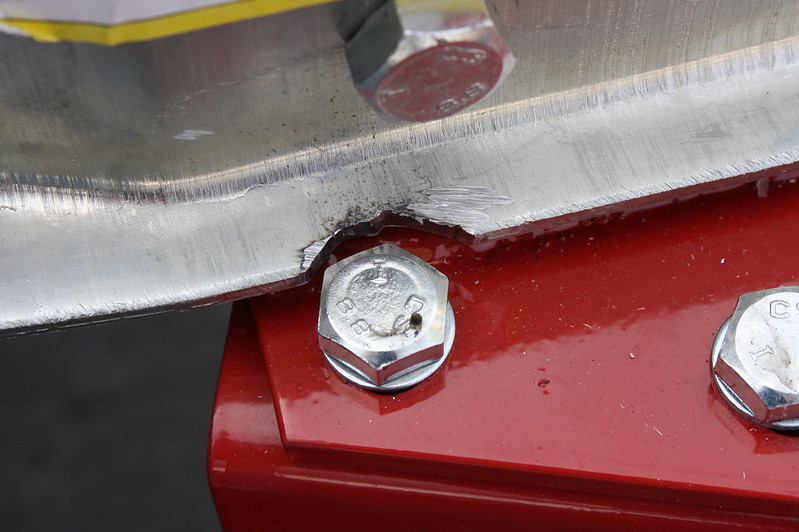
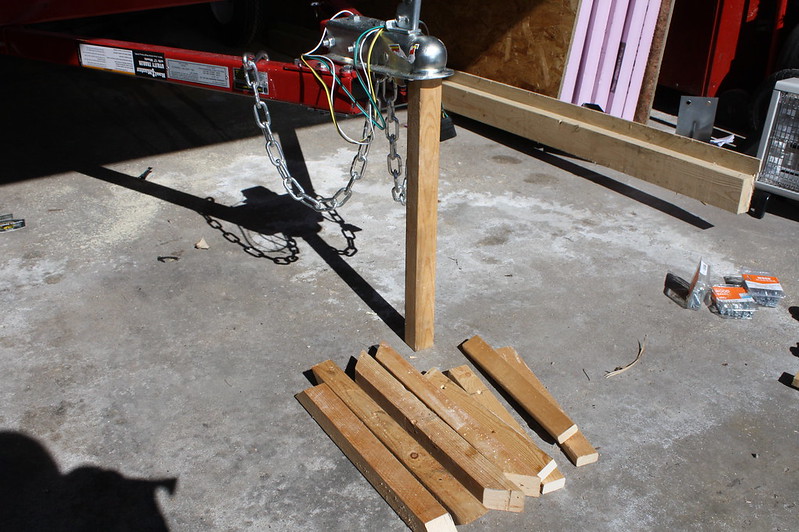
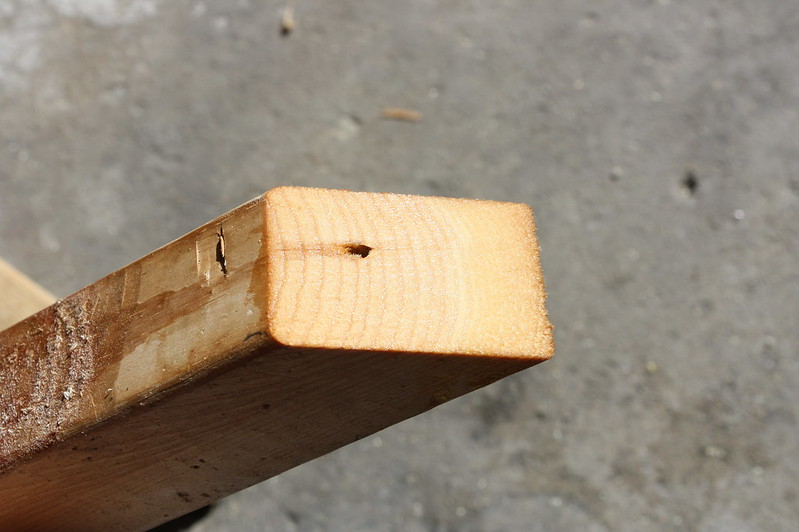
Two of the 1x4's for the floor frame sat on top of the bolts that hold the trailer together. To combat this, I bought a set of Forstner bits. I marked out the spot where the 1x4 sat on the bolt, then used a 7/8" bit to drill a hole deep enough so the 1x4 could sit flush on the trailer frame.
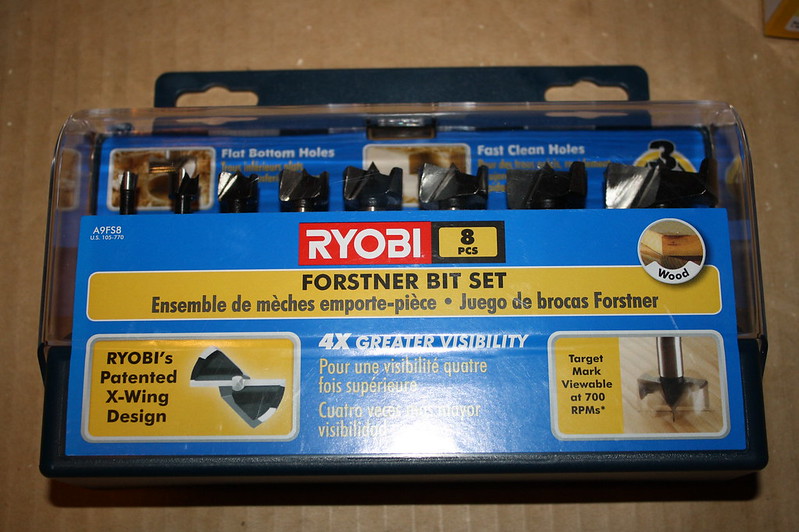 Forstner Bits for 1x4's Over Bolts
 by
jseyfert3, on Flickr
To screw together the 1x4s and screw the OSB to the 1x4s, I bought some #8 x 2" Deckmate star drive screws from HD. They are for all treated lumber and all exterior projects for connecting wood to wood. Perfect! They included a star drive bit.
 Exterior Screws for Floor/Frame
 by
jseyfert3, on Flickr
Since I wanted the 1x4s sitting on the trailer to make sure everything fits together good (they were sitting in the hurricane ties but not screwed to them), this required me to come up with a way to hold the side 1x4s while I drilled and screwed. I used two clamps to hold a scrap piece of plywood to the bottom of the 1x4s at the front and rear of the trailer. This supported the side board from the bottom, so I only had to align the board left/right to attach it.
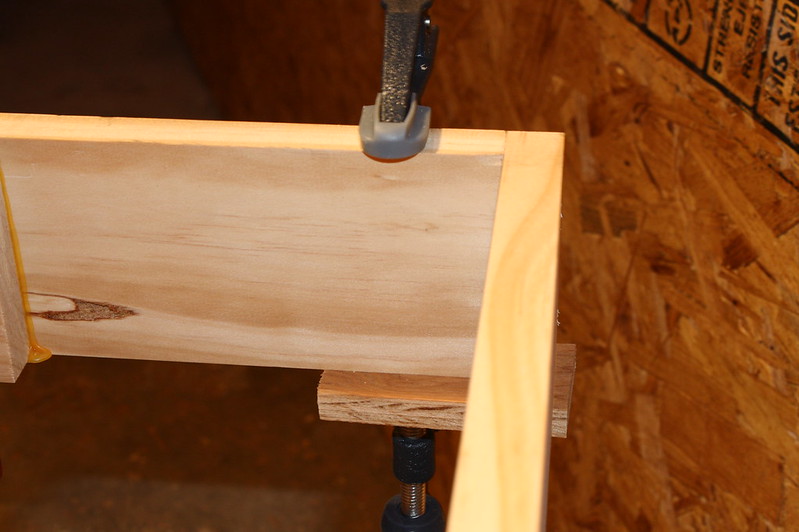 Clamp Holding Support Wood
 by
jseyfert3, on Flickr
First I pre-drilled the holes for the screws with a 1/8" drill bit. Then, based on the response I received
on how to waterproof the screw holes, I ran all the screws in before applying any glue.
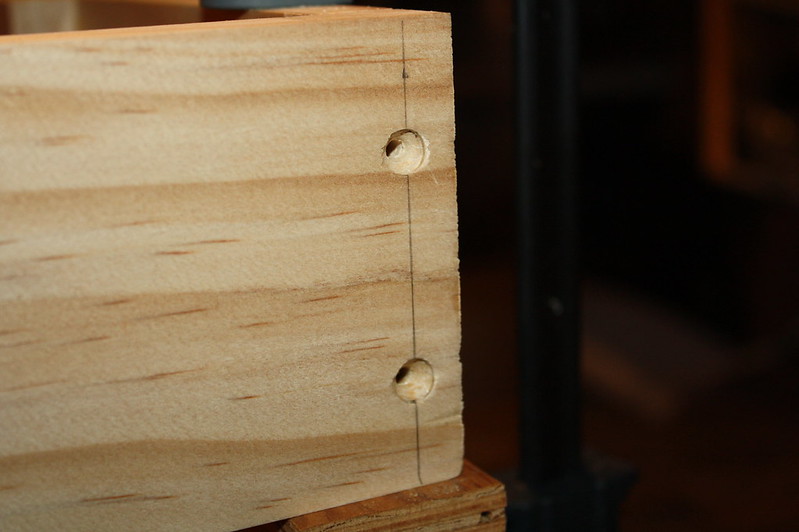 Holes Predrilled and Pre-Screwed
 by
jseyfert3, on Flickr
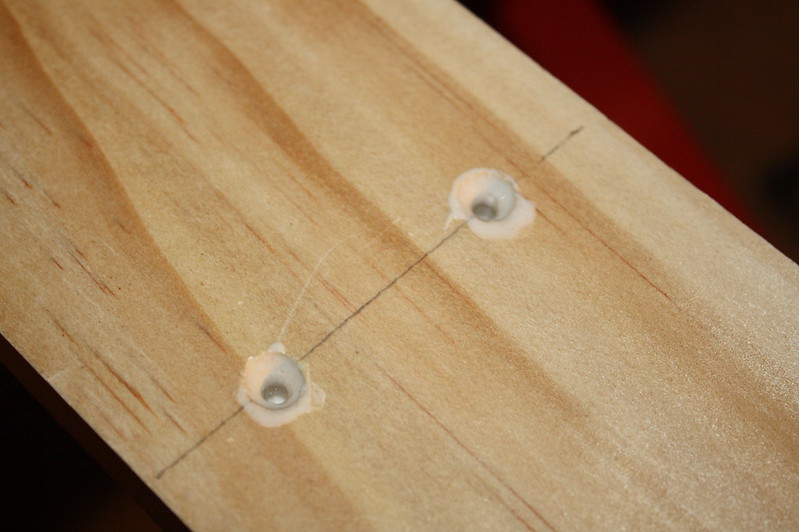
After removing all the screws, I applied a small pool of Titebond III to each screw head indent. This ran down the holes somewhat on the outer 1x4.
 Titebond III to Seal Screw Heads
 by
jseyfert3, on Flickr
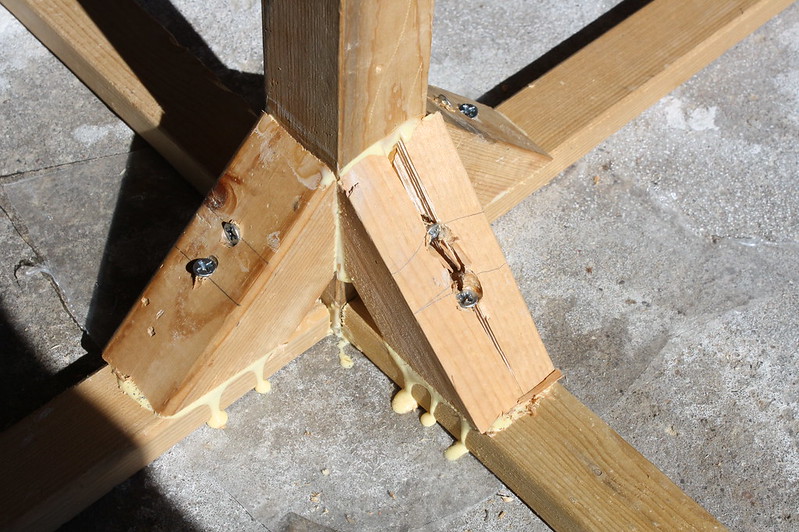
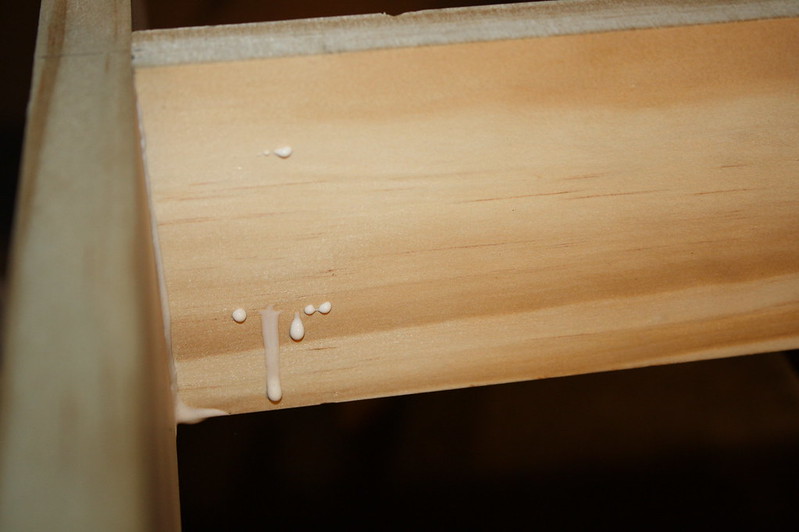
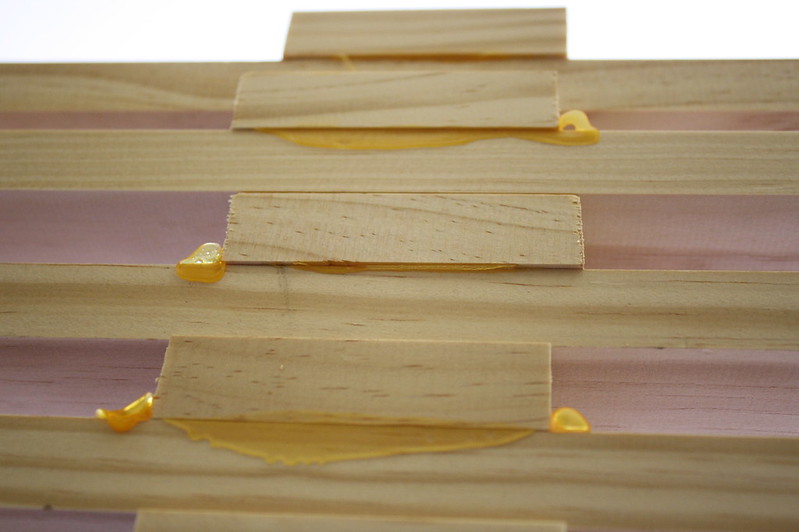
I decided it was not necessary to add glue to the holes on the cross 1x4s. I flipped the outer board over and applied TiteBond III to each spot where it would meet the cross 1x4s, which I had previously marked with a pencil. I then ran all the screws back in as quickly as I could, since the glue starts running as soon as you put the board on edge to screw it in place. A somewhat curious thing happened, I got glue leaking out of some of the boards. At first I thought I may have drilled too close to the edge and the screw was about to break through.
 Squeezed Through the Wood, Side 1
 by
jseyfert3, on Flickr
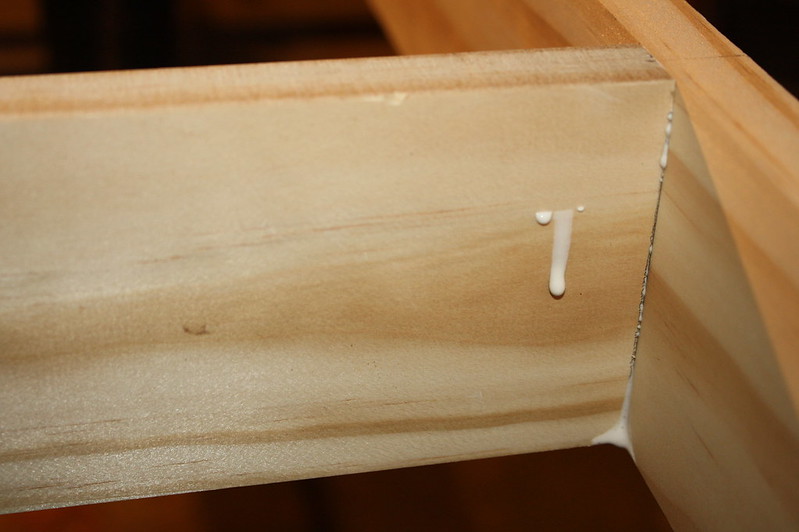
This was not the case however, because a lot of the time, glue came out both sides of the board on either side of the same screw. This is pretty lightweight, soft wood, and I suppose the glue that got squeezed in the hole in front of the screw had nowhere else to go when I ran the screws in with my impact driver.
 Squeezed Through the Wood, Side 2
 by
jseyfert3, on Flickr
Speaking of impact driver, I'm in love with the thing. It's Dewalt's 12V Max impact driver, lightweight and small, but it can drive a #10 x 3" screw into a 2x4 until the head is flush with the top of the board with no pre-drilling. Most of the time I was careful driving the screws in to keep them from going too far, but one time I went a little bit fast and didn't pay enough attention and the screw head was halfway through the 1x4 before I realized it.
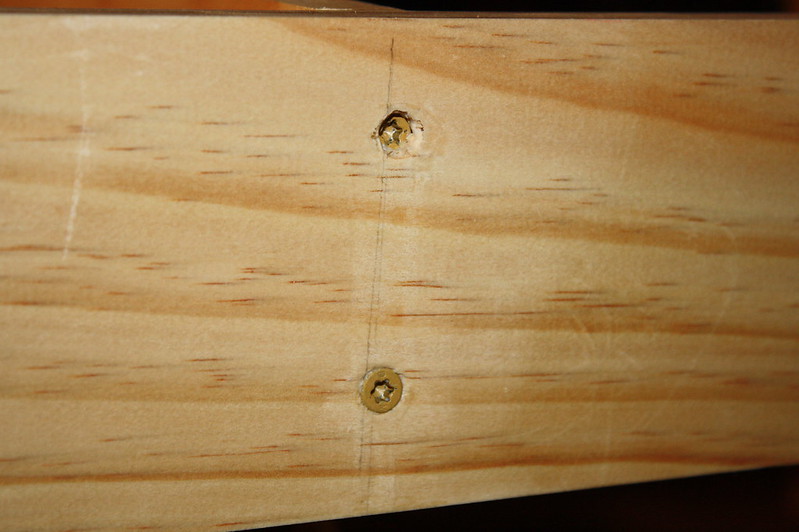 Overeager Screw
 by
jseyfert3, on Flickr
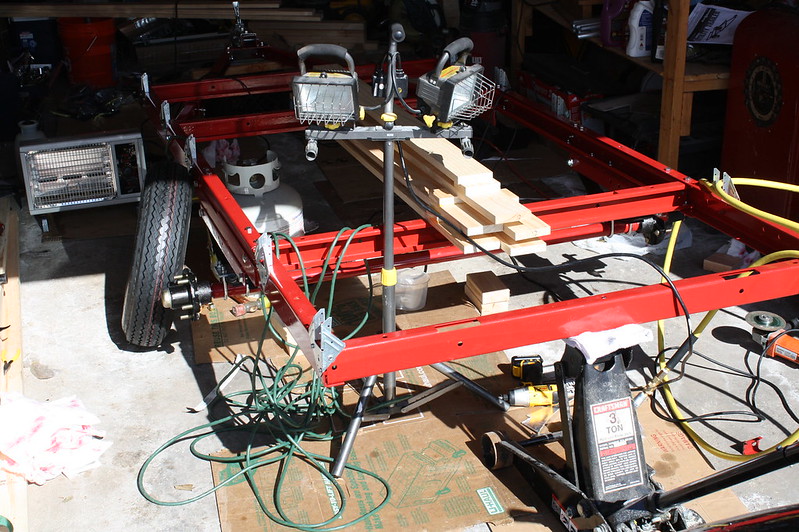
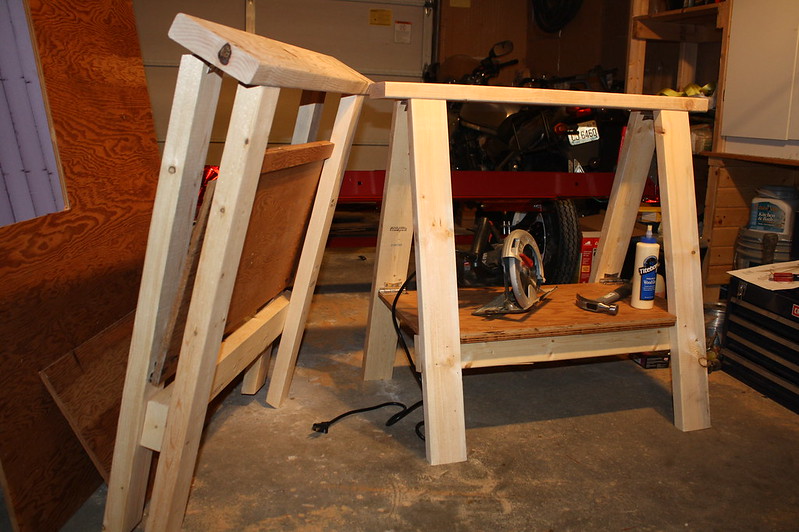
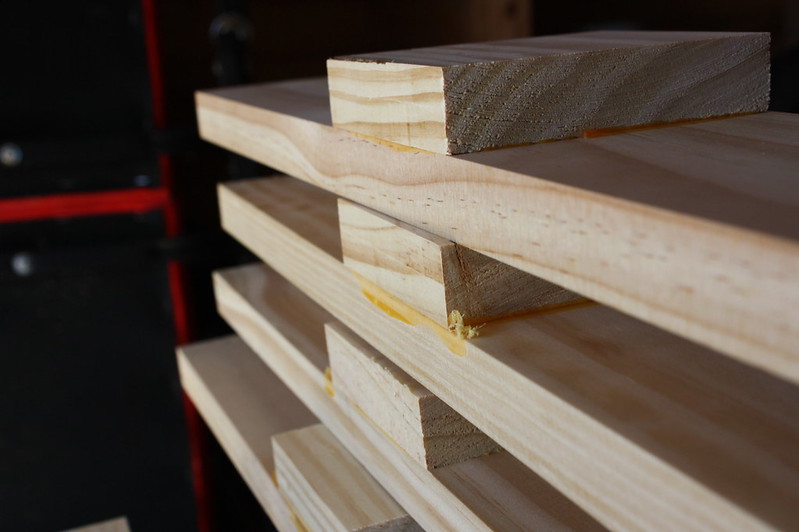
I did not want to cut the required 1x4s to
match this plan, then drill, screw, and glue them in place at this time. I decided it was a good stopping point, so this is where it sits currently. The frame is not screwed into the hurricane brackets yet, I will not be doing that until I paint the trailer and put multiple coats of the mix on the frame to waterproof it. Still seems like a shame to hide wood like this. I'm not used to buying wood that's practically finished sanded, straight, and knot free.
 Stopping Point
 by
jseyfert3, on Flickr
Of note, I have purchased a 5000 BTU window AC and a Fan-tastic Fan roof vent. I wanted to get the AC because I plan to mount it under the floor, along with the battery, and so I needed it for sizing info and to run the required ducting before I get the floor finished. I will probably purchase a deep cycle battery soon for the same reason. I got the fan so I can start planning how to fit that in with the roof profile as I expect to be cutting foam within a week or two. Perhaps that's a bit optimistic, but if I keep working on it the floor shouldn't take long. The longest part will be waiting for the poly to dry between coats.

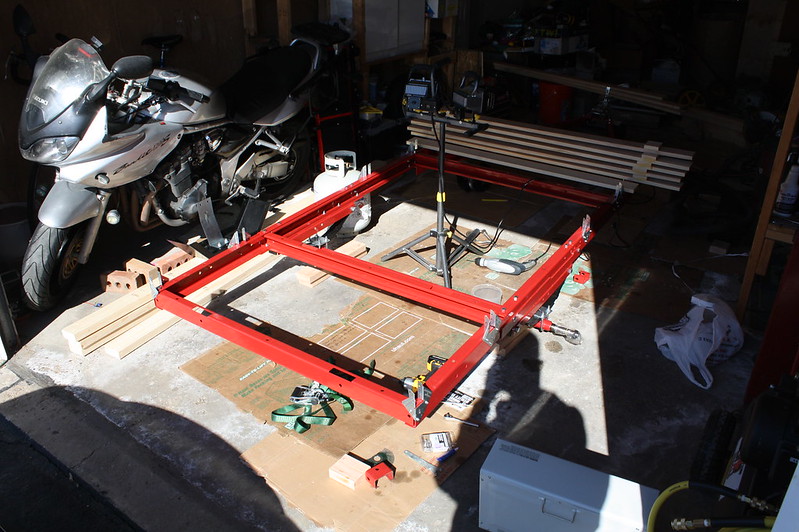


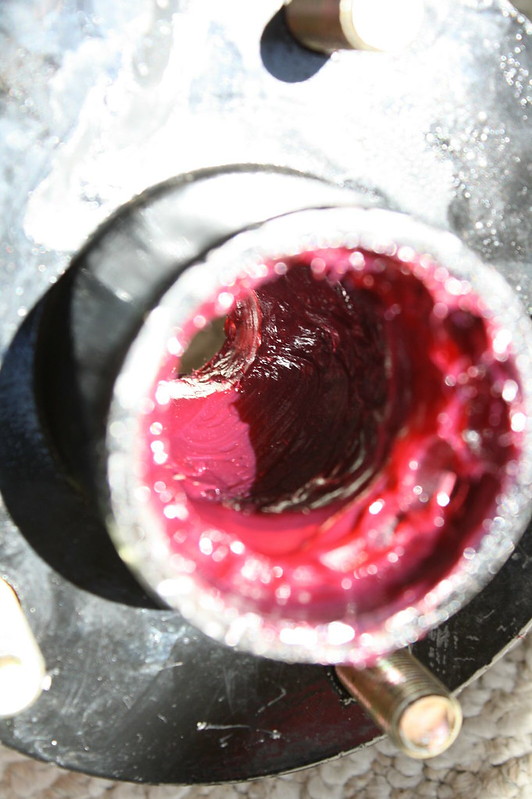
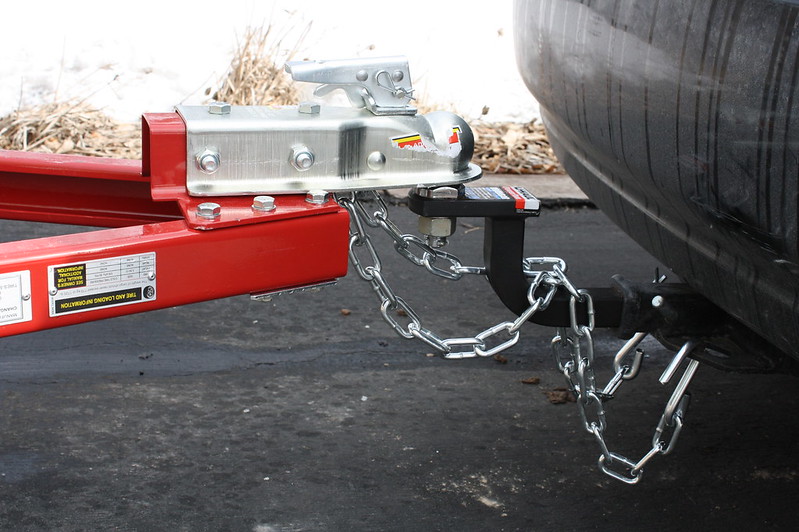
 You can see the sunlight, it was in the 40's that day and I was enjoying the fresh air and sunlight.
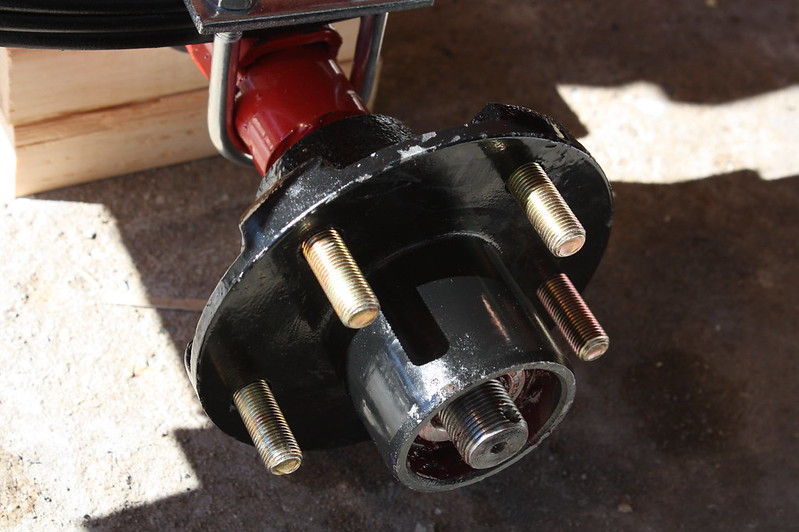
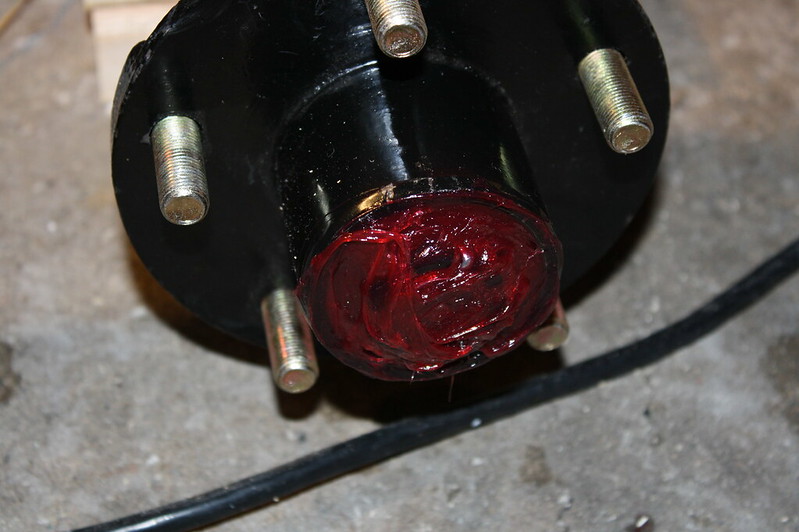
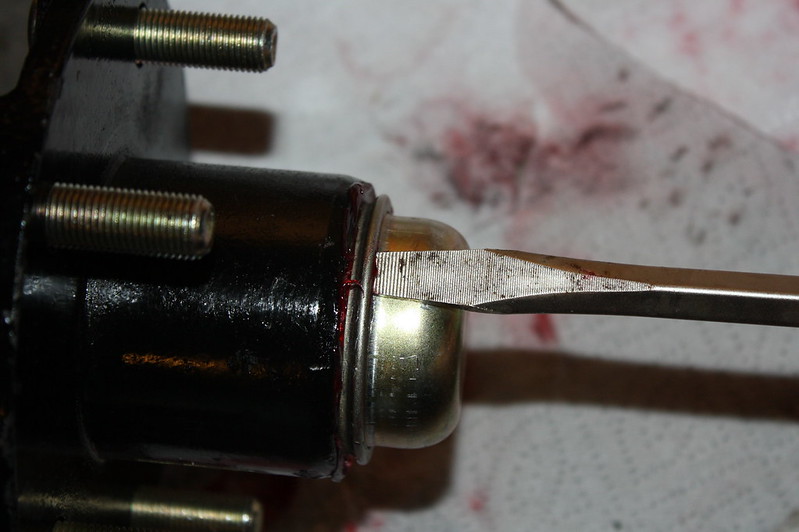
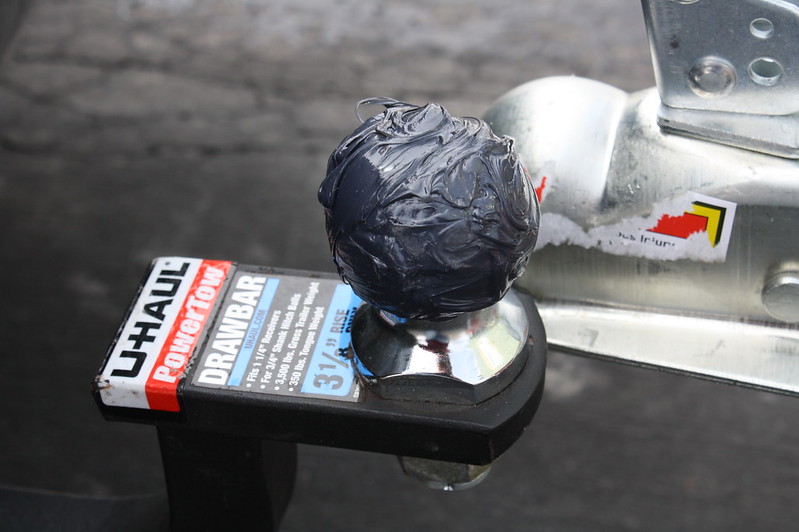
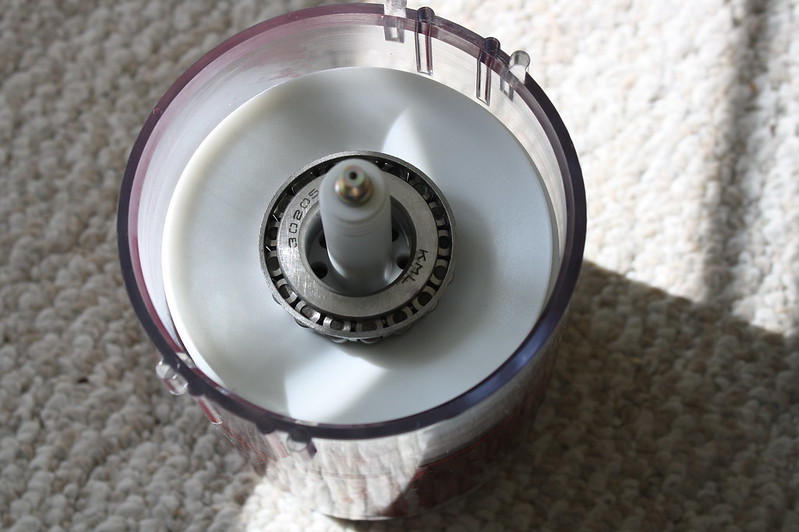
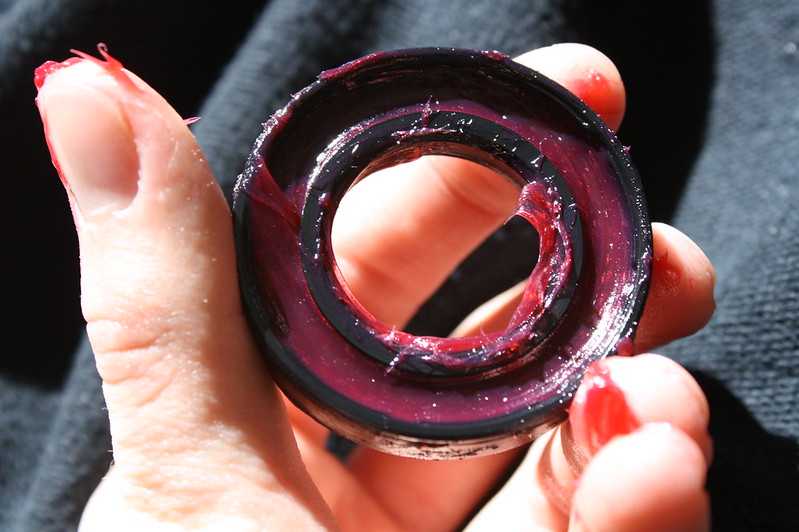
 However, that's not an issue besides looks as long as it still seals well and doesn't touch the axle inside.