Here are the pictures I have of the work done over the last 18 months. I didn't take nearly enough but these should give you an idea of what's been going on.
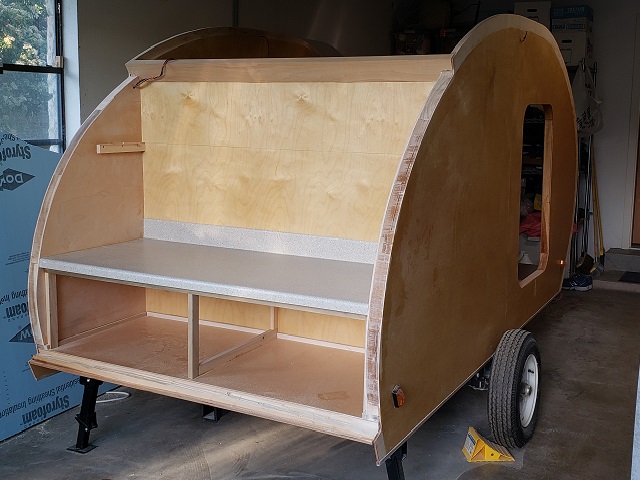
Here is a view of the galley showing the wall separating the cabin from the galley area. The countertop have been framed in and installed and there is a shelf to be installed above the countertop. You can also see the 2x4 beam of poplar that will anchor the hinges for the galley hatch.
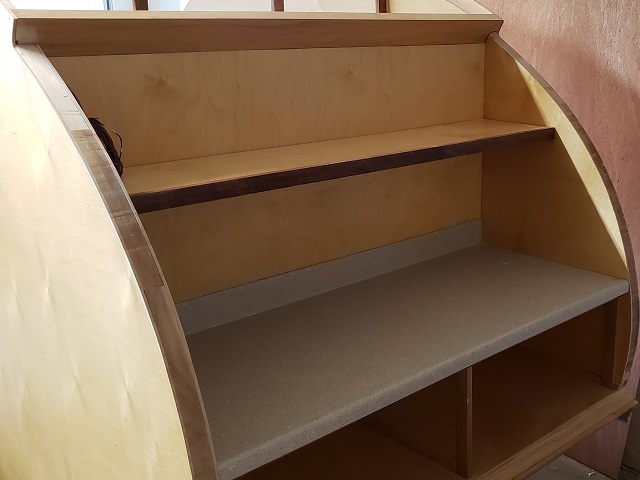
Here is that shelf above the countertop installed.
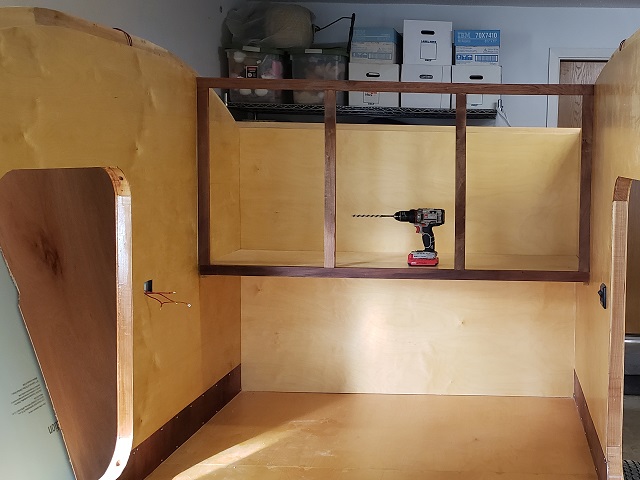
A view of the storage cabinet being framed in the rear of the cabin at the top of the galley wall. You can also see some of the wiring work being done.
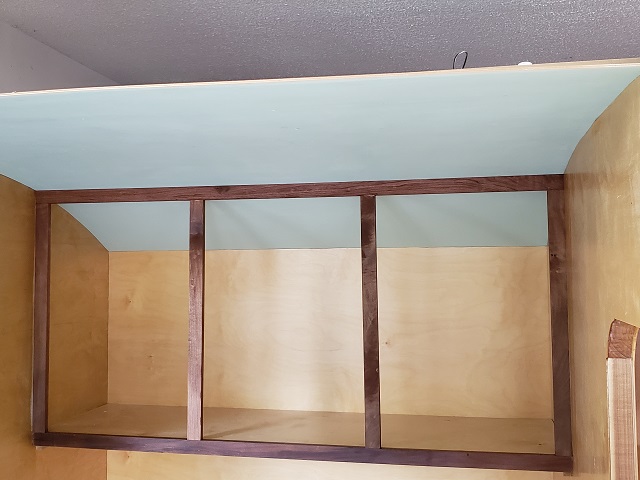
The first section of the cabin headliner has been installed. This is 1/8" birch plywood that has been pre-painted a light green.
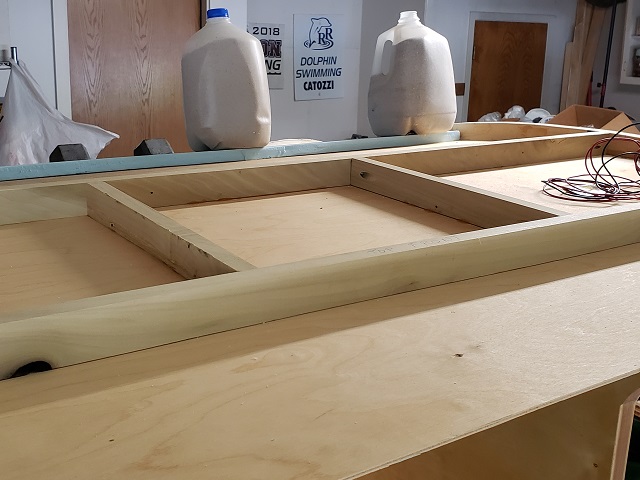
Here is the framing for the vent fan going into the short flat section of the ceiling. You can also see that I have started covering the headliner plywood with 1.5" of blue foam kerfed to fit the curved roofline. After all the foam is in place I will be shaping it and covering it with fiberglass cloth and epoxy.
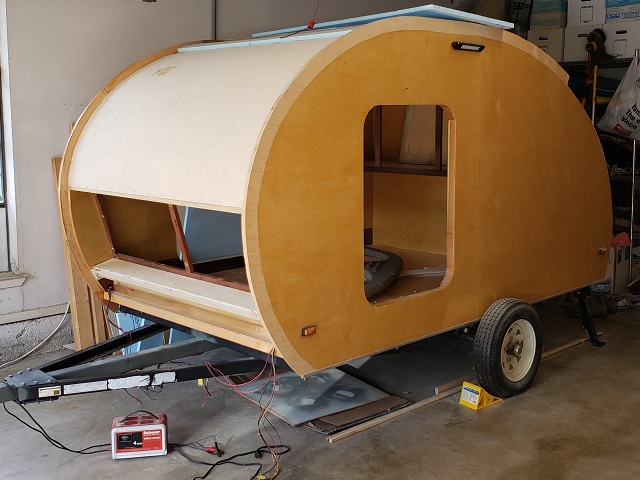
More of the headliner has been installed and more of the foam, also. Additionally, you can see framing for the small storage cabinet in the front of the cabin.
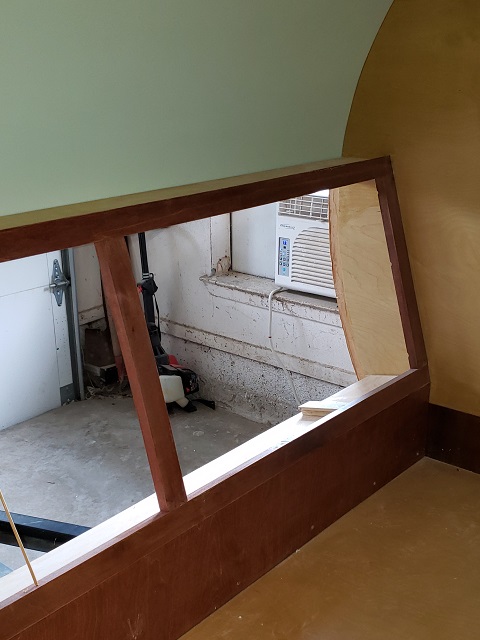
Here is a view of the forward storage cabinet framing from inside the cabin.
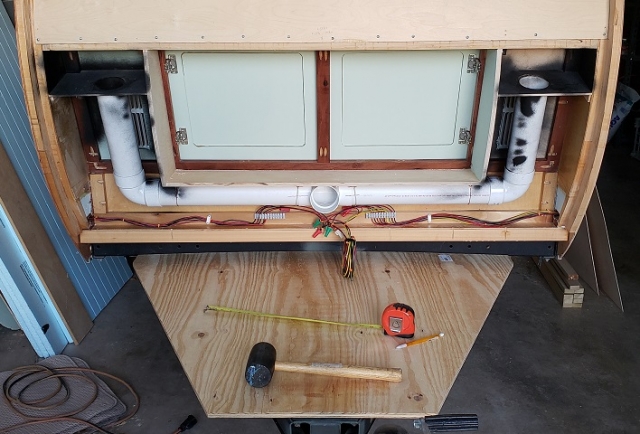
Skip forward a few weeks and here is the outside of the forward storage cabinet with air conditioning ductwork in place and wiring work visible below that. This area will be open to the tongue box for the air duct and return air to pass between the box and the cabin. The black spray paint is to help hide the view of the ductwork if looking into the vents inside the cabin.
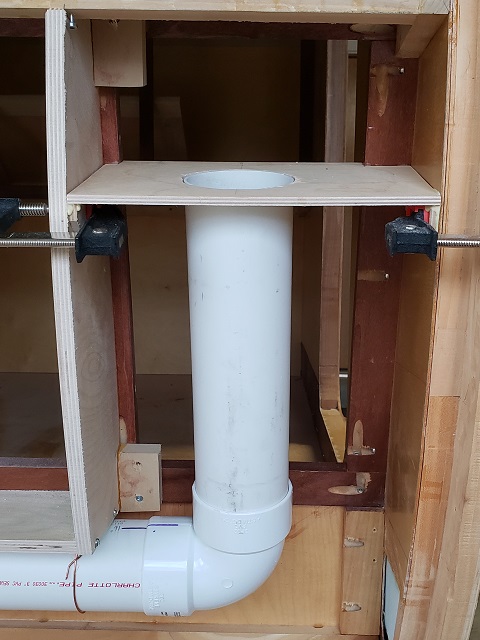
Here is some detail of the air conditioning ductwork. Cool air will come in thru the PVC pipe duct and enter the cabin via a vent in the top of the space above the end of the duct. Return air will leave the cabin thru another vent behind this duct. It can be better seen in another photo.
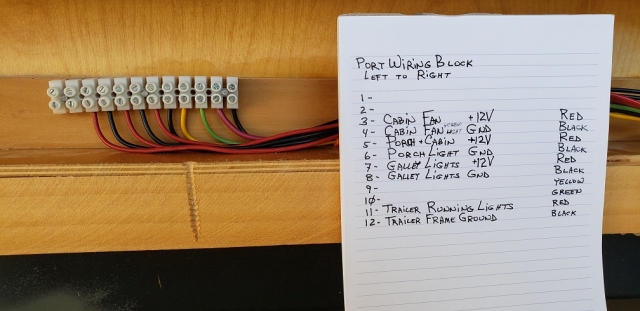
Detail photo of some of the wiring below the forward storage cabinet.
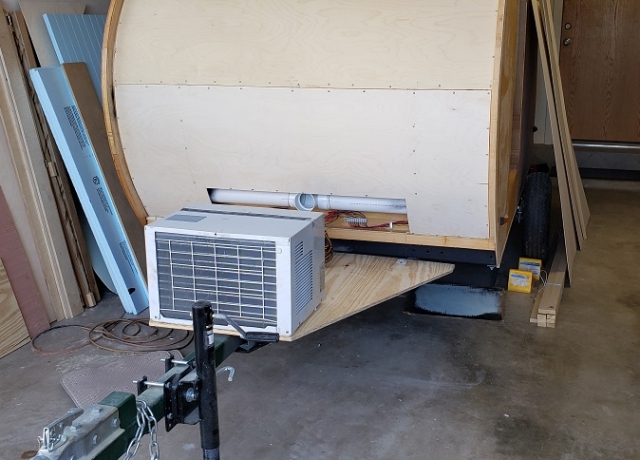
The last piece of the cabin headliner has been installed. It forms the back wall of the forward storage cabinet. You can see the PVC that acts as the cold air duct for the air conditioning. The returning air will flow freely thru the rest of the opening and be routed back to the air conditioner. You can see the a/c unit sitting on the floor of the tongue box.
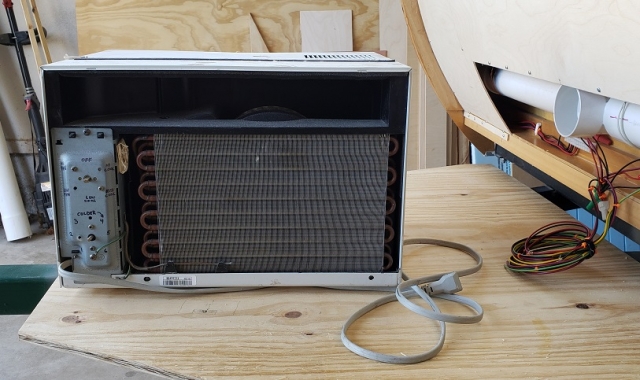
Here is a detail photo of the front of the a/c unit. I have removed the front panel so that I can frame it into the tongue box and plumb in the cold air and return air. I'm not yet sure if I'm going to try to wire the controls into the cabin or simply wire a power switch into the cabin to just turn it on and off as needed.
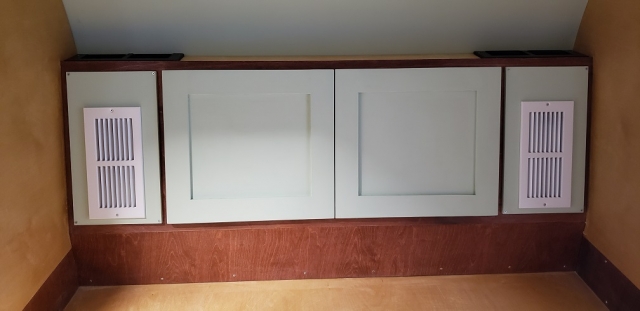
Here is a cabin interior view of the forward storage cabinet with the two center storage doors and the spaces on the sides for the a/c vents. The cool air comes in thru the black vents in the top of the cabinet and the white vents are for the return air.
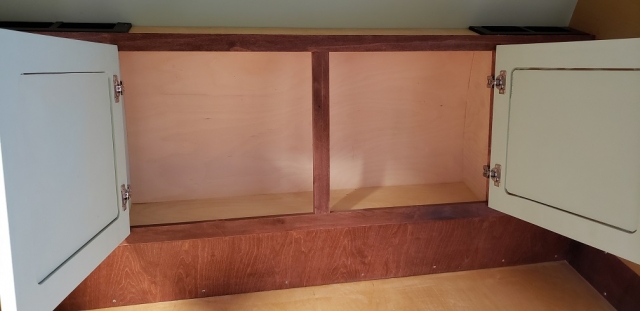
Here is a view of the forward storage cabinet with the doors open. I haven't decided yet if I'm going to paint the back interior of the cabinet light green to match the ceiling or if I will just seal it with clear satin polyurethane.
With that I am caught up documenting the work done up to this point.


