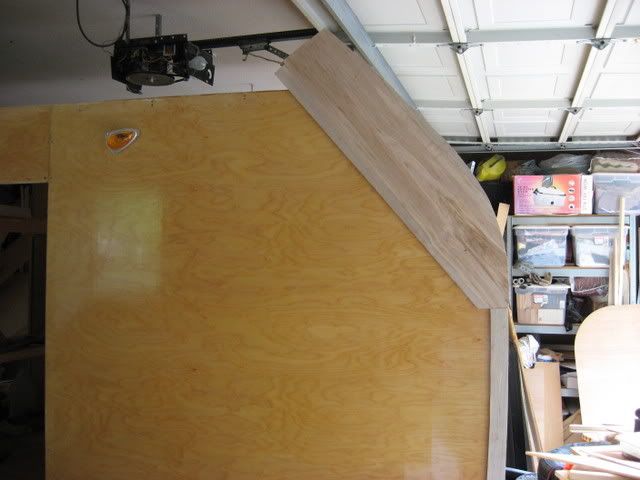
The outer edge uses the side profile as a template.
Screw the pieces on, then trace, cut, and sand.
Then sand some more till the profile is perfect...being just a little off here with getting a smooth flowing curve will be VERY visible...no matter how well you can convince yourself that "no one will notice".
Once perfect, a pair of dividers can be used to set the width of the trim, using the perfect top edge of the trim as the template.
Another reason to take extra care in getting the top edge perfect.
If you don't join the pieces used to form the trim, pay mind to which direction the angle of the joints take.
When it rains, the water should be able to get away easily.
Horizontal joints are bad...
The last important bit is to be sure to seal ALL sides of the trim.
Water WILL get behind the trim, no matter how well you think you have the edges caulked, and ruin the finish.
The side profile should be varnished/sealed with several coats.
The trim piece should be varnished/sealed with several coats, except for the face where it will be screwed on.
Screw the pices on, then remove the pieces one at a time.
Apply a dab of sealant/caulk around the backside of the screw hole, and inject a little in the screwhole itself, then re screw the piece to the body.
Once all is dry, you can plug the screw holes, or leave them as is.
Then apply stain and varnish to the face of the trim pieces.
A bit more work than just screwing the pieces on and giving the exposed parts a coat of varnish, but it will prevent moisture from getting behind/under the varnish and lifting it/turning the wood black.
Rob
pictureWaiting for "someday" will leave you on your deathbed wondering why you didn't just rearrange your priorities and enjoy the time you had, instead of waiting for a "better" time to come along...

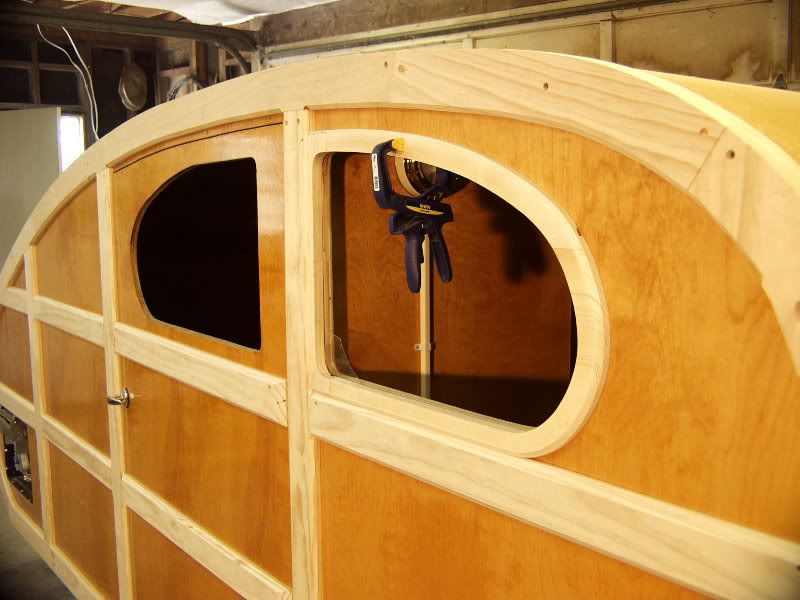
 You can bond the trim to the side first. Certainly you can use the sides to make the pattern first. If I ever do it again that is what I am doing.


