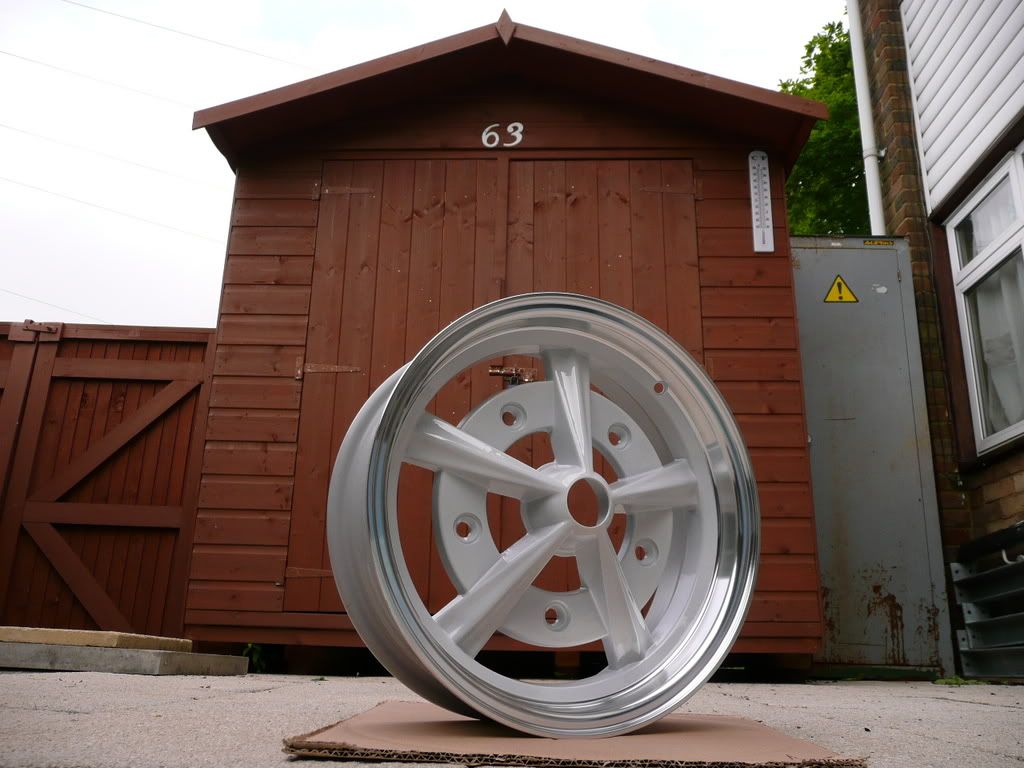
Remember the lights I bought last weekend ??
Started out like this:


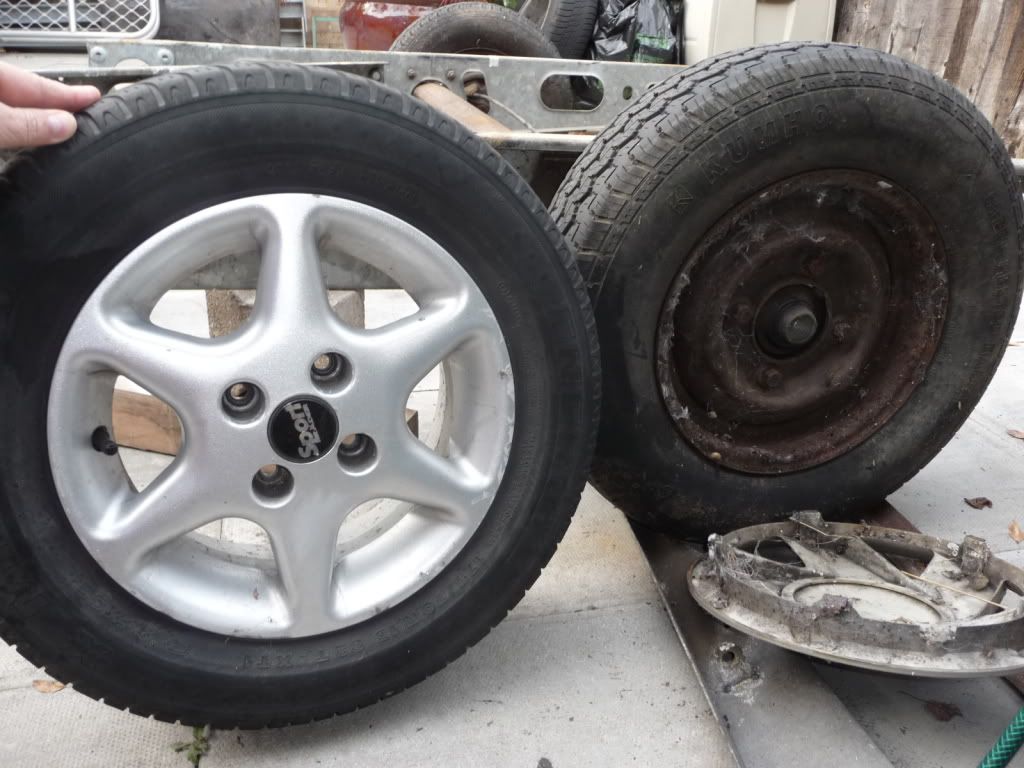
Flatted the surface down with some 800 grit wet and dry to remove any surface scratches and the lettering that cluttered them up then followed that up with some 1500 to smooth off . Once everything was nice and smooth gave then a generous coat of G6 and polished them with the polishing mop .
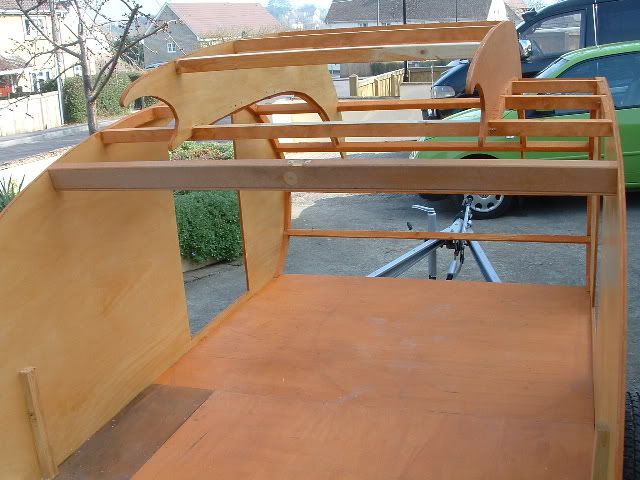
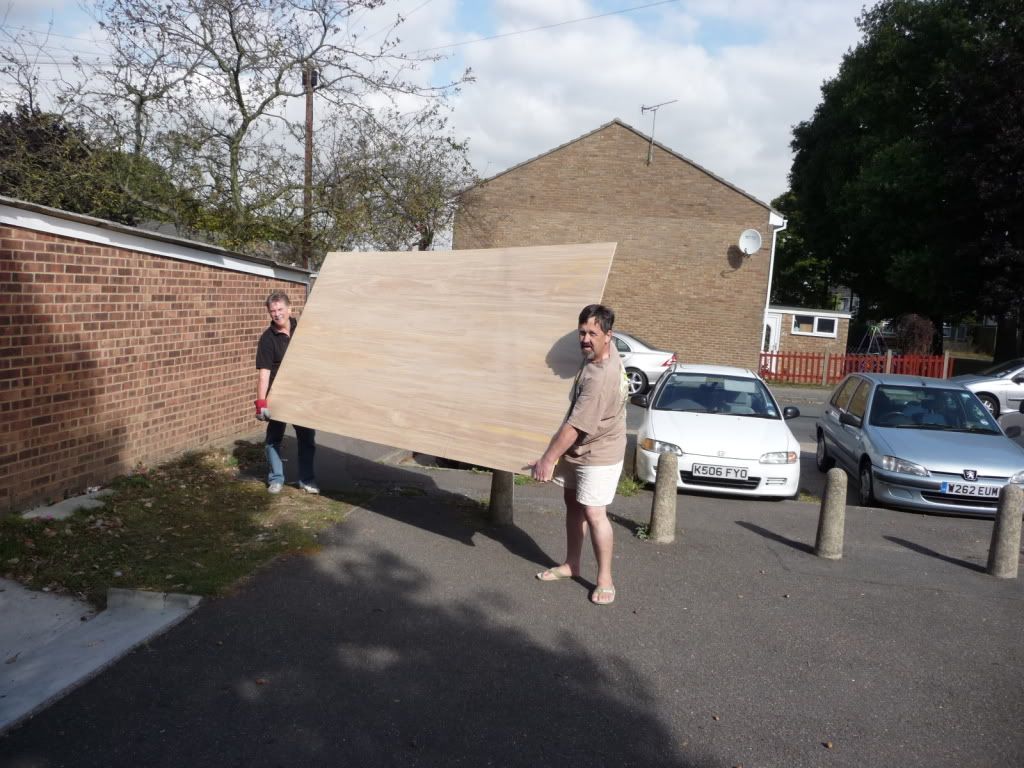
Well, after Mark's contribution to this build, my weekend pales into insignificance.
Anyway,
Here is what I got up to.
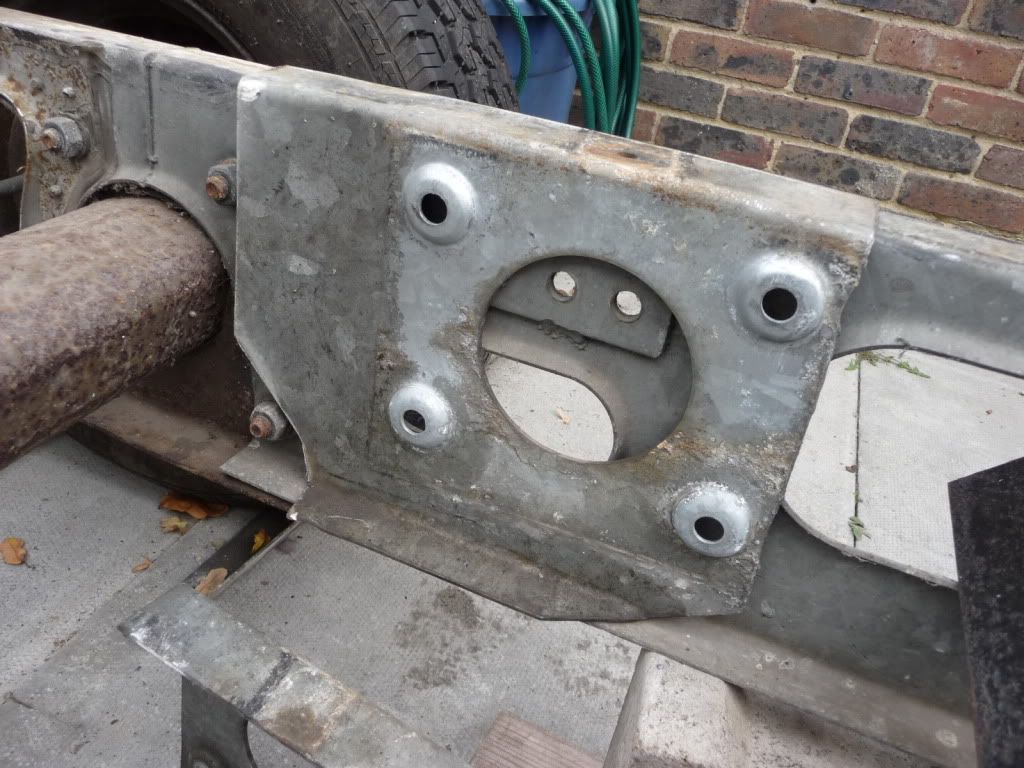
Cut the A-Frame/Tongue and redrilled the holes further back on the chassis and remounted, you will see in some of the pics, the width of the difference between the chassis and the A-Frame, probably 20' on each side.
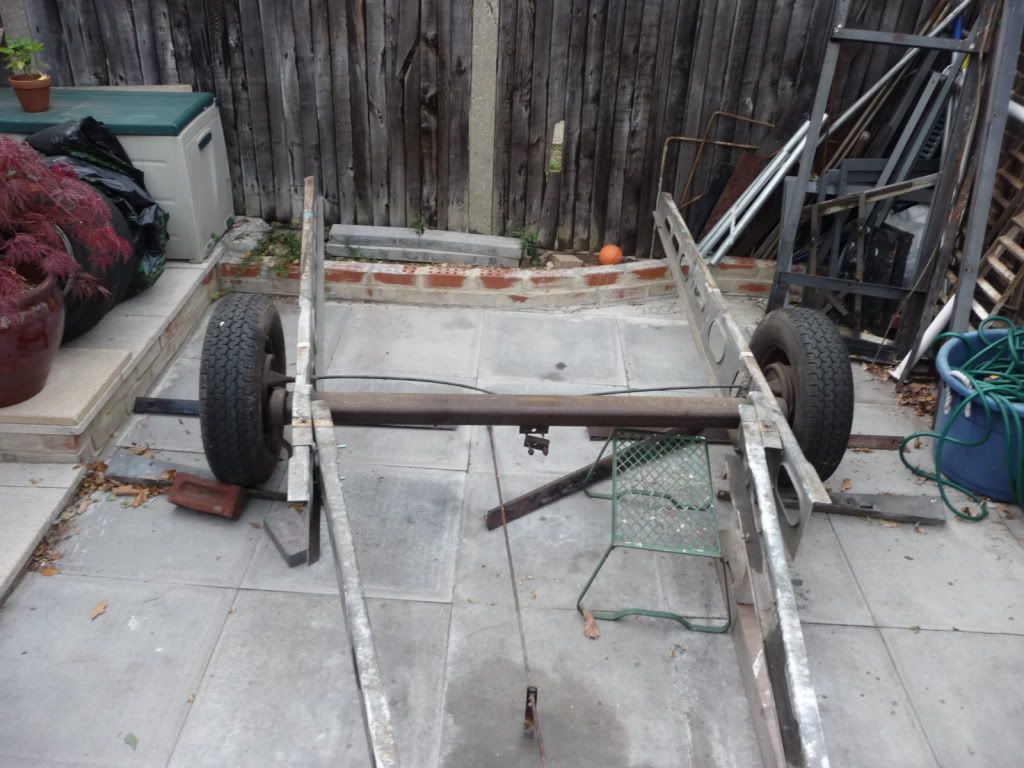
I started by bracing the rear end of the chassis which was warped anyway, and pulled it in to make it 59 inches (under 1.5m) as the whole build is driven by the 1.5m ally sheets for the roof.
I then cut the excess off - Chuffed at this.
I then had to coax the two sides together, first using long bolts to just draw it all together, then undo one at a time and replace the bolts with shorter ones, while holding it all in place with a couple of G-Clamps.
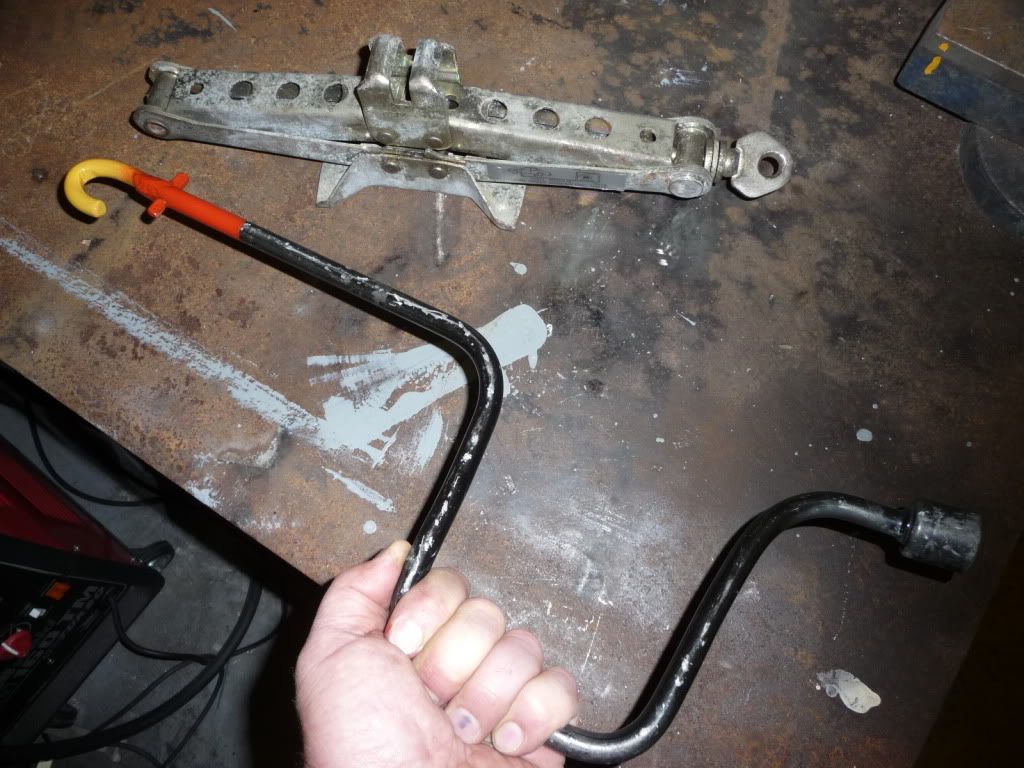
Once the lot was done, my next task was to shorten the brake rod, as it was now 18" too long. I also decided not to shorten the A-Frame, as it leaves space for gas bottles or even a "shopper bike" up front.
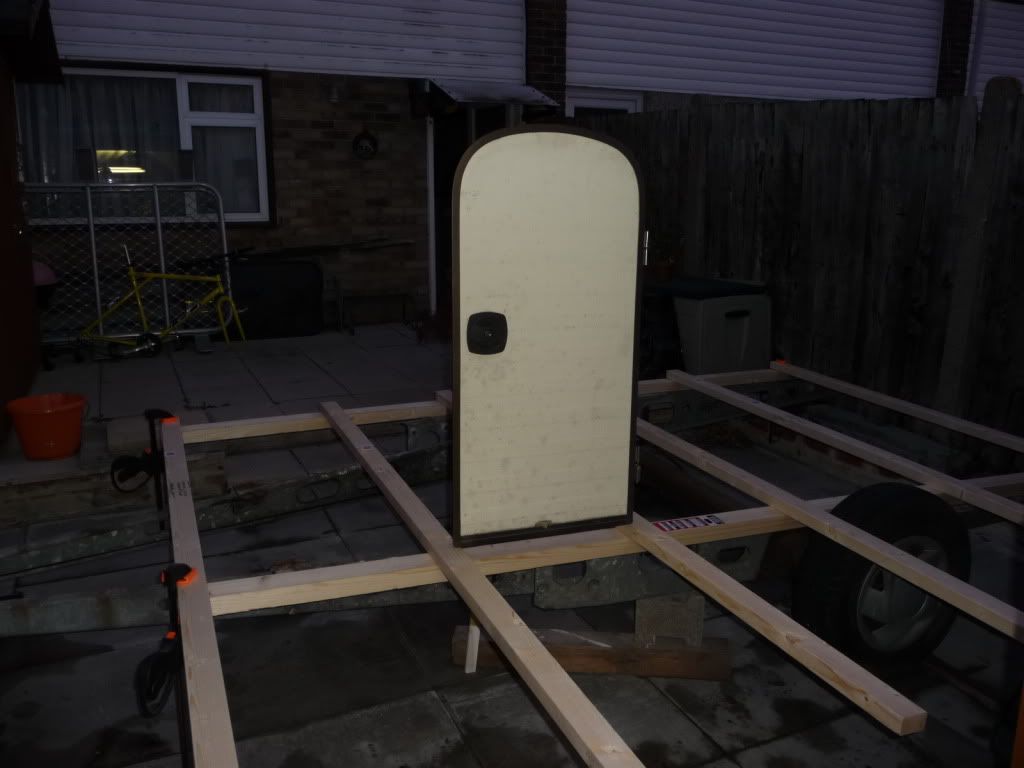
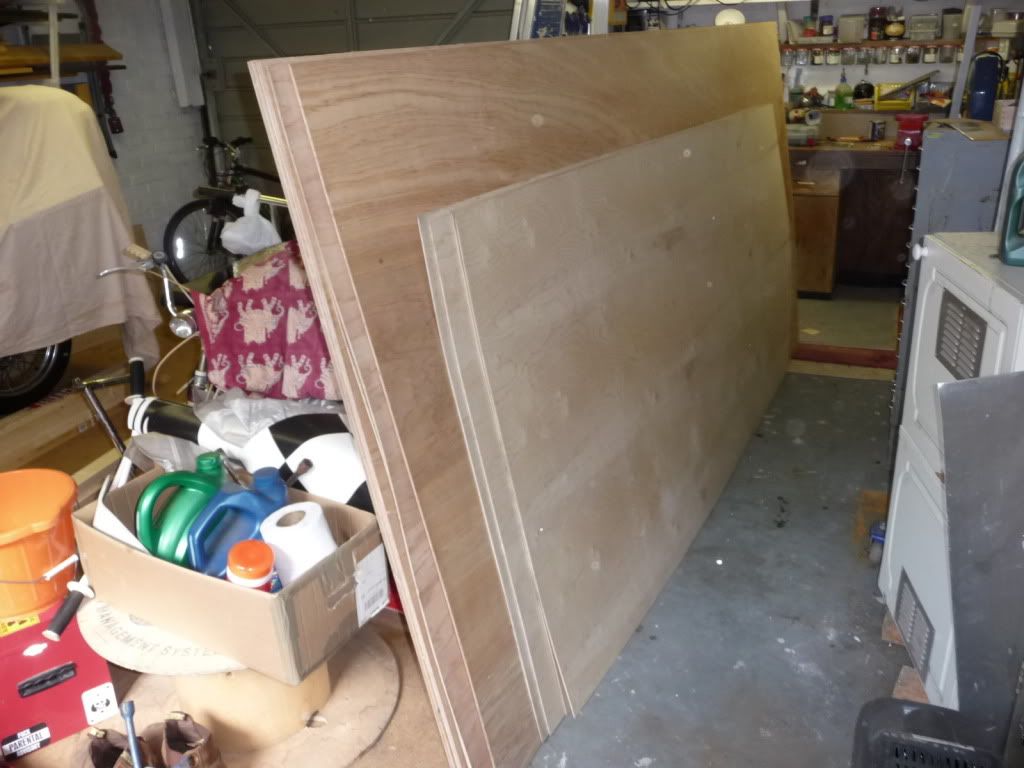
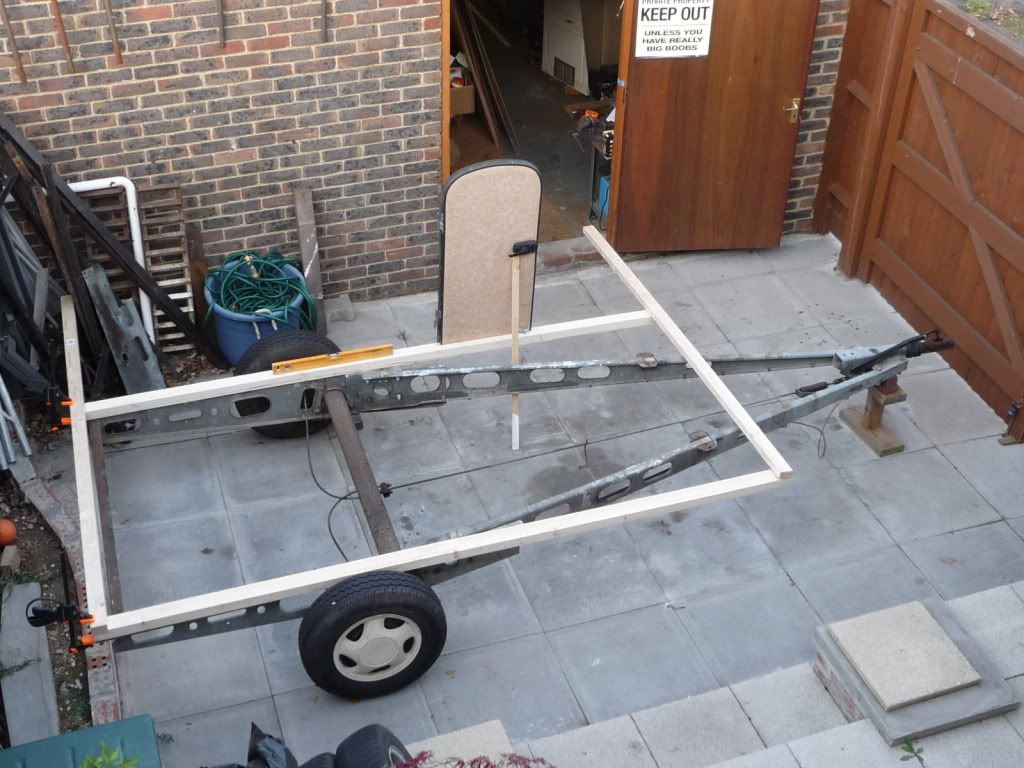
That all done, I brought out the timber and mocked up the cabin on the chassis. I will start building the floor soon. Bought some 120mm self drilling woodscrews today, £15.95 a box of either 50 or 100, mad I know, but suspect they will make life easier, which I do need.
CUT !!!
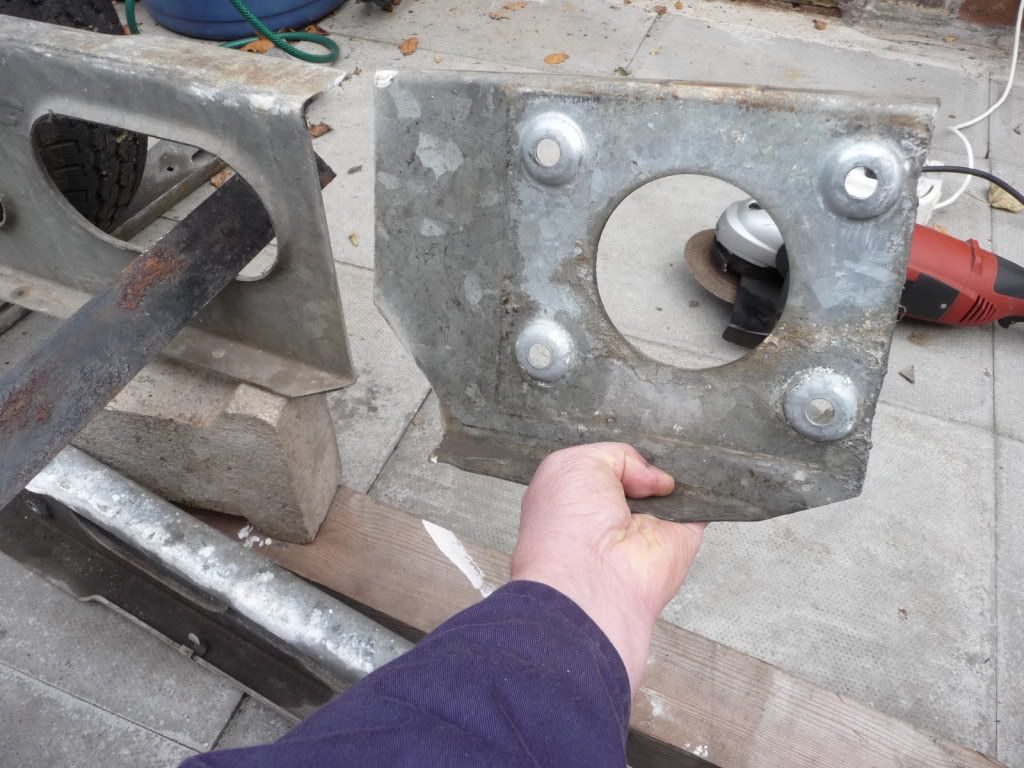
Will go here to move A-Frame back.
Note the mal-allignment, much tightening to do.
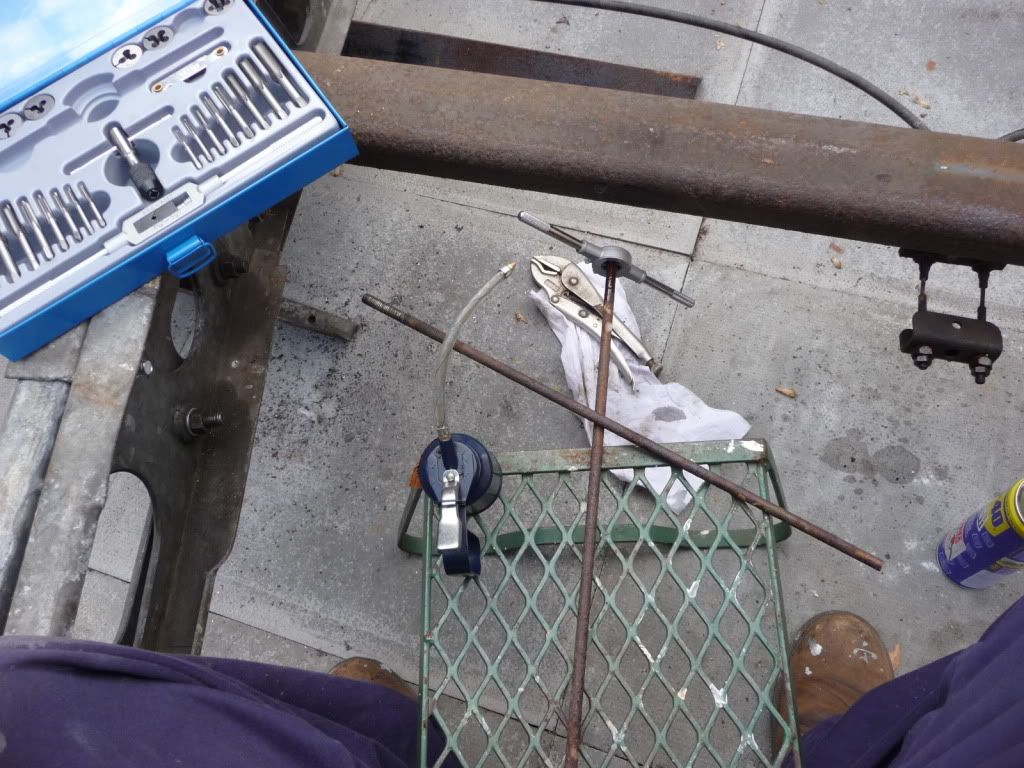
Brake rod cut and new thread being cut, seems I lost about 18" in the shortening of the chassis.
Self portrait, thank goodness for timers on cameras.

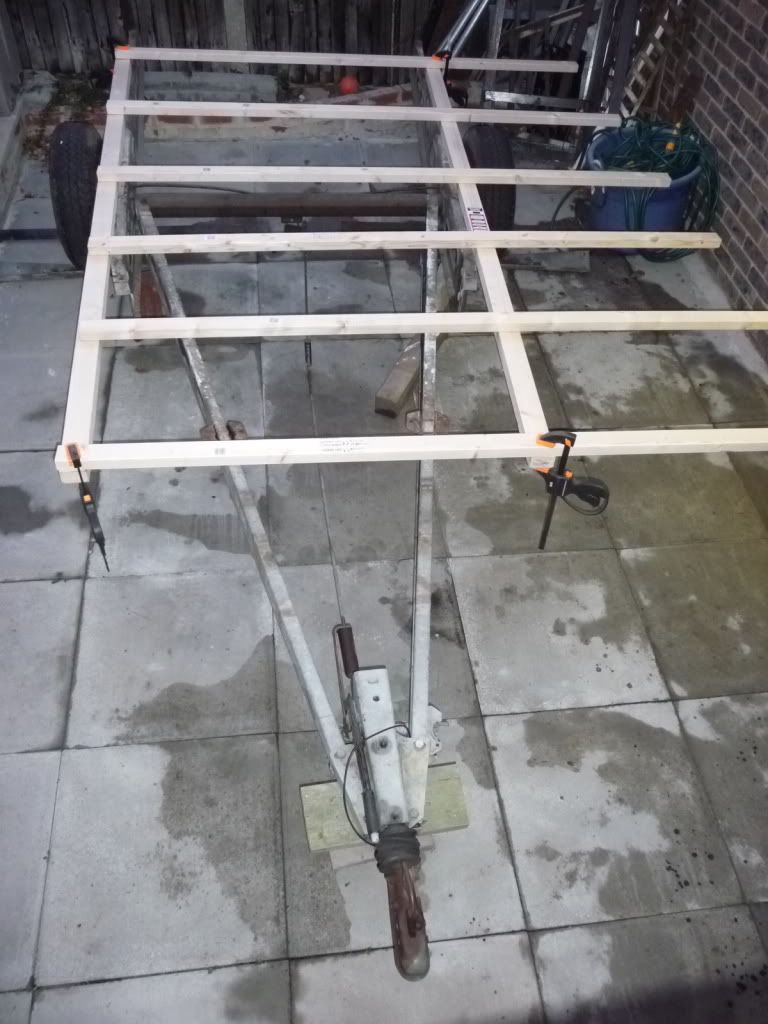
Mock up for floor on shortened chassis.
May still regret position, as the chassis is a heavy jolly pain in the backside.
LASTLY:
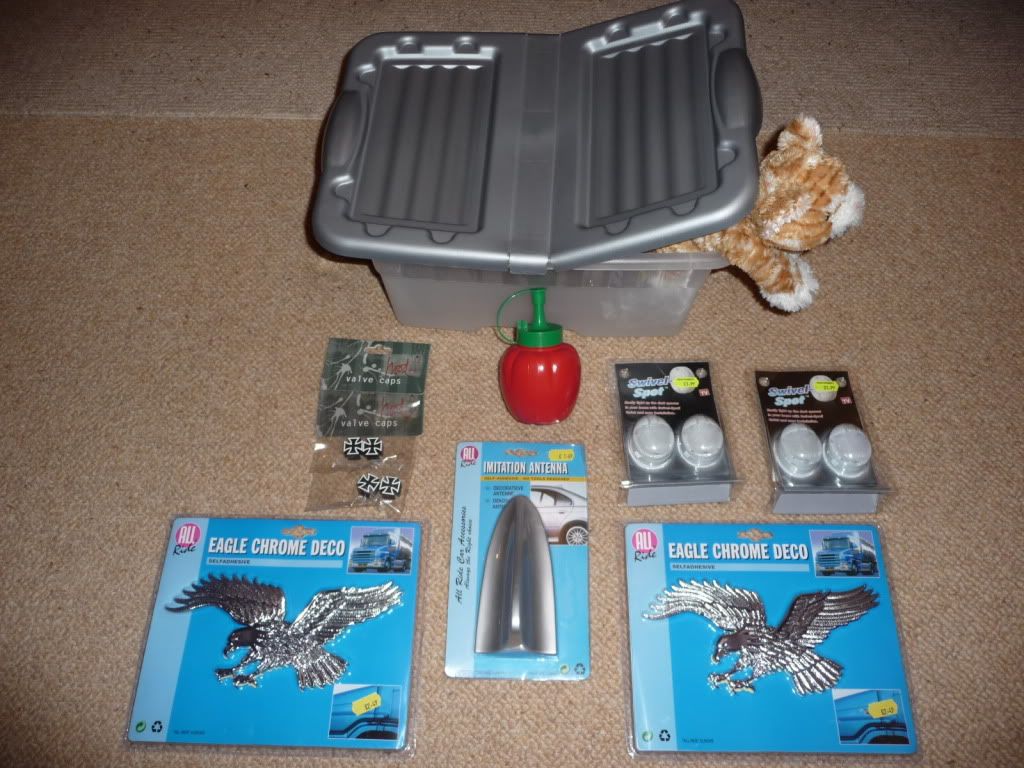
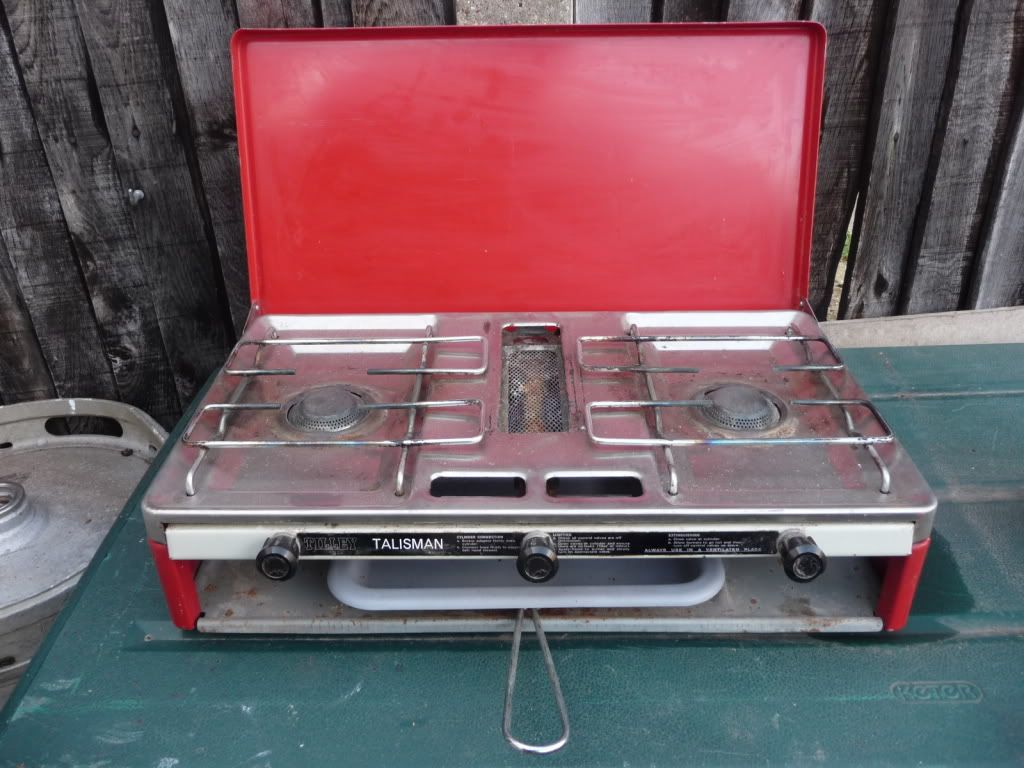
Nicola and I went to a "Bootfair" today, got loads of stuff, including this little stove for £1, that is not much more than $1 , Bargain I would say, if it works.
I have another lovely top quality cooker, and the cooker sink that Oldbus brought me, but this may be the one as it is slimline.
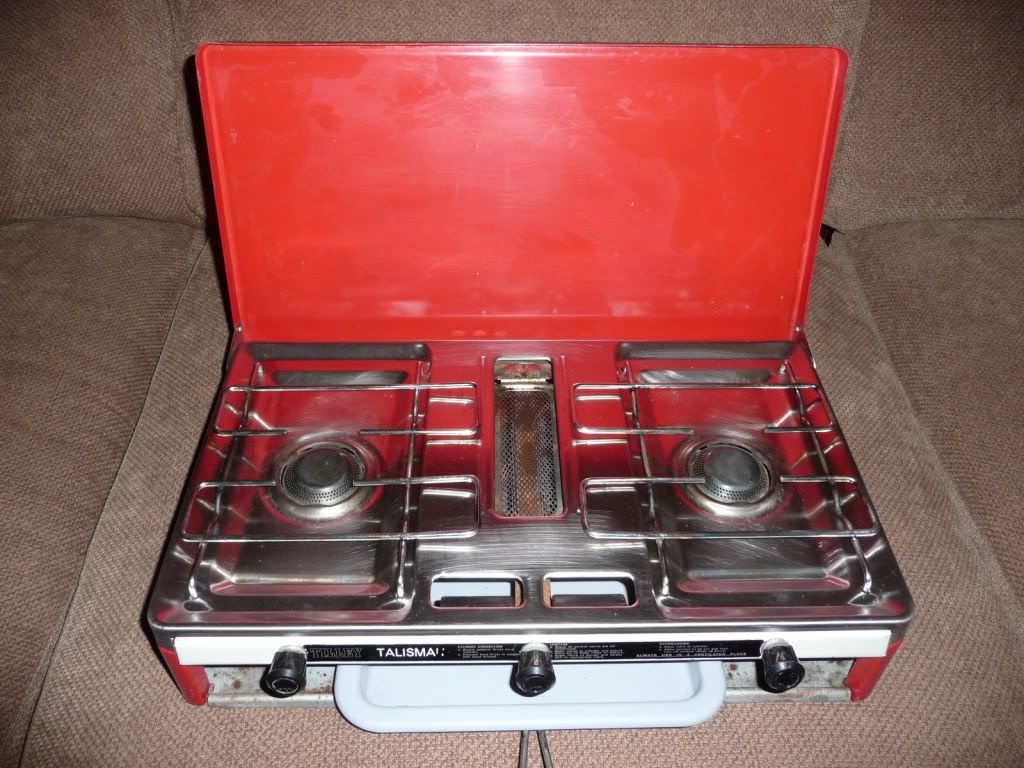
AFTER an hours worth of cleaning.
Thats all for today....
Next step is to draw the side profile up, then transfer to the ply, and cut and sand, then mount.
Greetings from England.
Rian.
Hoping to get it all done in time.
Nice load of stuff you are getting for almost nothing.
A suggestion/request, it would help with the reading if you could make pictures about 650 instead of 800+. The pictures force the edges of the page out and those of us with small screens are scrolling to read......