After discussing the many options for gluing up the door frames with Karl, I decided the most practical way was to just glue the door frame up by itself on the bench, making it as square as I could, then fit them to the door surround as best as I can either by planing or sanding the door.
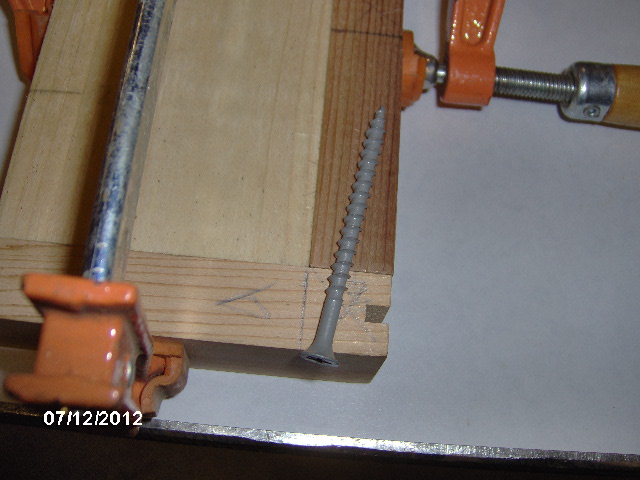
One of the things I noticed during the dry fit up and biscuit cutting of the door parts was that the window header, being flush with the top of the jamb and striker stiles, could not be biscuit joined to the stiles. If I were to cut slots for both the window header and top corner blocks, the slots would intersect and cut the corner off of the stiles. So the window header would need to be screwed and glued. So as to miss the biscuit with the screw and to have the screw go through the end grain at an angle I set up the joint like this.
The block in the corner is just being used to square the joint temporarily.
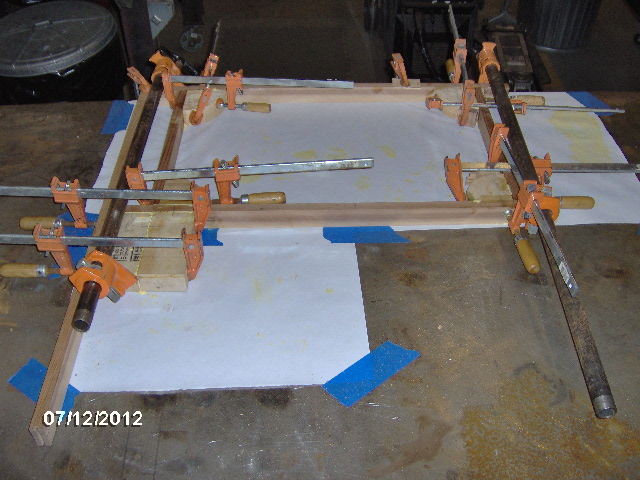
Here's the window frame with the blocking for the latch hardware and the striker stile glued and clamped.
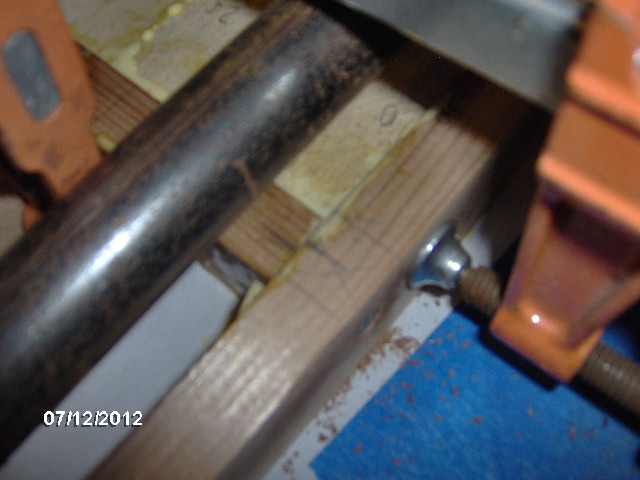
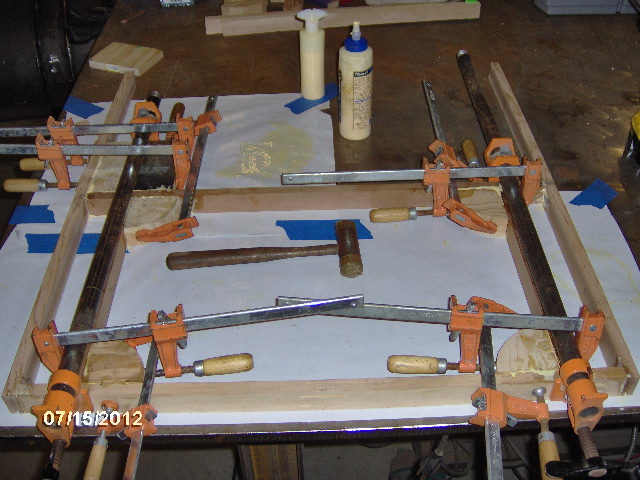
At some point during the glue up, when I put one of the pipe clamps on, it shifted the joint at the window sill by about 1/8 inch (there's that number again). I measured everything and I couldn't find anything else that was more than 1/16 inch out, including the diagonals, so I sunk a screw in to lock it down. Later I was able to figure out that I had not put the pipe clamp in a direct line with the window stiles (side verticals) and that had actually bowed the window sill about 1/16 inch in the middle, but about the 1/8 inch at the latch blocking. The window will fit fine, and there will be no outward evidence, so it will be fine.
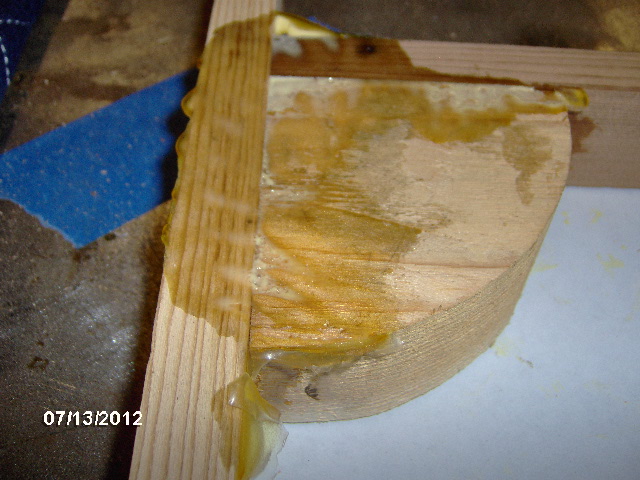
Here is the partial door (window frame, latch block and striker stile) prior to scraping excess glue (top of window is to the right).
Here I have glued the top header and upper corner blocks onto the window section.
In this close up you can see that I have added a middle block to help stabilize the header. The corner blocks were not stable enough by themselves in dry fit to hold square. (Top of door is to the right.)

That was Friday evening. Saturday was spent taking Rocky (the new kitten) for a checkup and then home to start acclimating him to our other two cats. With Rocky set up in his "condo" (our back bathroom) we had a nice enjoyable afternoon at my sister in law's B-Day celebration.
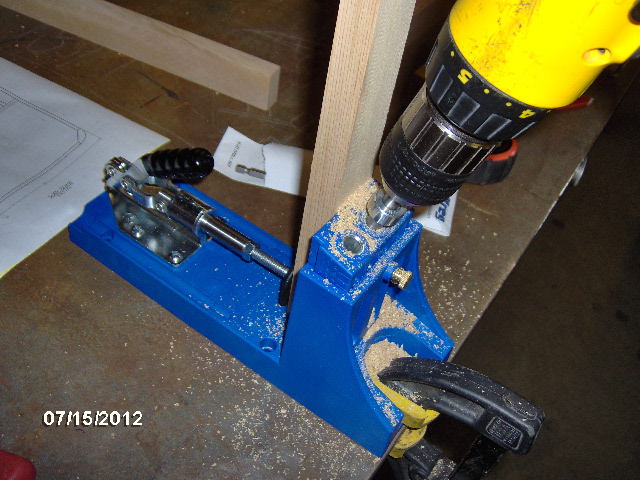
Today (Sunday) I stopped at Ho-De-Po for some more #20 biscuits, pneumatic staples, and a Kregg pocket hole screw jig kit. Here it is assembled and with the extra screws I bought.
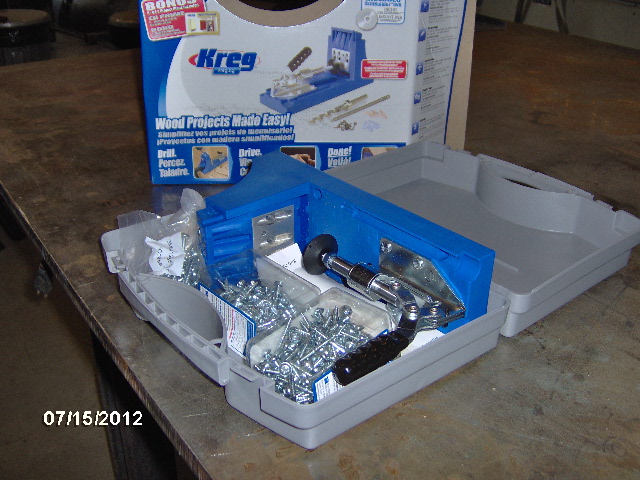
Tested it on some scraps.
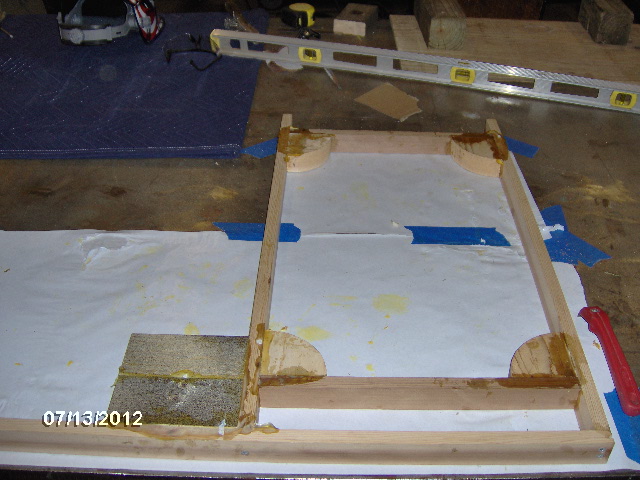
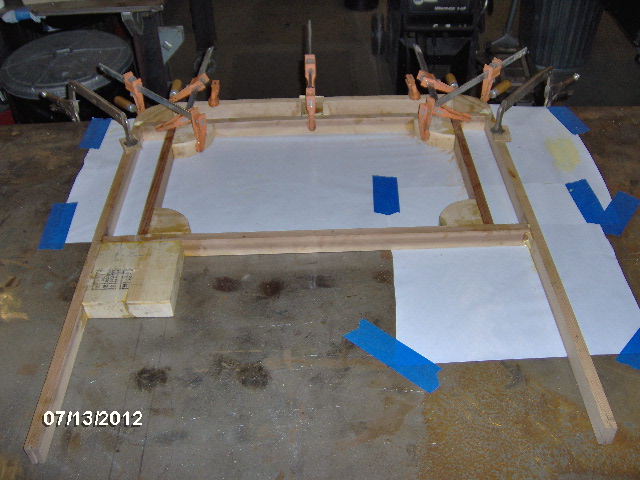
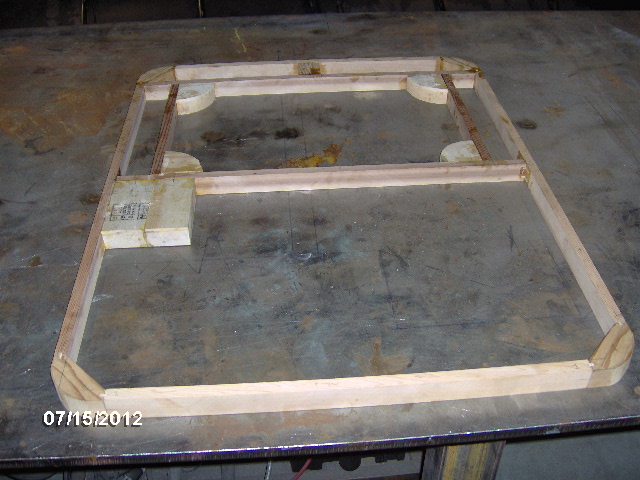
Back to building door frames. Here I have scraped down the excess glue and dry fit the partial door frame with the bottom plate and corner blocks.
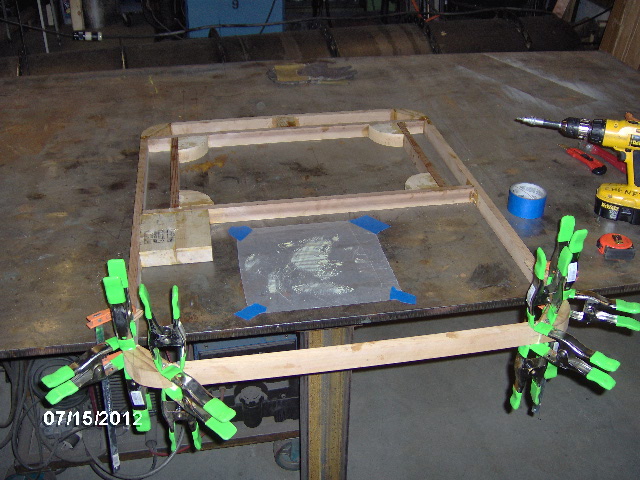
I decided that the most stable way to glue up this bottom part, without resorting to extra blocking, would be to use my spring clamp and dry wall screw clamping technique.
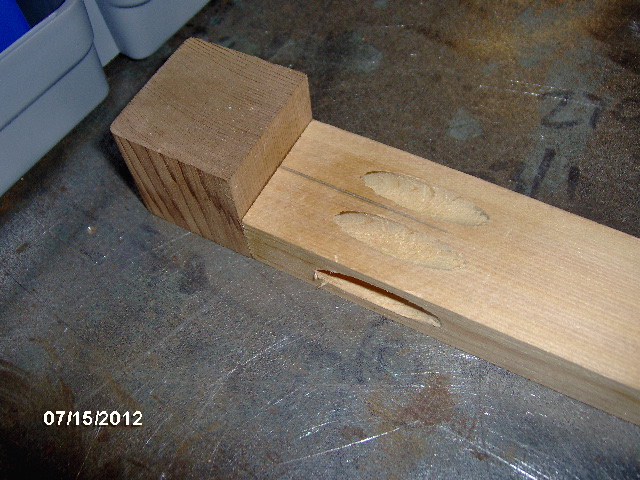
On the second door frame I decided to use the Kregg to lock the window stiles to the window header and sill, and to tie the window header into the side stiles.
Here is the second door, shown upside down, with all but the corner blocks, and sill and header plates installed.
Came out great after the learning curve from the first door.
Tomorrow I should be able to get at least the header on the second door, if not the sill plate, too.


 )
)


