Teardrops n Tiny Travel Trailersor t n ttt for short (tnttt.com) |
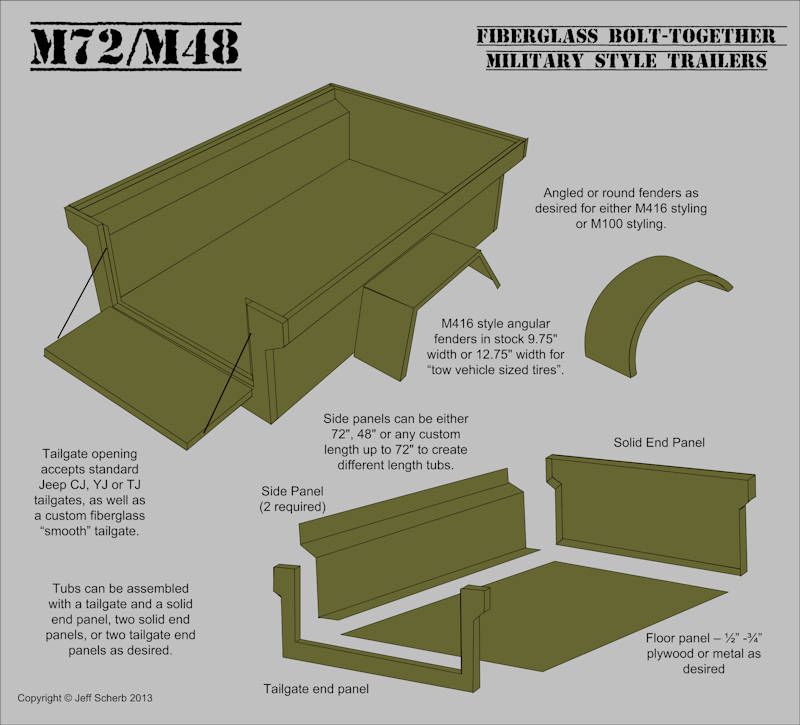
Fiberglass bolt-together trailers
Re: Fiberglass bolt-together trailers
![]() by schaney » Fri Jan 18, 2013 12:28 pm
by schaney » Fri Jan 18, 2013 12:28 pm
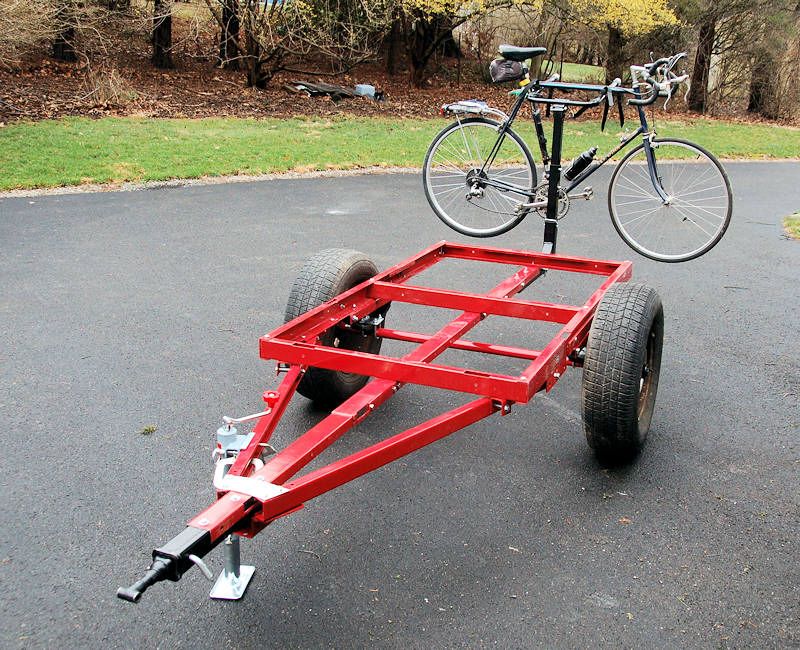
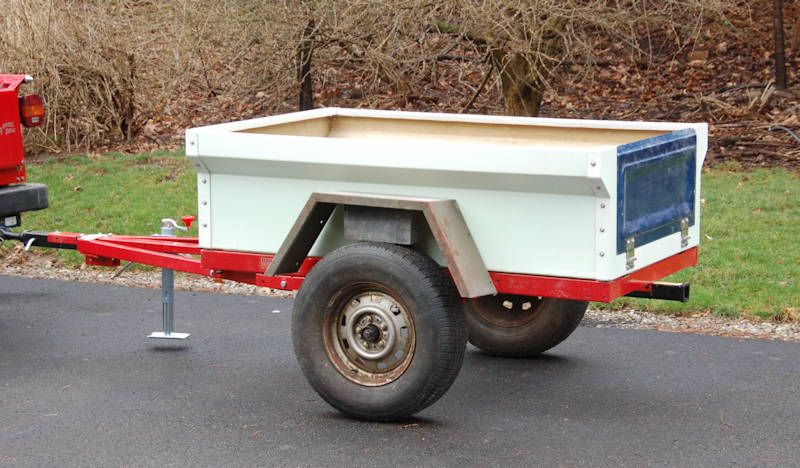
Here is a customer picture of a nice, recently completed Dinoot Extended.
-
schaney - 500 Club
- Posts: 804
- Images: 262
- Joined: Tue May 02, 2006 9:27 pm
- Location: Salem, OR
Re: Fiberglass bolt-together trailers
![]() by Junkboy999 » Sat Jan 19, 2013 8:39 pm
by Junkboy999 » Sat Jan 19, 2013 8:39 pm
Looks great. Hope all the work pays off.
Terry, Junkboy999
Green Lantern Corpsmen Big Hat Branch & Coleman Keepers 200A Gang


Reworking Lil Wood, My little woody TD & Max. Headroom, A Pop-Up Benroy, Planning stage, My Dream TD
Green Lantern Corpsmen Big Hat Branch & Coleman Keepers 200A Gang
Reworking Lil Wood, My little woody TD & Max. Headroom, A Pop-Up Benroy, Planning stage, My Dream TD
-

Junkboy999 - 1000 Club

- Posts: 1259
- Images: 52
- Joined: Fri Jul 06, 2012 9:18 pm
- Location: Wichita, KS