Teardrops n Tiny Travel Trailersor t n ttt for short (tnttt.com) |
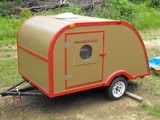
Green Lantern- now with awning!!!
Green Lantern- now with awning!!!
![]() by starleen2 » Tue Nov 02, 2010 3:53 am
by starleen2 » Tue Nov 02, 2010 3:53 am
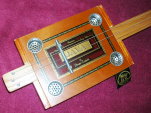
Well here it is: I call it the Green Lantern
Last edited by starleen2 on Sat May 21, 2011 10:11 pm, edited 17 times in total.
-

starleen2 - 5th Teardrop Club
- Posts: 16272
- Images: 224
- Joined: Sat May 12, 2007 8:26 pm
- Location: Pea Ridge ,AR
![]() by starleen2 » Tue Nov 02, 2010 3:56 am
by starleen2 » Tue Nov 02, 2010 3:56 am
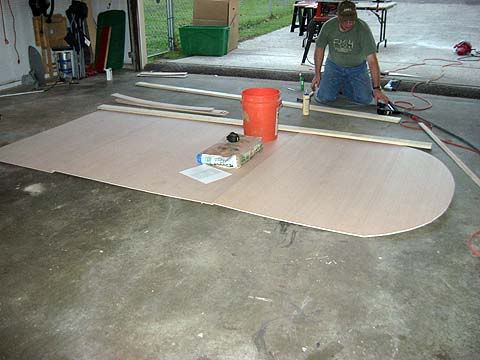
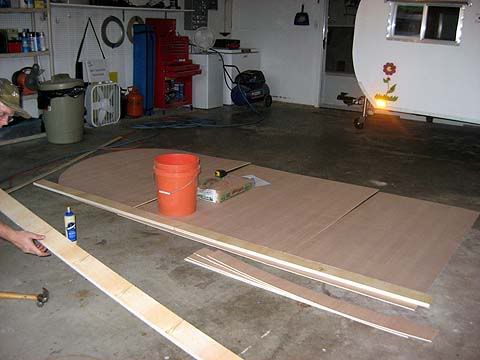
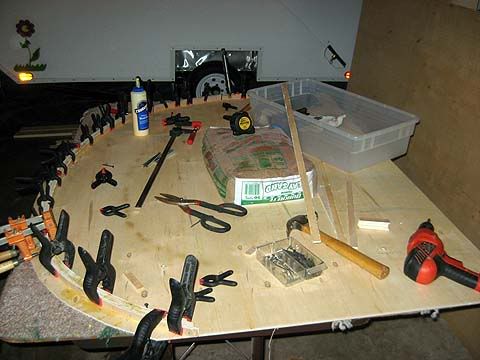
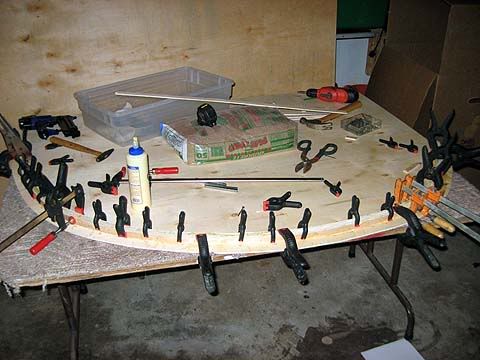
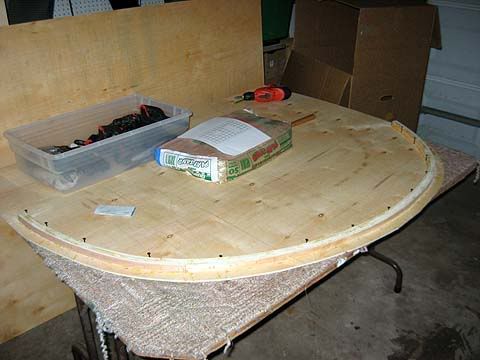
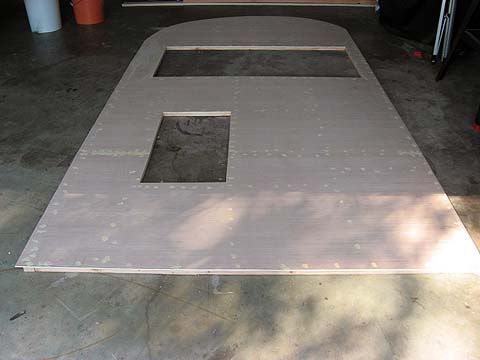
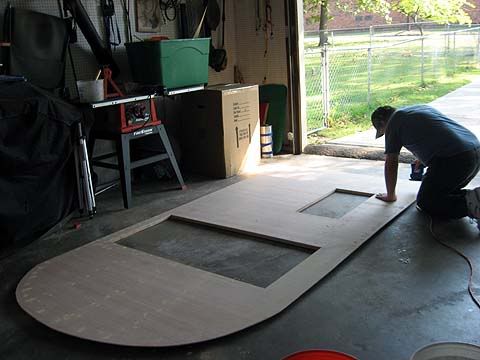
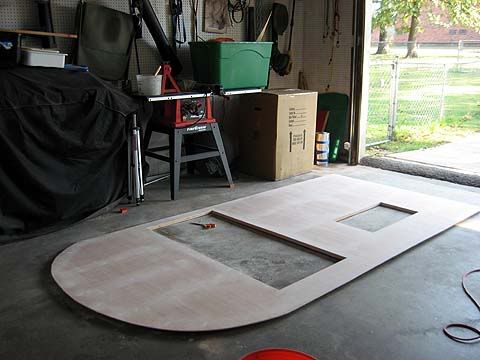
Time to begin the layout. Rather than just free hand and hope it came out right – I plotted the outline in goggle SktechUp to scale and made a graph of the front curve. The drop cuts off the end of the 5mm luan will be used to make support laminates for the framing. A 50 pound bag of sand really makes a good weight! Also ripped up some 2X4’s to make the ¾ framing strips
Last edited by starleen2 on Tue Nov 02, 2010 4:00 am, edited 1 time in total.
-
starleen2 - 5th Teardrop Club
- Posts: 16272
- Images: 224
- Joined: Sat May 12, 2007 8:26 pm
- Location: Pea Ridge ,AR


 I keep butting my head into the top of the bedroom door in the new WW.

