Hi Aligator944,
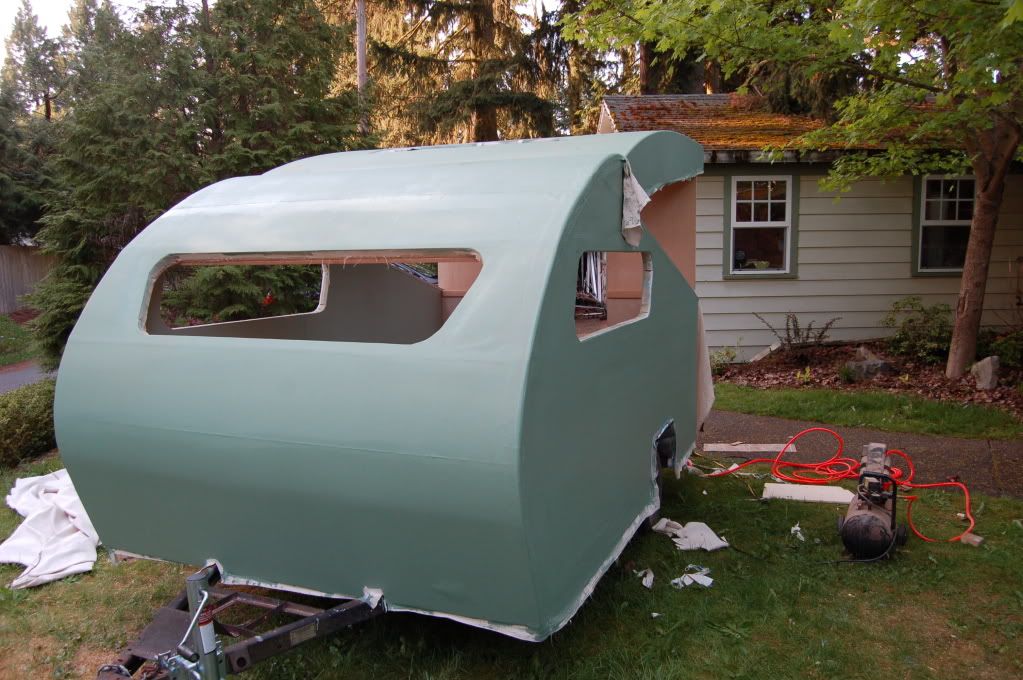
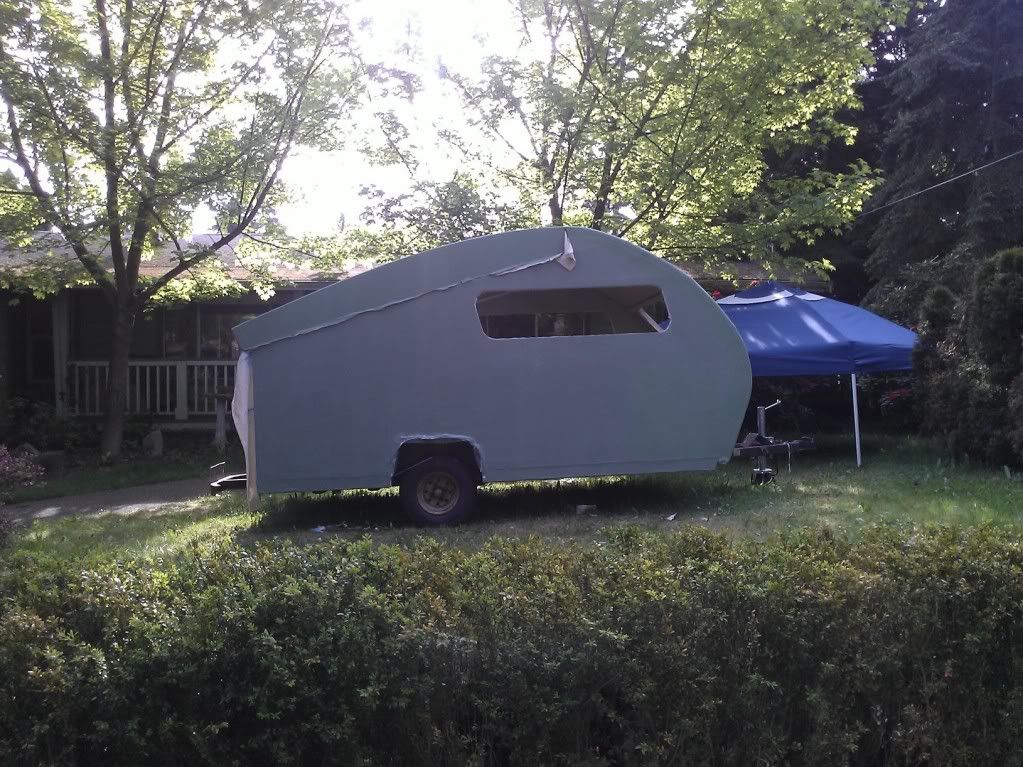
Great design and great progress! The profile is quite "fetching"
as the old-timers used to say.
I was wondering how you were attaching the windows and the hatch.
Will the windows be clamp ringed on or screwed on? If exterior located
screws are used as the attaching method, I'd suggest -as some have
mentioned in different builds here- to either drill out the screw-hole
oversize and then fill with epoxy and then drill out the hardened epoxy
the correct size to receive the screws -or- at least back out the screws
and squirt some silicone caulk into the screw holes and then reinstall the
screws This is to prevent wood rot in the perimeter window frames due
to moisture working it's way into the wood via the screws and screw holes
and eventually causing rot there.
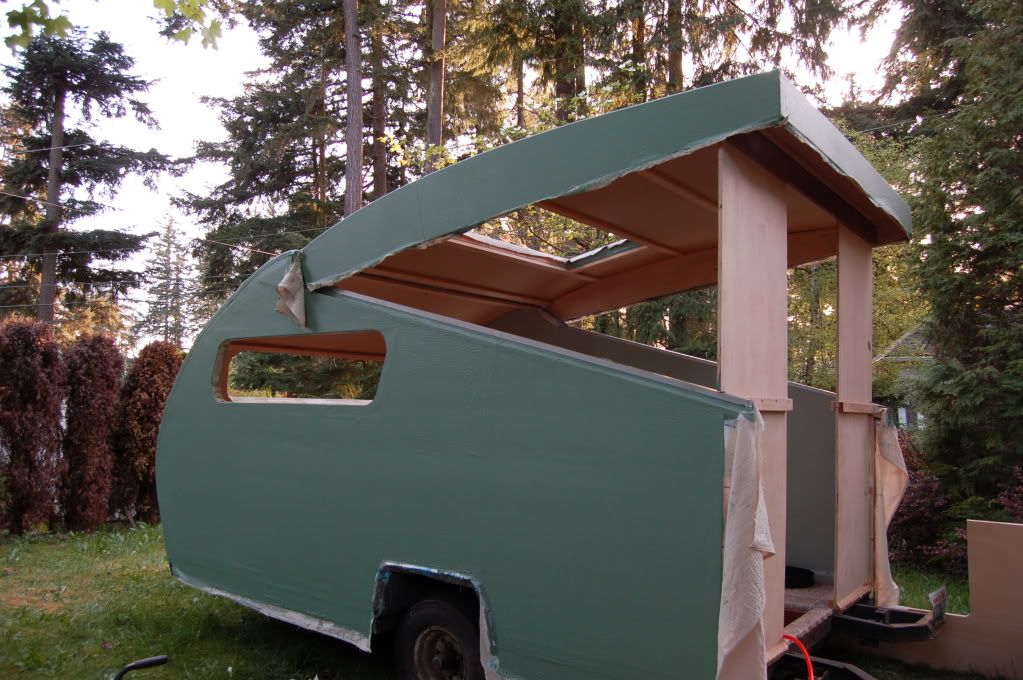
And since the hatch will direct a lot of water at the hinge in the open
position, what are your plans for preventing the hinge area from leaking
or overflowing into the cabin? You may need some kind of diverter
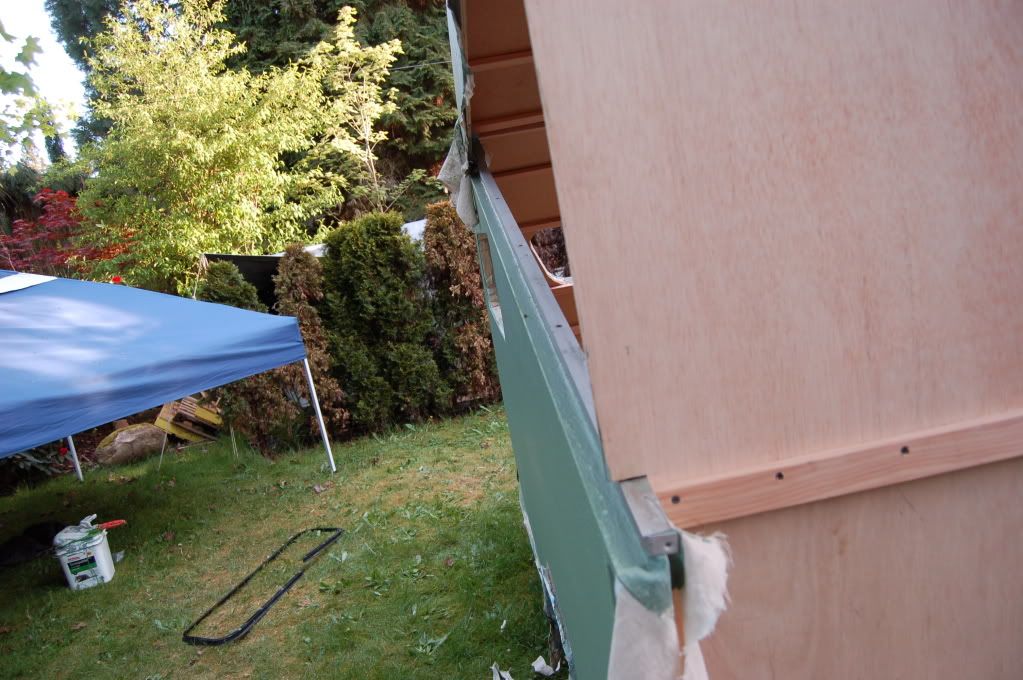
where the hinge [hinge overhang] meets the sidewalls. Is that 'living
hinge' one of those continuous plastic types?
'Hope the weather and your 'free time' cooperates for ya!
Cheers,
Norm/mezmo
Teardrops n Tiny Travel Trailersor t n ttt for short (tnttt.com) |
Army Goose - First Trip Report
Moderator: eaglesdare
Re: Wild Goose .... for now 4/23
![]() by mezmo » Tue Apr 24, 2012 12:25 am
by mezmo » Tue Apr 24, 2012 12:25 am
If you have a house - you have a hobby.
-

mezmo - 1000 Club

- Posts: 1817
- Images: 194
- Joined: Fri Jan 01, 2010 4:11 am
- Location: Columbia, SC
Re: Wild Goose .... for now 4/23
![]() by bonnie » Tue Apr 24, 2012 6:40 am
by bonnie » Tue Apr 24, 2012 6:40 am
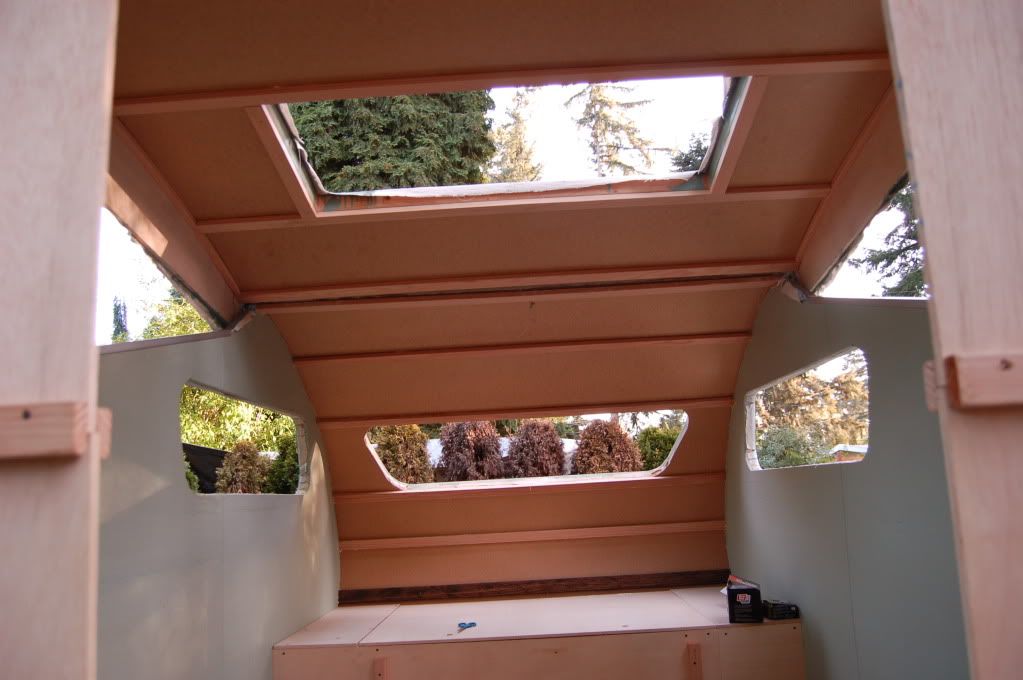
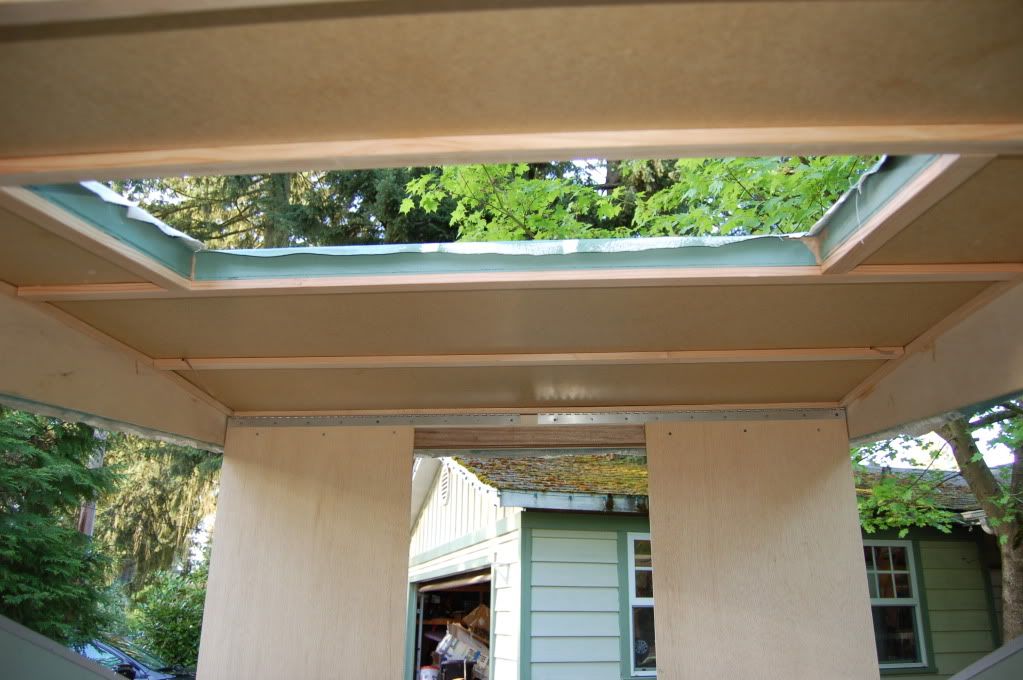
That is really cool. It's exciting to see another foamie project underway. I really like the star gazing windows being added. I haven't planned for one, but maybe ... 
Looking forward to more pictures and progress.
Looking forward to more pictures and progress.
Remember, the turtle won. 
-

bonnie - Donating Member
- Posts: 1390
- Images: 107
- Joined: Sun Jul 24, 2011 4:14 pm
- Location: Roxana, IL