I had hoped to finish some things on my CT this spring, but some health issues have delayed that. I can't lift more than 5 lbs, so building and drilling and all of the other fun stuff is out. So I thought I would show my second edition temporary shower. My first edition shower used a pvc frame suspended from the ceiling. I used the pvc because I didn't have my ceiling done yet, and had nothing to attach anything to. It worked, but it was a bit of a pain to use. Mostly due to the frame coming down on rough roads.
Edition 1
Edition 2
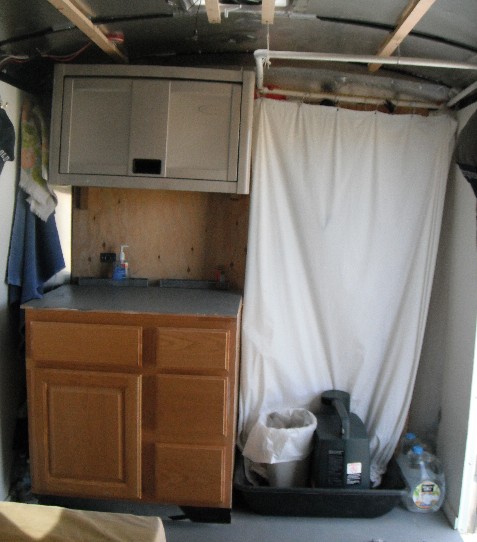
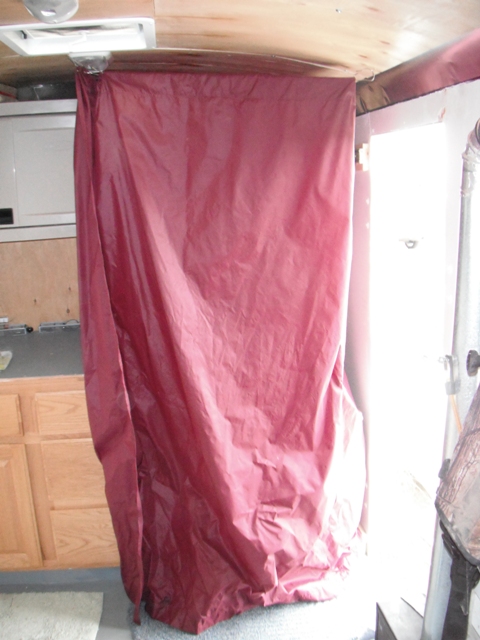
After I finished my ceiling (I haven't finished the ceiling trim yet), I put 2 small cup hooks into the ceiling to stretch my shower curtain to. This is what I have been using for the last year. There is elastic threaded through the top seam fold that allows the curtain to stretch from the back wall out to about midway on the door. Giving a shower area that is about 36 inches by 36 inches. The bottom isn't that big because it actually tucks into a mortar mixing tub that isn't as large as that.
Here it is stretched out to the cup hooks in the ceiling:
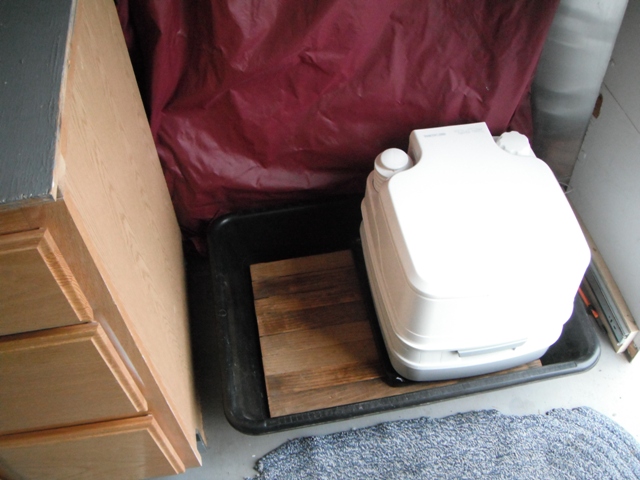
In the bottom of my mixing tub I use a wooden grate to keep my feet above the water and to allow for a dryer dressing area. Sorry, I can't move the porta potty to show how it looks in use.
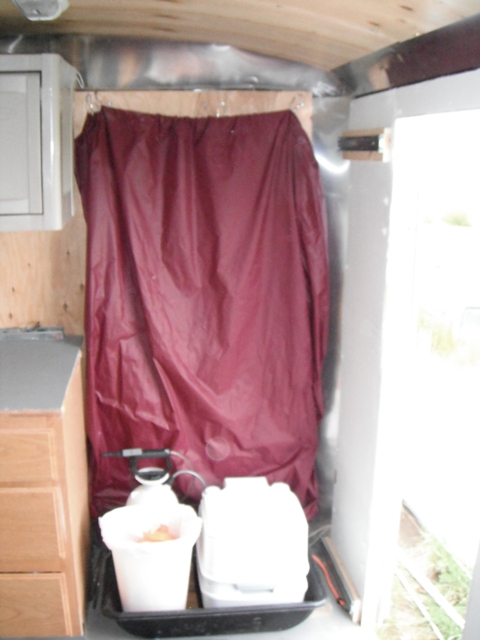
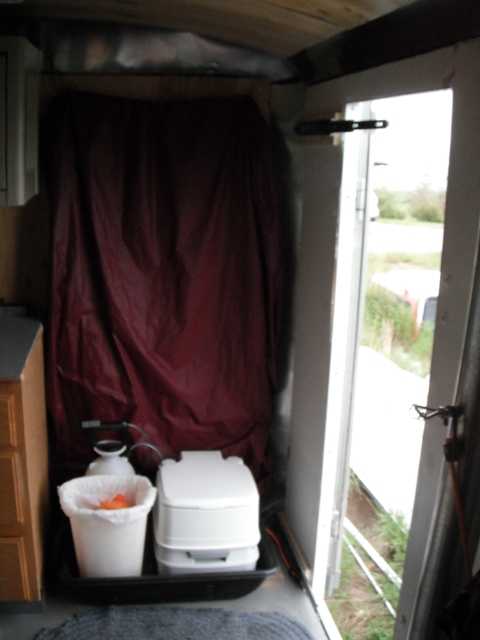
And here is the curtain stowed for travel on the cup hooks in the back wall:
Edition 3 coming next year!
I had started on what will be my Edition 3 bathroom, but only got as far as mounting the drawer slides on the right wall side and began building one of the walls. I didn't get very far yet, and it will probably have to wait until next year.

Oh well Edition 2 works, is compact, and light.
You can see the drawer slides on the right side in the picture above. My final walls will extend to just beyond the middle of the doorway and retract to the edge of the doorway. Again giving an area that is about 36" X 36" for use. Here is a picture of the slides extended.
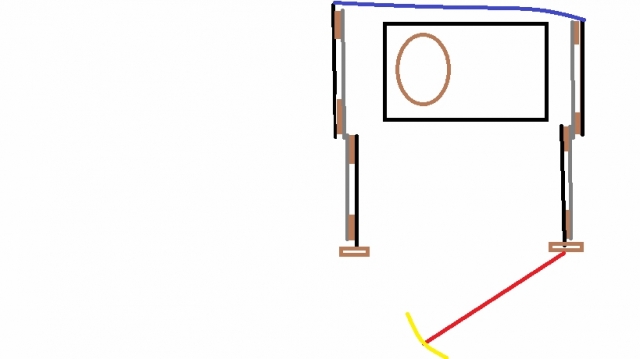
Here is a brief sketch of what I have in mind:
Retracted for space:
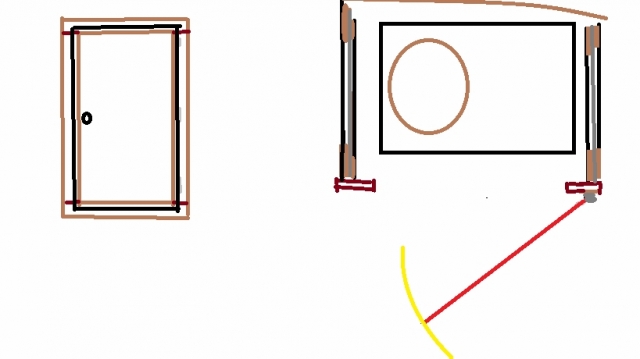
Extended for use: