https://www.tnttt.com/viewtopic.php?f=30&t=74022
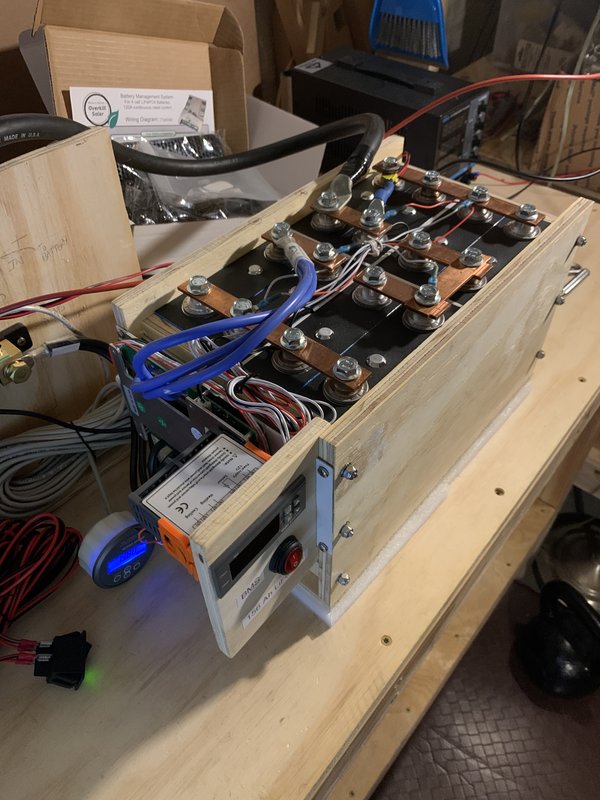
Here is another good LiFePO4 battery thread by TimC:
https://www.tnttt.com/viewtopic.php?f=30&t=74074
Photo credit: TimC
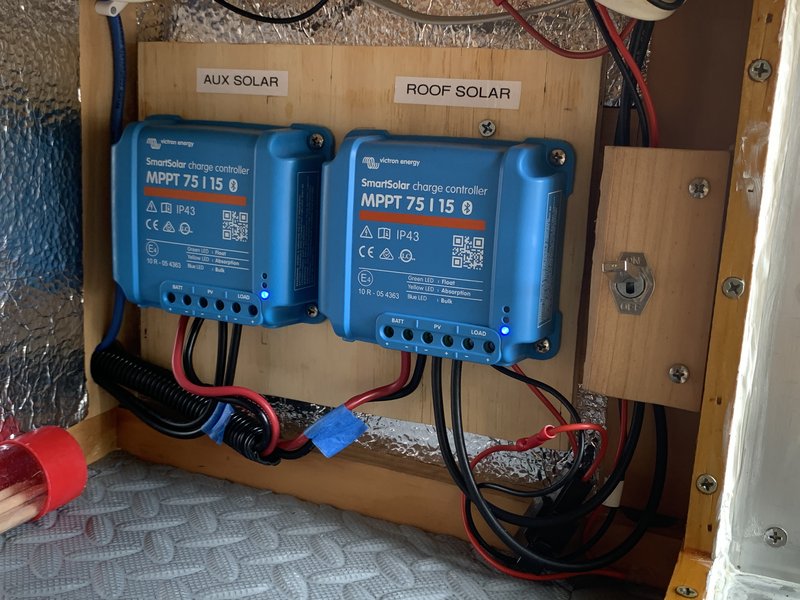
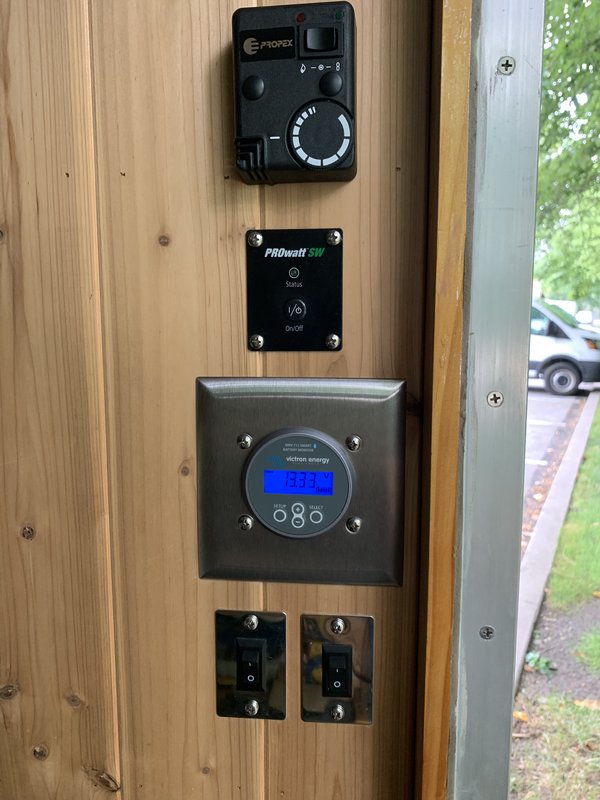
The solar charging and monitoring of the battery system are handled in my trailer by Victron devices. You can buy those devices and USA-made Hightec Solar panels from a company called Continuous Resources. (They are not a sponsor. I just like them.) There is a 5% off coupon code when you join the DIY RV Solar Systems Facebook group.
https://www.continuousresources.com
Why Victron?
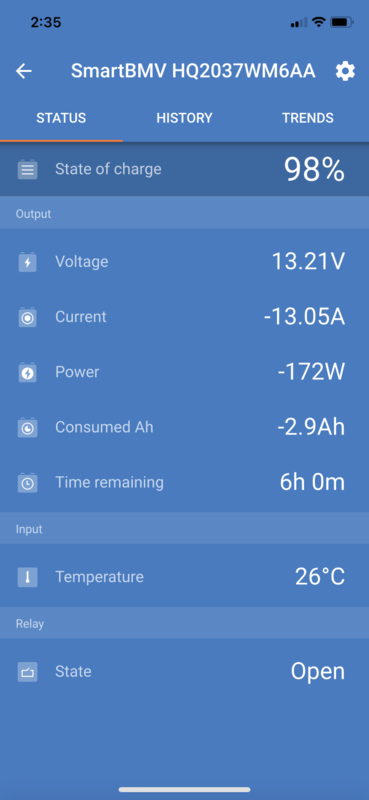
The Victron solar/battery components have a great feature of being able to create a Bluetooth network with each other, so that charge controllers always know the exact voltage and temperature at the battery in order to charge efficiently and safely (LiFePO4 cannot be charged below freezing temperatures). Using the Victron Connect app, I can connect to any of my Victron devices within range and see both real time and historic logged data, which is awesome. (You can load demo devices and check out capabilities on their app without buying anything.) Victron gets really high marks for their MPPT charge controllers, both for ease of use and for efficiency. They are programmable for LiFePO4 chemistry and for many other battery types.
Chapter 1: Getting your Victron devices online

One of the cool features of Victron components is that they can send their data to you and you can control them via the Internet. To do this, Victron has a device called the Cerbo GX, as well as a touchscreen called the Color Control for your RV. The Cerbo GX device sends your data to Victron’s Remote Management system (VRM) that you can access from any smartphone or computer. Through VRM, you can also change any settings on your charging & monitoring devices in real time, or update their firmware remotely. As I park my trailer about 45 minutes from where I live, being able to do these things from a distance would be phenomenal. The Cerbo GX is pretty expensive though for a little trailer, and wall space is at a premium - I don’t want a touchscreen. So, Victron has an option for us little guys/gals: the Venus OS.
The Venus OS is Victron’s operating system to simulate the Cerbo GX on an inexpensive microcomputer called a Raspberry Pi, and control it from a smartphone. The Raspberry Pi runs off of 5 volt DC like your phone charger, and has USB ports where components can be plugged in (like cables to the Victron solar charge controllers and battery monitors). A Raspberry Pi is about the size of a deck of cards, and also has Wifi. It is your battery monitoring system’s gateway to the Internet.
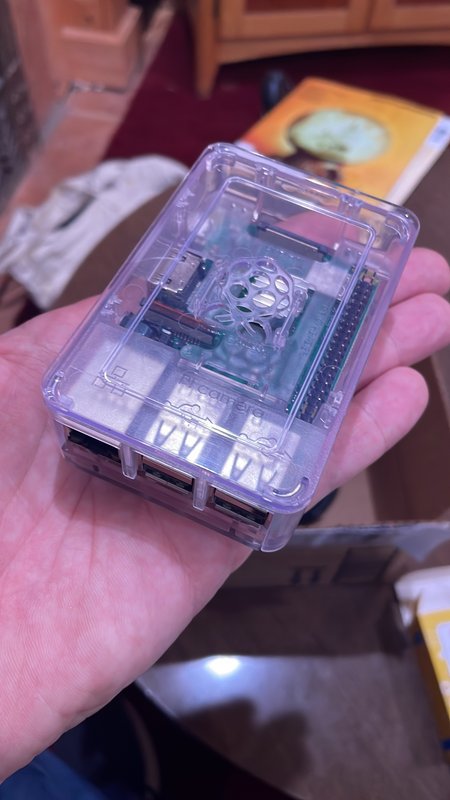
I want to give tons of credit for this idea to a YouTuber named Andy who created the Off Grid Garage channel. It is worth watching Andy’s video about this so you can see how to set it up, and see how easy it is. Here is the video:
https://youtu.be/50V50lISnC8
Andy has a list of components you need to network your Victron devices to the VRM using a Raspberry Pi here:
https://off-grid-garage.com/victron-connect-through-raspberry-pi/
Hardware you need:
- Raspberry Pi 3b+ (not the newest 4b yet, as it is not yet compatible as of this writing)
- 8 GB or larger Micro SD card (and adapter for your computer)
- Ethernet cable for setting up the Pi
- USB to TTL Serial cable for each Victron device you want to network
- Male connectors to JST connector for each serial cable — ***see Andy’s important directions on how to wire them properly
(Note: Victron sells their own USB to JST cables so you would not have to get the above two line items unless you want to spend less on the project.)
- 12 volt to 5 volt 3 amp buck converter to power the Pi in your trailer (and a phone charger for on the workbench).
- USB GPS receiver if you want the GIS geofence function of the VRM to work.
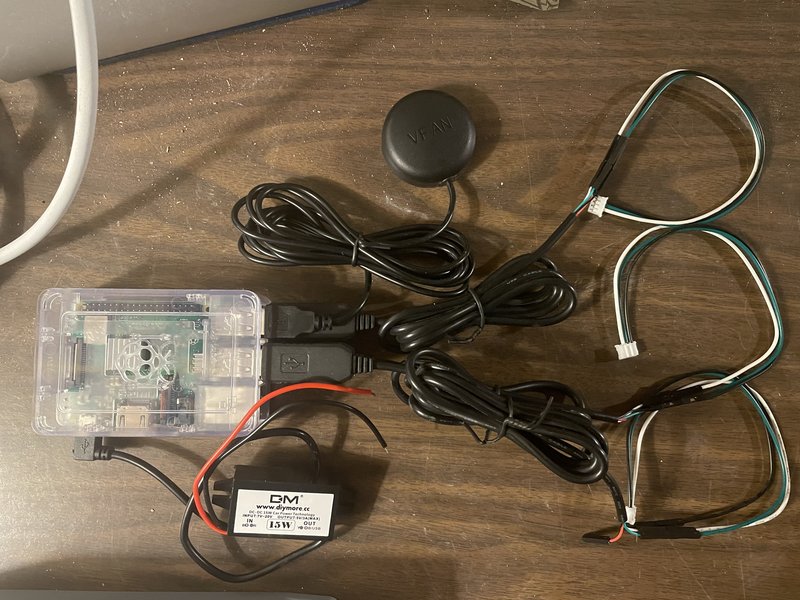
I really followed Andy’s Off Grid Garage instructions to the letter. The only difference is I have a Mac, so I downloaded and used BalenaEtcher software to be able to flash the Venus OS from my computer to the SD card. It is free.
Windows - Win32diskimager:
https://sourceforge.net/projects/win32diskimager/
Mac - BalenaEtcher:
https://www.balena.io/etcher/
At this time the most recent version of the Victron Venus OS for the Raspberry Pi is 2.73. Use the most up to date one you can find on Victron’s download site:
https://updates.victronenergy.com/feeds/venus/release/images/raspberrypi2/
Basically unzip the file (happens automatically on a Mac), select OS image file with the disk imaging software (on Win32diskimager or Etcher), select your Micro SD card drive, and click flash. It should take only a few minutes to write it and verify it.
Once you have the card flashed, eject it from the computer and put it into the Raspberry Pi. Connect the Pi to your home router with the Ethernet cable and plug it in to power. It should boot in less than a minute. On your computer or smartphone on the same network, browse to: Venus.local.
Venus.local should bring up the Victron Cerbo GX interface on your screen, same as you would see on the expensive touchscreen if you had bought one. From here you can fix all the settings:
- connect to WiFi so you can ditch the Ethernet cable
- date and time, and time zone
- how often you want it to log data to the VRM
- how you want it to handle firmware updates
- that you have a DC system (boat/RV)
- turn on 2-way communication so you can control your system
The most important thing is to get the VRM Portal ID from the VRM online portal settings menu, which is a unique identifier for your device. You will use that to set up a connection from your Pi to Victron’s VRM server. You can set that connection up at:
https://vrm.victronenergy.com/
Sign up there for free, and type in your portal ID from the Pi, and you’ll be connected. As I stated above, watch Andy’s excellent video for more details! He walks you through it.
If you have Victron devices already, this is a cool way to access them anytime, from anywhere, without spending too much additional money (and yes, those Victron charge controllers were already expensive!). The only requirement is that your Raspberry Pi running Venus OS needs access to Wifi wherever you park your trailer. In your garage or in your yard you might already have a wifi signal. It’s ok to not have a consistent Wifi signal (like if you are out camping) because the Pi stores your logged power usage data on the micro SD card and uploads it when you get back.
But what if you park your trailer somewhere without WiFi all the time?
Chapter 2: Wifi Anywhere!
I do not have WiFi where I store my trailer, but I still want to be able to log data and control my Victron devices remotely. So, I need a mobile solution.
One way is through a cellular hotspot. Most carriers let you use your smart phone as a hotspot to create a temporary wifi network that your computer or other devices can get on to. Most carriers also sell mobile hotspot devices for the purpose, with dedicated data plans. Most hotspot devices have finite battery life and cannot be left on indefinitely in a trailer, though.
My inspiration for this next part comes from a user named willo over on DIYsolarforum:
https://diysolarforum.com/threads/rpi-internet-and-victron-monitoring.20213/
Willo created a DIY cellular hotspot device using a second Raspberry Pi, which broadcast a wifi signal to the first Victron Raspberry Pi. Brilliant. They found a company called Sixfab who sells Raspberry Pi-compatible hardware and data plans for the purpose:
https://sixfab.com
Sixfab makes a “hat” that sits atop a Raspberry Pi 3b+ or 4b that holds a tiny modem and SIM card, and has connections for two cellular antennas. The kit I used is here (only $109 as of this writing).
https://sixfab.com/product/raspberry-pi-4g-lte-modem-kit/
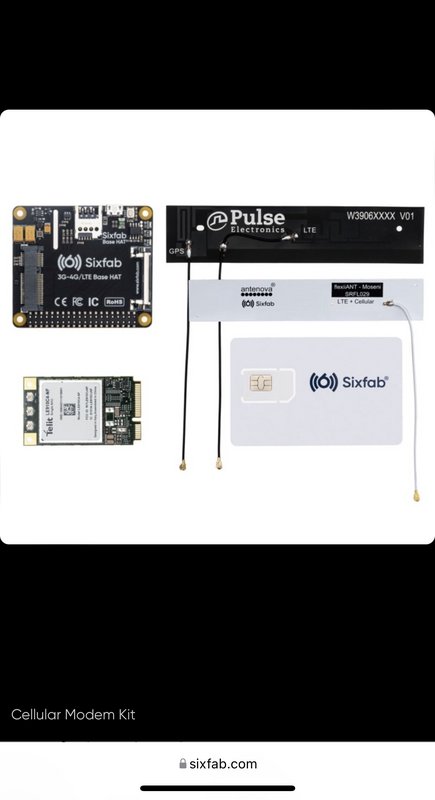
For the Sixfab Hotspot setup, hardware you need is:
- Raspberry Pi 3b+ or 4b
- 8 GB or larger SD Card
- 12 volt to 5 volt 3 amp buck converter to power it in your trailer
- The Sixfab kit (comes with everything)
- Optional project enclosure
You will need to download the Raspberry Pi OS imager here:
https://www.raspberrypi.com/software/
Flashing the OS to the micro SD card is nearly the same process as before, except you would use the Raspberry Pi imager instead of Etcher. Follow the good directions on the software page above, or watch this quick video:
https://youtu.be/ntaXWS8Lk34
First, type ctrl-shift-X to get a list of hidden options. Select the Lite version of the OS, since you don’t need a desktop computer environment on your Pi. You can preconfigure the install options so the Pi can get on your home’s wifi right away, which is handy. Enable SSH and set a password. Then flash the card, which again takes a few minutes. After it’s finished, eject the micro SD card and pop it into the Pi.
You will be working with the Terminal app to send text commands to the Pi to set it up. You should see the Pi on your network as raspberrypi2.local. To access it from the Terminal, you’d type: SSH [email protected]. If you set a password on the preconfigure options, you would have to type that in to have access.
Sixfab has good directions for physically putting the cellular modem system together and then getting it up and running using SSH text commands:
https://docs.sixfab.com/docs/raspberry-pi-4g-lte-cellular-modem-kit-getting-started
Next, once you have an actual cell signal, directions for turning on the hotspot wifi on the Raspberry Pi are here:
https://docs.sixfab.com/page/using-sixfab-raspberry-pi-shield-hat-as-a-wi-fi-hotspot
Note: Do the above installs while still connected to ethernet or your home wifi though— no need to burn any cellular data yet.
Also note: There is one omission in the hotspot directions above. At one point they ask you to add lines to a file but don’t tell you how. Here is how. Type:
sudo nano /etc/wpa_supplicant/wpa_supplicant.conf
An editor will come up where you can copy in the needed text. (The file will be empty at first.)
Press ctrl-X to exit, and save changes.
One final note: Once RaspAP is installed and you are configuring the WiFi settings, the correct interface is wlan0, not wwan0. If you set it to wwan0 like it says, you will lose wifi and you’ll have to install RaspAP over again. Leave it as wlan0 and it should work fine.
Protecting your investment:
If you want, you can purchase a project enclosure with a cooling fan to keep your Sixfab Pi safe ($49) I actually bought two: one for the Victron Pi and one for the Sixfab Pi.
https://sixfab.com/product/raspberry-pi-indoor-project-enclosure/
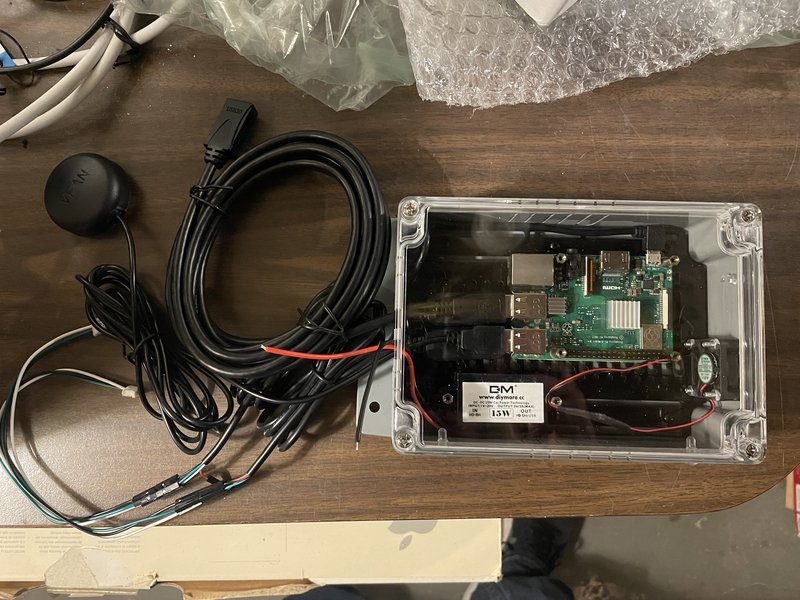
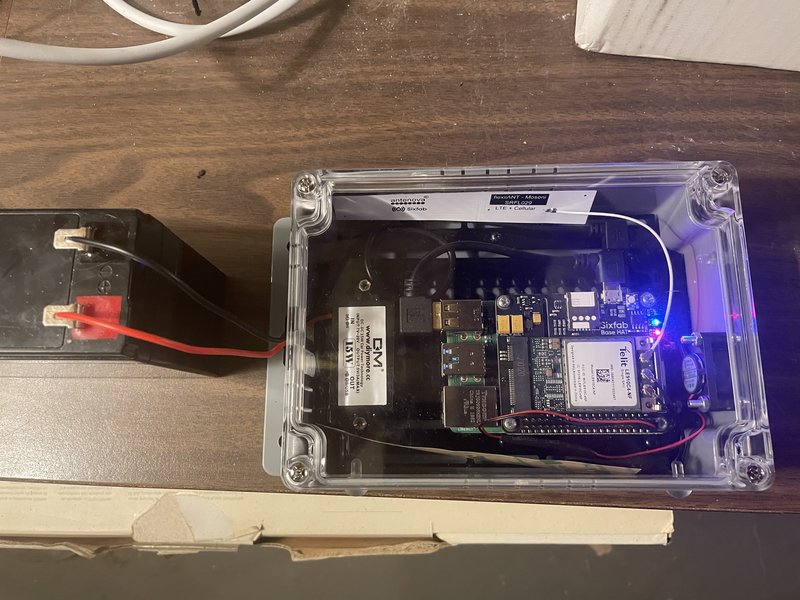
Directions for assembling your Pi, hat, modem, SIM, antennas, and cooling fan inside the protective case:
https://sixfab.com/product/raspberry-pi-indoor-project-enclosure/
What about cellular data service? Start here:
https://connect.sixfab.com/
Sixfab has data service that is ungodly expensive for watching Netflix but reasonable for low bandwidth data logging. You get $25 of free data with the kit to get you started (note: pay as you go pricing costs 10x more per MB! Get a Sixfab data plan right away— the $25 can last you 2 months.). At the time of this writing, an active SIM card is $2 a month and 500 MB (one half GB) of mobile data per month is $9. You will rightly ask, whoa, I can get 3x more data per month from —insert your carrier here— for that price! The three main advantages to staying with Sixfab for VRM datalogging as I see them are:
- No contract, easy to change or stop data plans.
- The Sixfab SIM card runs on BOTH T-mobile and AT&T’s towers in the US, which are robust for 4G LTE data. Thus, it is a lot harder to have no signal. It’s flexible and seamless as you travel.
- Sixfab’s system can cross borders and continue to work without changing your data plan. You can take your trailer into Canada, eh?
Getting more hotspot data:
The Sixfab modem can be used with a SIM card from either T-mobile or AT&T, so if you have one with an active data plan, you can plug it in and go. If I wanted more cellular data (like 50 or 100 GB per month) to be able to use the hotspot more like home wifi while camping, this is what I would do. (Note, at the time of this writing, Verizon SIM cards are NOT compatible with the Sixfab system.) When using another carrier’s sim, the Sixfab sim is removed and the cellular modem only gets reception from that one carrier only. Follow these directions from Sixfab if using someone else's SIM card:
https://docs.sixfab.com/page/setting-up-a-data-connection-over-qmi-interface-using-libqmi
About 5G:
The Sixfab modem is a 4G LTE modem (also can receive 2G and 3G). At the time of this writing a 5G version is in development. When it comes out, I may replace the modem component of the kit (sits on top of the Pi’s hat and houses the SIM card) with the upgraded 5G one. No idea when that will be available though. Also, I don’t think it is critical to have 5G on the trailer’s hotspot yet. Right now almost all 5G infrastructure is in urban areas — not where I camp with my trailer anyway. 4G LTE is the mobile phone standard across the US and will be for some time to come, and it is reliable. For what I want to do, 4G LTE is plenty fast.
Getting Help:
Sixfab has a community forum similar to ours where you can ask questions, help others, and get answers. Their moderators also help answer tech questions.
https://community.sixfab.com
Main Takeaways:
Let me know if you have any questions or comments about this writeup. To summarize:
You can use a Raspberry Pi running Victron’s Venus OS to access your battery monitor, charge controllers, and other Victron devices over the Internet. All it needs is a WiFi connection. If you have WiFi where your trailer is normally parked, you are all set.
You can use a second Raspberry Pi running the Lite version of Raspbian OS and Sixfab’s cellular modem kit to make a WiFi hotspot that your Victron Pi can connect to. You can also potentially use it to connect other devices like a laptop to the internet.
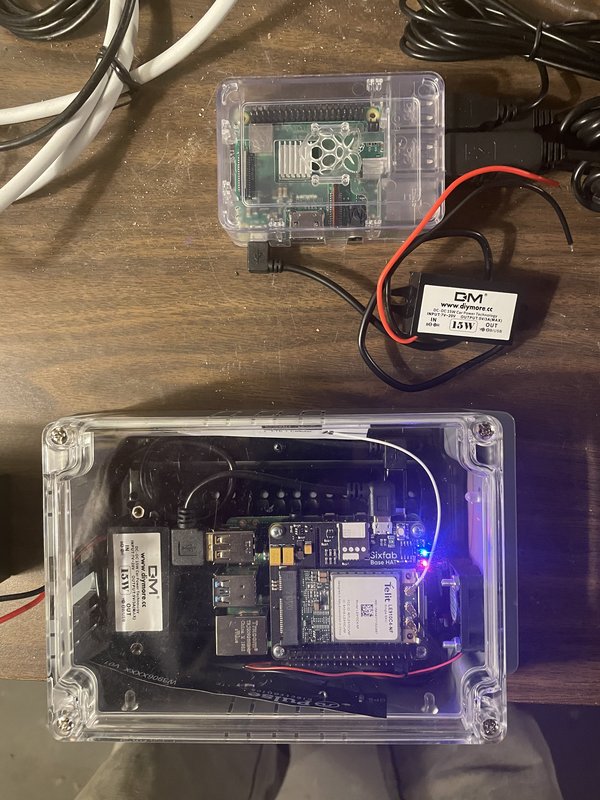
If you want to follow my install of the two Raspberry Pi’s in my M116A3 camping trailer, you can click here:
https://www.tnttt.com/viewtopic.php?f=50&t=62581&start=810#p1284930
Happy camping!
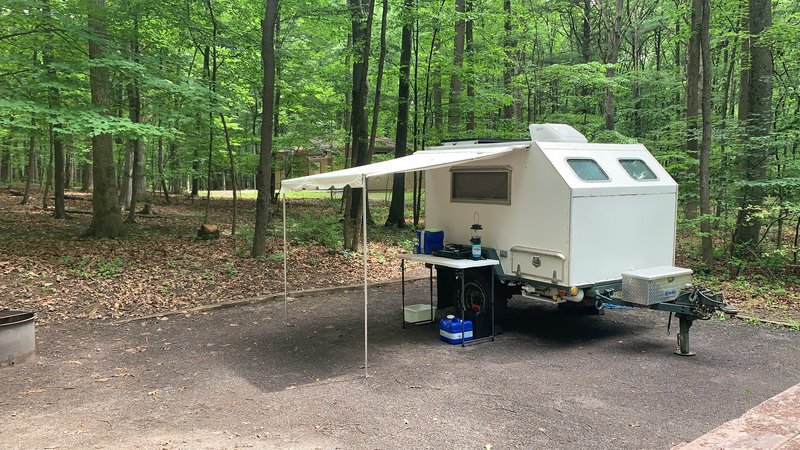


 If you undertake any of these mods and need any help, feel free to let me know. Most Victron components like MPPT chargers and battery monitors have this VRM capability, although I bet it isn’t used much. The tradeoff to using it is cost if going with Victron’s Cerbo GX, or complexity if programming a Raspberry Pi. Hopefully this writeup takes some of the mystery out of it so more people can use it.
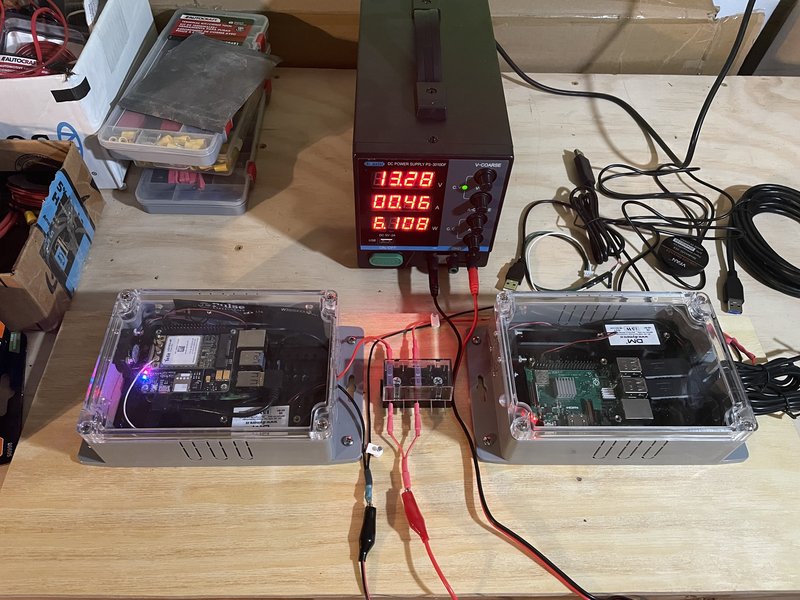


 I could never have done all this AND build a trailer from the ground up at the same time! I can see why you are leaving the Victron stuff until the end.