Alto Winter Warrior now with plans
![]() by tears4mama » Sat Oct 10, 2009 8:17 am
by tears4mama » Sat Oct 10, 2009 8:17 am
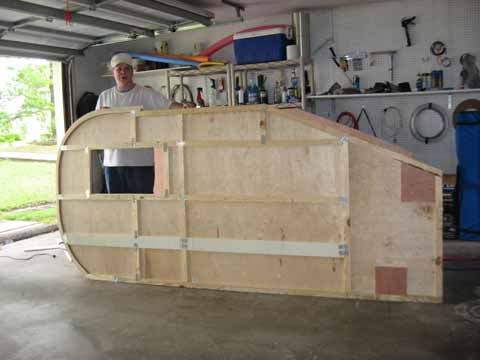
I too am wondering how to insure that the wall strength is good for bunks. I have an 8yo and 6yo. They have impressed on me that they should sleep in the camper too!
-

tears4mama - Teardrop Builder
- Posts: 40
- Joined: Mon Aug 17, 2009 4:29 pm
- Location: PeeDee Region, SC
![]() by starleen2 » Sat Oct 10, 2009 8:32 am
by starleen2 » Sat Oct 10, 2009 8:32 am
tears4mama wrote:I too am wondering how to insure that the wall strength is good for bunks. I have an 8yo and 6yo. They have impressed on me that they should sleep in the camper too!
A little planning ahead will insure that you place a wall stud right where you are going to attach the bunks - And yes - if done in this manner - the wall will be sturdy AND secure enough. Same construction used on the ladybug WW
-

starleen2 - 5th Teardrop Club
- Posts: 16272
- Images: 224
- Joined: Sat May 12, 2007 8:26 pm
- Location: Pea Ridge ,AR