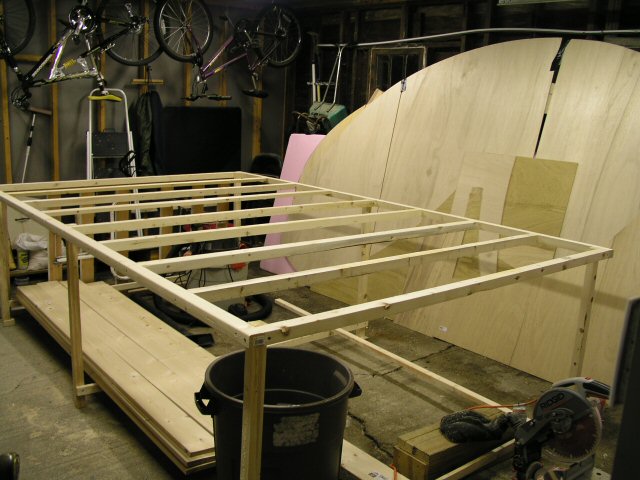
I was thinking about making the pattern for the sides of my tear. Most of the things I have made in the past did not require a pattern, so I'm trying to figure out the best way to make one.
What if I made the pattern out of 3/4 particle board, then attached legs to the bottom, so I could also use it as my workbench. It would be the right shape to clamp everything down, and wouldn't move around when I was working on it. When looking at pictures of other peoples construction, it seems like clamping things (framing) down it might be a problem, when the work bench is rectangular, and the part you are building is sort of an oval (unless I screwed clamps to the bench like Steve does).
The question is, would it work as a work table and a pattern, or should the pattern be something seperate that I can flip over and move around (Could I make both sides with just one side of the pattern facing up)?
Pattern / worktable
14 posts
• Page 1 of 1
-

JunkMan - 500 Club
- Posts: 974
- Images: 50
- Joined: Sun Oct 24, 2004 6:21 pm
- Location: Rapid City, South Dakota
![]() by asianflava » Mon Jan 10, 2005 11:20 pm
by asianflava » Mon Jan 10, 2005 11:20 pm
That sounds like a genious idea.  I didn't know any better and used thin (1/4in) ply for my pattern.
I had problems joining the pieces and during the cutting. The pattern was thin and when the router base encountered a bugger, I'd have to lift it to get over it. Then the top bearing bit I was using would cut into my pattern. With a thicker pattern you wouldn't have this problem (you'd also use a bottom bearing bit). You also wouldn't have flexing problems either.
If I were to do it over, I'd make a pattern out of 3/4 MDF. As long as you don't have to move it, it would be fine.
I didn't know any better and used thin (1/4in) ply for my pattern.
I had problems joining the pieces and during the cutting. The pattern was thin and when the router base encountered a bugger, I'd have to lift it to get over it. Then the top bearing bit I was using would cut into my pattern. With a thicker pattern you wouldn't have this problem (you'd also use a bottom bearing bit). You also wouldn't have flexing problems either.
If I were to do it over, I'd make a pattern out of 3/4 MDF. As long as you don't have to move it, it would be fine.
-

asianflava - 8000 Club

- Posts: 8412
- Images: 45
- Joined: Mon Aug 02, 2004 5:11 am
- Location: CO, Longmont


 I'm useing your method too. Boy it is a learning curve when you've never done it. But I have the two side panels done for the rear hatch so far. Took me two days but I'm starting to get a little more comfortable with the tools now. I got most of the tools from my dad when he went in the resthome but have never used them this way before. I'll try to get some pics posted in my Yahoo gallery tonight.

 It's
It's 
 and that's not a valid option!!!


 Mike...