
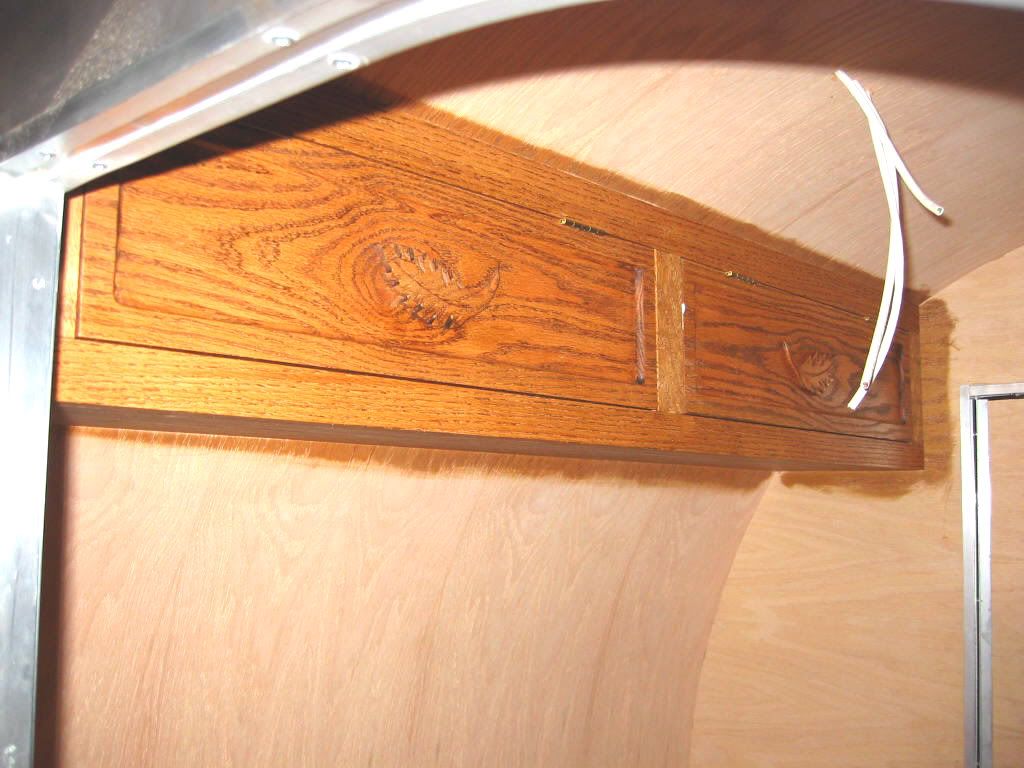
I spent a lot of time working on the front cabinets this weekend. More time consuming than I expected. I'm happy with the progress but I don't have any stops or latches installed yet. I hear that magnets are used but where are they placed? What is best and where is the best location for a stop? I guess I should have thought this all out before I started building but how many of us actually do that?
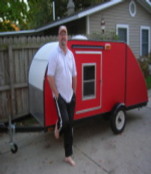
http://img.photobucket.com/albums/v422/ ... tear12.jpg
Teardrops n Tiny Travel Trailersor t n ttt for short (tnttt.com) |
cabinet work
16 posts
• Page 1 of 2 • 1, 2
cabinet work
![]() by Georgeandpat » Mon Mar 07, 2005 12:35 pm
by Georgeandpat » Mon Mar 07, 2005 12:35 pm
-

Georgeandpat - Teardrop Master
- Posts: 185
- Images: 12
- Joined: Fri Jan 21, 2005 1:00 pm
- Location: Los Angeles, CA
![]() by asianflava » Mon Mar 07, 2005 1:17 pm
by asianflava » Mon Mar 07, 2005 1:17 pm

-

asianflava - 8000 Club

- Posts: 8412
- Images: 45
- Joined: Mon Aug 02, 2004 5:11 am
- Location: CO, Longmont


