Well, yesterday was a very productive day! I'm finally finished, more or less, with my other project, my 1963 VW Beetle. So now it's full speed ahead on our teardrop.
I have spent so many hours reading the forums on here to understand what I need to wire this baby the way I want it. You guys are AWESOME! I've learned so much from your words of wisdom and your experience. So, armed with all the learning I've received from you, I have decided to wire the teardrop for 12v and 110. The lights will be 12v, and the air conditioner and outlets will be 110. I went to Lowes and spent a couple hours talking to the nice employees there. They helped me so much as well. I ended up leaving with a bag full of goodies. They included: a breaker box that I got a discount on because it didn't have it's cardboard box with it, two 20 amp breakers, a ground strip, two outlets, two light switches, and the junction boxes for them. It was a successful trip. When I got home, I dove right into the wiring, and here's what I got done.
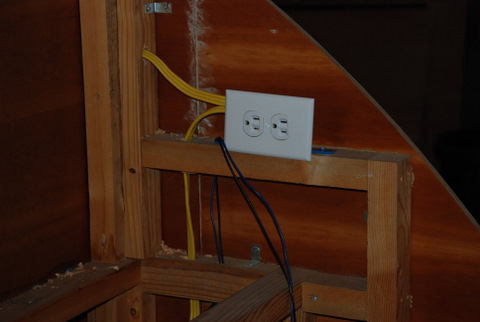
I mounted the breaker box and wired the air conditioner and outlets. The yellow cable from the left is for the A/C, and the yellow wires going to the right are to the two outlets.

This outlet is in the galley.
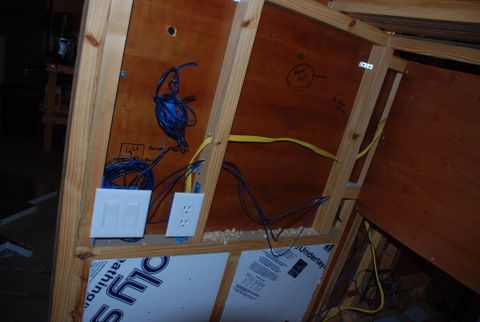
These are the switches for the porch lights and the interior lights, and here is the outlet for the cabin.
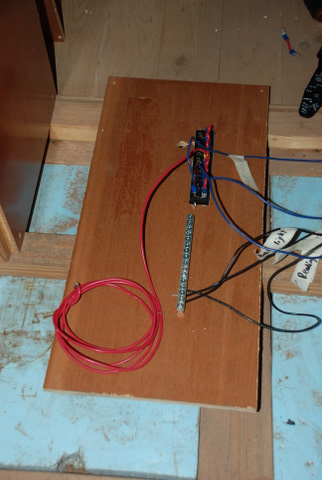
Then I started wiring the 12v items. Adam, the guy I bought this project from, had already installed this fuse box. I installed a grounding block to run all the grounds back to. This is the back side of that panel.
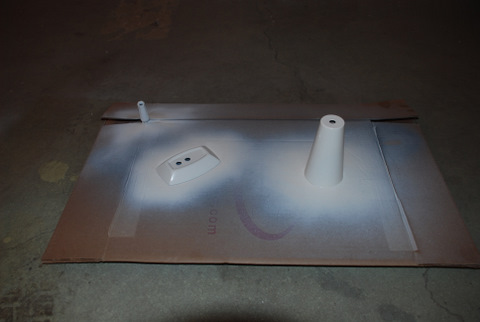
I have run most of the 12v wires, and now I'm waiting to put the sides on so I can mount the lights and get them fully wired. Adam gave us some old school reading lights that were goofy looking because they were gold. We originally wanted to buy some new ones, but I wondered what they would look like painted. So, I painted them flat white, and I think they will look really good. Here they are after a couple coats of paint.
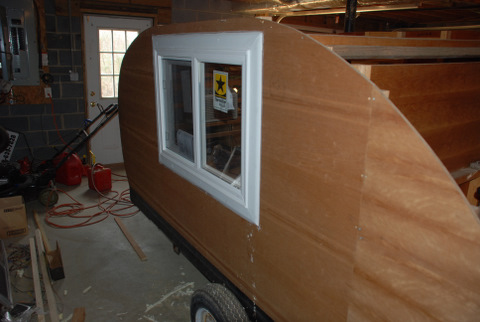
Another project that I have been working on is replacing the window on the driver's side. The window that was in there when I bought this project was a storm window for a basement. It was pretty fragile and wouldn't insulate worth jack! So, I bought a really nice window that fit very similar to the previous one. After installing it, insulating around it, and putting the molding up, I sealed it with caulking. I think it looks pretty good.
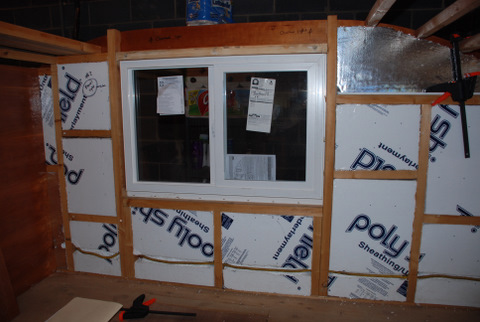
I have also been working on insulating the sides of the teardrop. I bought 2 inch foam from Lowes and fit it into place. It is a lot easier than I thought. I hope this will make the difference between being cold or hot while we are "camping."
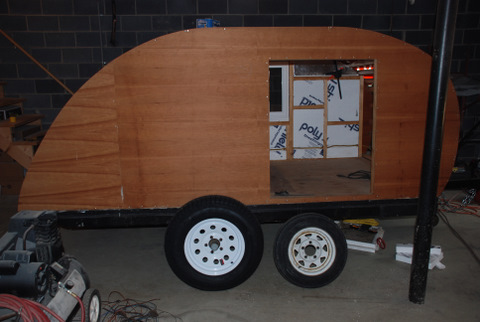
After reading and reading about tires and wheels in the forums, I think I have decided on going with a bigger size. The 12 inch wheels that were on here are so pansy, and I'm a little scared to take them barreling down the interstate. So, I stopped at Tractor Supply Center on the way home yesterday and picked up a 15 inch wheel and tire to see if it would fit. It went on quite well, but there is not enough space between the tire and the body of the teardrop (maybe an 1/8 inch). So, I'm going to see what the 14 inch wheel and tire combo is like. It may be the same since the tire is quite similar. Are spacers a terrible idea? Anyway, here's the difference between the 12 inch and the 15 inch.

It really raised the teardrop up quite a bit. I really like how it looks, and I'm sure I'll feel better hitting potholes and going faster...
Well, that's the update for now. I plan on finishing the wiring and then putting the interior sides on. Any suggestions on how to cut the walls the correct shape? My plan right now is to clamp the plywood to the exterior. Then, I'll trace the shape of the exterior walls out on the wood. Then, I'll simply subtract 2 inches around the entire perimeter because the spars are 2 inches thick. Shouldn't that give me the correct shape?
I'll post more pictures and updates soon.


 Keep up the great work