Teardrops n Tiny Travel Trailersor t n ttt for short (tnttt.com) |
VermonTear 4x8 "Moby" Build ~ Dec 11 -- ?
65 posts
• Page 2 of 5 • 1, 2, 3, 4, 5
Re: VermonTear 4x8 "Moby" Build ~ Dec 11 -- ?
![]() by VermonTear » Wed Feb 29, 2012 8:43 am
by VermonTear » Wed Feb 29, 2012 8:43 am
Sharon & Woodbutcher: Thanks for taking a look. Oh, Sharon... I DO have a wood stove in my shop, so no fears about my freezing in Vermont February (or March) temperatures -- I have my mistakes to keep me warm.
-

VermonTear - Donating Member
- Posts: 86
- Images: 149
- Joined: Wed Nov 16, 2011 2:07 pm
- Location: Vermont
Re: VermonTear 4x8 "Moby" Build ~ Dec 11 -- ?
![]() by VermonTear » Wed Feb 29, 2012 10:30 am
by VermonTear » Wed Feb 29, 2012 10:30 am
Okay, I've been making some progress and taking some pictures that I haven't posted in a while. Here we go:
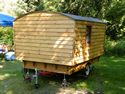
I got my frames glued to my exterior, already epoxied skin, got some insulation and additional blocking for fenders etc glued in:
Then I glued the exterior door skin to the door frame:

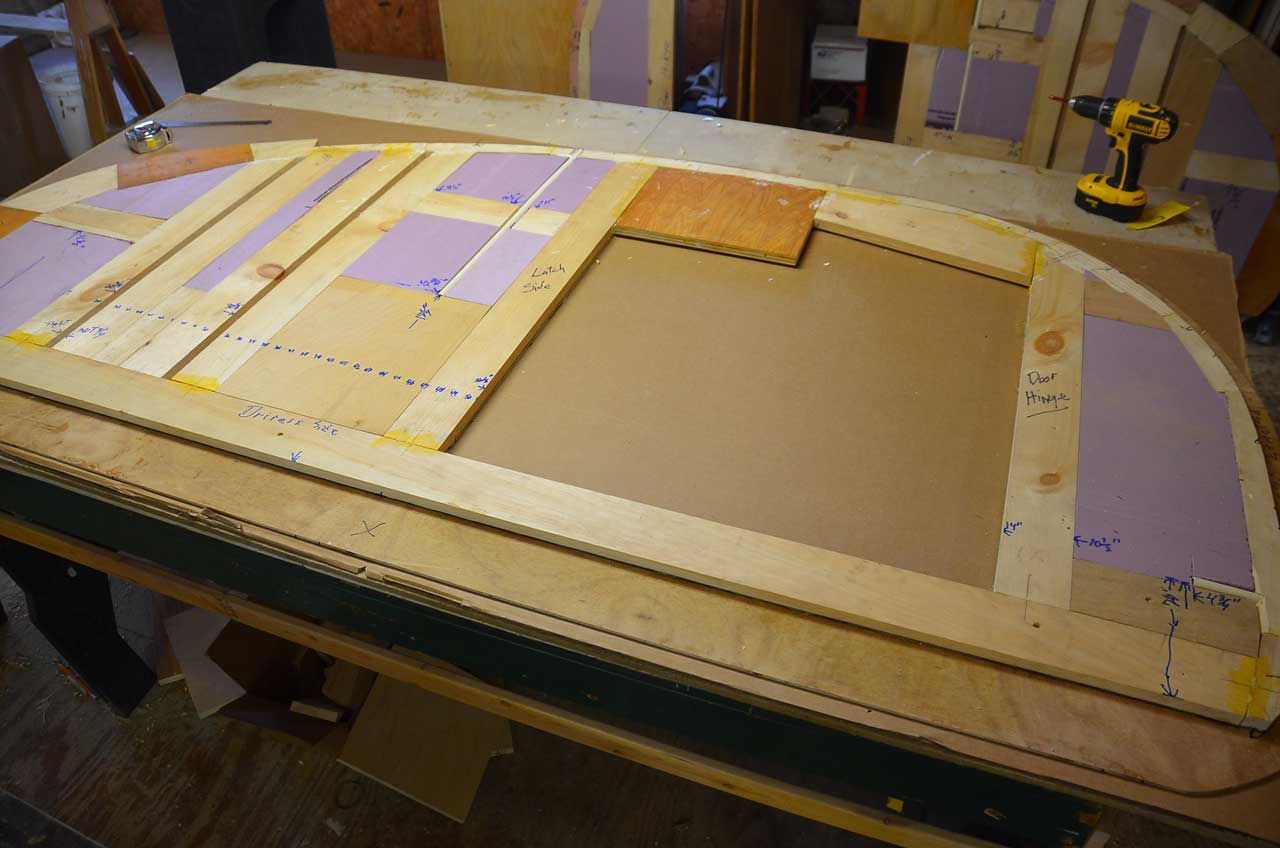
Skinned the interior of the cabin with Cherry ply:
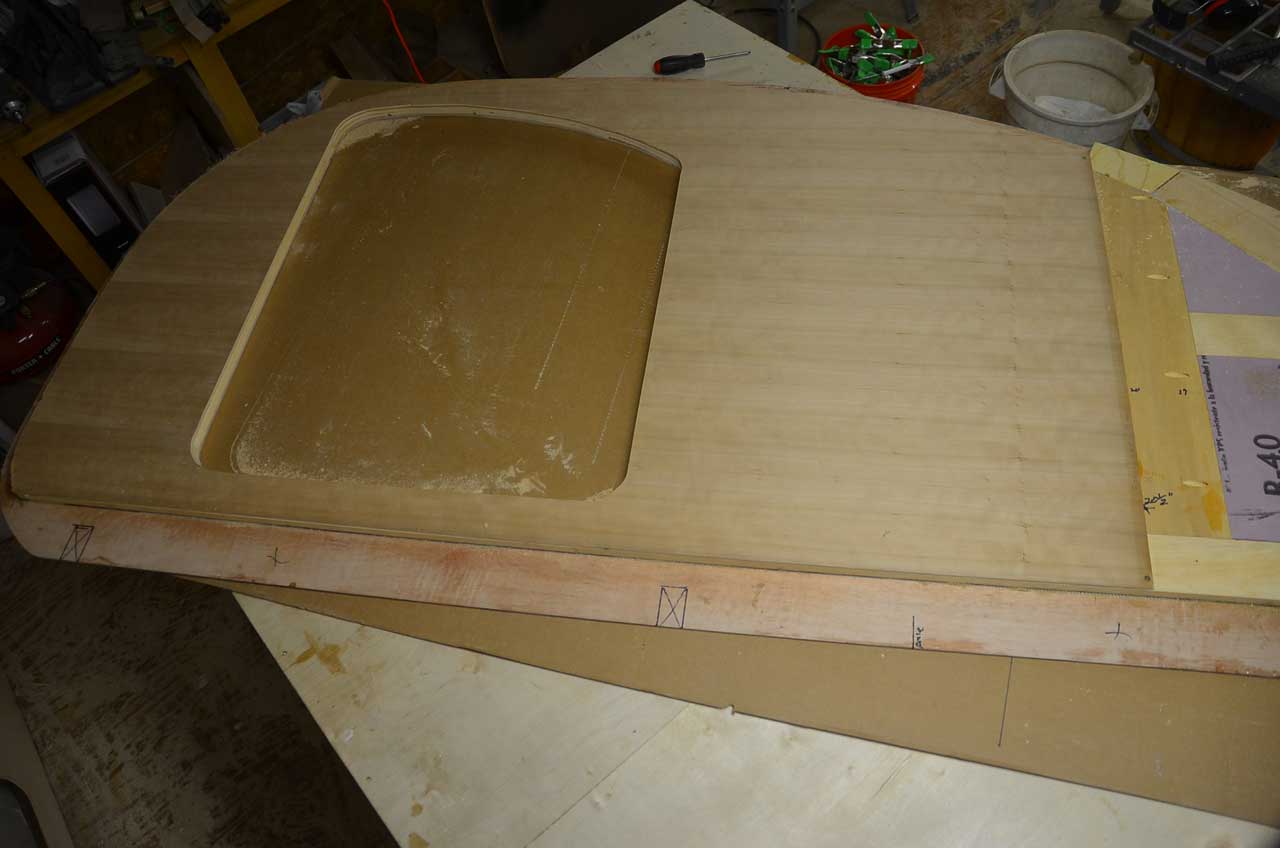
Here are the doors, skinned and trimmed both sides now:
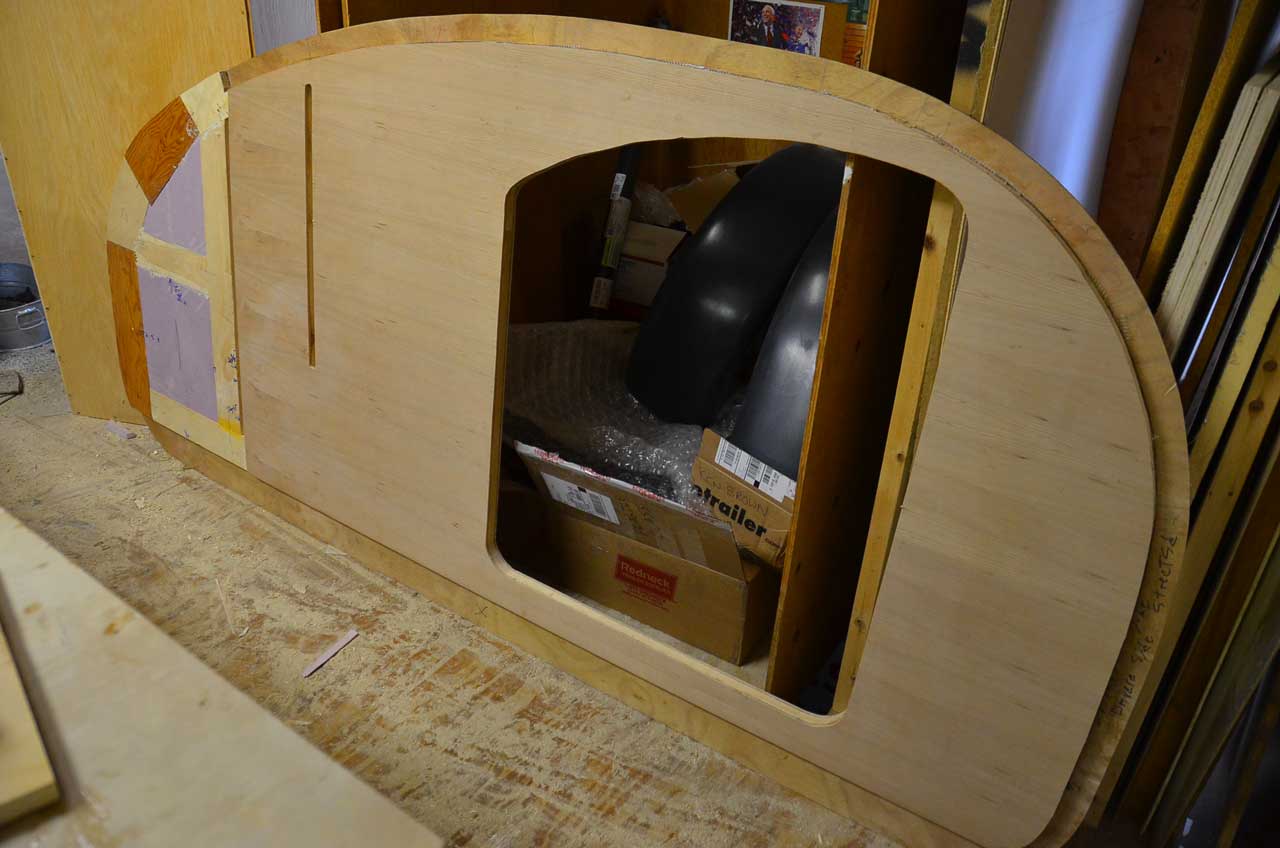
Now the interior cabin cherry is looking better and the door is trimmed. One groove is routed out for a bulkhead, but I've got more work to do there:
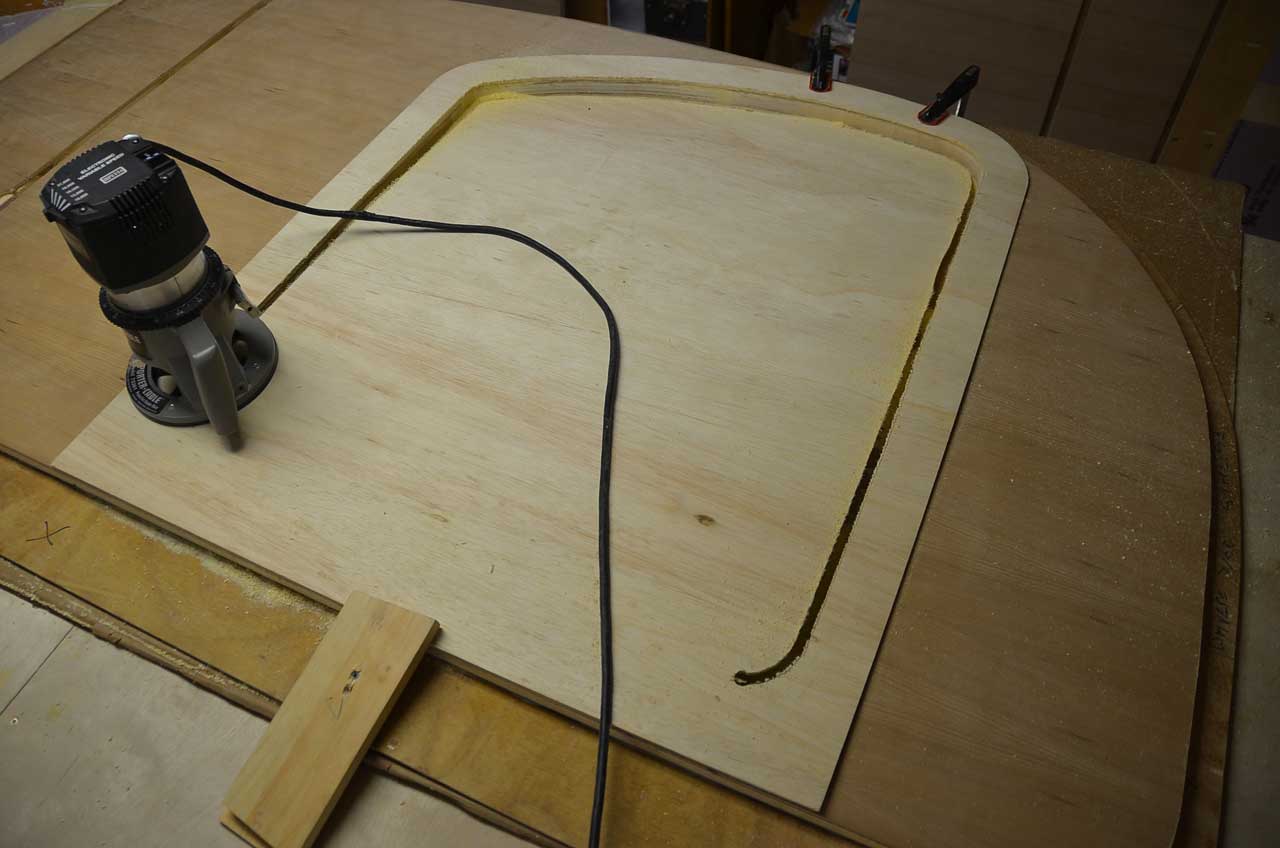
Here I'm routing out to make a maple ply door frame:
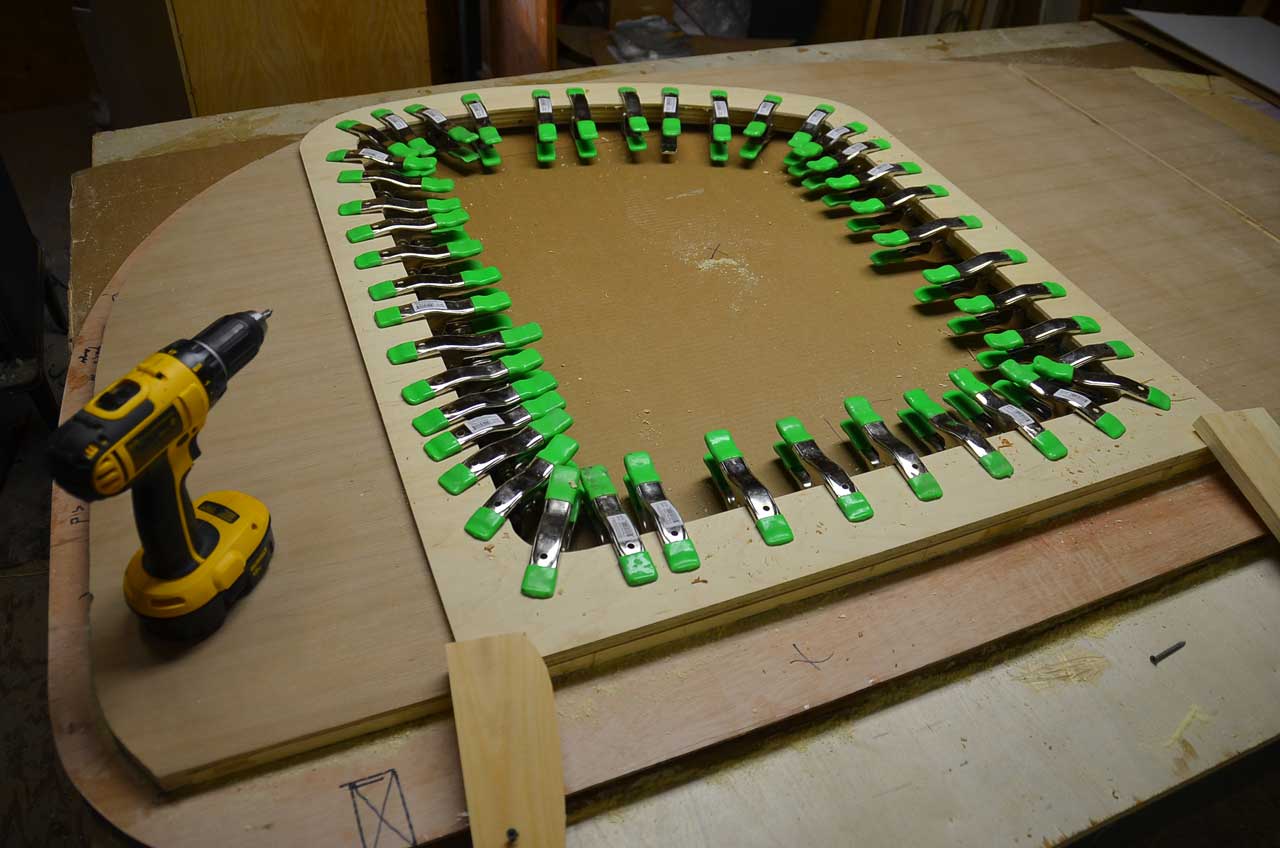
Think that's enough clamps? Thankfully they were only 99 cents a piece:
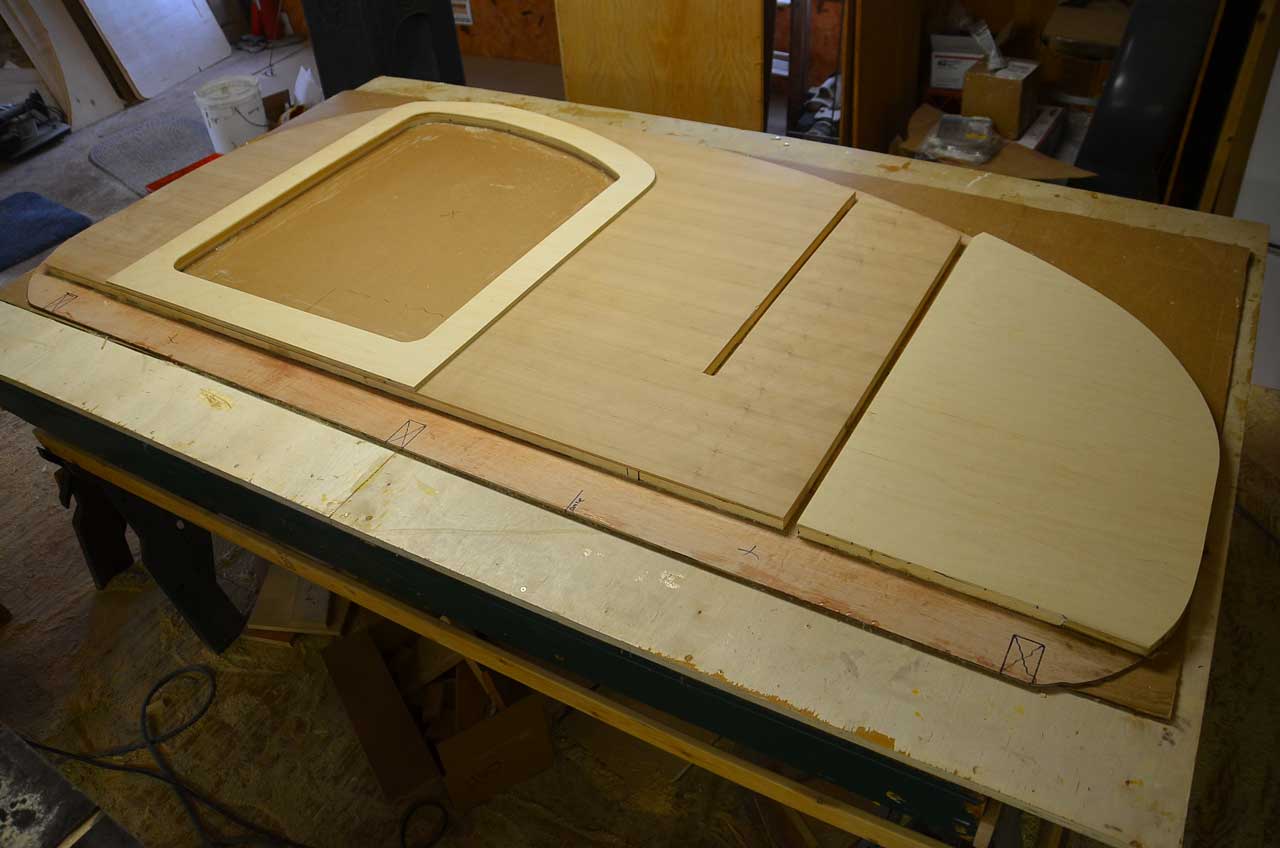
Interior is pretty close to being set, with the bulkhead slots routed, and the galley now skinned in maple ply:
I got my frames glued to my exterior, already epoxied skin, got some insulation and additional blocking for fenders etc glued in:
Then I glued the exterior door skin to the door frame:
Skinned the interior of the cabin with Cherry ply:
Here are the doors, skinned and trimmed both sides now:
Now the interior cabin cherry is looking better and the door is trimmed. One groove is routed out for a bulkhead, but I've got more work to do there:
Here I'm routing out to make a maple ply door frame:
Think that's enough clamps? Thankfully they were only 99 cents a piece:
Interior is pretty close to being set, with the bulkhead slots routed, and the galley now skinned in maple ply:
-
VermonTear - Donating Member
- Posts: 86
- Images: 149
- Joined: Wed Nov 16, 2011 2:07 pm
- Location: Vermont