http://www.ebay.com/itm/RV-Teardrop-Pas ... a5&vxp=mtr
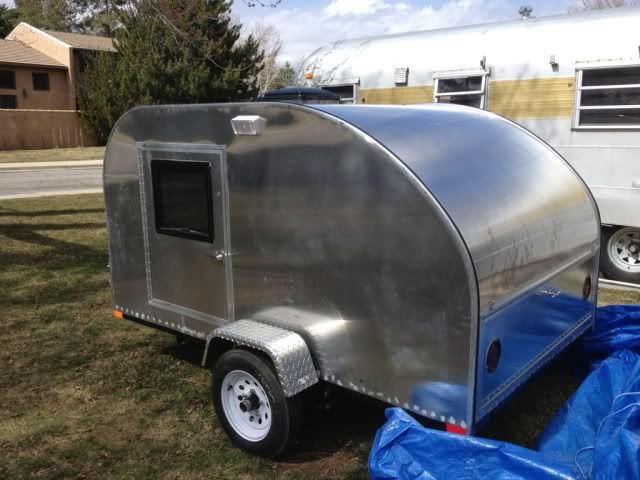
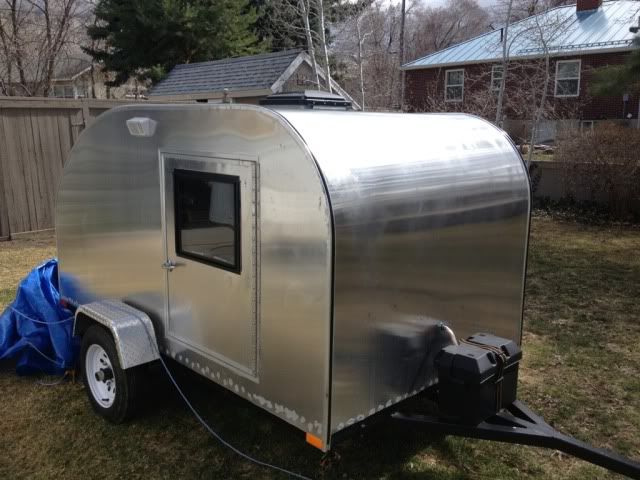
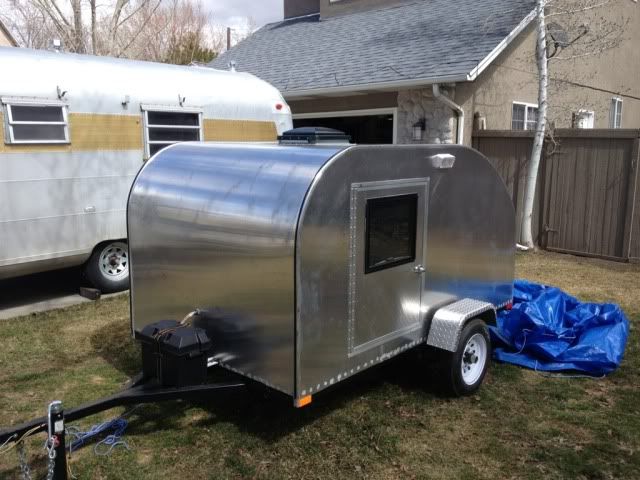
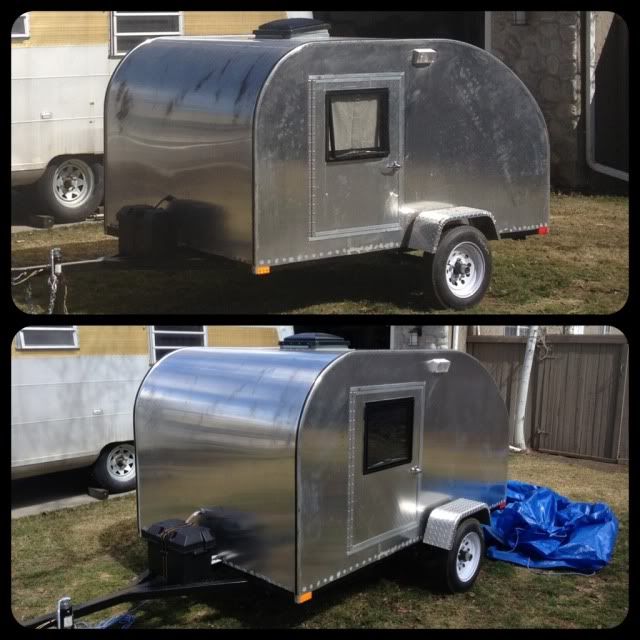
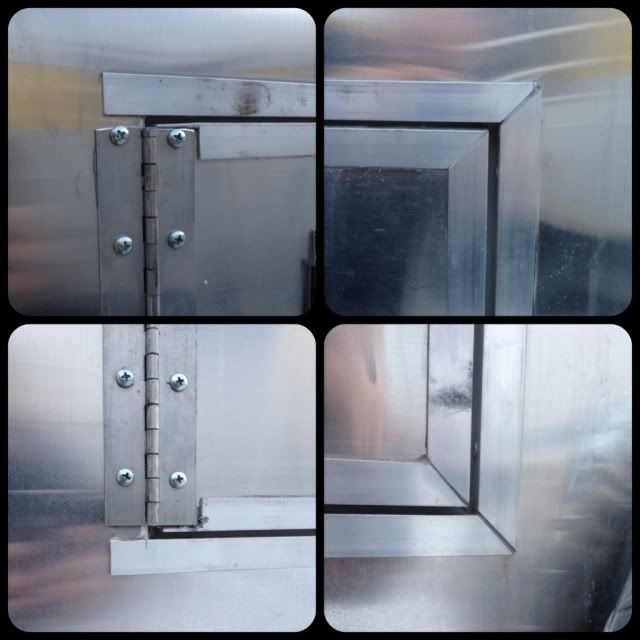
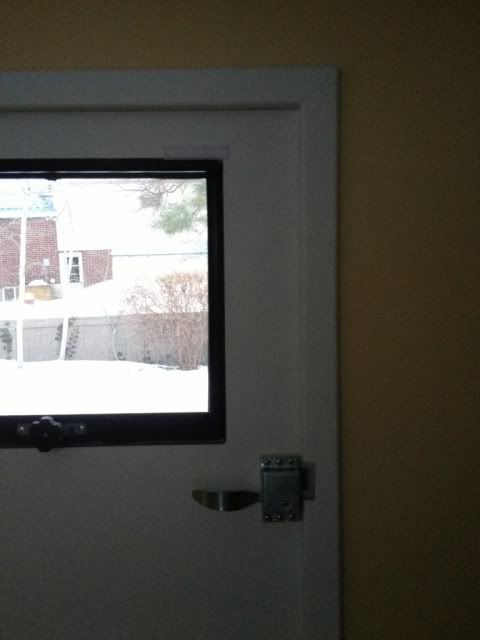
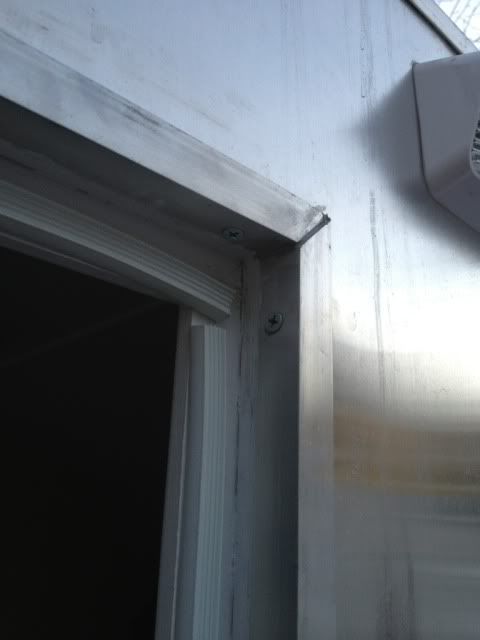
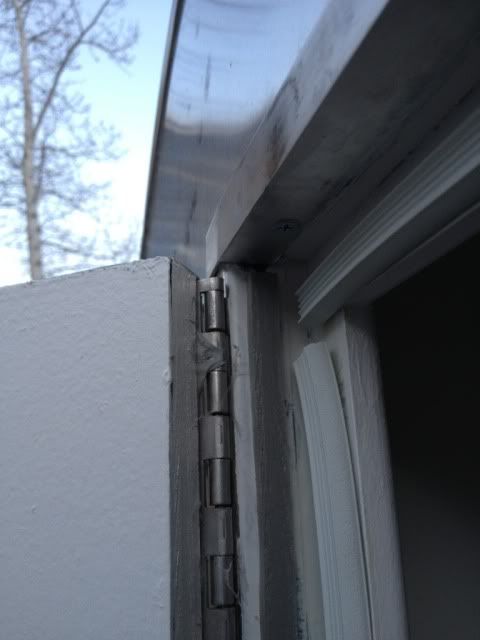
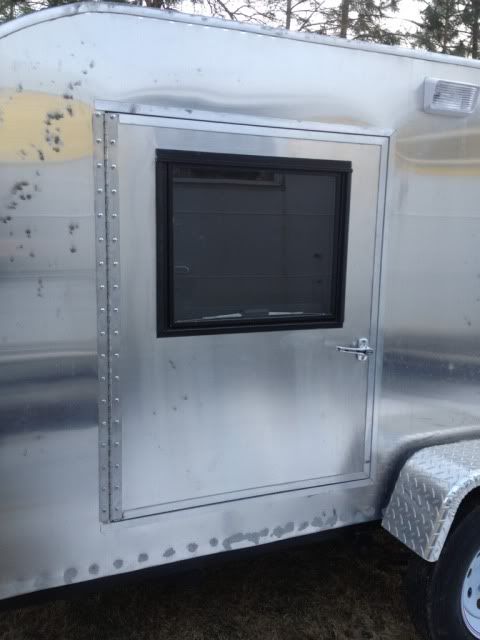
But, if you're building on a budget or want that custom look then here's what I did (and I can get you some pictures tonight). I started with just a square hole in the side. I think I made mine 28" wide by 36" tall. I undersized the door panel .25" on 3 sides and .125" on the last side (or front side). Reason being, I wrapped the opening and door with 1/16" thick angle aluminum on the top, bottom, and rear edge to protect the end grain on the wood. I also painted the entire door with Rustoleum Enamel prior to anything to ensure it was sealed. I cut the aluminum skin slightly smaller that the door and window opening and just stapled around the edges to secure it. I then applied the aluminum angle to the 3 sides, leaving the front edge un-covered because the piano hinge screws there. I did the same with the door opening. I screwed the piano hinge to the door side first. Figuring I had 1/8" gap there I laid the piano hinge on the door and folded it over the edge and stuck some 1/16" shim spacers under it then pushed it against the side of the door. So now I have my hinge in position on the door with the gap between the door and wall edge split evenly. So I clamped it and screwed it. Keep in mind during this whole process I was terrified of the thought of possible water damage to the wood so I used a TON of industrial grade 30-year sealant between everything! Under the aluminum skin edges, then under the angle pieces, under the hinge, in the screw holes, etc. Then I wiped the excess smooth so it looked nice.
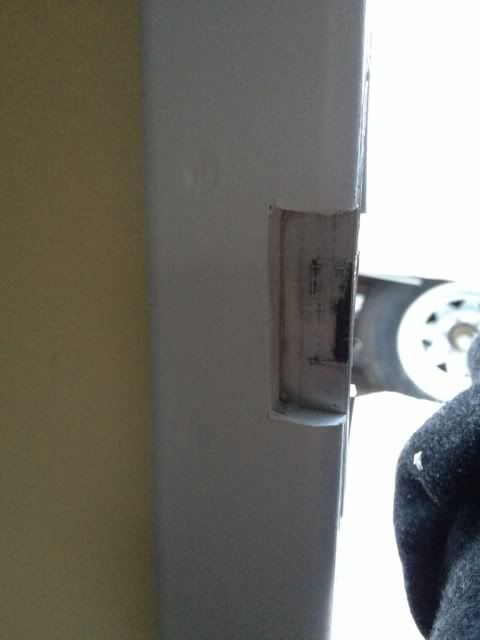
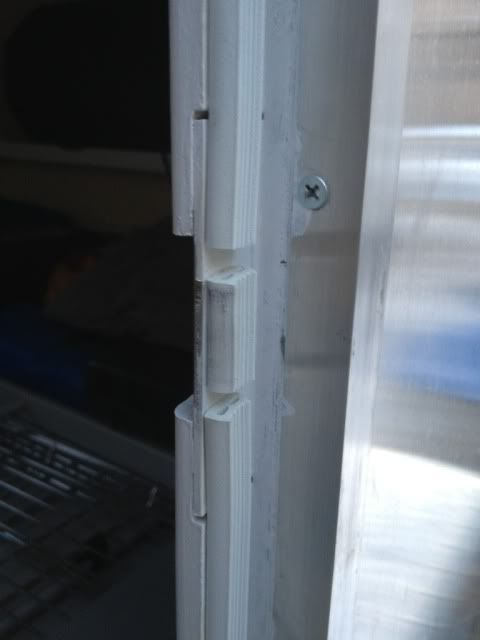
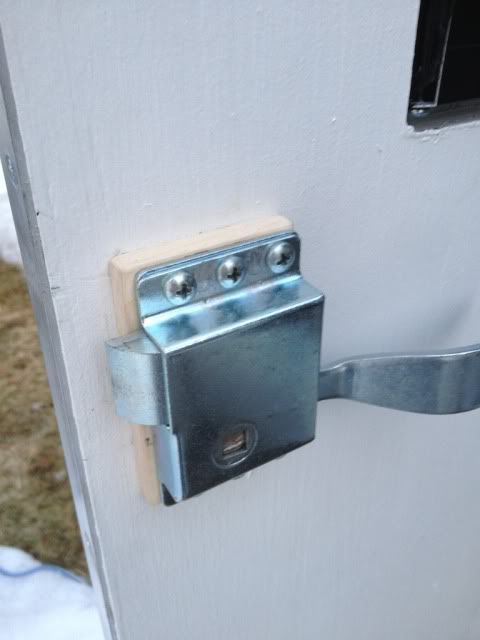
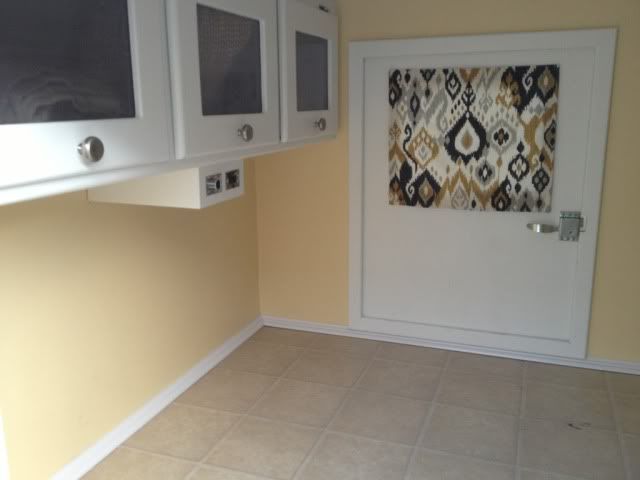
As for the seal portion, I made door jamb material out of .5" thick by 2" wide maple solid. I applied a 1/4" thick by 1" wide piece of trim around the entire inside of the opening. This is where the jamb will mount to so you have 1/4" space for the seal. But then I just screwed/glued the jamb to that spacer with the corners mitered. For my particular door handles (and this is another reason i suggest the pre-fab doors) I had to notch the rear jamb section where the handle was and added a piece of 1/8" thick aluminum there for the latch to hit. This wasn't easy and took a while to get right but it worked out perfect! Then I used a generic weatherstrip seal against the door jamb and that filled the gap between the door and jamb nicely. I actually had to replace the handle spacer as it was a little too tight and hard to close. I'm going to be replacing the seals this year before we take it though as the cold winter weather made them shrink quite a bit.
I hope this isn't to confusing but I will take a bunch of pics tonight and will post them here tonight or tomorrow so you can see what I mean...

Robbie


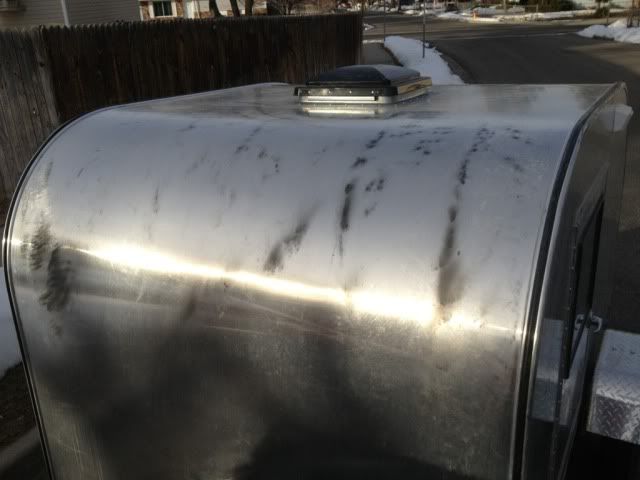
 Sure has to beat painting it. I may start on it this weekend just to see how it's going to go. The cost of the polish is cheap, and some labor, but like I say, I have more time than money.
 I've yet to try anything on the aluminum. The weather is getting nicer though! I just need to make sure it is camp ready and then I can address it's outer beauty.