*perk*
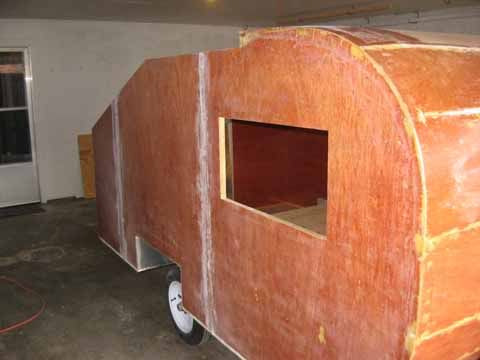
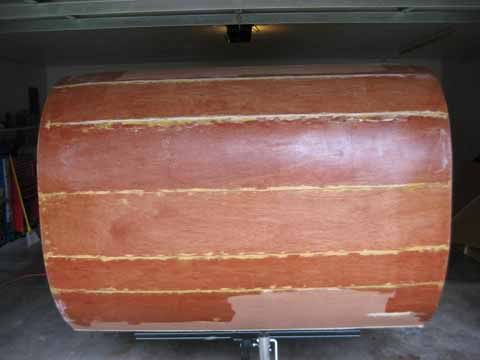
Do I see a contour side-to-side in those spars?
I've been tossing that about in my mind . . .if thin ply could be contoured in two directions . .. now I'll find out
Teardrops n Tiny Travel Trailersor t n ttt for short (tnttt.com) |


-

Juneaudave - Super Duper Lifetime Member
- Posts: 3237
- Images: 380
- Joined: Sun Jul 03, 2005 12:11 pm
- Location: Juneau, Alaska