Cider House...some finishing touches, 9.27.10

...ask your questions in the appropriate forums BUT document your build here...preferably in a single thread...dates for updates, are appreciated....

Postby vrodjason » Tue Oct 20, 2009 7:26 pm

Way cool build! Keep it up!
User avatar
vrodjason
Teardrop Advisor
 
Posts: 73
Images: 1
Joined: Wed Aug 26, 2009 6:37 am
Location: Oak Hill OHIO

Postby Jiffypop207 » Wed Oct 28, 2009 11:18 am

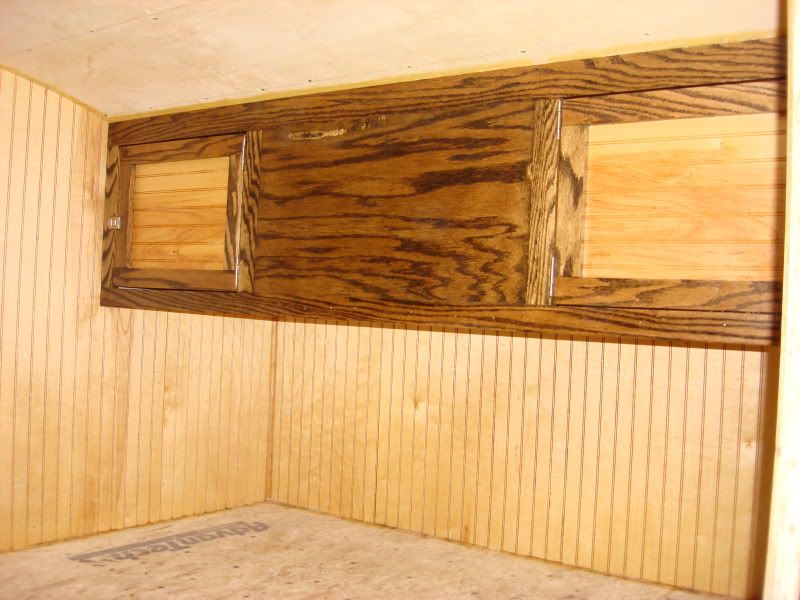
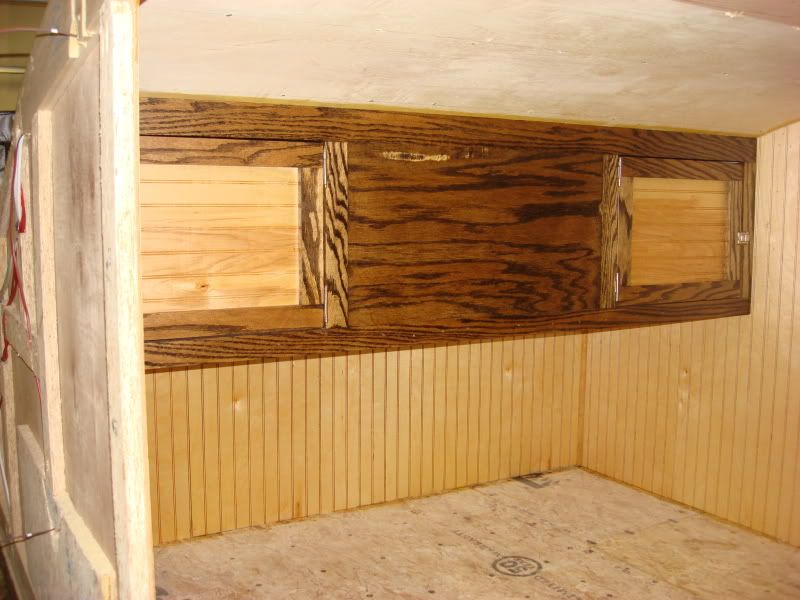
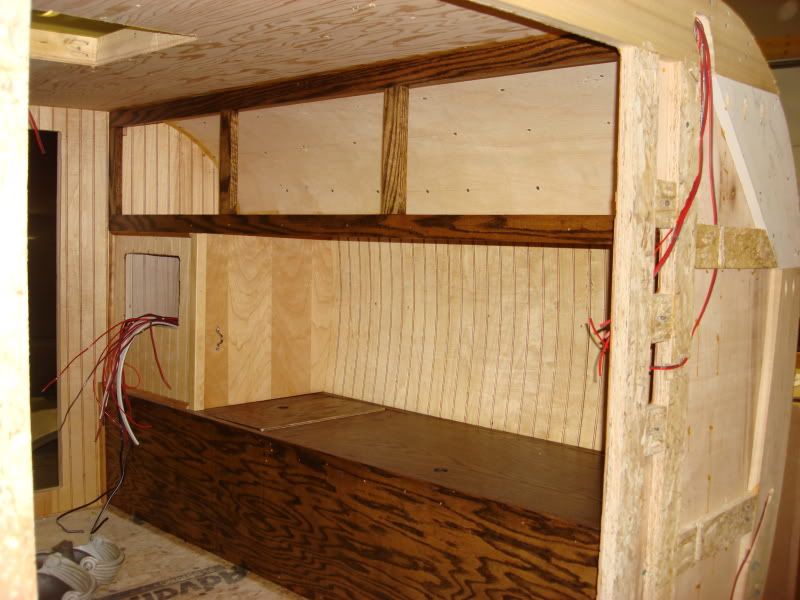
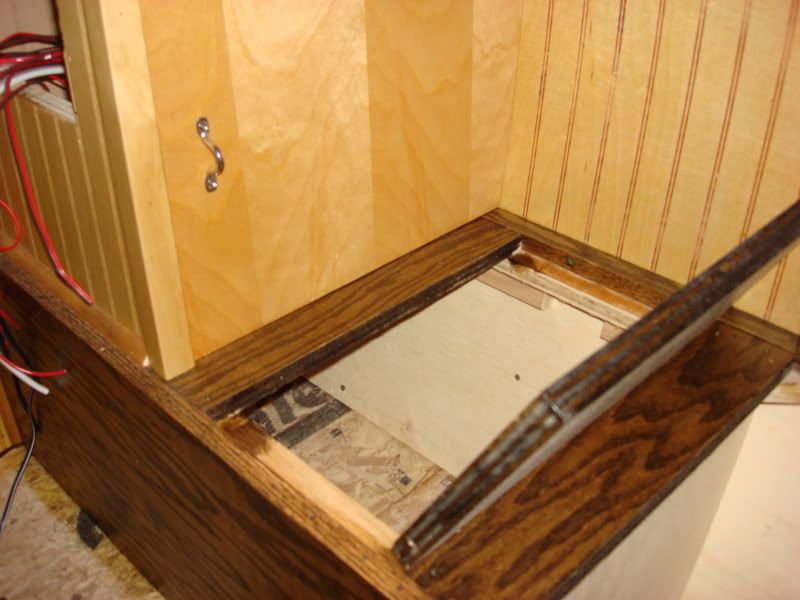
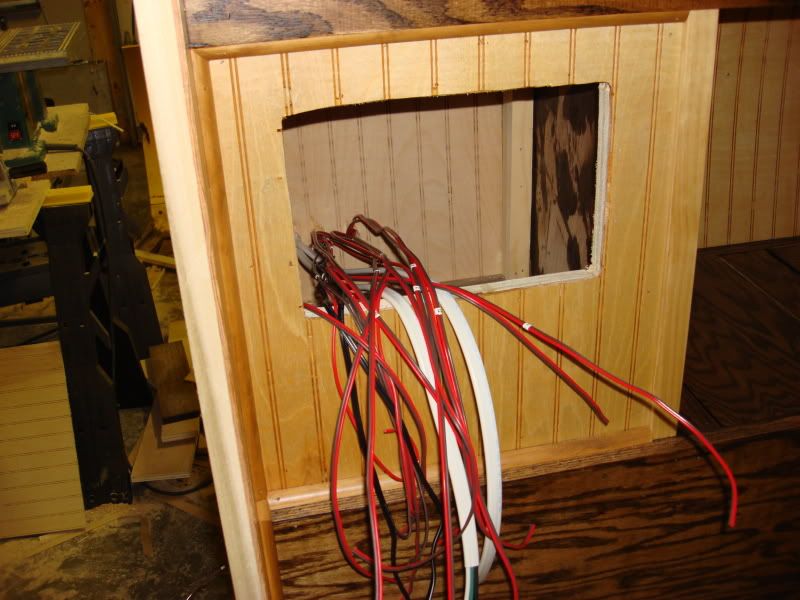
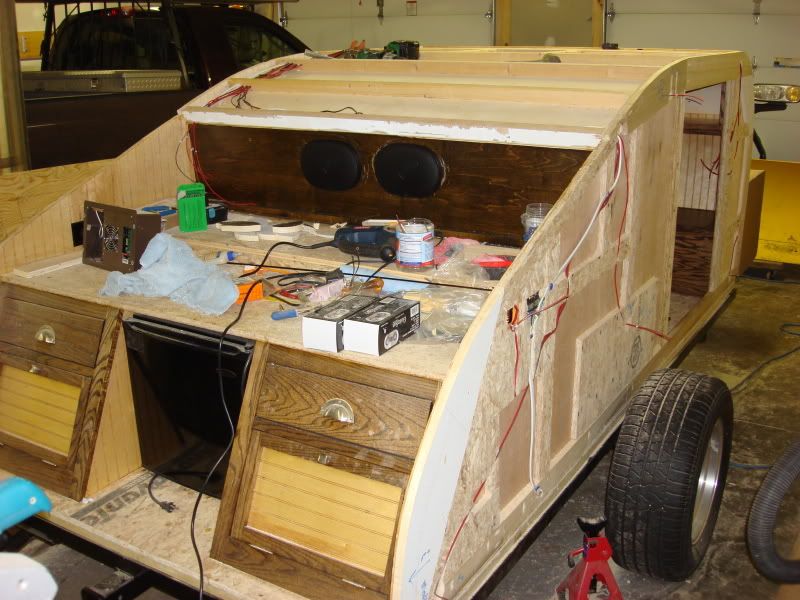
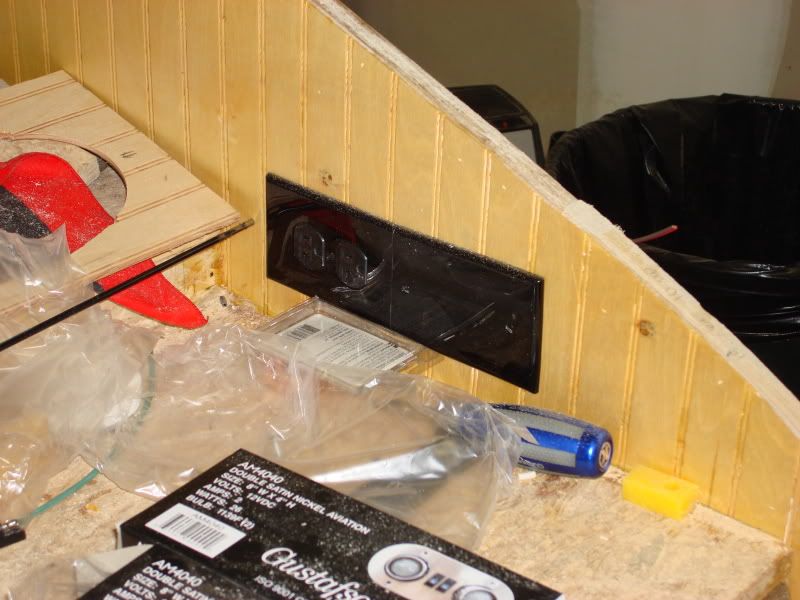
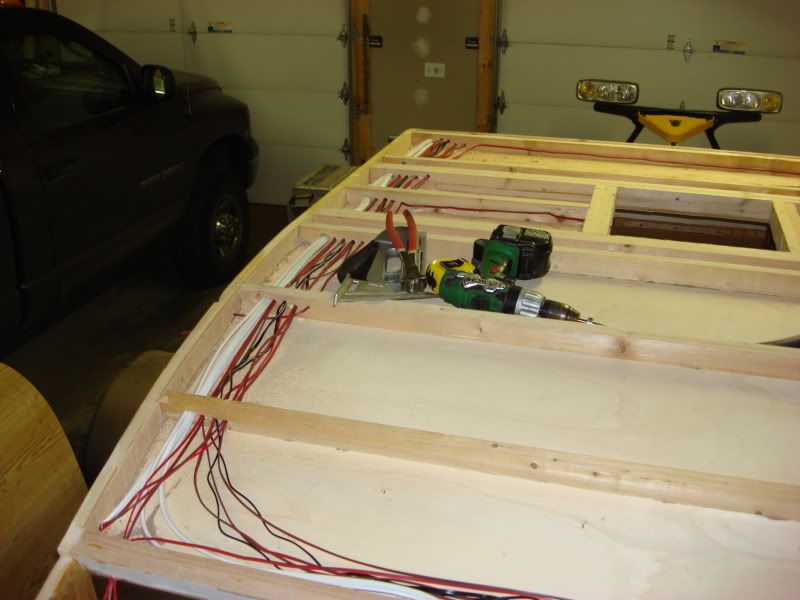
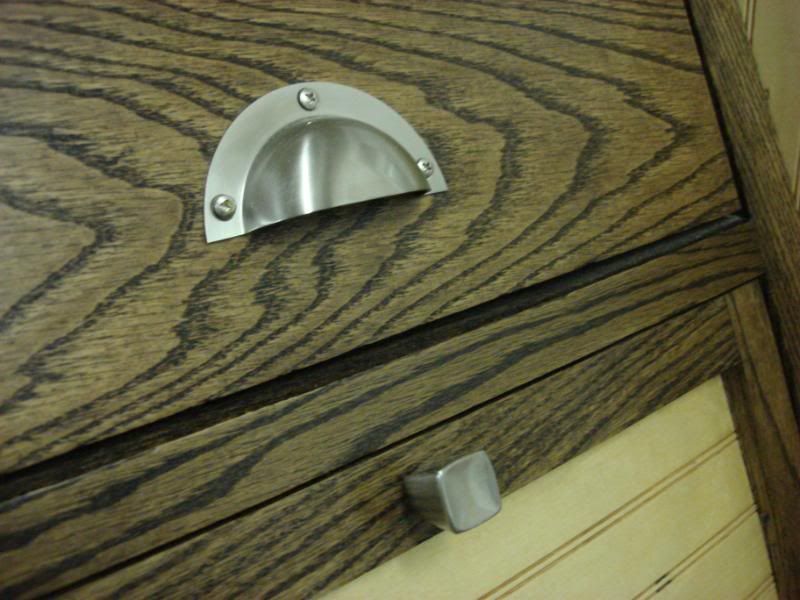
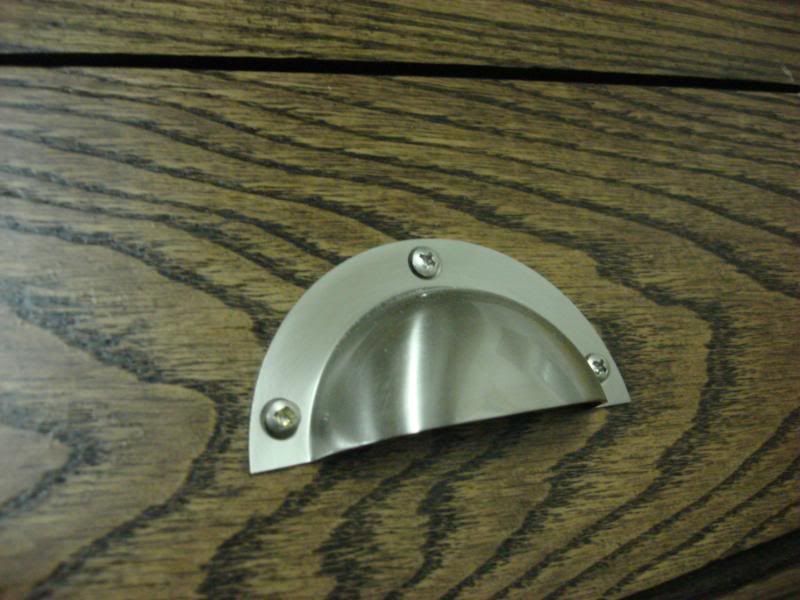
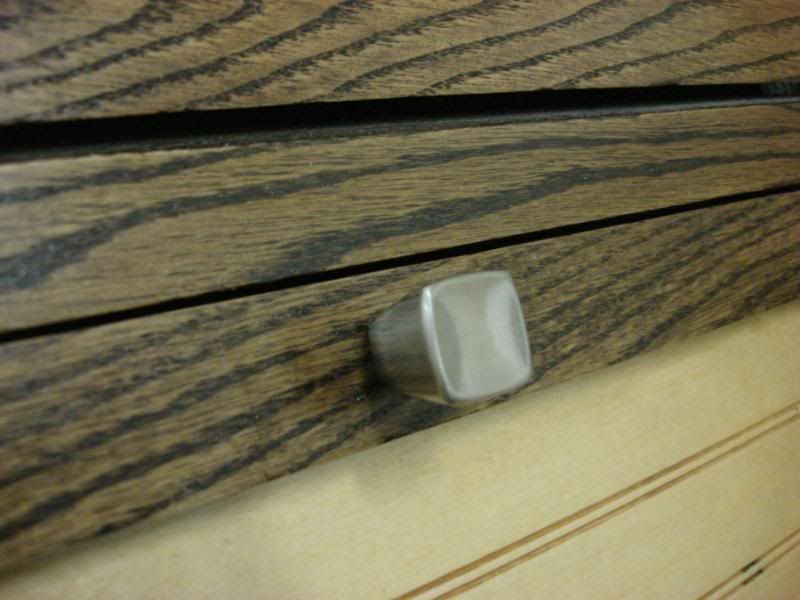
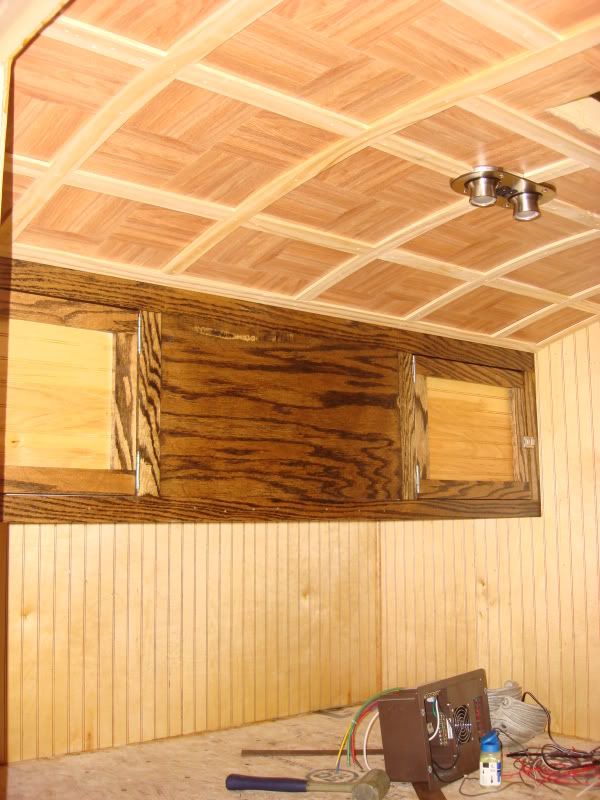
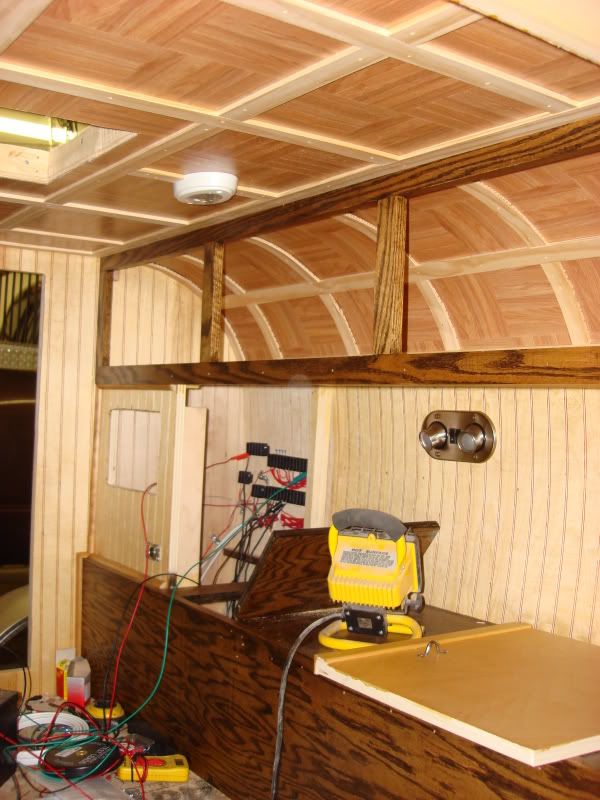
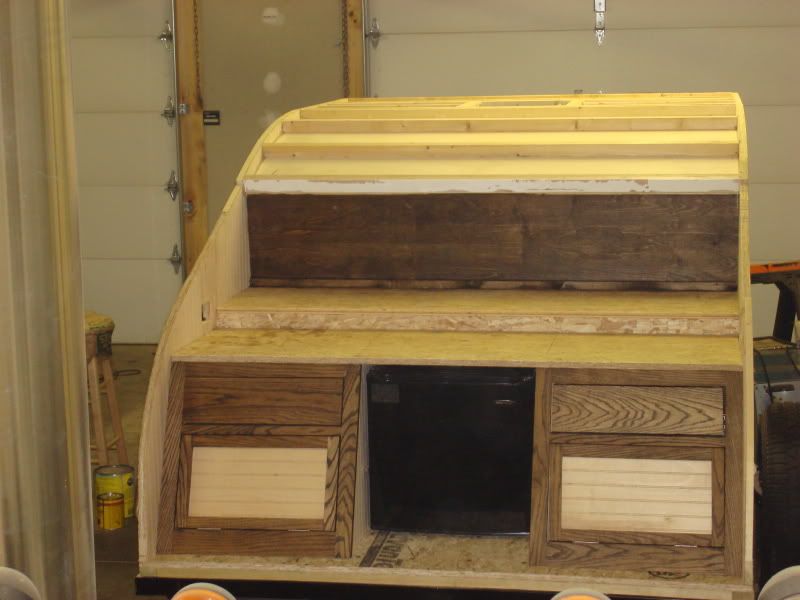
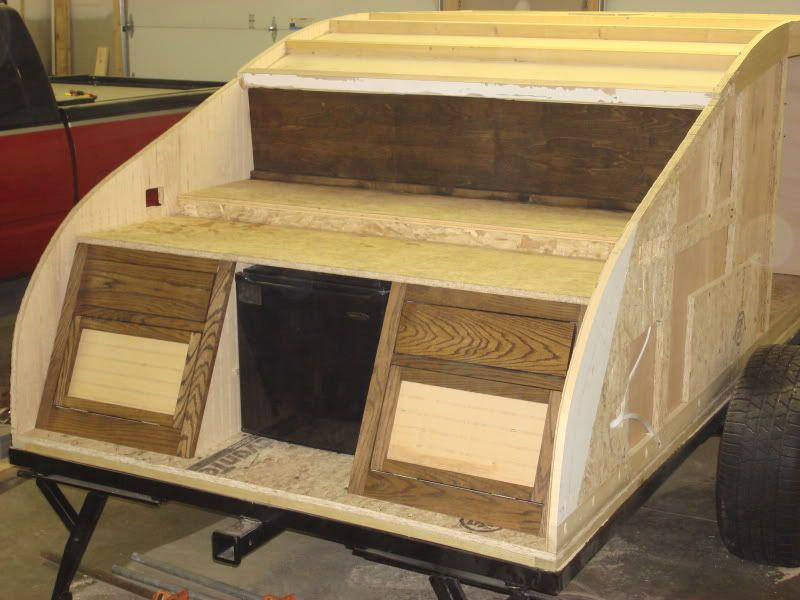
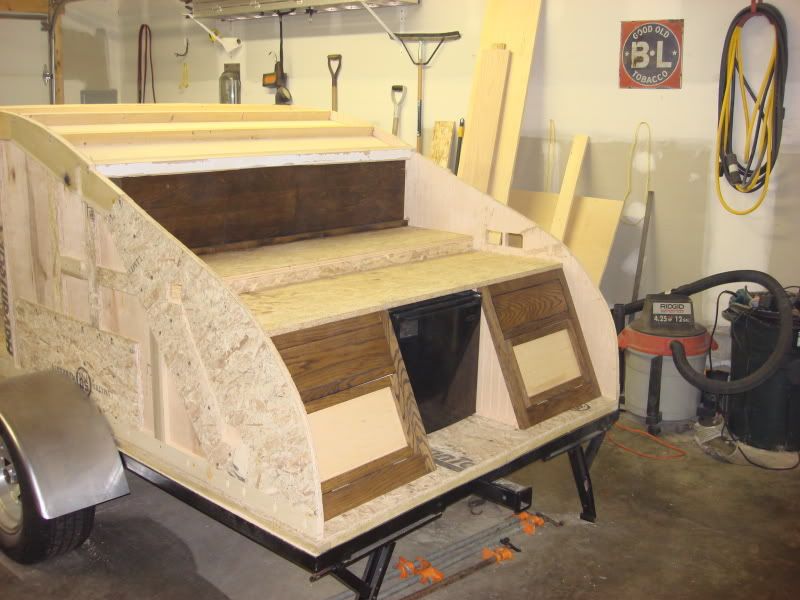
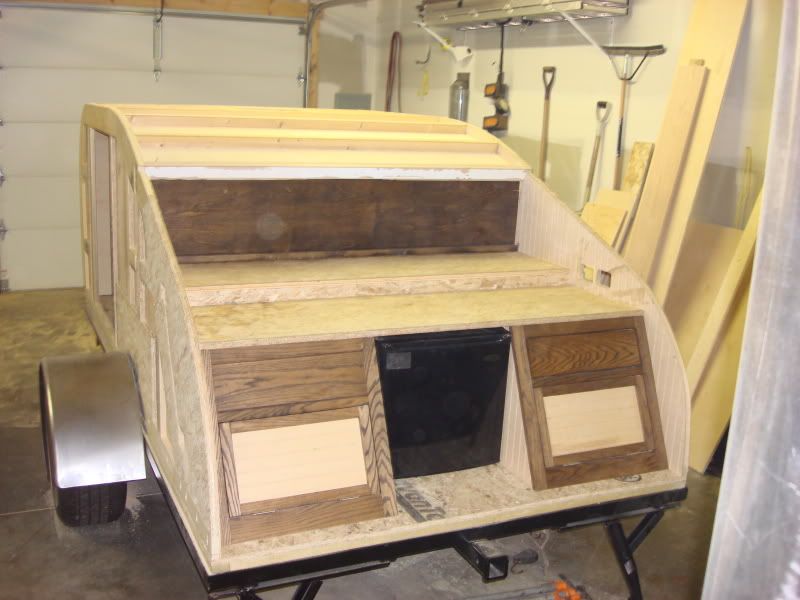
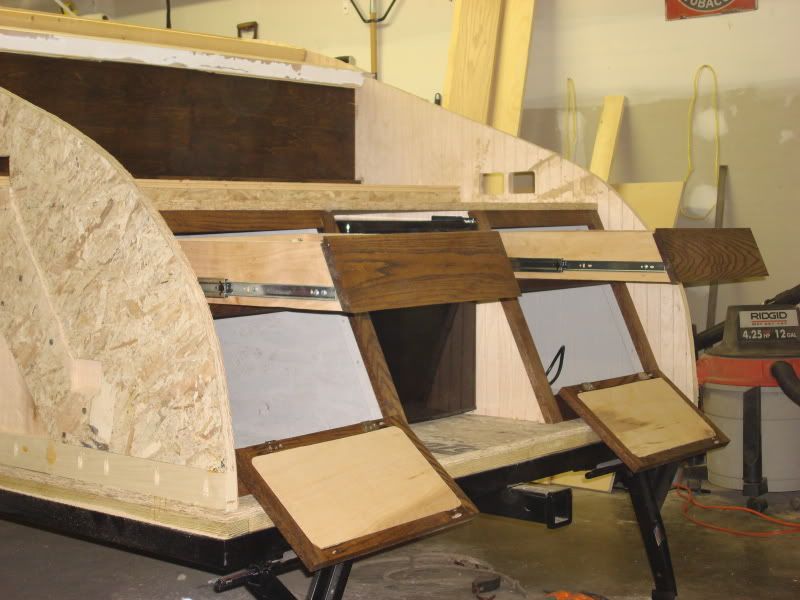
Have continued to plug away and managed to define the galley and separated it from the cabin with the installation of the completed bulkhead. I stained the oak cabinet faces to contrast with the birch sidewalls. I think i came out better than I was expecting. First experience making drawers. Not to bad and I am very pleased with the outcome. I still need to finish the upper cabinet, but no rush on that. It's far from perfect but very functional. The intention of the lower doors is to put some sort of support (most likely chain) to hold them parallel to the ground to act as mini end table if you will when they are open. Flooring will be VCT and the counter tops will be mil finish aluminum to match the TD exterior. Here are the galley shots with some soon to follow after the three coats of poly have been brushed on.
Image
Image
Image
Image
Image
Image

Adam
User avatar
Jiffypop207
Teardrop Master
 
Posts: 205
Joined: Wed Sep 09, 2009 8:39 pm
Location: Old Orchard Beach, ME

Postby Jiffypop207 » Thu Feb 18, 2010 10:14 pm

Well, despite a long break from my build to do a few other projects...I got back into the garage over the last few weeks after work and managed to get some stuff done. I finished the interior cabinets at the rear of the cabin.

Image
Image

I got a little overzealous in the sanding on the middle panel and went through the oak veneer, but it will be covered by the 19" Naxa TV I am putting there. It has a built in DVD player and digital TV tuner, plus it comes with both 110v and 12v power cords...sweet.

I also finished the upper shelf at the head of the cabin, the headboard storage area, as well as the housing for my electrical center. You can see I started running my wiring.

Image
Image
Image
Image
Image

I mounted the speakers for my sound system which will consist of speakers, amp, and stereo mini jack so that we can plug in whatever source we feel like listening to.

I need to touch up the poly around the speakers as the jigsaw scratched the surface a little from the angle I had to hold it to make the full cut. The spot was a little tight and I really should have cut the holes prior to installing the board, but they made it in despite.

Image

Here is a picture of an outlet and a blank plate that will house some 12v switches in the galley area.

Image

Some pictures of my wire routing...daunting to some, but I find it relaxing.

Image
Image
Image


Here is a close up on a porch light location on the side of my trailer showing how I marked the location to put the wire to line up with the corresponding hole in the outer layer of plywood when it finally goes on and you can see the number wrapping I put on the wire to keep track of what wire goes where when I finish up the connections.

Image

And here is the bible, my list of what number wire is what.

Image

Just a few wires left to pull and install the interior lights so that I can do that, but first I need to finish my ceiling. So that will be my next update. Hello again and that is all I have for the moment.

Adam
User avatar
Jiffypop207
Teardrop Master
 
Posts: 205
Joined: Wed Sep 09, 2009 8:39 pm
Location: Old Orchard Beach, ME
Top

Postby 2bits » Thu Feb 18, 2010 10:34 pm

Hey Adam, I can totally understand what you mean about the wiring being relaxing, once you have it all laid out, it's nothing but laying it in place and you get into this Zen thing after a while.

I can't get over how cool your galley drawers and cabinets look! Excellent use of space and artistic too! Your front cabinets look great too along with your front storage box. You are gonna have a really nice teardrop! I correct myself, you already DO! :thumbsup:
Thomas

Image
User avatar
2bits
2bit Member
 
Posts: 5132
Images: 8
Joined: Thu Dec 27, 2007 6:04 pm
Location: Lake Tawakoni, TX
Top

Postby Jiffypop207 » Thu Feb 18, 2010 10:41 pm

Thanks for the kind words. It is hard to keep my mind current on the task at hand as it tends to plan out the following steps all be it they are weeks off....I have to stop thinking about cutting my aluminum and finish my wires lol.

:roll:

Adam
User avatar
Jiffypop207
Teardrop Master
 
Posts: 205
Joined: Wed Sep 09, 2009 8:39 pm
Location: Old Orchard Beach, ME
Top

Postby bve » Thu Feb 18, 2010 10:59 pm

Adam, good to see you back at it. Like Thomas has stated you have a nice build going on. I like your choice of hardware in the galley - I don't suppose you can post a close up photo of the handles eh? :D


Burke
Burke

KISS > COMPLEX
Image
Image

Build threads converted to PDFs.
As of 2008-08-08 I have added more build threads to the pdf collection
User avatar
bve
500 Club
 
Posts: 694
Images: 98
Joined: Sat Aug 25, 2007 1:44 am
Location: Edmonton, Alberta, Canada
Top

Postby synaps3 » Thu Feb 18, 2010 11:26 pm

:o

I agree with the past few posts. That is some awesome wiring.

I like the profile too -- it looks cool to me. 8)
-- Dave

Build log: here
User avatar
synaps3
The 300 Club
 
Posts: 433
Images: 254
Joined: Sun Nov 08, 2009 1:09 am
Location: Marietta, GA
Top

Postby Jiffypop207 » Fri Feb 19, 2010 9:18 am

bve wrote:Adam, good to see you back at it. Like Thomas has stated you have a nice build going on. I like your choice of hardware in the galley - I don't suppose you can post a close up photo of the handles eh? :D


Burke


Will do
User avatar
Jiffypop207
Teardrop Master
 
Posts: 205
Joined: Wed Sep 09, 2009 8:39 pm
Location: Old Orchard Beach, ME
Top

Postby aggie79 » Fri Feb 19, 2010 2:25 pm

Looking good, Adam! :thumbsup: :applause: :thumbsup:
Tom (& Linda)
For build info on our former Silver Beatle teardrop:
Build Thread

93503
User avatar
aggie79
Super Duper Lifetime Member
 
Posts: 5405
Images: 686
Joined: Tue Aug 07, 2007 5:42 pm
Location: Watauga, Texas
Top

Postby Jiffypop207 » Thu Feb 25, 2010 10:36 am

bve wrote:Adam, good to see you back at it. Like Thomas has stated you have a nice build going on. I like your choice of hardware in the galley - I don't suppose you can post a close up photo of the handles eh? :D


Burke


Here are the close ups of the galley hardware. Don't mind the stripped out screws.

Image
Image
Image

Adam
User avatar
Jiffypop207
Teardrop Master
 
Posts: 205
Joined: Wed Sep 09, 2009 8:39 pm
Location: Old Orchard Beach, ME
Top

Postby Jiffypop207 » Thu Feb 25, 2010 10:46 am

Got some more work done on the wiring. I voted against putting a speaker for the sound system inside (will probably here in inside anyhow) so that means to be able to insulate and put on the outer sheathing of my walls and ceiling I only need to pull wire runs for my electric brakes. I want to keep all wires hidden in the walls plus less exposed to corrode. I got a couple interior lights mounted and my interior ceiling partially finished (hope to button that up tonight) but did not snap any pictures of that.

I did get some of my 12v switch mounted up in there plates. I think they turn out real nice. Here are two for inside mounted from the good side of the plate
Image

And from the backside
Image

And a bant of three in place
Image
Image
Image

A dremel cutoff wheel to cut (melt) through and a utility knife for clean-up and proper precise hole sizing worked fantastic.

I had to order two more switches because somehow things got added along to way......don't know how that happens.

'til later,


Adam
User avatar
Jiffypop207
Teardrop Master
 
Posts: 205
Joined: Wed Sep 09, 2009 8:39 pm
Location: Old Orchard Beach, ME
Top

Postby bve » Fri Feb 26, 2010 1:03 am

Thanks for the close-ups Adam, appreciate it.

Burke
Burke

KISS > COMPLEX
Image
Image

Build threads converted to PDFs.
As of 2008-08-08 I have added more build threads to the pdf collection
User avatar
bve
500 Club
 
Posts: 694
Images: 98
Joined: Sat Aug 25, 2007 1:44 am
Location: Edmonton, Alberta, Canada
Top

Postby AussiePeej » Fri Feb 26, 2010 2:27 am

Those switches look tickety-boo. Look very professional. Great work
She calls me "Geek / Dork / Power Nerd" but that's only my alterego

"You're only supposed to blow the bl**dy doors off" - Charlie Croker
User avatar
AussiePeej
Teardrop Inspector
 
Posts: 16
Joined: Fri Jan 01, 2010 2:26 am
Location: Melbourne, Australia
Top

Postby S. Heisley » Fri Feb 26, 2010 11:43 am

:applause: Looking Good! :applause:
User avatar
S. Heisley
Super Lifetime Member
 
Posts: 8867
Images: 495
Joined: Mon Sep 17, 2007 10:02 am
Location: No. California
Top

Postby Jiffypop207 » Tue Mar 30, 2010 7:35 pm

A little here and a little there allows things to progress. I got the wiring terminated. I am at the point that I am ready to insulate and then put the outer plys of sheathing on.

Here are some pictures of the wiring terminations. I still have to build and install the runs to link all wires together on there respective circuits, but that is no a top the priority list at the moment.
Image
Image
Image

Hooked up my netbook to the stereo mini jack I put in the galley and used a temporary battery to test the sound system and adjust the gain on the amp. Those 2 6"x9" speakers sound pretty sweet and can put out some decent volume.
Image
Image
Image
Image

Here are some pictures of how my finished ceiling turned out.
Image
Image

I vacuumed all the areas in between the spars on the roof so that I can start insulating when I get a chance.

That's all for now. More to follow when time permits.

Adam
User avatar
Jiffypop207
Teardrop Master
 
Posts: 205
Joined: Wed Sep 09, 2009 8:39 pm
Location: Old Orchard Beach, ME
Top

PreviousNext

Return to Build Journals

Who is online

Users browsing this forum: No registered users and 16 guests