1977 Pop Up Camper Rebuild

...ask your questions in the appropriate forums BUT document your build here...preferably in a single thread...dates for updates, are appreciated....

Re: 1977 Pop Up Camper Rebuild

Postby TheThom » Sat Feb 23, 2013 4:35 pm

NebraskaTeachr wrote:Your rebuild is looking awesome. I have an old popup that needs to be rebuilt, and you are giving me inspiration to maybe give it a shot.


Thanks! That's the reason I keep posting on this forum. I got a lot of help from reading other people's builds, so I post mine in detail.
TheThom
Teardrop Advisor
 
Posts: 82
Joined: Mon Dec 26, 2011 9:57 pm

Re: 1977 Pop Up Camper Rebuild

Postby TheThom » Sun Mar 10, 2013 5:34 pm

After a trip out of town and a family visit from a nasty gut bug, I finally have a little time to work on the camper.
I'm still working on the interior. I built the cabinet inset by the door

I made this tray-like box

Image

I laid out the items that are going in the insert: first aid kit, fire extinguisher and bear spray.

Image

Then I installed it as part of the cabinet

Image

Then I put more of the fabric covered panels in place. It's really starting to come together

Image

The wood surfaces that you see are going to be stained to match the floor. I'm almost done with the interior panels. Then I have the interior wiring, building the table top, and staining the counters/tables.
TheThom
Teardrop Advisor
 
Posts: 82
Joined: Mon Dec 26, 2011 9:57 pm

Re: 1977 Pop Up Camper Rebuild

Postby TheThom » Sun Mar 17, 2013 9:45 am

I built the table. It's made from 1x6 nice pine stock. It's biscuit jointed together and then cut to size. Here's how I bolstered the underside. I still need to round the edges, do a lot of sanding and stain/polyurethane.

Image

Here it is set up in the camper

Image

And here it is collapsed down for sleeping. I was worried it wouldn't be strong enough, but it's VERY sturdy when sitting, lying, bouncing on it.

Image

The upholsterer has my cushions and I should get those as well as the canvas cabinet doors back in the next week or so. It's finally starting to come together. Getting excited about finally getting out and using it.
TheThom
Teardrop Advisor
 
Posts: 82
Joined: Mon Dec 26, 2011 9:57 pm
Top

Re: 1977 Pop Up Camper Rebuild

Postby parnold » Sun Mar 17, 2013 12:20 pm

I just had the chance to catch up on your progress. This is awesome! Thank you for sharing, and being so detailed! Can't wait to see more.

:applause:
User avatar
parnold
Donating Member
 
Posts: 2344
Images: 302
Joined: Mon Feb 08, 2010 4:49 pm
Location: Northwest New Jersey
Top

Re: 1977 Pop Up Camper Rebuild

Postby TheThom » Mon Mar 25, 2013 8:52 pm

I got the cushions back from the upholsterer. I bought a 2.5" memory foam mattress topper and she cut it to size and made covers. They're a bit thin, but for bench seats, they'll be OK. She made the covers a tad big to allow for shrinking in the wash. Best of all, I had the canvas already for a chair recovering project that never panned out. The two small cushions propped up against the wall will cover the table when collapsed

Image

Image

I also got the canvas cabinet doors back and the memory foam for the mattress cut. I sanded the table and countertops. Now I need to stain and apply the polyurethane. Still need to wire the circuit panel too.

It's coming together.....
TheThom
Teardrop Advisor
 
Posts: 82
Joined: Mon Dec 26, 2011 9:57 pm
Top

Re: 1977 Pop Up Camper Rebuild

Postby TheThom » Sat Apr 06, 2013 5:00 pm

I'm on a mad dash to get as much done as I can before I"m stuck on crutches (later this week :( )

Got a couple of pieces of counter stained and finished. The bench step/storage is using floor polyurethane like the floor did. The counters used spar outdoor polyurethane.

Image

The top that's still open will be hinged. The other portion needs stain/poly on both sides so it'll take a bit longer.

Image

I got the cabinet doors from the upholsterer installed. They aren't 100% what I pictured, but they'll work fine.

Image

Image

The back portion of this counter top has 1/4" Neoprene trim (had some left over). It'll rest on that when folded over to protect the floor/hinge

Image

Now, some more poly on the table, counter and step; some wiring; and then putting the bed roof and canvas back on!
TheThom
Teardrop Advisor
 
Posts: 82
Joined: Mon Dec 26, 2011 9:57 pm
Top

Re: 1977 Pop Up Camper Rebuild

Postby TheThom » Sun Apr 07, 2013 6:04 pm

I'm continuing my big push before I have to take a few weeks off for ankle surgery rehab.

I got all of the interior cabinets done!

Image

This cabinet is hinged to allow access to the electric as well as the outer valves that will be used to run the propane hose for my Little Buddy heater

Image

Here it is with the hinge up. Ignore the wring. I inherited the battery with the camper. I've been curious if it will hold up but today it was at 4.7V and the Battery Tender pronounced it dead with it's flashing red light after several hours. So, it looks like I'll be buying a new battery sooner rather than later

Image

This long low cabinet is dual purposed: 1) it will serve as a step up into the bunk and 2) it's specifically designed to fit my Camp Chef Explorer stand up stove

Image

I used the same stain as the floor, but this didn't have CPES on it. I suppose that the reason for the difference. That and the flash magnifies every. single. mistake.

Image

Anyway. Tons of wiring left. Need to put bunk ends on. The roof will get re-built next season and I'll use it as is this season. More than likely, (unless I post final table pics) this is the last significant update for quite some time
TheThom
Teardrop Advisor
 
Posts: 82
Joined: Mon Dec 26, 2011 9:57 pm
Top

Re: 1977 Pop Up Camper Rebuild

Postby TheThom » Sun Apr 07, 2013 9:39 pm

I was feeling motivated so I attached the bunk ends. Here's some pics of the first one. I was nervous, but the poles fit in perfectly. I was pretty happy since I disassembled these bunkends November 2011. I was pretty pleased they fit so well.

Image

Image

Here's a pic of both of them

Image

To give you some perspective of this sucker's hieght - I'm 6 feet even and the mattress top is even with the top of my shoulder.
TheThom
Teardrop Advisor
 
Posts: 82
Joined: Mon Dec 26, 2011 9:57 pm
Top

Re: 1977 Pop Up Camper Rebuild

Postby Junkboy999 » Sun Apr 07, 2013 10:22 pm

She is coming along. Hope the Ankle surgery goes well.

My family had the full canvas fold out type for years. Some of my best memories.
User avatar
Junkboy999
1000 Club
1000 Club
 
Posts: 1259
Images: 52
Joined: Fri Jul 06, 2012 9:18 pm
Location: Wichita, KS
Top

Re: 1977 Pop Up Camper Rebuild

Postby TheThom » Thu Apr 25, 2013 9:30 pm

I've been laid up since my ankle surgery. Check out my lovely splint.....

Image

That hasn't stopped me from spending even more money on the camper. I ordered all of my propane hoses and fittings. I'm not hardwiring anything, using hoses and I'll camp with two 5 Gal LP propane tanks.

I found a user on ExPo who actually has the same water setup I'm planning on. Eccotemp L5 tankless water heater, shurflo pump, and 5 Gal scepter water can. I'll post the pic with photo credit going to Timber - it's his setup - mine's not even started yet.

Image

I'm not going to have the distribution tower, just the water setup will be similar.

Peace out

Thom
TheThom
Teardrop Advisor
 
Posts: 82
Joined: Mon Dec 26, 2011 9:57 pm
Top

Re: 1977 Pop Up Camper Rebuild

Postby TheThom » Sat May 11, 2013 3:47 pm

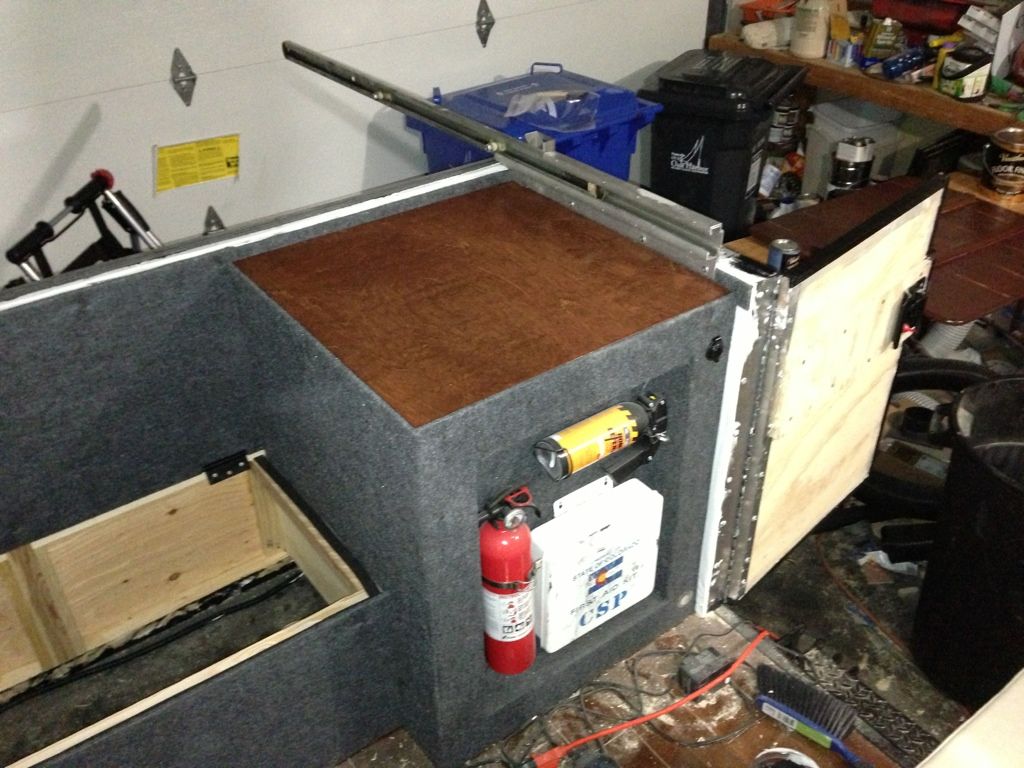
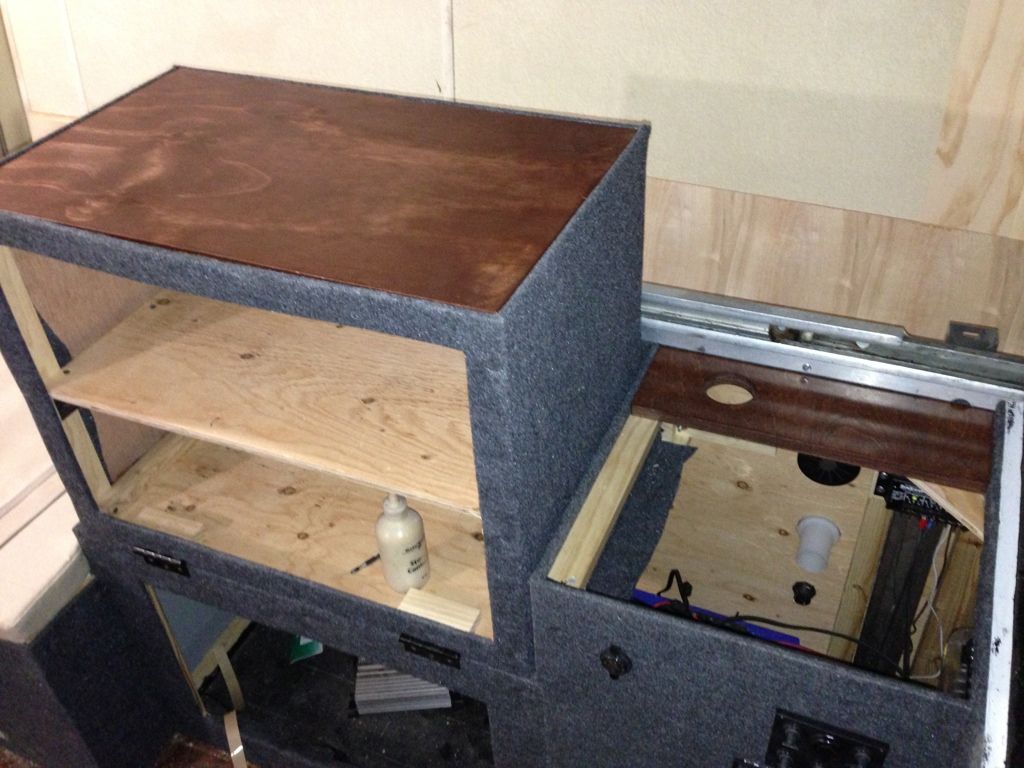
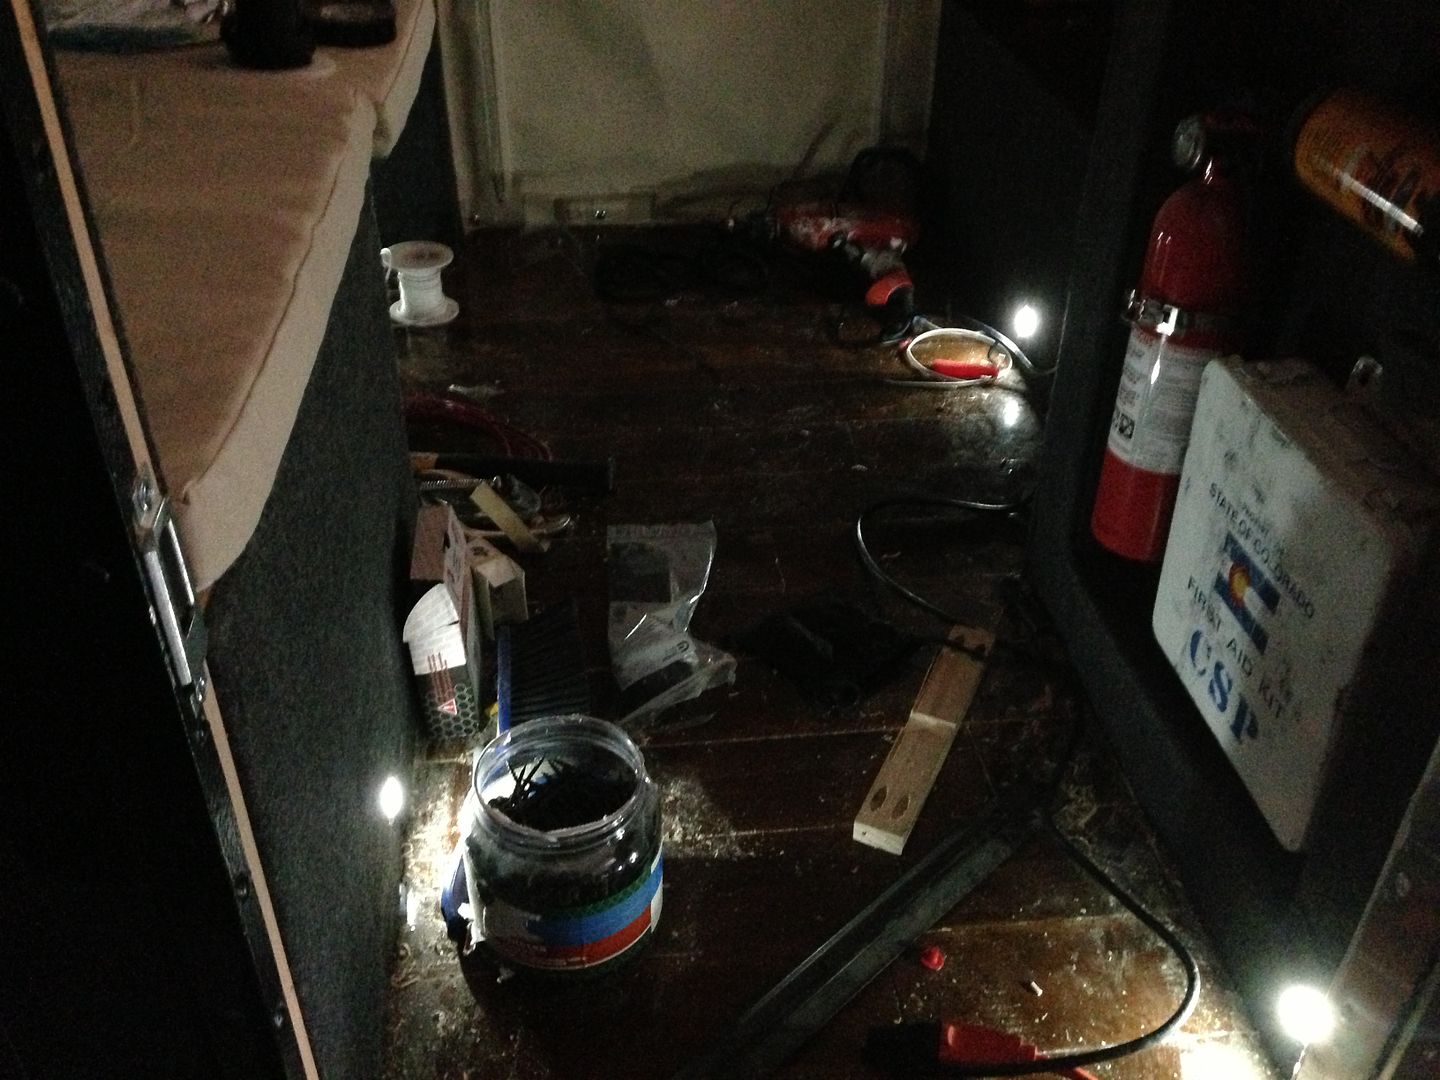
Well, I was upgraded to a walking cast a couple of weeks ago. So, I've been back to work on the camper. I'm sure it's quite a site.

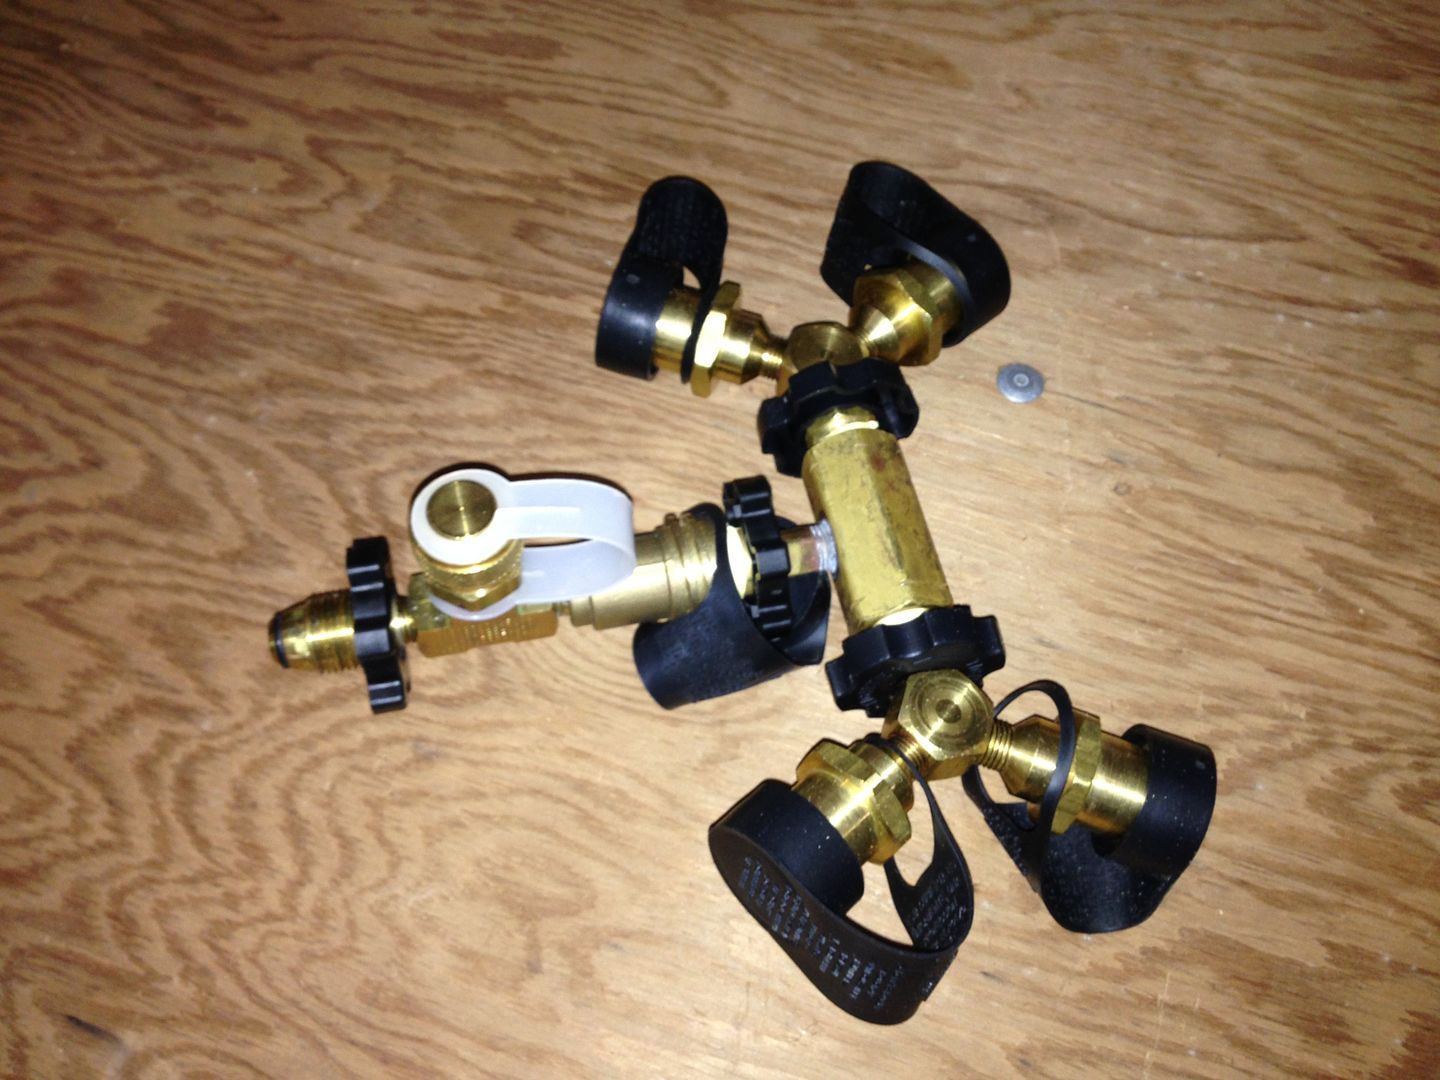
While I was bedridden, I bought a lot of propane supplies and fixtures. This is the collection of fittings that will attach to my propane tank. I've also purchased two 10' extension hoses to use on my camp chef stove and fire pit. I'll probably buy another one for the water heater. Each hose required me to buy another fitting at HD but they were only $2.80 each.

I've kept http://www.propanewarehouse.com in business

Image

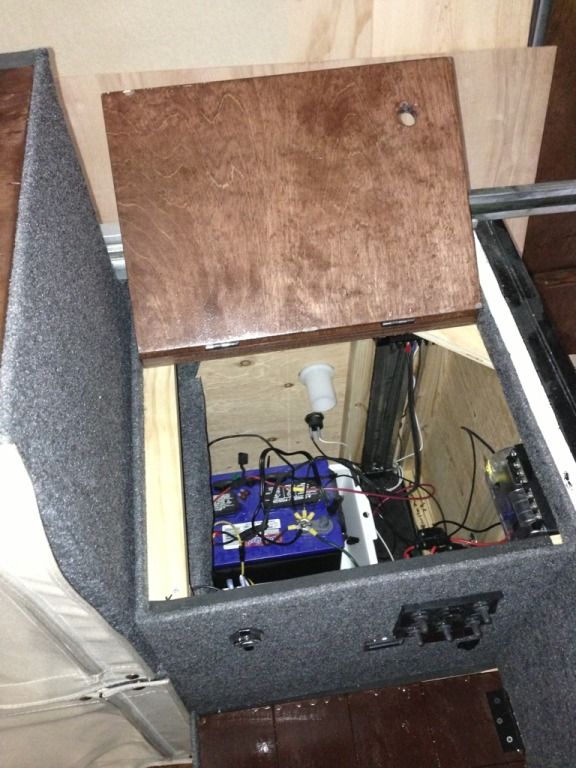
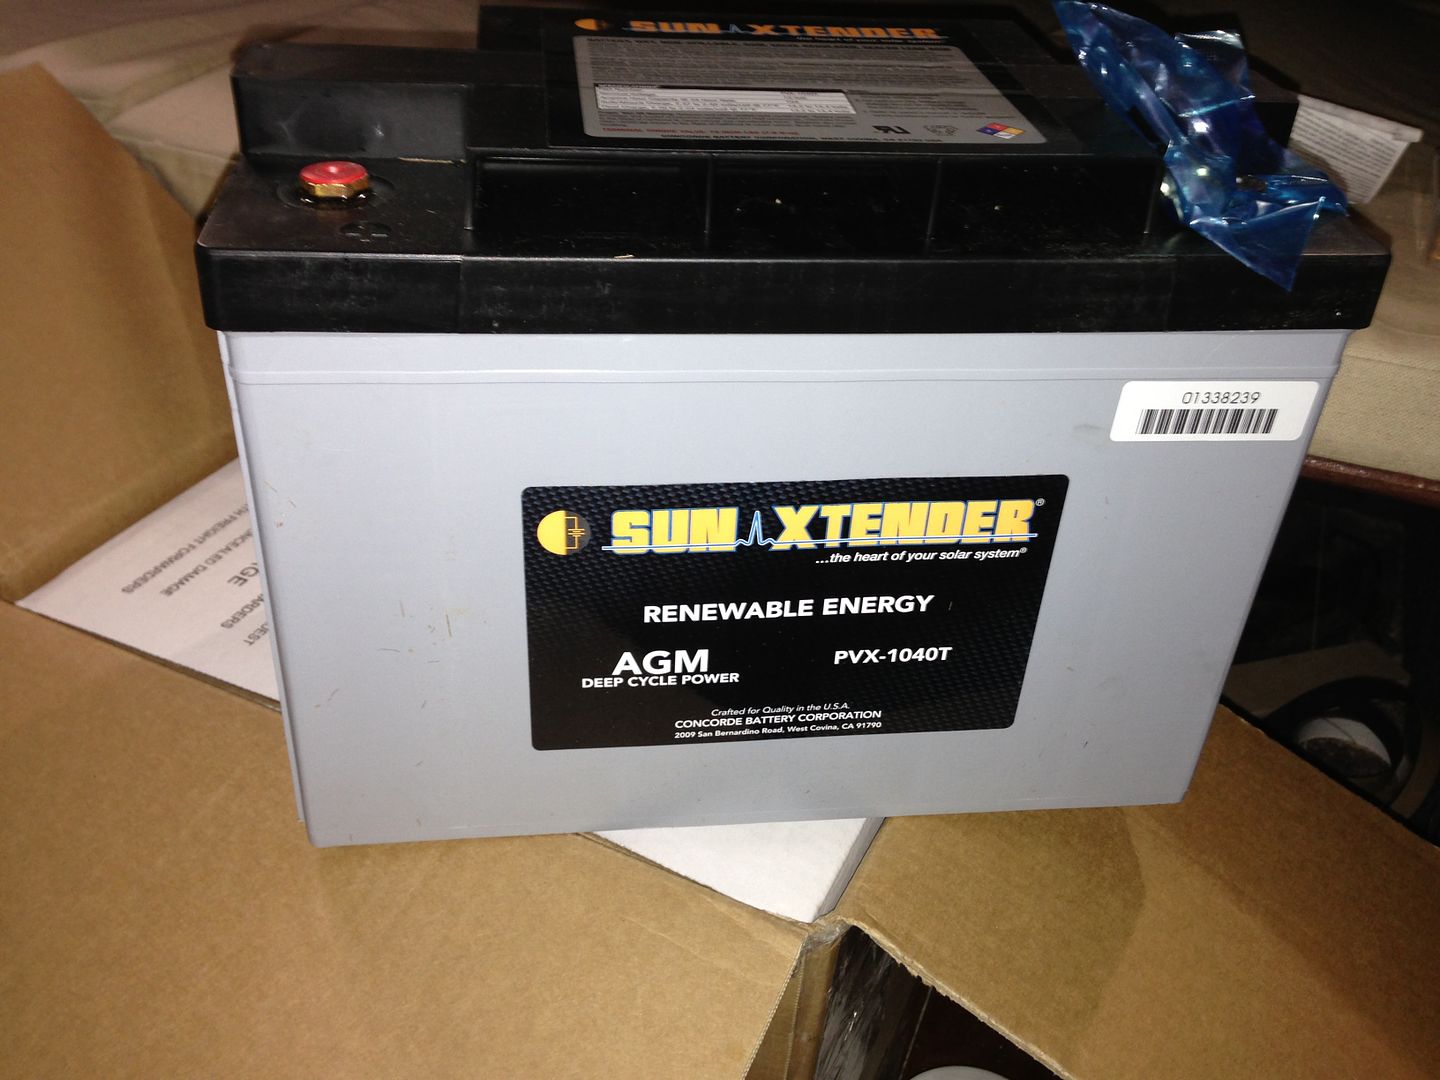
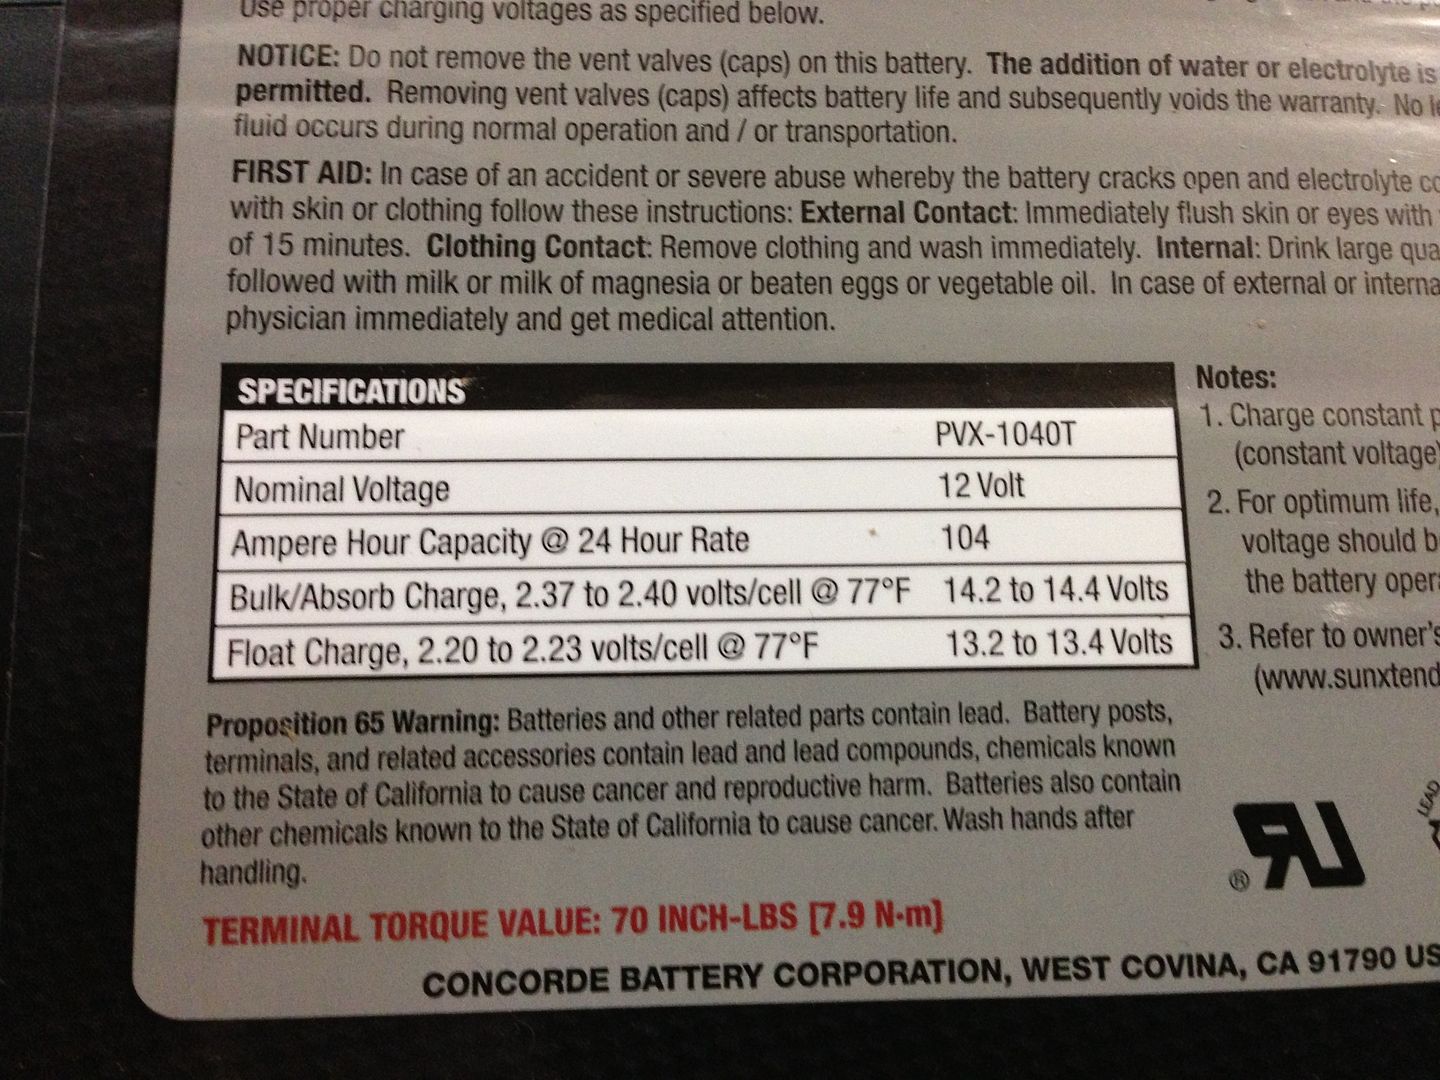
I also bought my new battery. It's an AGM 104 AH battery

Image

Image

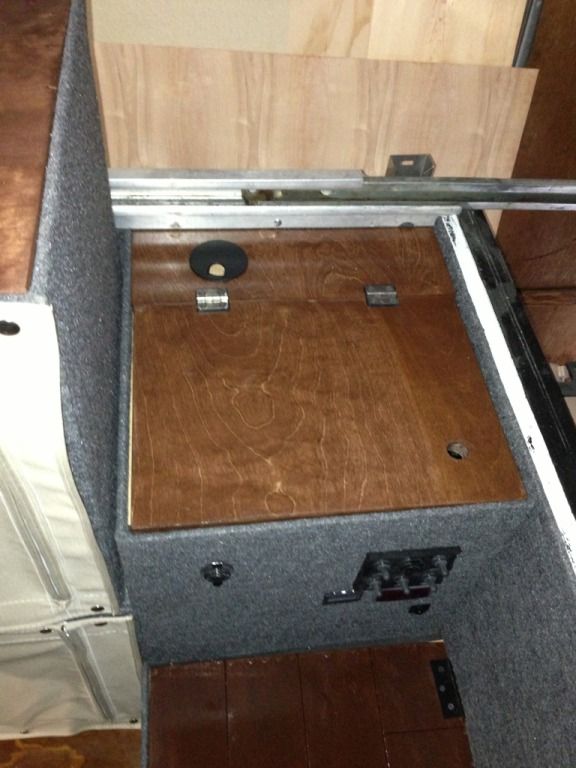
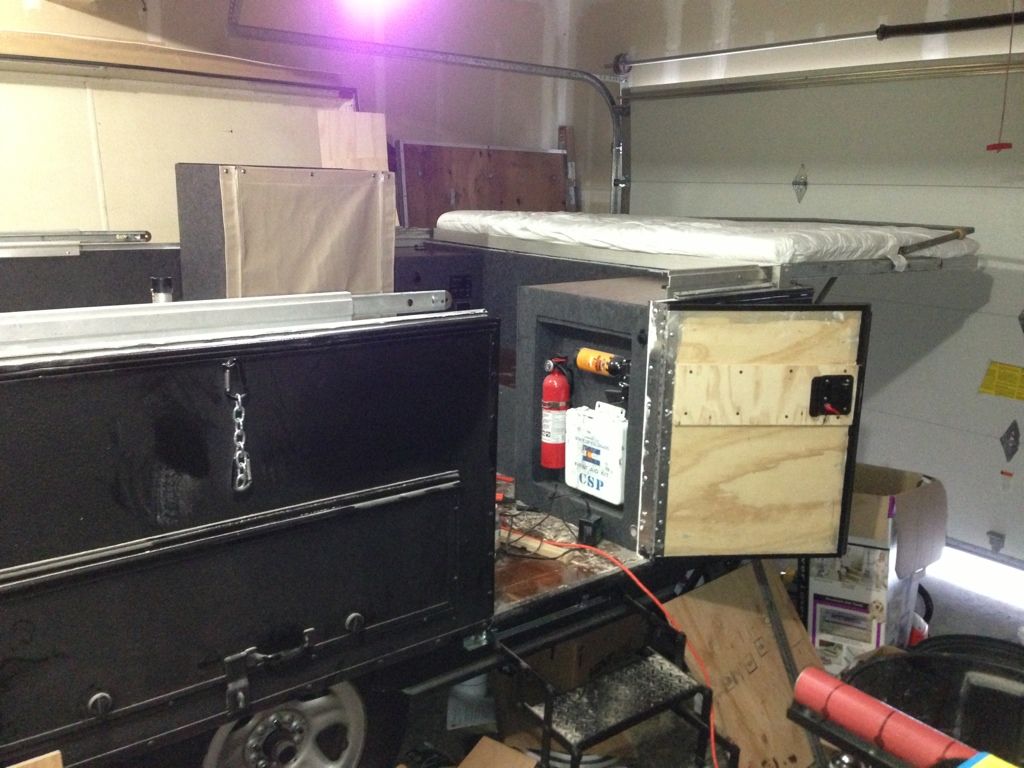
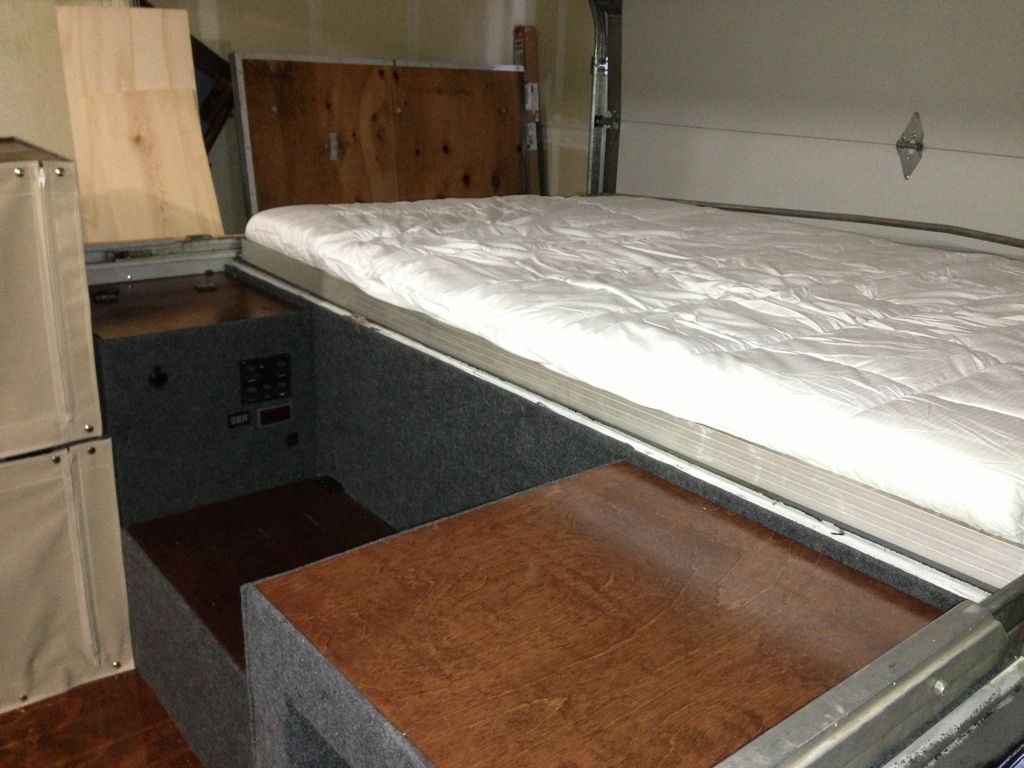
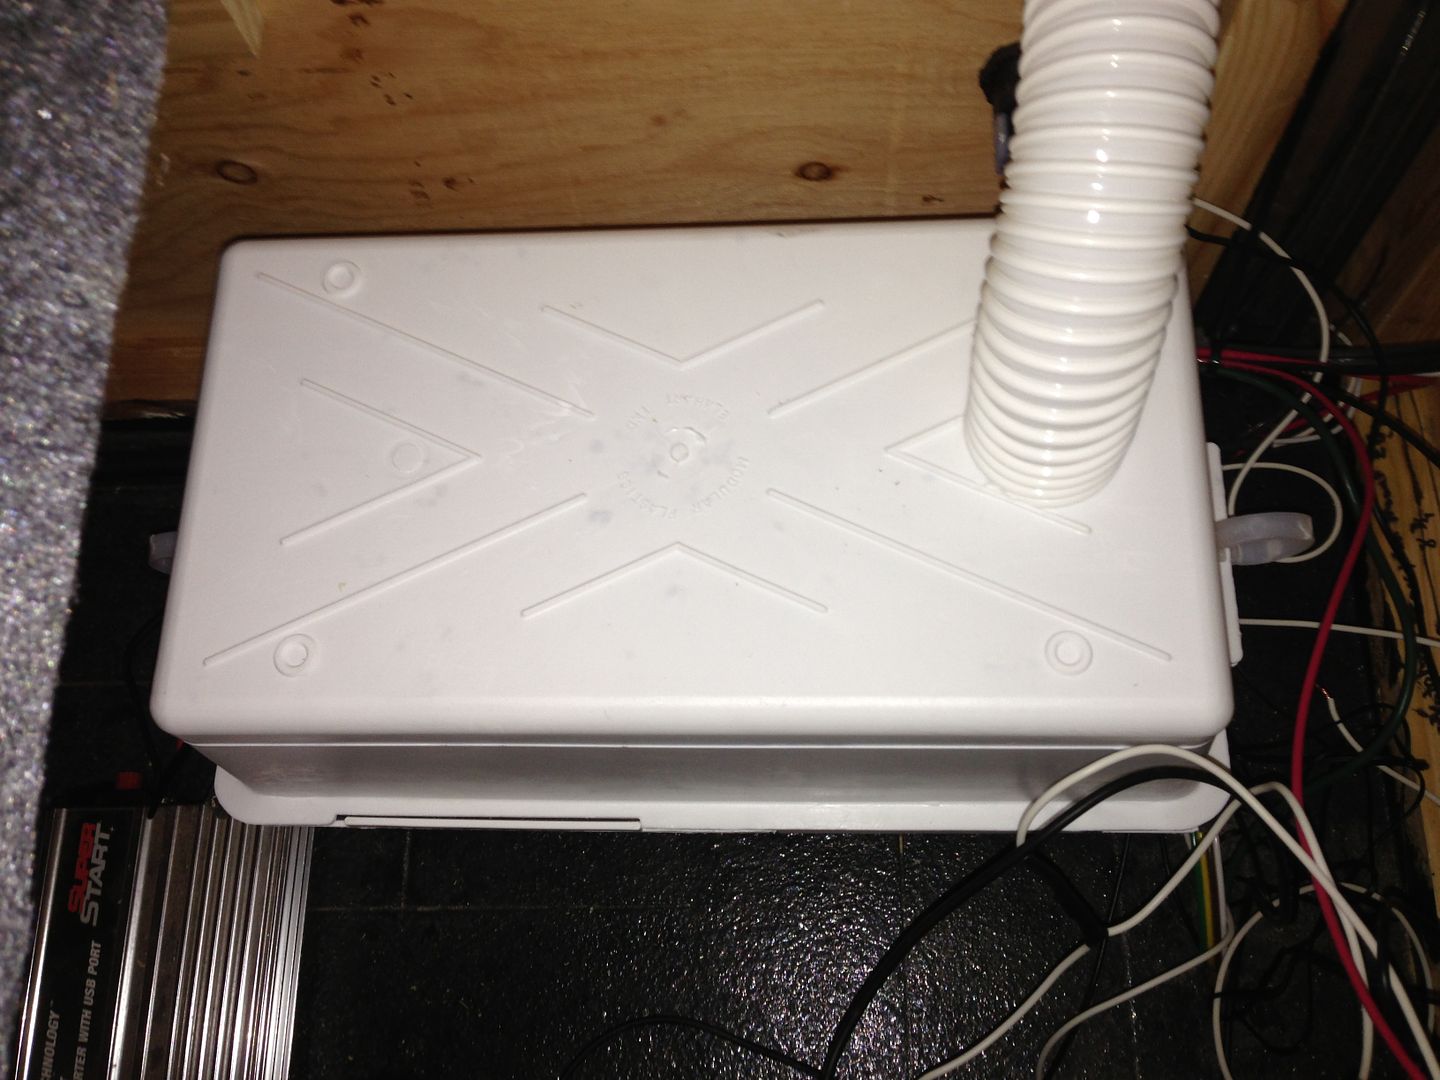
This is my vented battery box installed (was actually kind of a pain to seal up)

Image


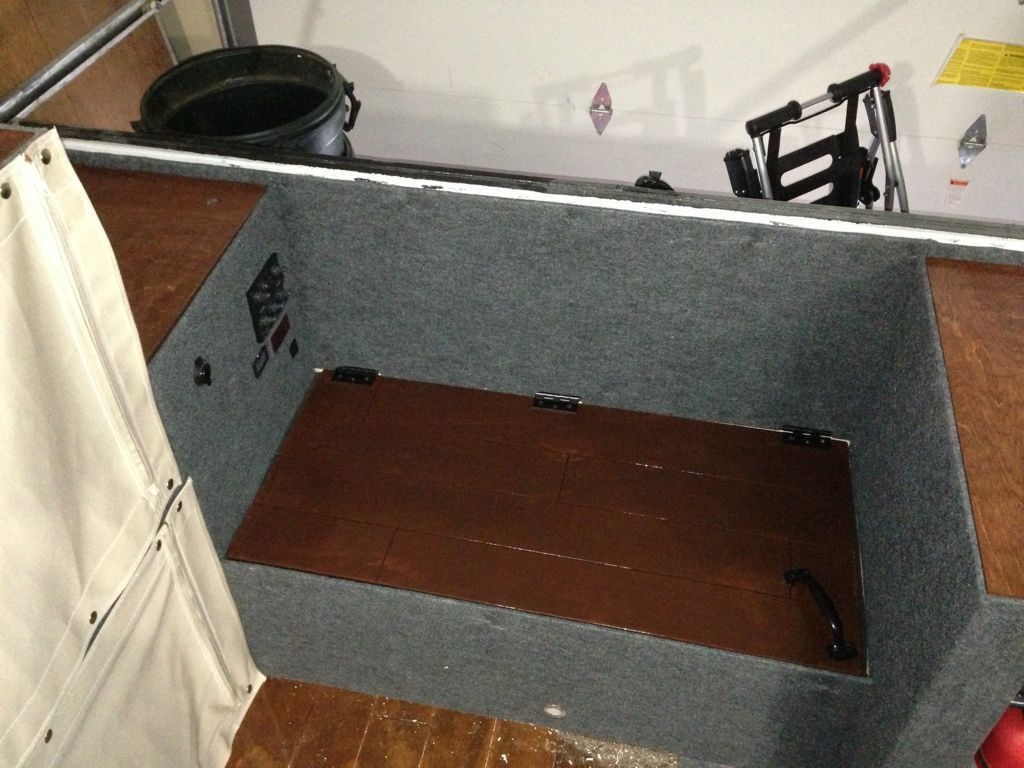
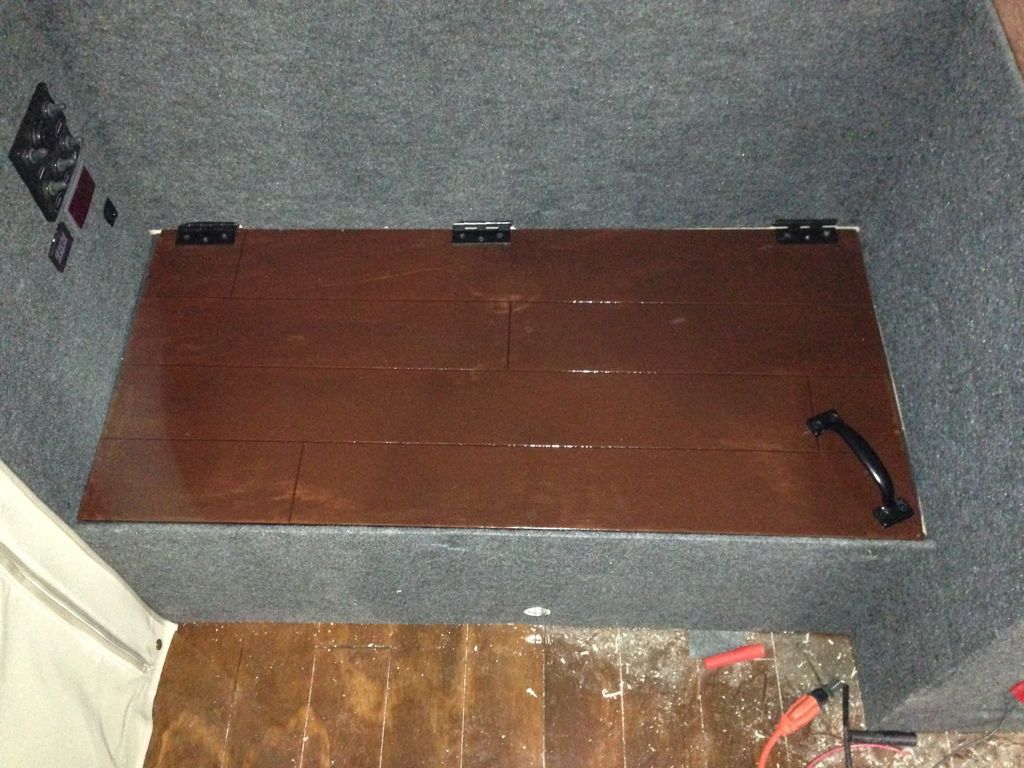
Then I wried my switch panel back up and wired my instrument panel. I also wired up my 12V outlets. The camper came with a 400W inverter. I don't plan to use it, but I might as well wire it up just in case.

Image
Image

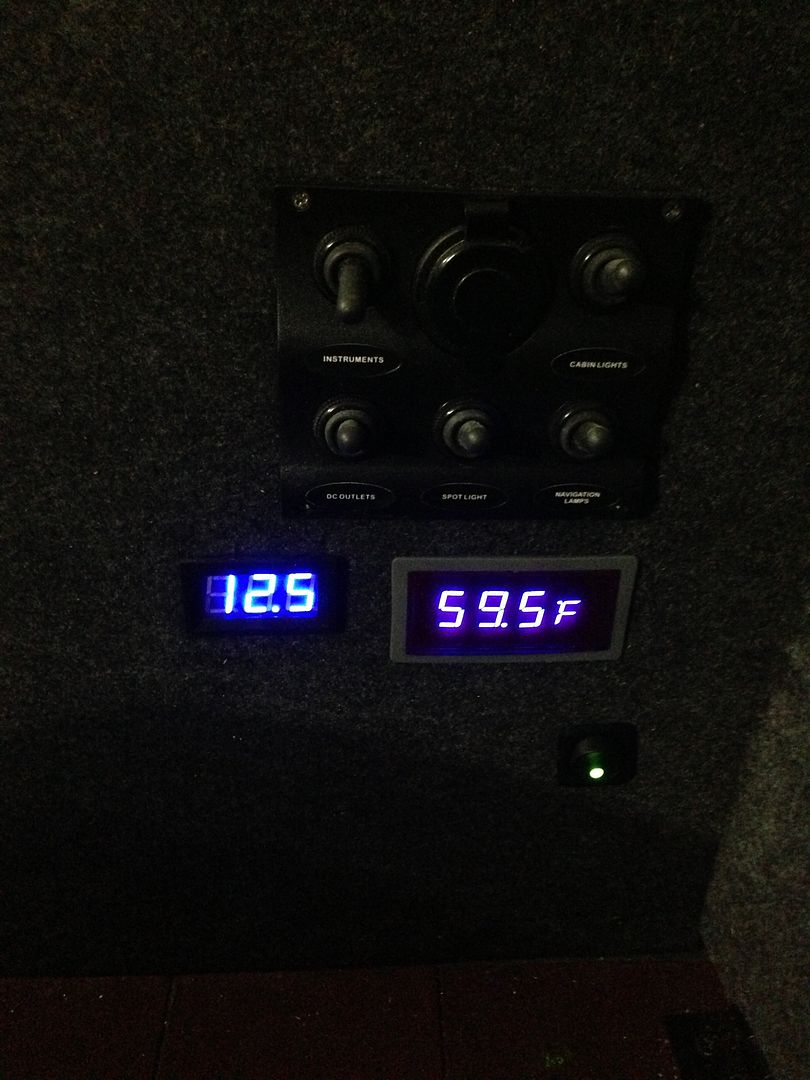
And then I got my accent/night lights wired up. The plan is to have these on so we can move around at night but still have it dark enough for the boys and us to sleep

Image

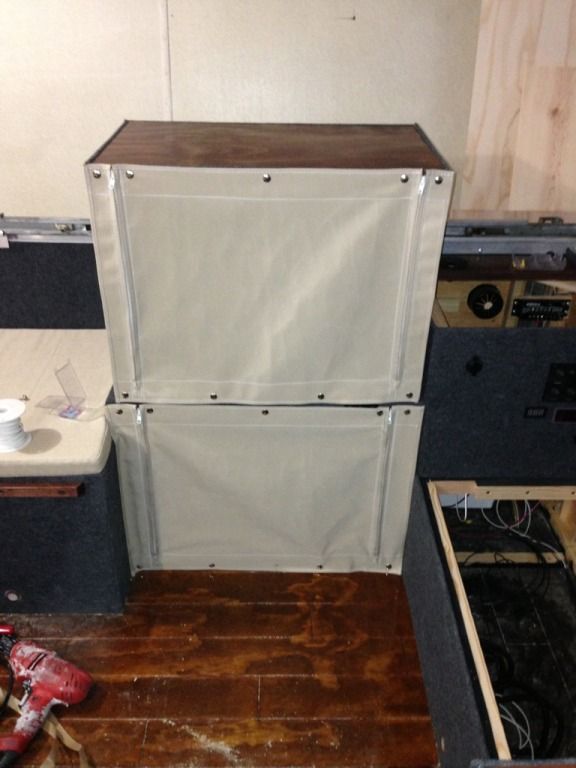
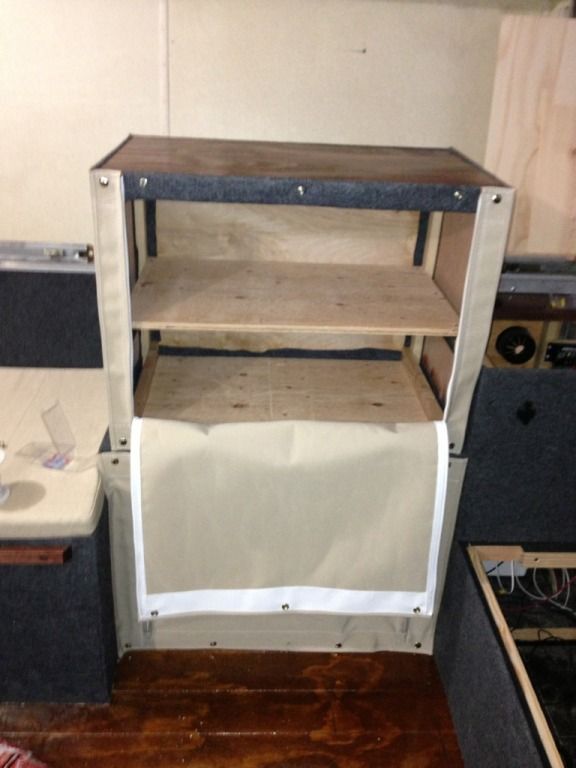
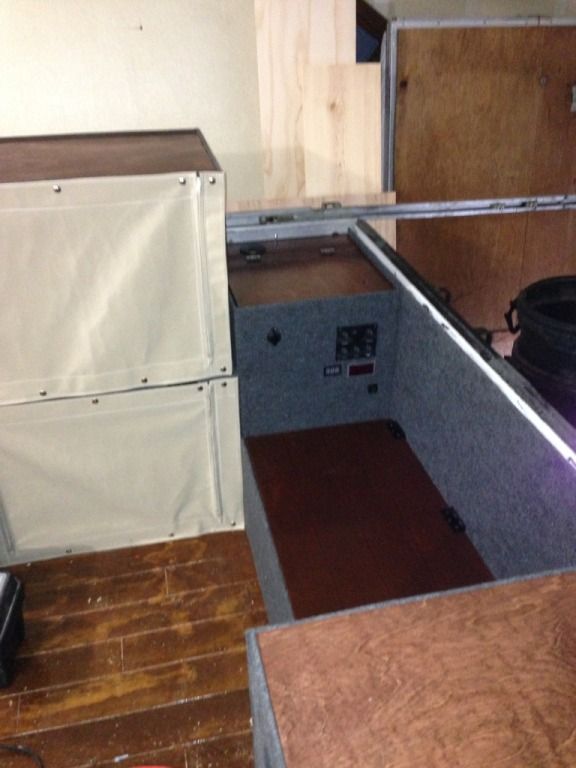
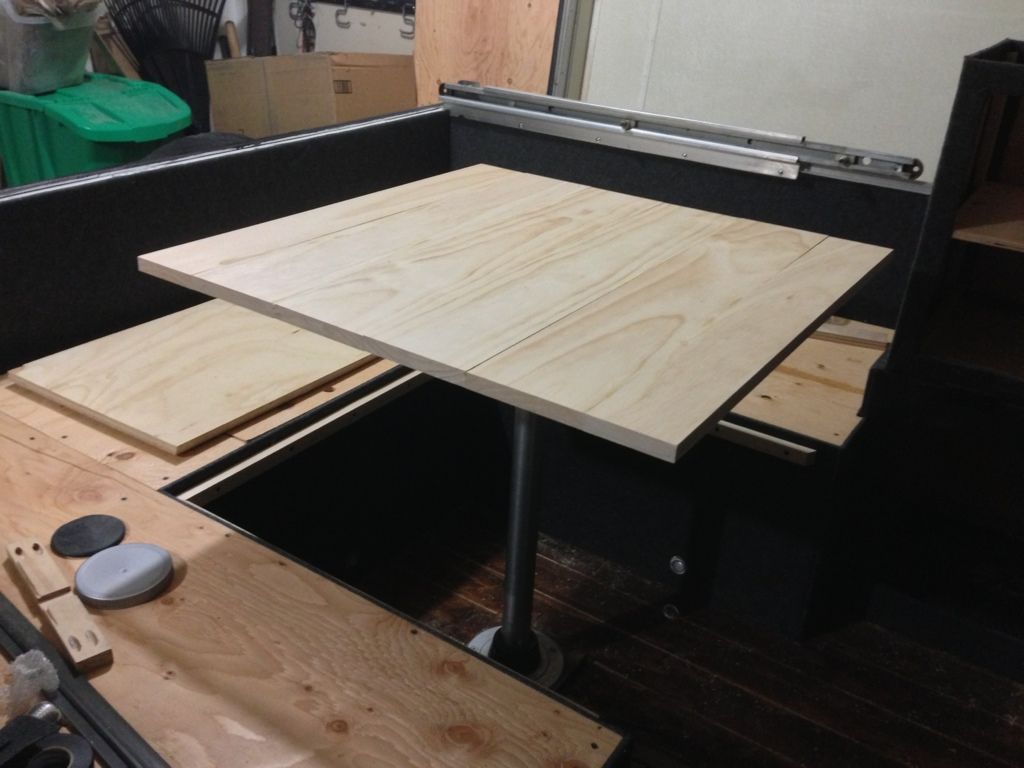
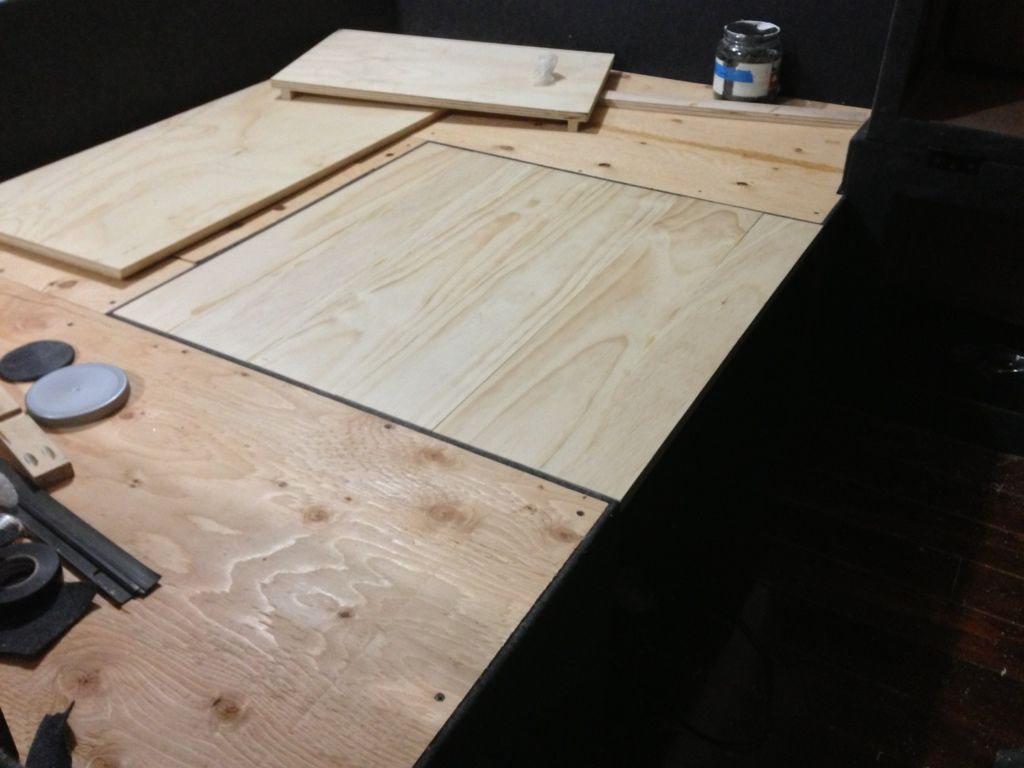
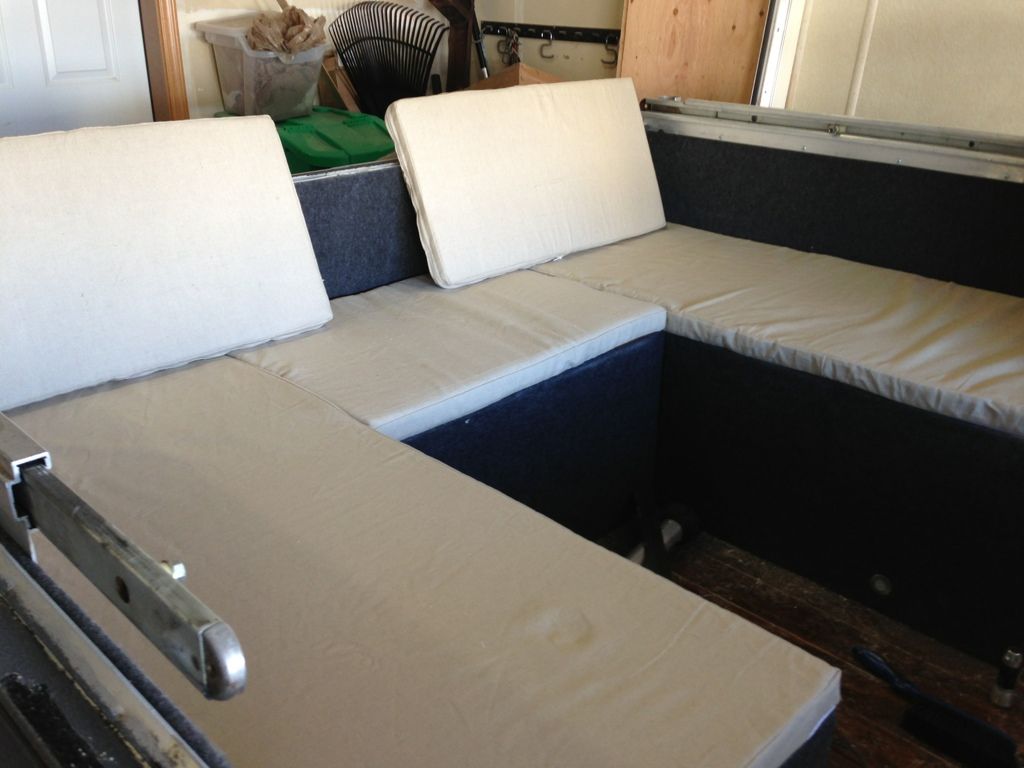
This means that I need to clean it up, put the roof and canvas on and then I'm ready to go camp in it! [:D]

I've been working on this project for a looooooong time. I'm planning a shakedown run with some buddies before we venture out with a 2 year old and 6 month old.
TheThom
Teardrop Advisor
 
Posts: 82
Joined: Mon Dec 26, 2011 9:57 pm
Top

Re: 1977 Pop Up Camper Rebuild

Postby Eric_kc0ahk » Wed May 15, 2013 10:05 pm

Looking good!!

Good luck with the ankle.
User avatar
Eric_kc0ahk
Teardrop Inspector
 
Posts: 11
Joined: Thu Jun 16, 2011 2:05 pm
Location: Nebraska
Top

Re: 1977 Pop Up Camper Rebuild

Postby Shadow Catcher » Thu May 16, 2013 5:48 am

I will agree, looking good, However. It is amazing how bright those blue lights can be from the read outs when you are in the middle of no where with only star light around, and blue light disturbs sleep (found that one out the hard way with a clock radio). "Insomnia feeds on the minor details of modern life, like the soft blue glow from a cell phone, PDA, or digital clock resting on your bedside table. The short waves of blue light may interfere with sleep."
It was probably not necessary to use a battery box for the AGM but it will allow more freedom in the future to use a conventional deep cycle. The Concord AGM is a good choice.
User avatar
Shadow Catcher
Donating Member
 
Posts: 6008
Images: 234
Joined: Sat Apr 11, 2009 8:26 pm
Location: Metamora, OH
Top

Re: 1977 Pop Up Camper Rebuild

Postby TheThom » Sat May 18, 2013 9:39 am

Shadow Catcher wrote:I will agree, looking good, However. It is amazing how bright those blue lights can be from the read outs when you are in the middle of no where with only star light around, and blue light disturbs sleep (found that one out the hard way with a clock radio). "Insomnia feeds on the minor details of modern life, like the soft blue glow from a cell phone, PDA, or digital clock resting on your bedside table. The short waves of blue light may interfere with sleep."
It was probably not necessary to use a battery box for the AGM but it will allow more freedom in the future to use a conventional deep cycle. The Concord AGM is a good choice.


That's why the blue light gauges are on a switch that I can turn off at night :D

Also, I bought the battery box before my flooded battery died. It was already screwed in and the vent hole drilled before I had to buy a new battery.
TheThom
Teardrop Advisor
 
Posts: 82
Joined: Mon Dec 26, 2011 9:57 pm
Top

Re: 1977 Pop Up Camper Rebuild

Postby TheThom » Sun May 26, 2013 8:25 pm

Long Post Warning:

Big Big Day on the camper! I had a buddy come over and attach the roof. I plan to rebuild the roof next off season and I'll use the old one this season. Then I took it for a spin around the block. This thing hadn't been towed since September of 2011!

Looks pretty good behind the XJ. I took the water can's and propane tanks off because I don't have the straps to secure them yet. Towed OK. I need to get the brake controller installed. Didn't break 30MPH so we'll see how the highway goes

Image

Image

Then we popped it up and put the canvas on. I LOVE the way it turned out with the new canvas

Image

Image

Image

Image

I had some problems with the telescoping extending poles over the bunkend. This piece of hardware is 36 years old. I either need to get them fixed, get new ones or come up with a different solution. I'm open to ideas

Image

Some interior pics

Image

My two and a half year old son LOVED it! He kept yelling "I camping, I camping"

Image

And a quick plug for Bear Creek Canvas

Image

I need to work on some fit issues around the door, install the ceiling latches and I have some work to do on the awning.

But I'll leave you with a before and after

Before

Image

After
Image
TheThom
Teardrop Advisor
 
Posts: 82
Joined: Mon Dec 26, 2011 9:57 pm
Top

PreviousNext

Return to Build Journals

Who is online

Users browsing this forum: No registered users and 1 guest