Yesterday I hauled the chunker support trailer and gear back up to Framingham. A 5500w gas powered Winco electric start generator followed me home. Not for camping, but for power outages at home. It was surplus team equipment, and I may have to give a few sheckels for it to help balance out the team spreadsheet, but it’s still under market value by a long shot.
Didn’t make it back to Mecca after that, and felt lazy today, so all I have to report is from the end of the week.
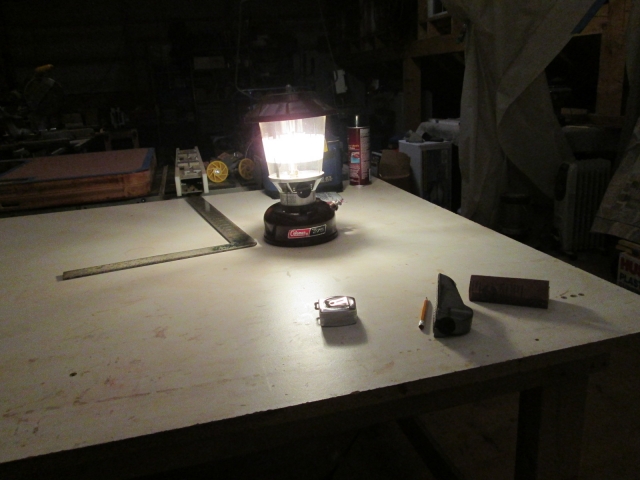
The days are short on light now and the old reliable turd helps take the nip out of the air.
All my glues are out of the loft now and I will have to get used to hauling them around, or maybe build that lamp box that was recommended last year.
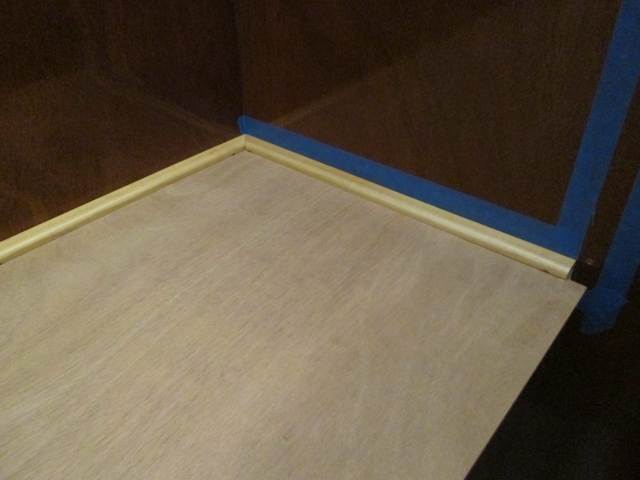
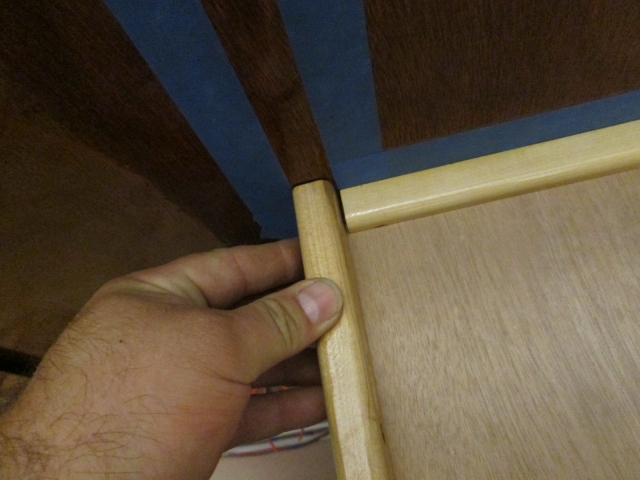
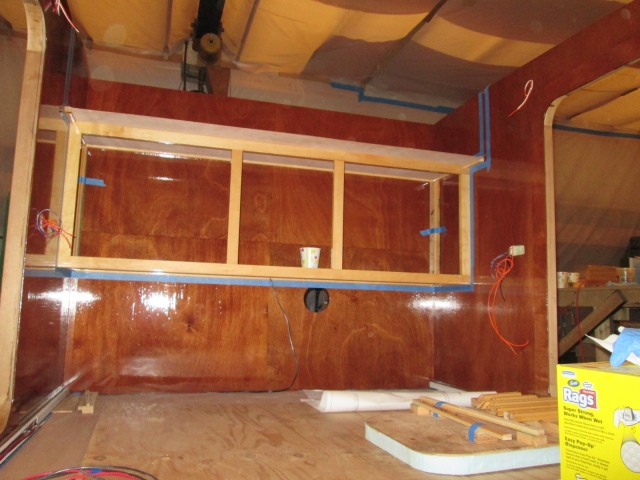
Here I have cut the upper rear cabinet floor to length so that it would slide into the ledgers.
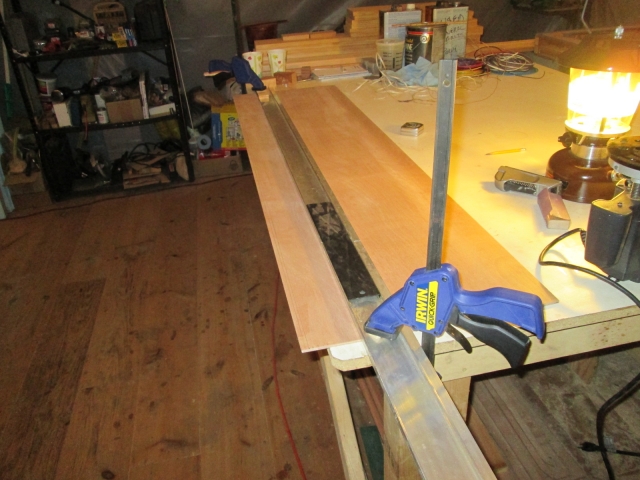
The table saw threw its drive belt the other day when Ben came over to run a big block of ash through it (apparently the pulley had slipped and the belt walked off damaging the belt's ribs). The belt is not a common size here, so has to be ordered from Steel City, the OEM.
I was able to make the cross cut on the end of the panel by plunging down with the sliding miter saw, then flipping the piece over, carefully lining up the blade to the kerf, and completing the cut.
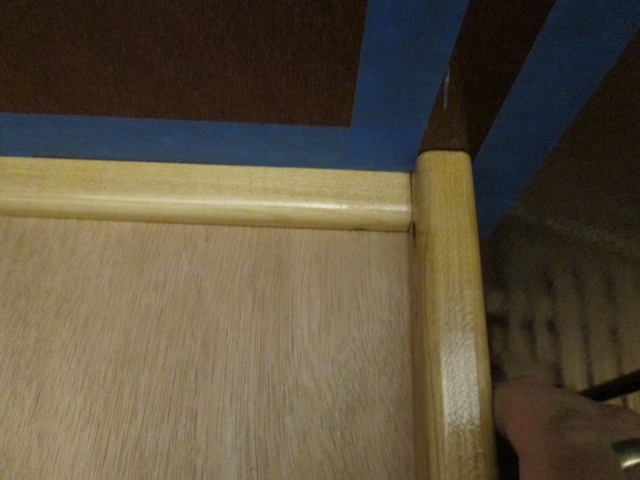
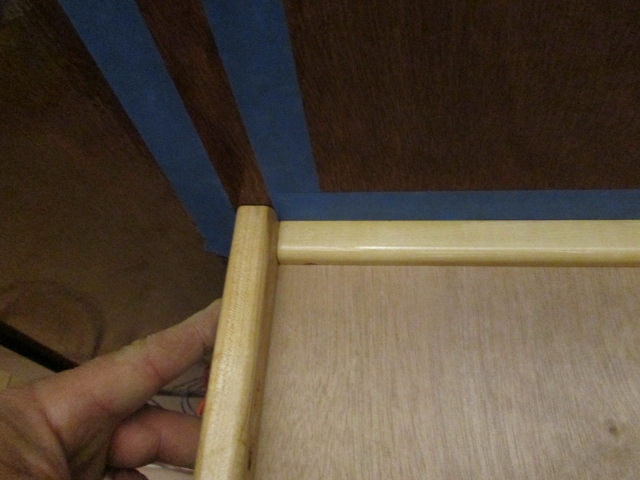
Using a test piece from the same stock, you can see how the panel is wider front to back than it needs to be to fit the groove in the back of the face frame.

With the saw out of commission, I set up my aluminum guide fence and used the router to rip the edge off. Here is the setup.
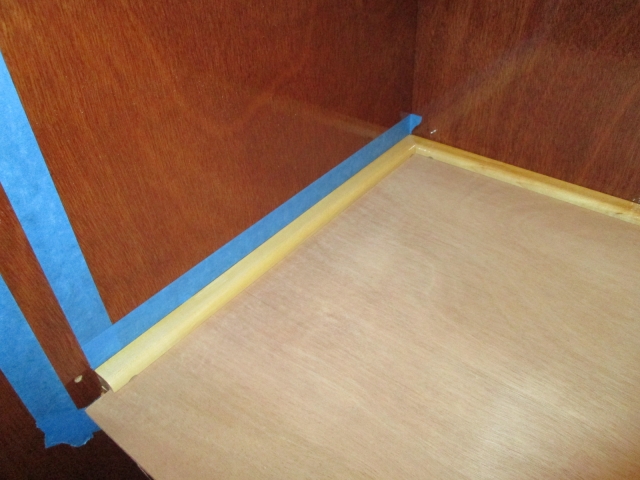
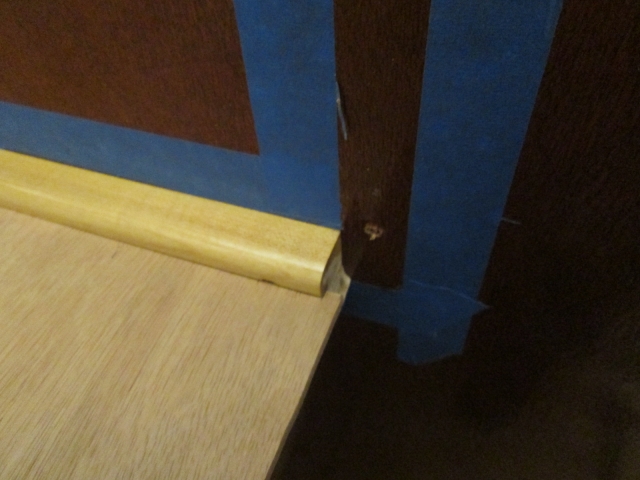
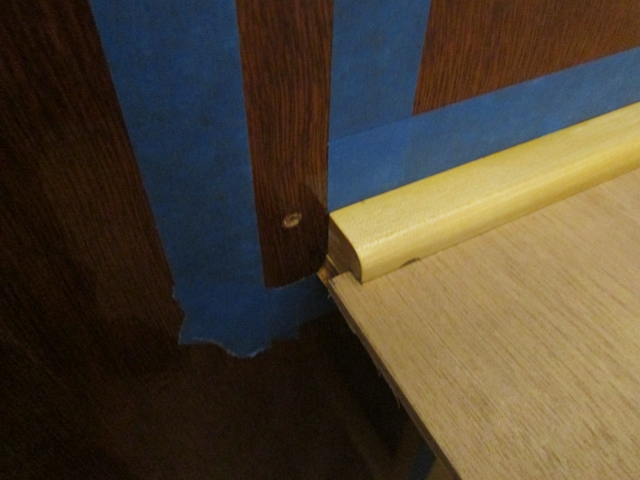
The result was not quite enough removed as evident by the gap (dark area) still remaining.
Just a little hand work with the Surform plane and sanding block to take it down a hair and allow a little room for the panel to float.
Progress pics.
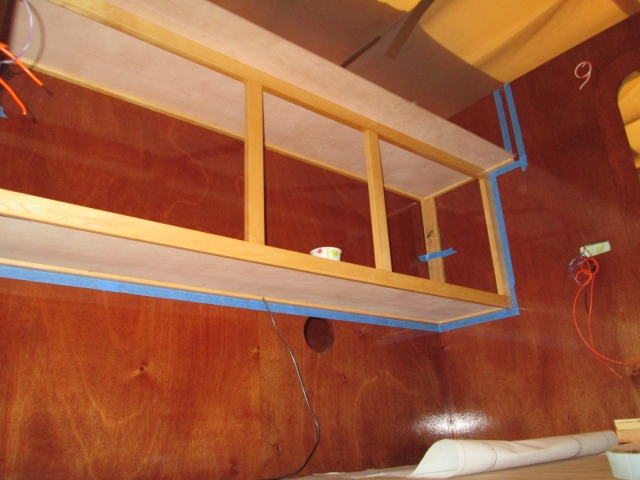
I spent some time marking the location of the lower face frame on the underside of the upper cabinet floor panel and laying out some screw hole locations to screw down thru the panel into the frame (to keep it from rattling). I tried several combinations of predrilling on some scraps, and both the truss head screws and the No. 6 flatheads. The countersinking bit was too irregular for my taste. The best result came from drilling just a clearance hole for the shank of the screw and running the FH screw down flush, letting it make its own countersink by compressing the ply to conform. I tried it on one of my color test pieces, too, to make sure it wouldn’t flake the poly finish, and it seemed to be okay there, too.
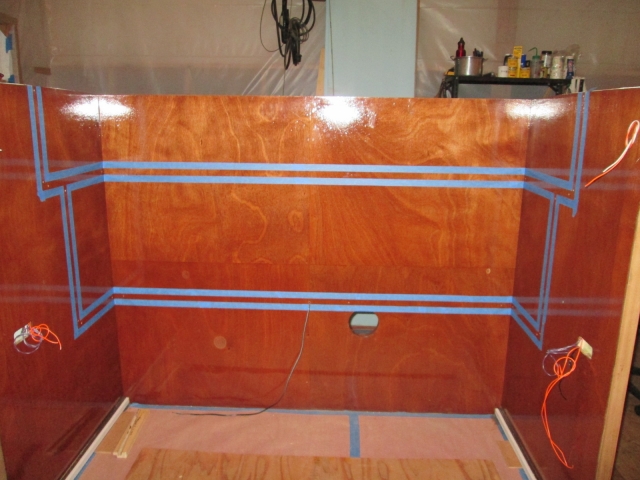
Then I finished masking around the ledgers and blew it all back apart so I can scrub up between the lines for glue.
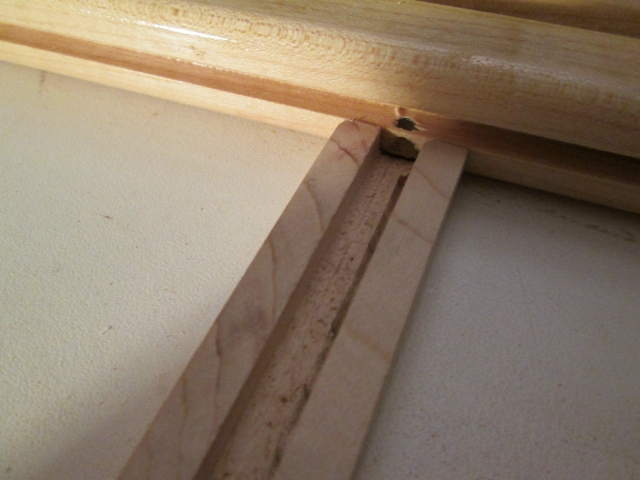
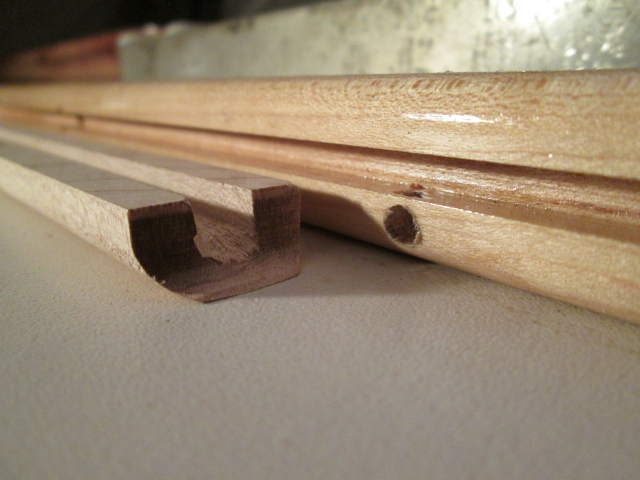
Then I realized I had gotten ahead of myself. I had intended to dry fit the red light wire way chase and make the mounting block for it while the cabinets were all fit up. At least I was able to set the rear ledger and wire chase up on the bench to see that I needed to blend the floor of the groove down to the wire hole in the ledger. Just a little paring with the utility knife to put a little ramp in the end of the groove. (The dark spot in the first pic is where the drilled hole broke out into the panel groove in the ledger; the actual wire hole is below that in the curved part of the ledger as visible in the 3rd pic.)

And that’s all I have. It seems like as soon as I started working inside of the cabin, everything has slowed down; lots of little details and constantly getting in and out. Even though the roof isn’t on and I put a step at the front so that it is a little easier on my knees, it is still back and forth, back and forth.
Just need to keep plugging away at it.


 And it “shoots” ...

 Bet that would get some attention ...


