Got about 5-1/2 hrs in today.
Started by taking a look at the polyurethane that I had applied last time. The panels looked pretty good for a second coat, but still have a bit of divots, almost orange peel like, so in addition to needing another coat on the other side, will need more.
The maple was all hit or miss. Some areas had drips and runs and a significant percentage of area had dry streaks and lack of coverage. Teaches me right for attempting to apply poly in poor light. On top of that, it still felt a little soft, okay to touch, but like if I were to try and scuff it, it would gum.
So all I did was gently scrape the runs, buff those areas slightly with a rag, and set it all aside. Loft never got above 52 deg F.
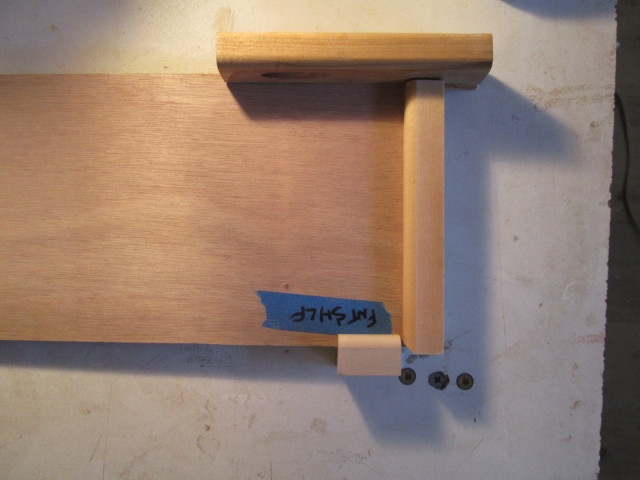
Moving on I dug the precut front shelf and cabinet floor panels out of inventory and started looking at the plans. On the rear cabinets I had to cut the panels down a bit to compensate for the decision to use the grooved ledgers instead of plain quarter round trim. However, at the front it looks like I must have already compensated for this. The plans had 1/16 inch float at both the front and rear of the panels, but in reality I have found that 1/16 inch total seems to be about right (if I allow too much there is enough flex in the face frame that the panel can slip out of the groove in the middle when I pull on the frame).
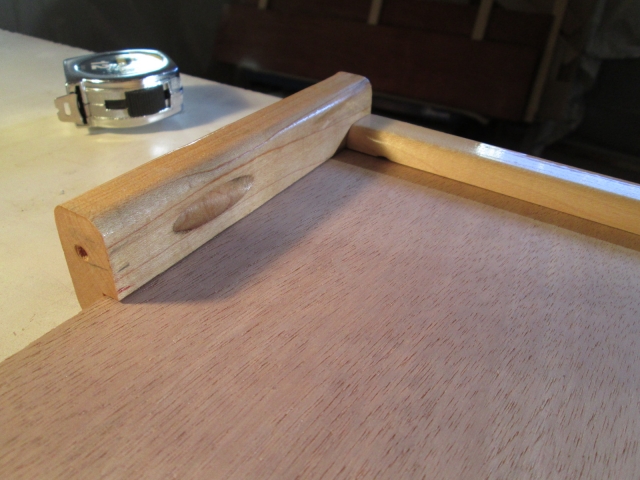
Here I am mocking up the key catcher shelf to see how much I would need to trim… or so I thought. If you look closely at the bottom right side of the pic you can see the mock up ledger piece bottomed on the groove and overlapping the cope in the side ledger by a strong 1/8 inch.
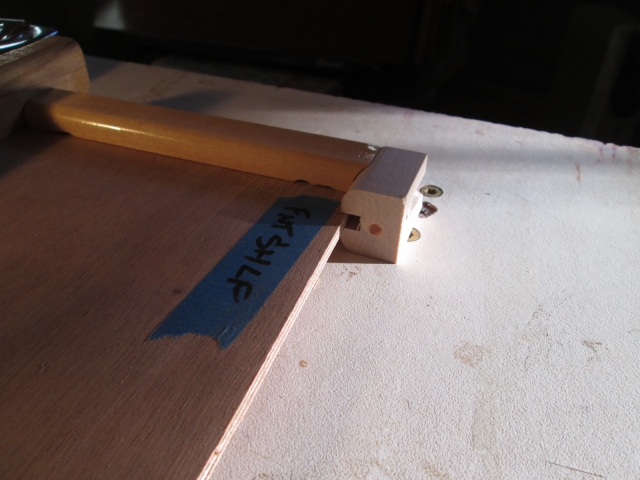
Here’s another view showing the ledger mockup piece engaging the cope and how the panel is just barely engaging the groove.
First thought was to shorten the side ledgers to compensate, but then all of the fitting, taping and scuffing on the side walls would be wasted and I would have to deal with shifting the screw holes for the front rails in the wall by, like, a screw hole diameter… not an easy thing …would mean drilling out the existing holes, gluing in dowels, and then hoping that the new screw locations don’t split the edges of the dowels… troublesome.
Then I realized that I still have some full length drops of the 5mm ply, so I will probably just cut new panels from those, but I will wait to get the ledgers and frames put back in place in the cabin so I can check the fit for sure before I use up more of the precious marine ply.
The upper front cabinet floor panel was checked in a similar fashion, and at first it looked like it was fitting pretty well (remember that the side ledgers on this have the extra notch for the side riblets).
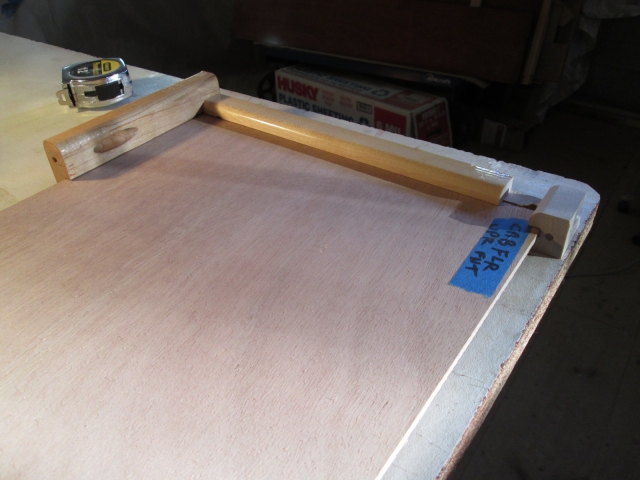
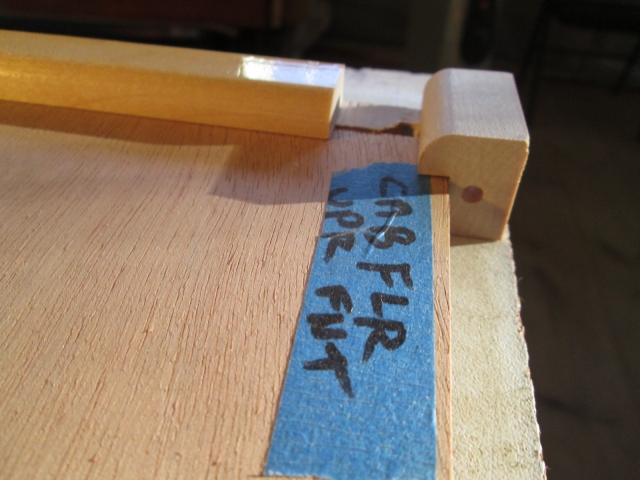
Then I realized that I didn’t have the front frame mockup piece seated all of the way and the result was actually much the same… panel not seating in the groove enough.
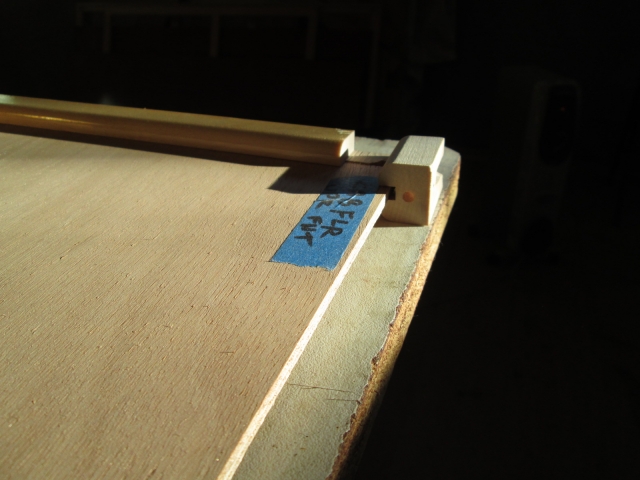
Oh well, lesson learned. Should have checked this fit before nailing down the fit of the other parts.
So that was another dead end as far as making progress in front of poly, so what can I work on next that is inside the cabin and would be easier to do before the roof goes on? I need to make the light switch plates and wooden spacer trims. I thought about using Red Grandis for this, but after test staining a few scraps I decided that these really need to be maple to contrast with the Okoume ply and Red Chestnut stain.
While sorting that out I also figured out what I would need for Red Grandis to finish framing the galley hatch (basically the spar pieces at the top and bottom of the ribs).
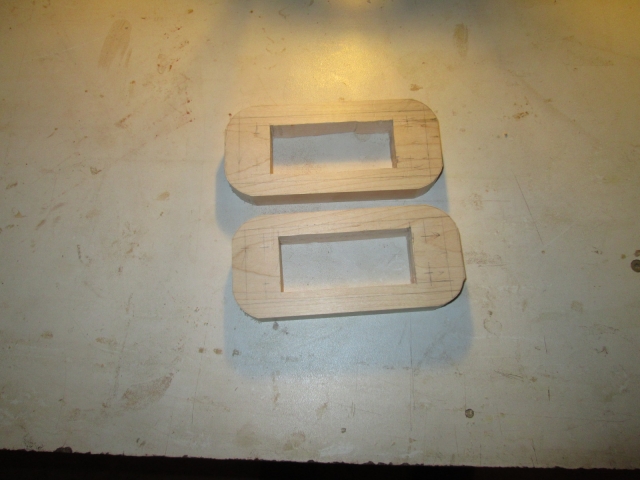
Anyway, the piece of 1x4 maple that I had might be okay for the bottom spar on the hatch, so I cut 65 inches of that (64 finish length plus some for fudge) then ripped the drop down to 2-3/4 inch wide for the light switch spacers. Next I laid those out for the cut out sections in the middle and the radius corners.
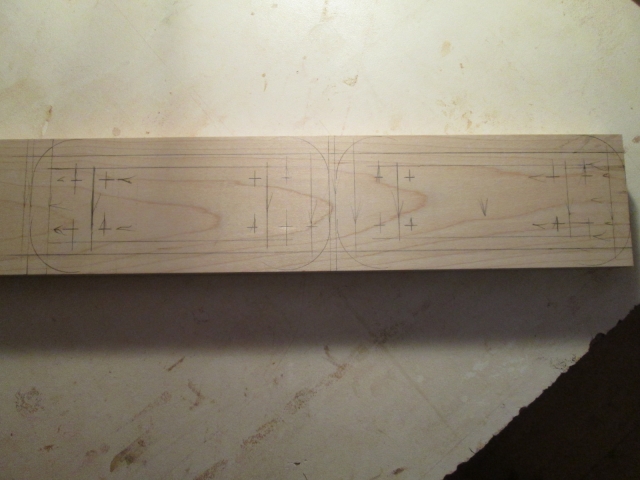
It was easier to handle and cut these by leaving them as one bigger piece. First I drilled the corners out and cut with the jigsaw (hadn’t used the jigsaw in a while and it didn’t seem to cut near as well as the last time I used it, maybe the thicker hard wood). It came out a little rough, but it will be hidden and it didn’t seem to be worth the time to make a router template, so I cleaned it up the best I could with a chisel.
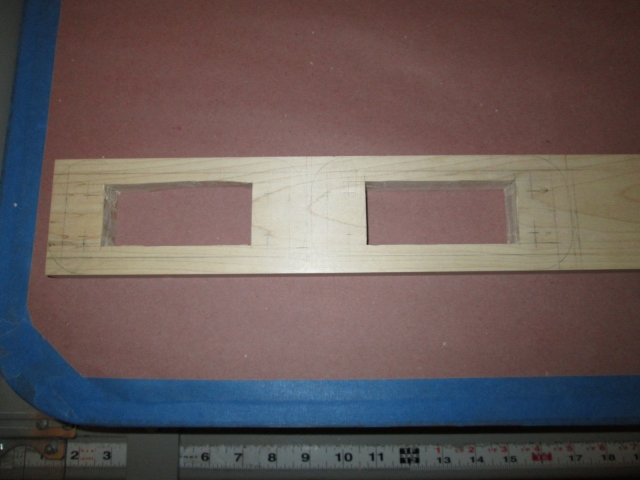
Next I cut them out on the miter saw and rough cut the corners on the band saw.
Then I used the small oak block and hand sanded the corners to the line, removing all of the saw teeth lines. One down.
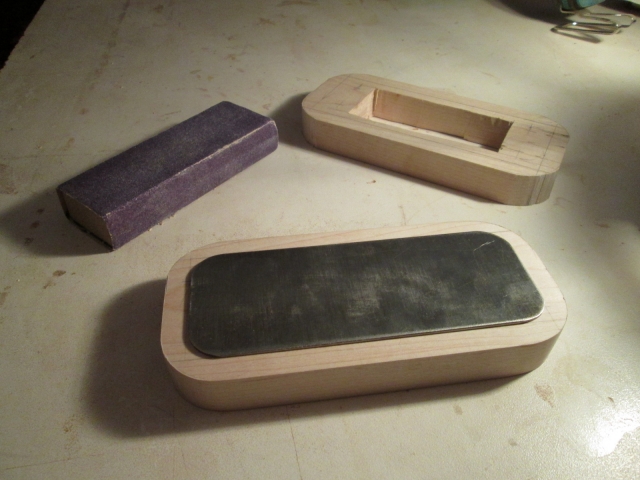
The plate will be drilled for flat head screws that will pass thru the block and attach the plate and spacer to the switch cut out in the wall. The top edge of the spacer will also be rounded over with the same 1/4 inch bit that I have been using on all of the cabinetry with a 1/8 inch reveal.
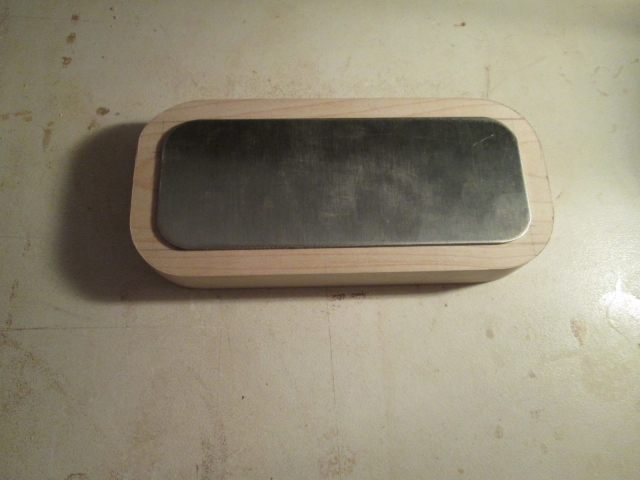
I’m contemplating recessing the stainless steel plate flush into the wood.
This also has me thinking about the dome lights. I had been planning to just screw them directly to the walls (into the recessed blocking), but now I think I will make matching spacer blocks out of maple as well. It will match the light switches and cabinets better, and will help with the contrast between the darker walls and the white bezel on the dome light fixtures.
Train kept a rollin’.


 Who's ever heard of such a thing???!!!???
 Though most of our Christmases seem to be sunny, we've had a few true White Christmases since I moved hear about 15 years ago. It is frequently down in the mid 20's for night time temps and mid to upper 30's during the day. Personally, a bit of snow on the ground and in the trees is a nice sight this time of year. I just wish it weren't in the teens to single digits right now.


