Well, this is the same big bottle I started with, and besides having a little crusty bit on the tip and a hard coating around the inside of the cap (both of which popped off pretty easily) the part that is still liquid seems to be just fine; maybe a little thicker. I am sure there is some that will never come out of the bottle, but what is still liquid in there should see me thru the rest of this project… I hope.
I manage to do pretty well with it by masking well, using disposable gloves, and small sticks or fake credit cards as spreaders, +1 Mel. I have acetone on hand for cleaning the GS straw, but haven’t had much need for it with the GG.
While we do have high humidity here in the summer, I suspect it is nothing compared to what you two have down there in the south.
I put another 4 hrs or so in today. I started by gluing the dowels in under the pillow light switch blocks to take the extra screws. Here you can see how I wrapped a small piece of ply with butcher’s paper, used another scrap of ply on the outside of the wall to protect the foam from denting, and clamped the dowel in place so that it would stay flush while keeping the glue from expanding out. Did the same thing on both sides; this is the curb side.
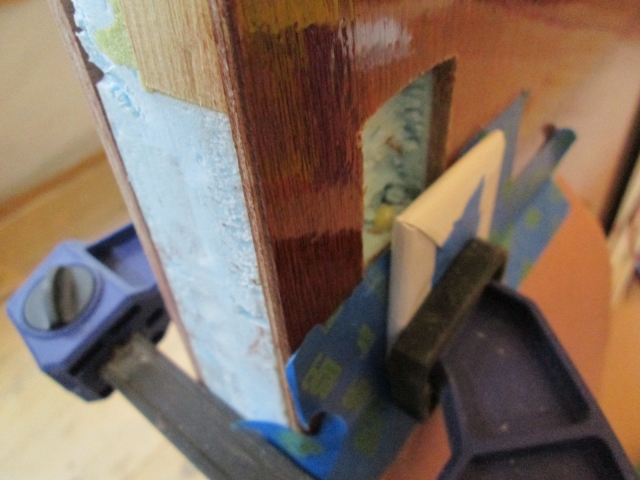
While that was kicking off I glued and screwed the front cabinet frame and cabinet floor side ledgers in. After wiping the excess glue I could see slight shadow lines in the middle of the sides of the cabinet frame up against the wall where there are no screws. If I pushed on the outside of the wall I could get it to close up; so I set up this clamp rig on each side to draw the middle of the frame and wall up tight to each other.
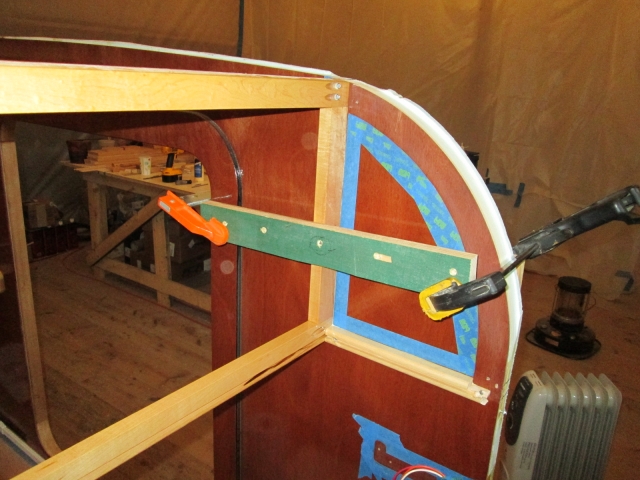
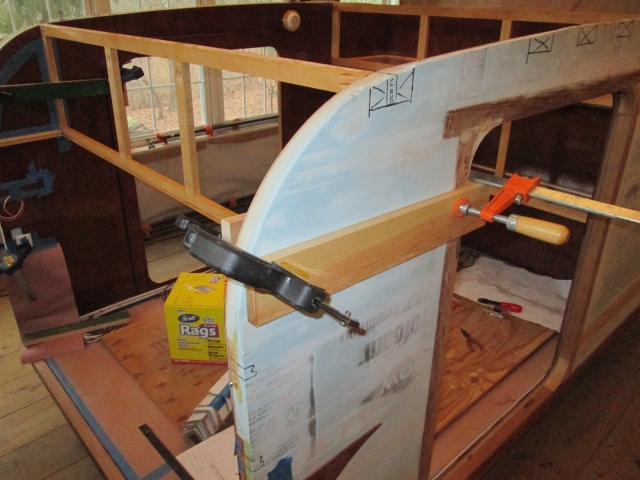
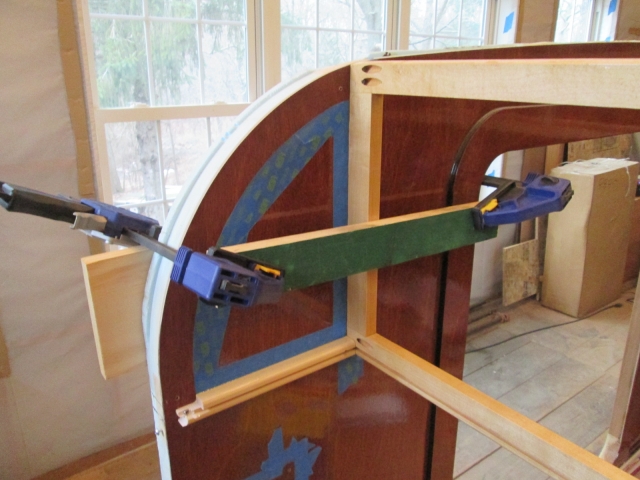
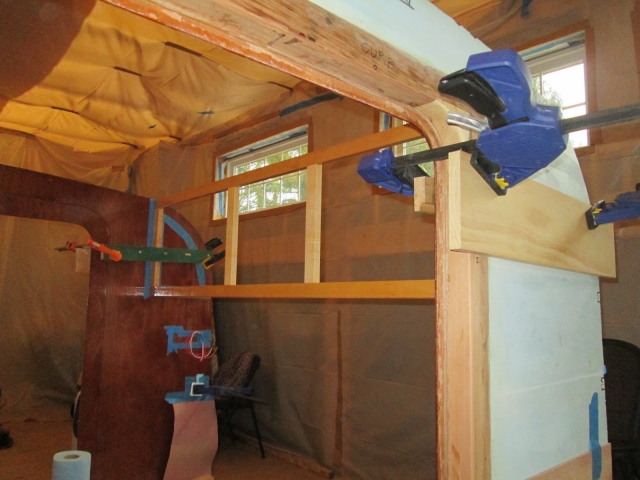
The inside backers are only touching the inside edges of the frame, not the door jambs or faces of the walls.
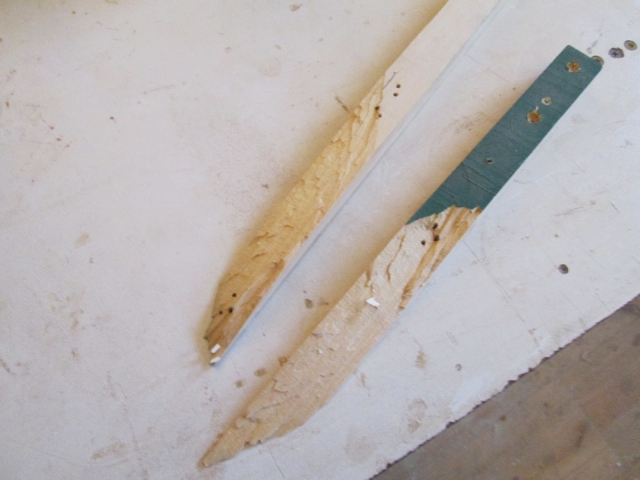
It was very awkward to get this setup into place by myself because both clamps wanted to be installed and tightened at the same time. I dropped a few things a few times, but with no harm. After getting the curb side in place I gave the clamp one more squeeze and heard a loud cracking sound. The narrow backer I had placed on the inside during the first attempt broke clear through…
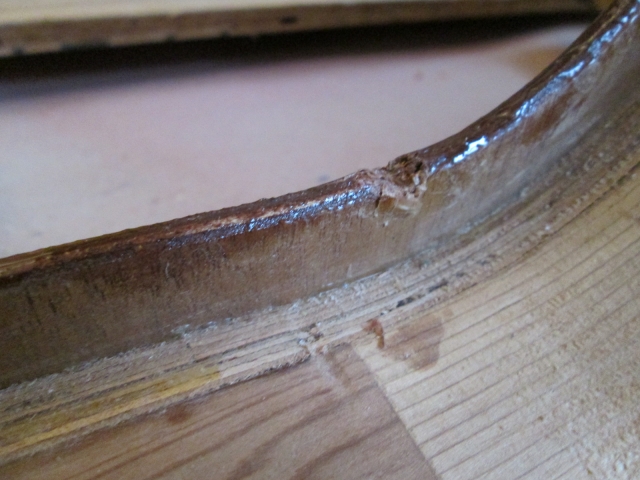
…and the clamp in the doorway fell onto the edge of the door seal flange putting a big ouchy in it.
Cuss words ensued.
I’ll retreat this with poly next time I have the brush out, and it will be hidden by the door seal trim anyway, but it made me angry because it could have easily been very much worse (visions of a large gouge in the inner skin, or the door seal flange broken thru).
I scared up a bigger scrap of wood and reset the clamps, then went around and wiped the excess glue again.
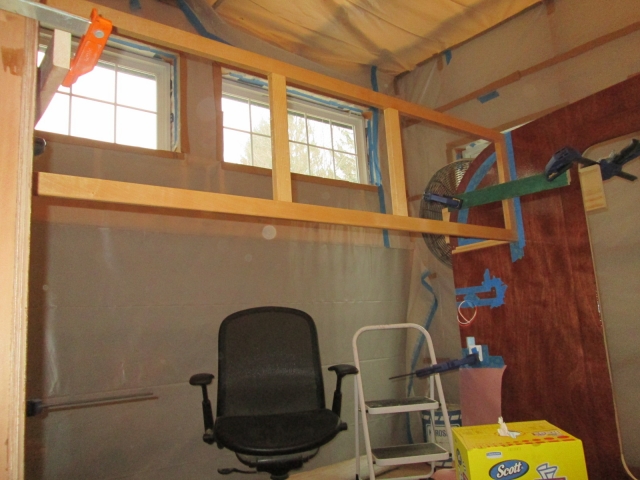
Back to the pillow light switch recesses. The clamp setup on the dowels worked like a charm.
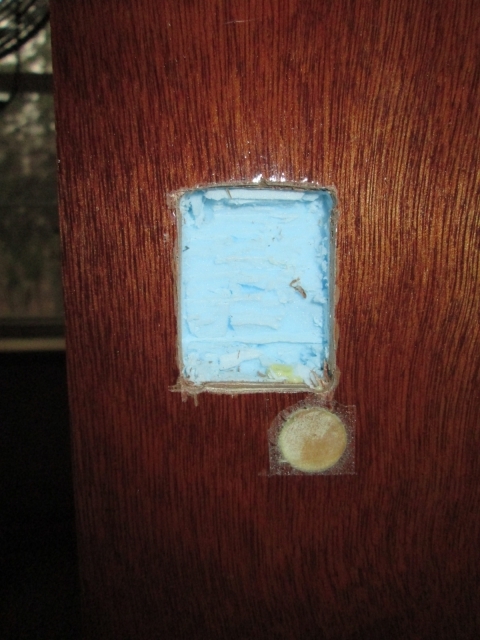
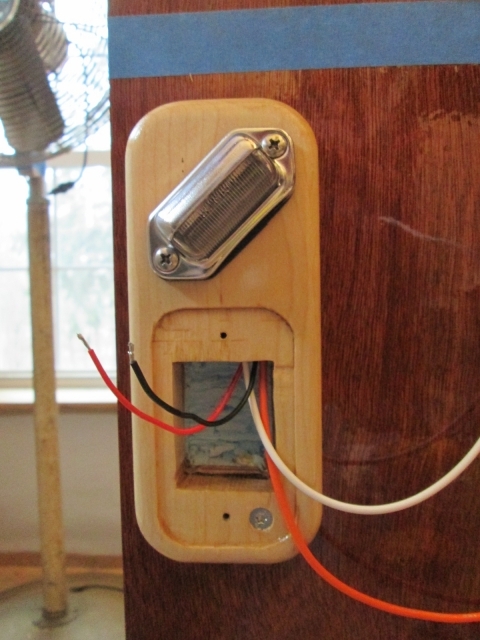
Next up, I trained the wires from the pillow light down into the switch recess in the street side block and temporarily taped it in place.
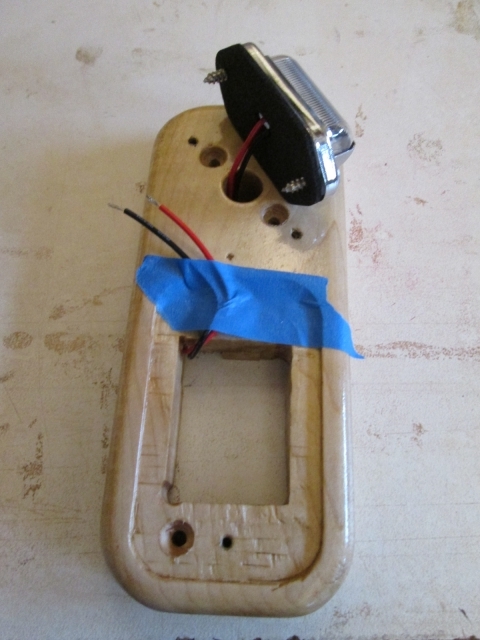
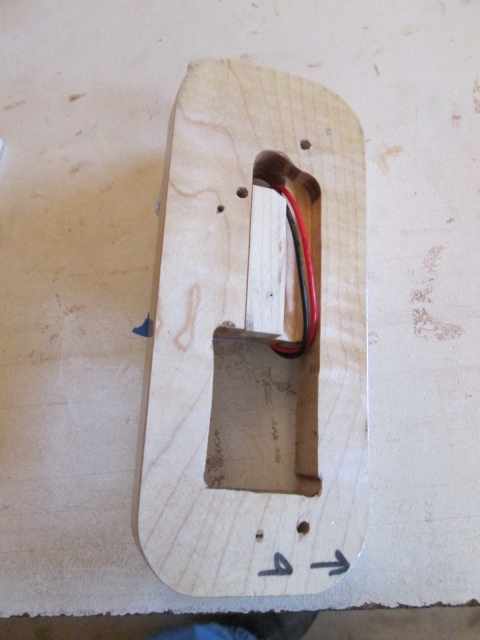
This helped prevent the smaller wires from the light fixture from becoming pinched behind the trim block while I screwed it into place without having to fish them thru afterwards.
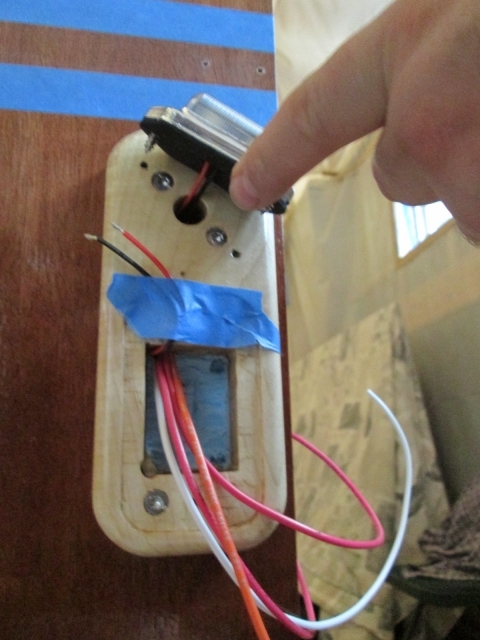
Note that I pilot drilled and added the third screw into the dowel at the bottom.
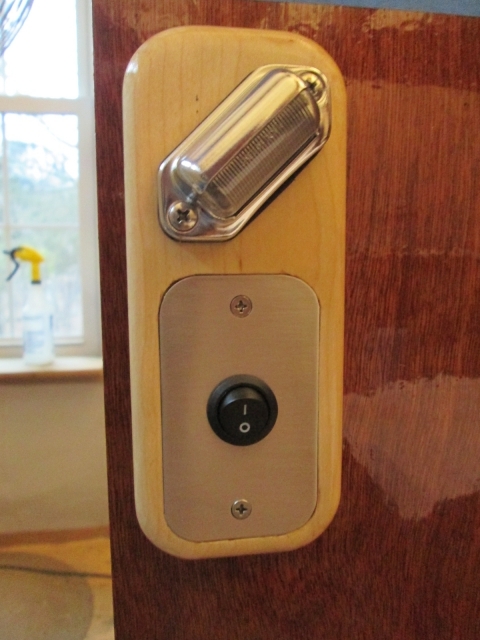
Screwed the light fixture into position (I’m not a big fan of the black foam gaskets, and may eliminate them).
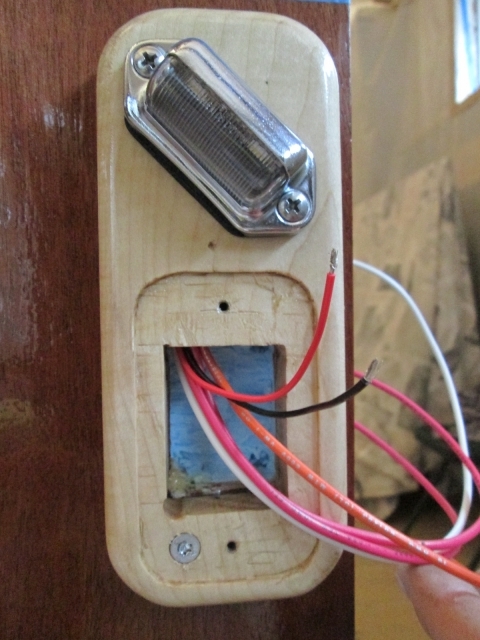
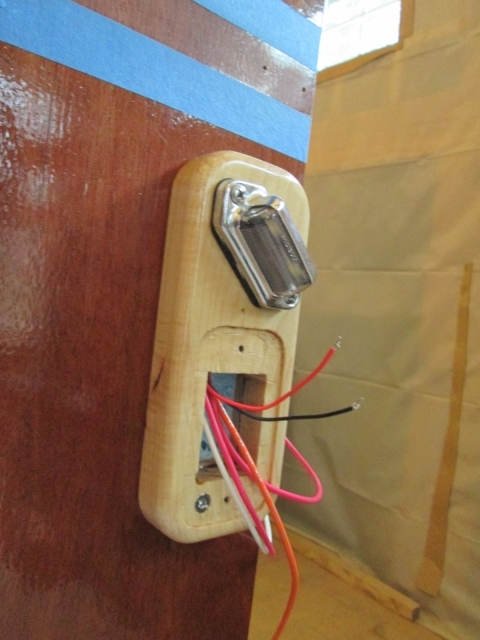
Next I wired up the switches and installed them with the switch plate. Top switch is for this light; bottom switch is for the bulkhead fan (if I get cold in the night I don’t want to have to sit up to turn the fan off).
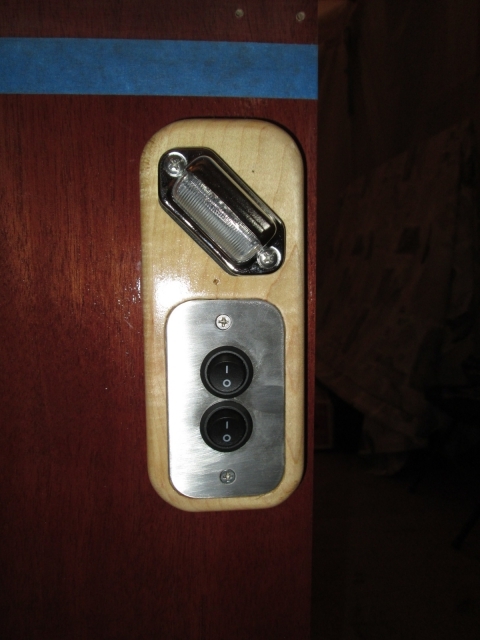
Repeated the same steps on the curb side.

 Just sayin' , if it’s not too thick and you want to thin it out a bit, that works (well tested by the RC plane Foamie guys ) ...
 Once you open the bottle , it’s on a timer ... best use it up ... buy more fresh ... just me ...
 Just sayin' , if it’s not too thick and you want to thin it out a bit, that works (well tested by the RC plane Foamie guys ) ...
 Once you open the bottle , it’s on a timer ... best use it up ... buy more fresh ... just me ...