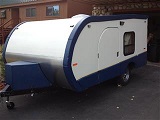
Road Foamie - done for the year
Moderator: eaglesdare
Re: Road Foamie - Rounding Third and Headed for Home! I hope
Hey down under! Nice to hear from you. It is surprising how long the details take. Sometimes it feels like I make no progress during a day, other days progress is surprising. It's difficult to break away from working on it somedays because the end does feel like it's close at hand. Can't wait to take it for the inaugural trip.
Mel
"Believe in your abilities... Remember amateurs built the ark, professionals built the Titanic"
"Indecision may or may not be my problem" Jimmy Buffet

The Road Foamie Build Thread: viewtopic.php?t=45698
"Believe in your abilities... Remember amateurs built the ark, professionals built the Titanic"
"Indecision may or may not be my problem" Jimmy Buffet
The Road Foamie Build Thread: viewtopic.php?t=45698
-

atahoekid - Platinum Donating Member
- Posts: 1773
- Images: 158
- Joined: Sat Jul 24, 2010 2:49 am
- Location: Incline Village, NV
Re: Road Foamie - Rounding Third and Headed for Home! I hope
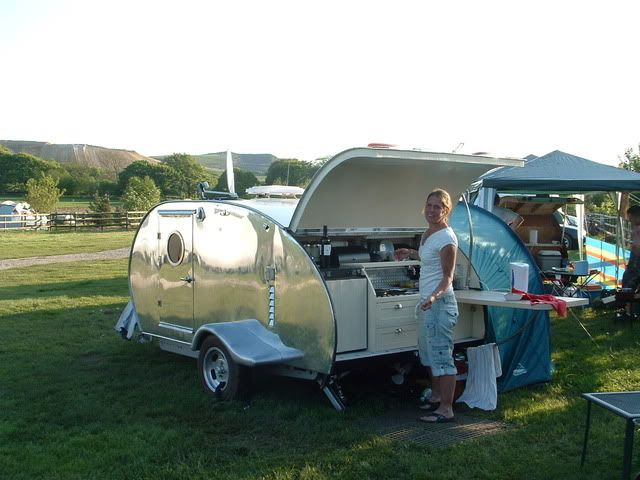
Hi Mel: You are coming to the teardrop showing at Cabela's by Boomtown aren't you??? It is Saturday August 18th. I guess there will be about a dozen TDs there. We will be there with ours. Hope to meet you there.
Just keep plugging along, and when you get tired, enjoy a large mug of beer !!!
Just keep plugging along, and when you get tired, enjoy a large mug of beer !!!

Johnny D.
"If you think you can, you can. If you think you can't, your right !" ... Henry Ford
"The Silver Nugget" Build
viewtopic.php?t=35314&postdays=0&postorder=asc&start=0
"If you think you can, you can. If you think you can't, your right !" ... Henry Ford
"The Silver Nugget" Build
viewtopic.php?t=35314&postdays=0&postorder=asc&start=0
-

down under tech - Silver Donating Member
- Posts: 565
- Images: 571
- Joined: Sat Feb 06, 2010 10:01 pm
- Location: Reno, Nevada


