No building this past Wednesday due to working on set-up for the dance show. Friday night was dress rehearsal. Saturday I slept in as promised. When I did get up I made it a light duty day so I could be ready for the real deal show in the evening.
I did go to Ho-De-Po for pneumatic staples, brads, a gallon of TB2 and a pint as well for the applicator bottle, which I will use the gallon to refill. Realized I had forgotten to detail the arc lengths on the drawing of the galley wall cap rails, so was reluctant to buy lumber until I could confirm the required length. The nailer is a Husky that I paid $18 for at the pawn shop.
I had borrowed some walkie talkies from work to use for the show and had to go back in because one of them would not accept AAA batteries in place of the battery pack. While there I checked on the arc lengths, added them to the drawing (under 8 ft over all, about 6-1/2 ft). Realized I had forgotten to get spring type clamps, so back to Ho-De-Po for those; thankfully it was on the way to Mecca. Going the wrong direction now, so the boards will wait.
Here's the haul.
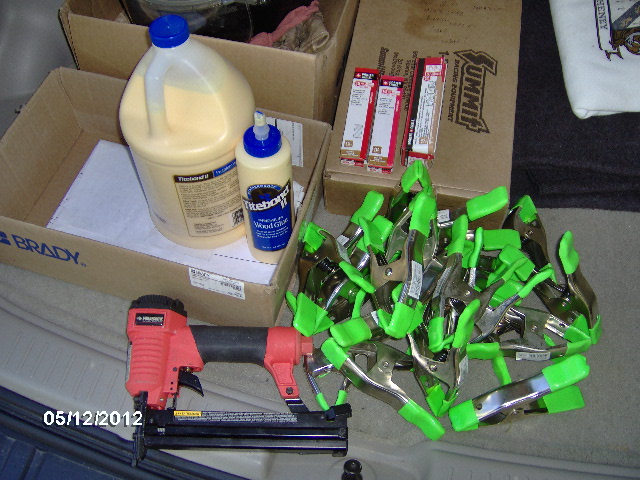
The clamps were a buck apiece. They had nicer ones (Husky) for just under $3 ea, and the rubber grip pads did seem better on those, like they would stay on better, but for what I need and the fact that I am not likely to need them much after the camper build, the cheap ones seemed like the better deal.
Had hoped to rip the slats for the cap rails, but was anxious to see the trailer in paint and didn't want to get too dirty/sweaty before the show, so on to Fab Mecca.
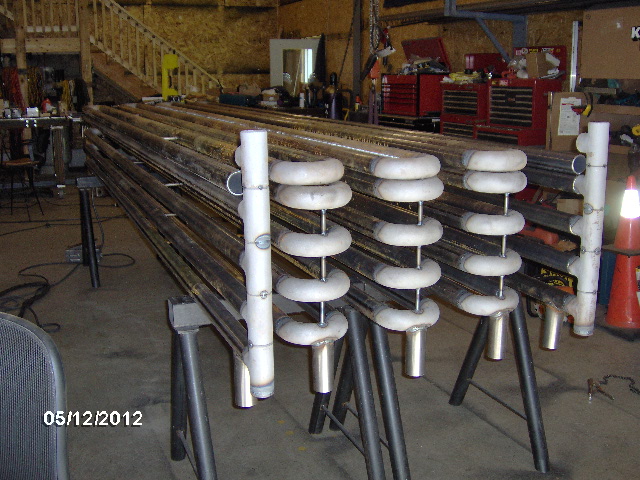
The Zamboni thawer-outer tube bundle is coming along nicely.
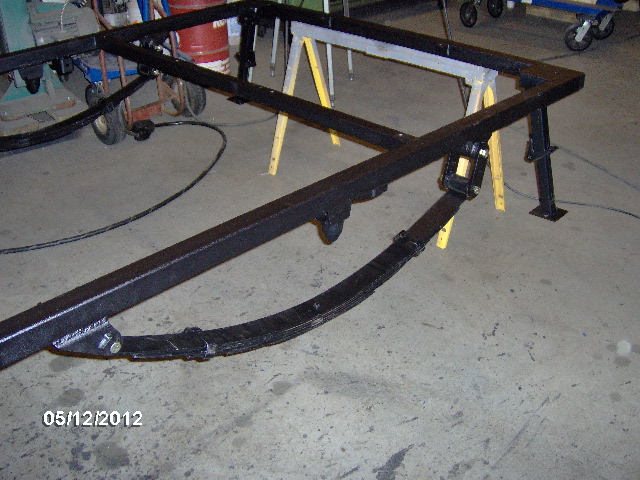
Drum roll please, rim shot, and tadah, here it is...
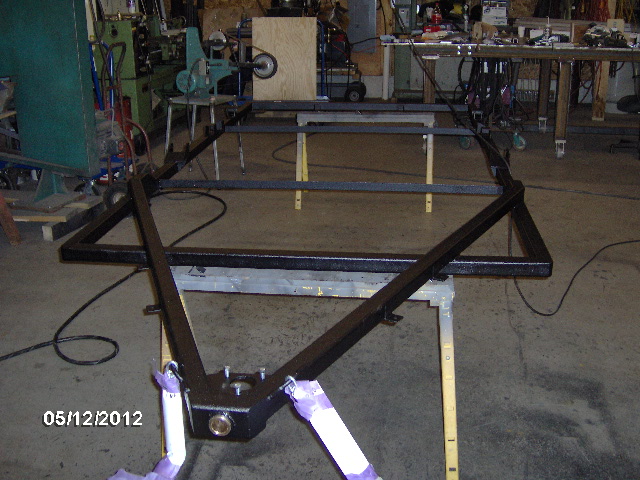
A close up of the coupler area (the camera flash makes the texture look more sparklly than it is in person).
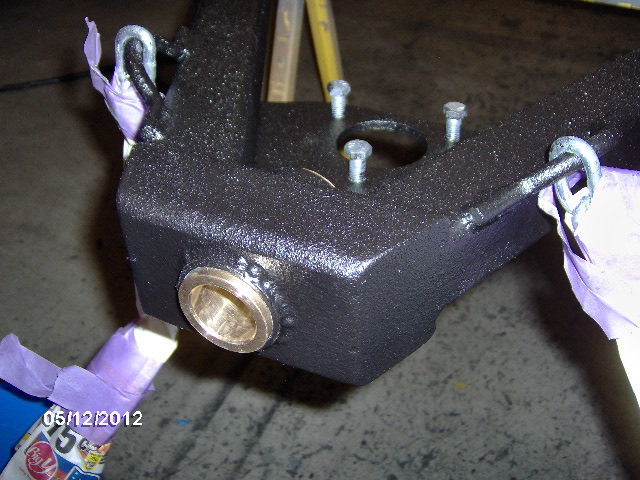
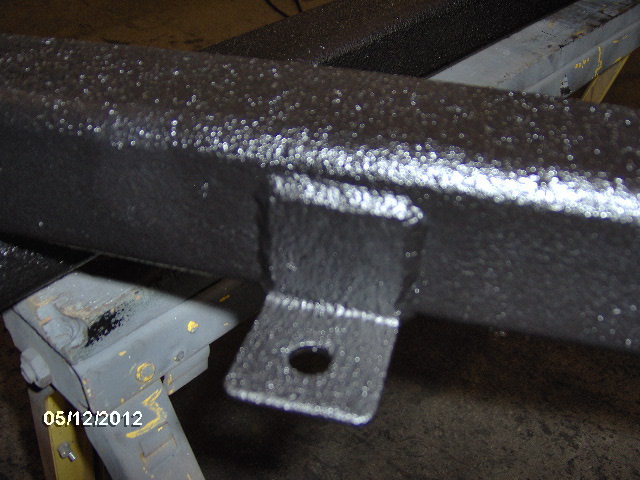
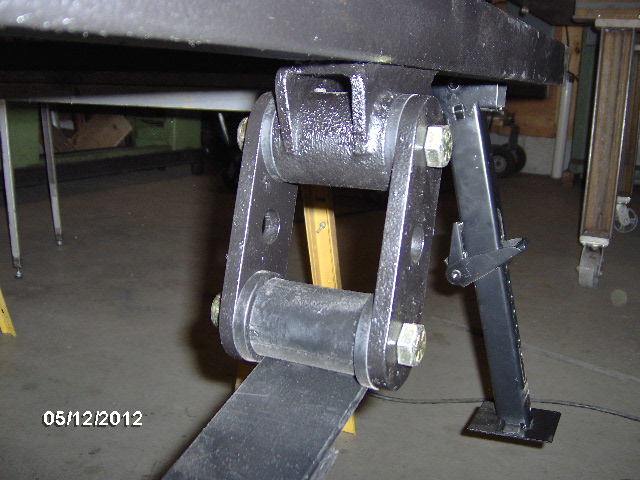
One of the tongue box mounting clips.
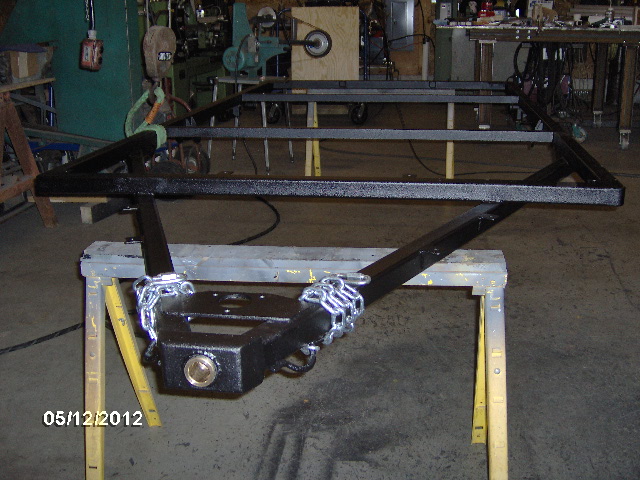
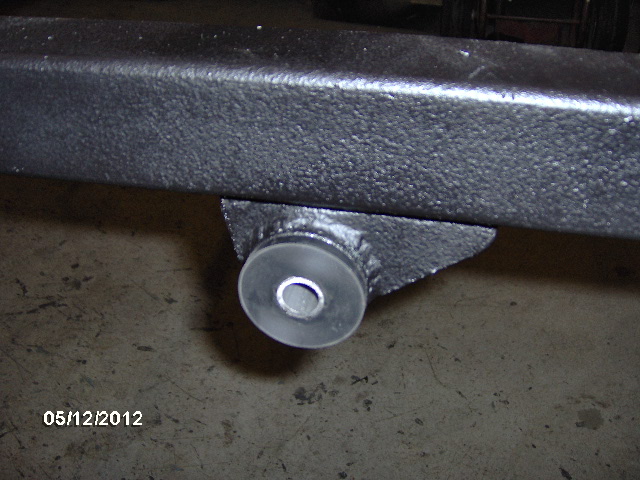
Painted underside, note the rear shackle bushing bores were masked off and left unpainted to preserve fit.
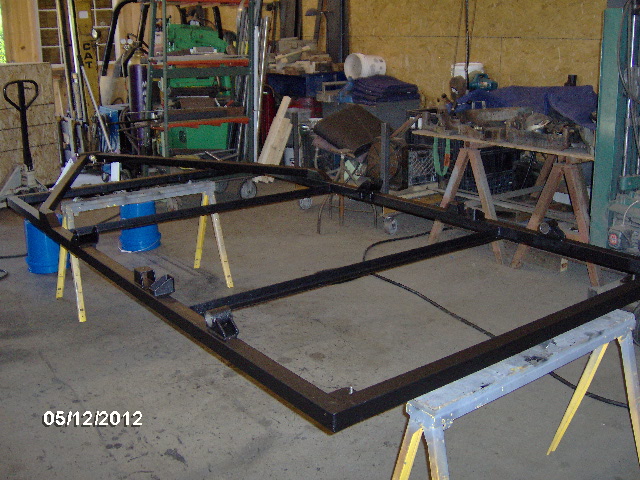
And another shot with it right side up and the masking removed from the safety chains.
Tapped the shackle bushings in with a soft mallet and put a little wax lube on the bushing tubes before tapping them in.
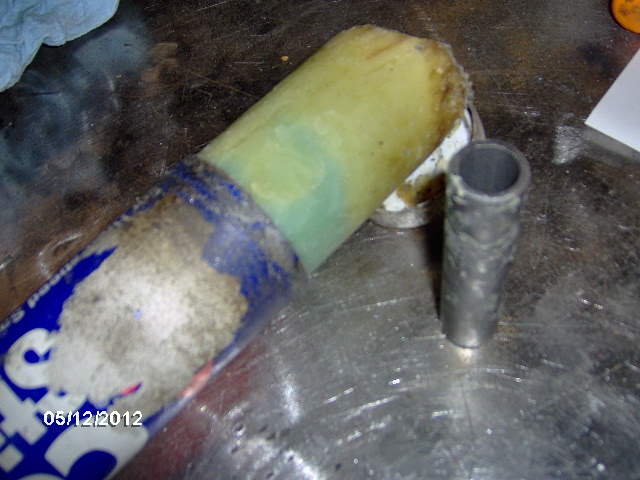
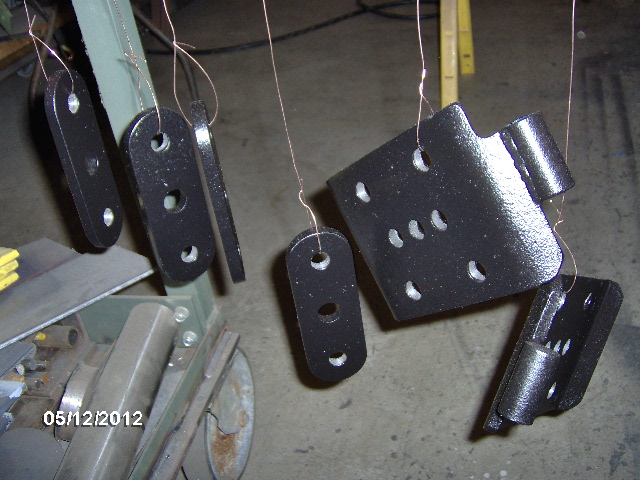
Here are the shackles and U-Bolt plates.
Trimmed the excess off of the front spring mount bolts and chamfered them on the Bader sander. I will touch up the ends of the bolts with a little cold spray galvanizing.
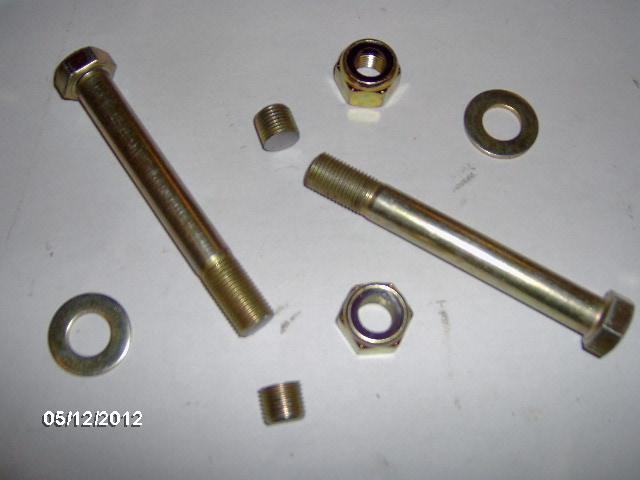
Stainless steel nylon insert nuts for the stabilizer jacks.
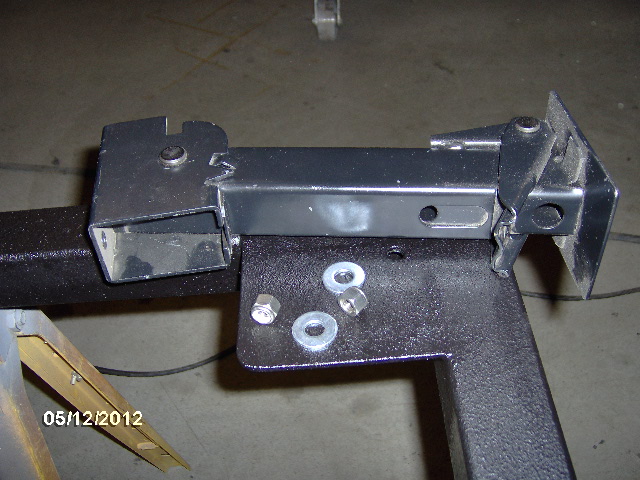
Suspension going together.
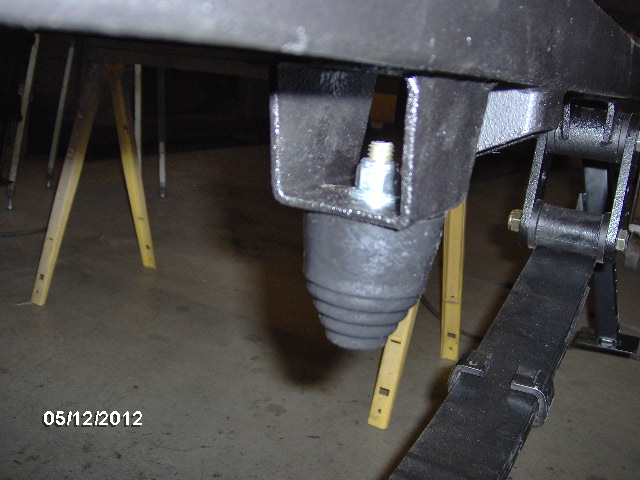
Bump stops came with nylon insert nuts. I added flat washers.
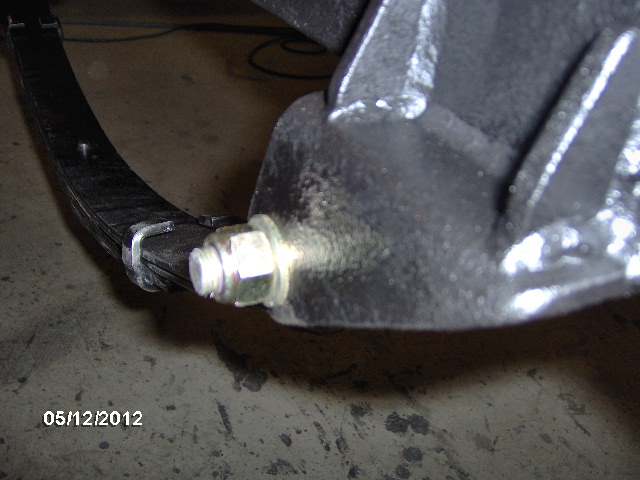
Close up of trimmed spring hanger bolt after installation.
Anti-rotation lug in use.
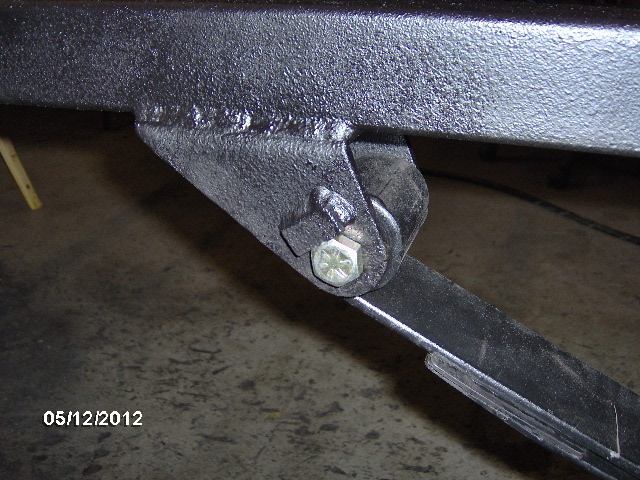
And the shackles are installed. I am considering safety wiring the nuts on these.
And now for your exclusive back stage pass, we go off topic to "The Dance Show".
Brian on the sound board.

This was my seat for many years (20+ ?) but I am now more of a stage manager.
Here's Brenden on the lighting panel.

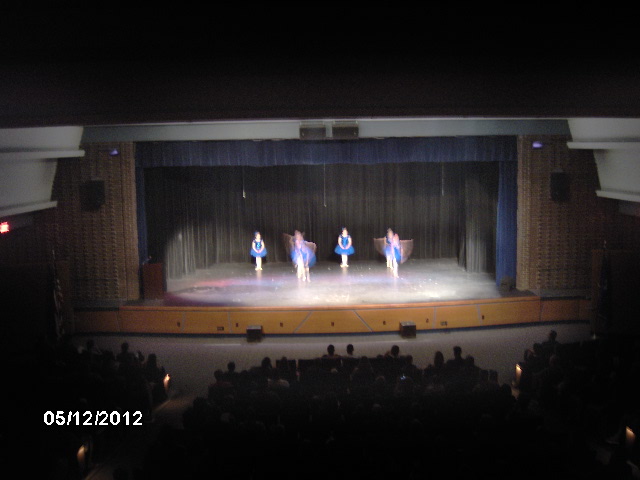
One of the ballet numbers (sorry for the blurr, no flash allowed).
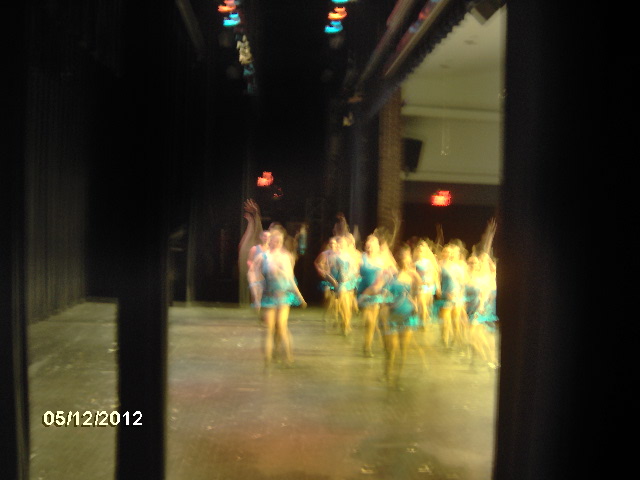
Back stage during one of the modern pop pieces.
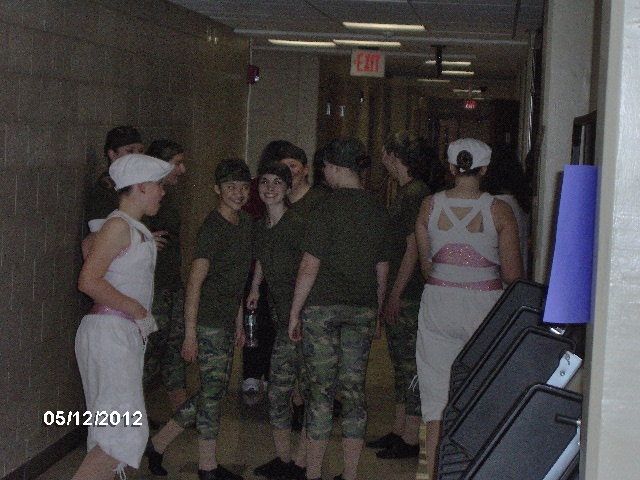
Dancers in costume in the wings.
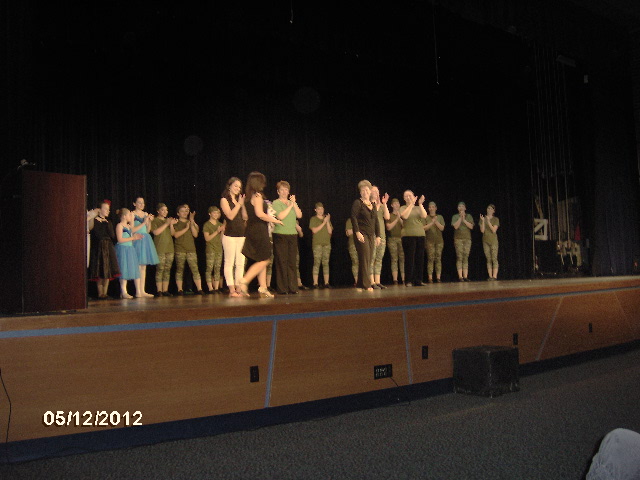
And the final bow.
And now back to our regularly scheduled program.
I got up this morning and ran around to several of the real lumber yards in the region finding three of them to be closed before I remembered that it was Sunday. DOH. Back to Ho-De-Po.
Do you think that you can find a couple of 2x sticks of lumber with no knots, checks, cracks or twists in them?
Miriam (Our Aunti M) had suggested in another thread that longer wider boards tended to have less knots and twists, and would warp less after cutting, but no matter what width or length boards I looked at they all had lots of knots. I decided that if I was going to have to work around knots and have that much waste I would just stick to the fir 2x4's. This worked out better because after picking a few boards out of the pile at the home center and hauling them to the table saw at work, I was able to further improve my selection by swapping some of my boards with better ones from the stock pile of some twenty boards on hand there.
Made another feather board from some scrap and here is a shot of the set up.
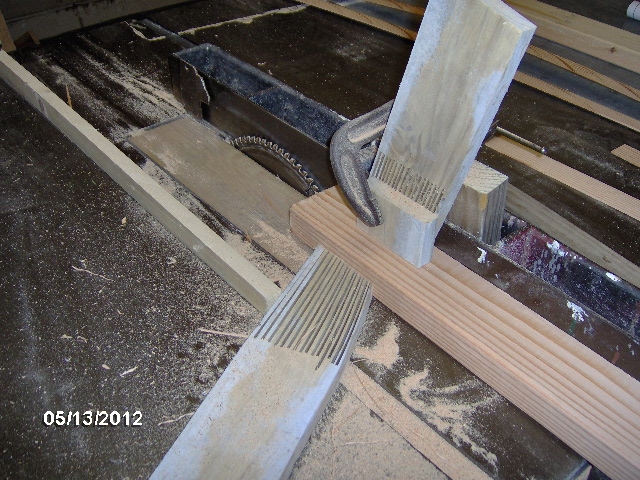
The guard had to come off in order to get the fence to within 1/8 inch from the blade, but with the fence this close and the feather boards out front, there was no fear of accidentally getting into the blade, plus I used a push stick to get the board that last way thru the blade.
Here you can see the first couple of slats. One to get rid of the radius edges, and the next was very uneven in thickness because the board was not straight. The two shorter pieces are the ends that broke off at the small knots. I call these shims.
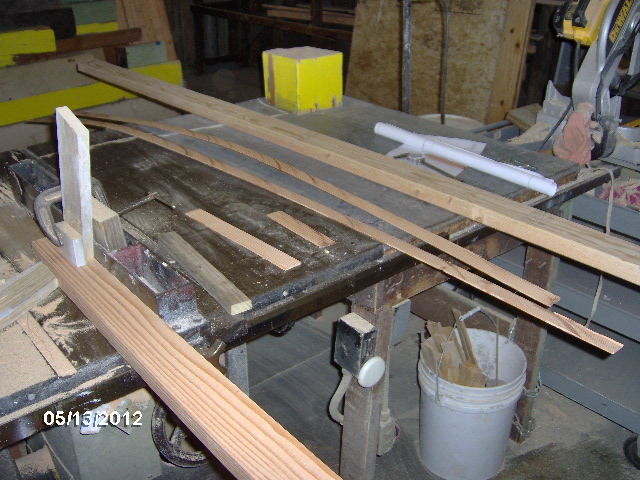
I got 5 slats out of the first board, moving the side feather board for each cut, before reaching a big knot. On to the next board that looked a little more promising.
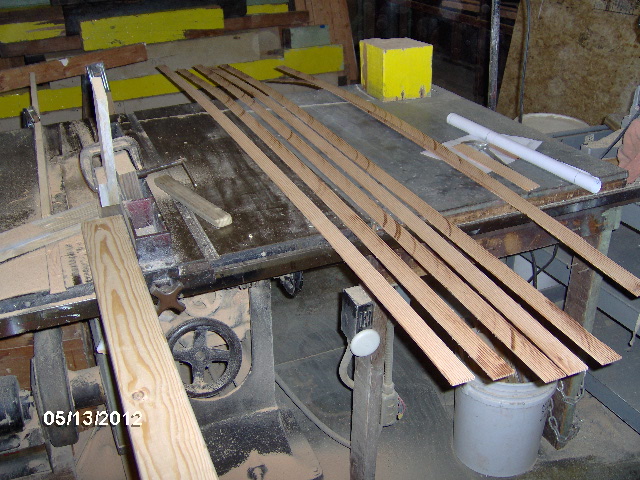
Now we're starting to get into some real sawdust! I tell you the feather boards help, but you sure have to push to get by them and the splitter.
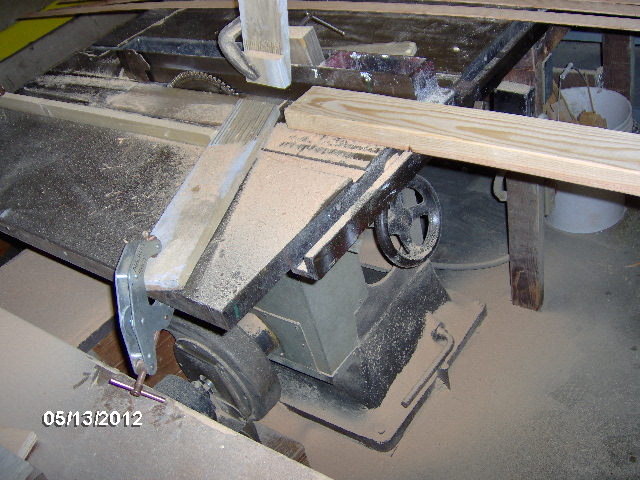
Slat count is rising. Could only use about 2/3 of the board. Even if they had not been full of knots, there comes a point where the drop starts to get less stable/too weak for pushing. Don't want a forearm full of shattered wood, so set that piece aside.
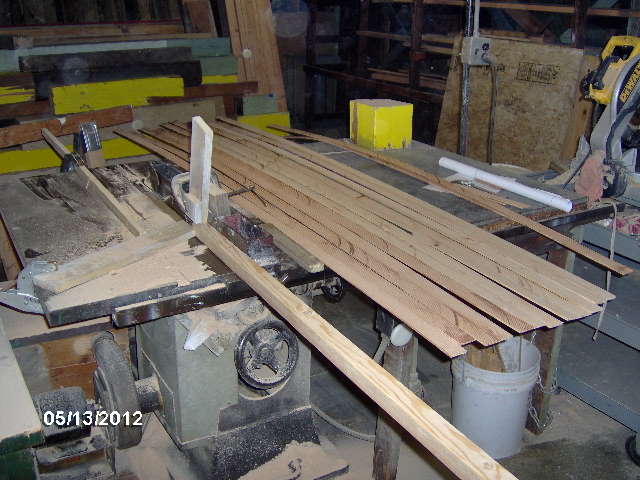
Let me just say, if you have never worked with wood, it is a living thing. It has a mind of it's own. Some of the slats are thicker or thinner. Some are a little tapered across the face from the board having had twist. Some are a little thicker at the ends from the board having a bow and not riding the fence true, and the remainders came out with noticeable differences in width from end to end. I don't think the fence was holding solid, because after a few slats they would get thicker. I had originally figured on 12 slats per cap, but it only took about 9 slats to get to the target 1-1/2 inch thickness. That means that some of the slats are closer to 0.200 thk, so I may have to soak them down after all (ain't going back to do anymore of this than necessary).
The forecast is calling for more sawdust.
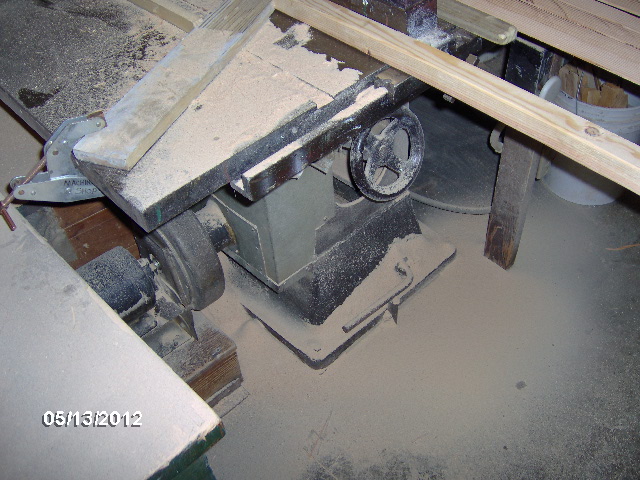
End result, a stack of slats.
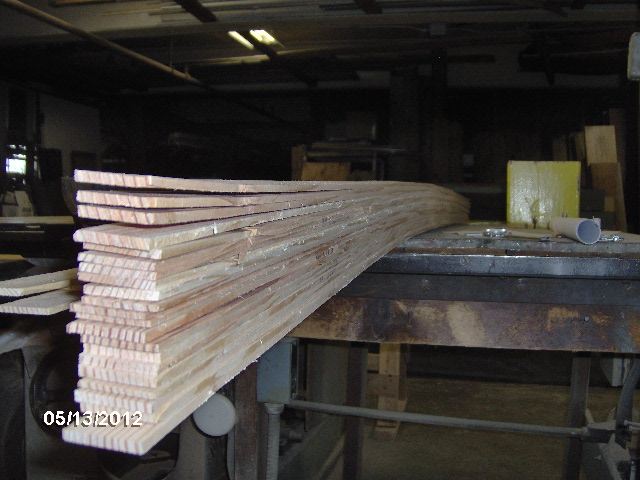
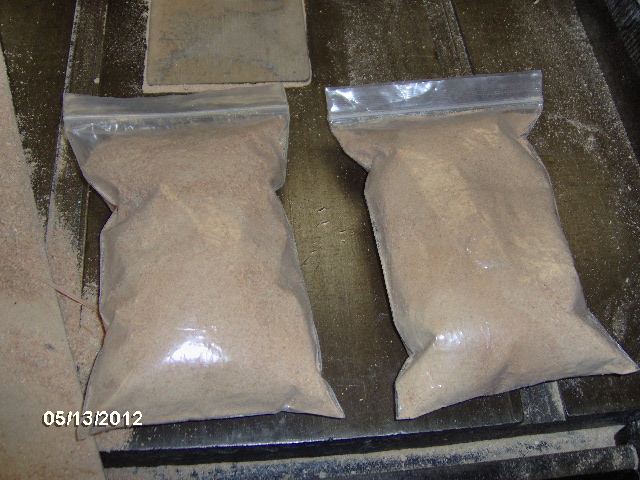
During the "clean up after yourself" phase I collected up a couple of zip lock bags full of sawdust to be used as filler later, if needed.
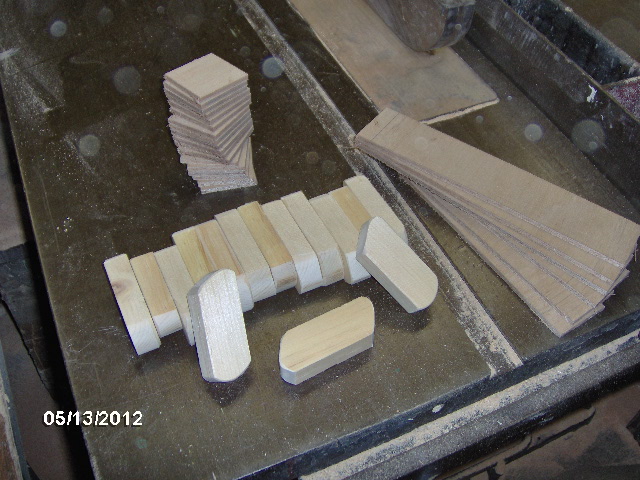
Then I found a small scrap of 5 mm underlayment and made some shims for the jig. Also cut a small piece of pine into clamp blocks. I cut these on an angle and rounded the front end to a small radius, and the rear end to a larger radius. Kind of an experiment with the thought being that the small end will locate the work without influencing the line of the arc, while the big end will be more forgiving of clamp placement perpendicular to the arc of the slats even if the blocks are not screwed down perfectly square. We'll see if it works. I'll probably have to remake these out of thicker material for more even clamping.
And that was it for today. Went and got cleaned up and took a nice dinner up to my Mom's place for a visit on mother's day (dropped the slats and jig parts off at Mecca on the way).


 from 2007
 grrrr!!! Best prepare for that as Much as Possible .... it’s gonna happen


 )
)