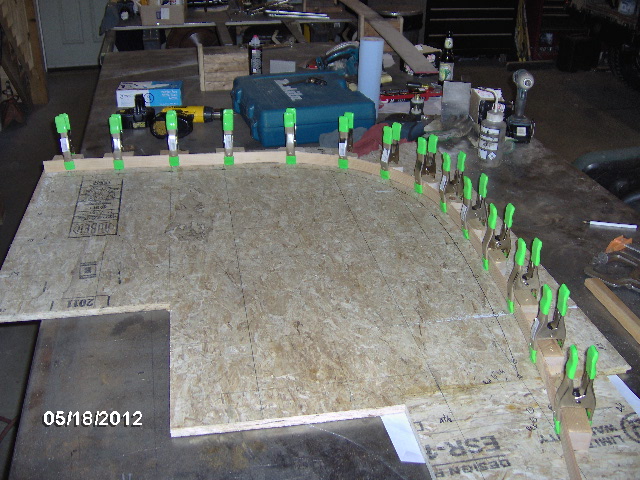
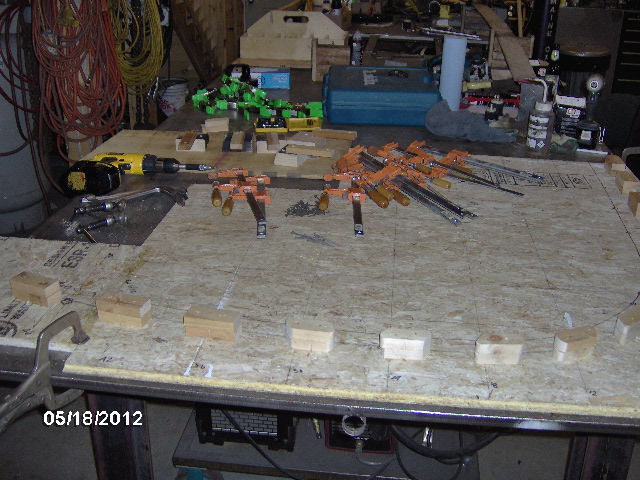
On Friday I pulled the clamp and temporary clamp dog blocks off of the jig board and extended the layout to include the last couple of blocks. You can see the slat that I clamped in to confirm fairing.

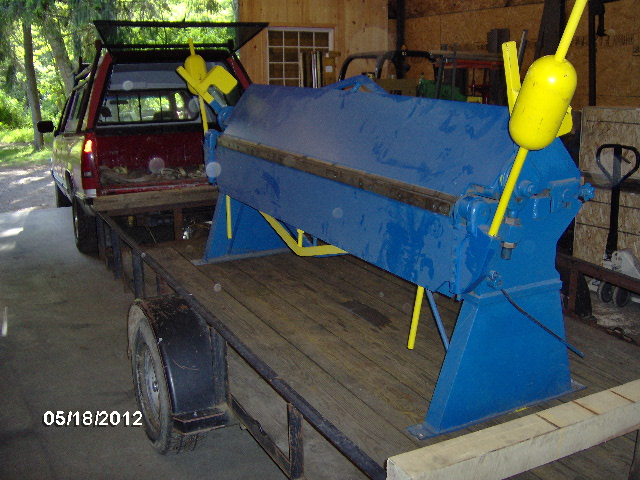
Apparently Karl did quite well on the sale of the positioner and some other auction items, as there was enough funds to cover a new 8 ft x 14 ga sheet metal hand break. It's in really good condition and he got a very good deal on it.
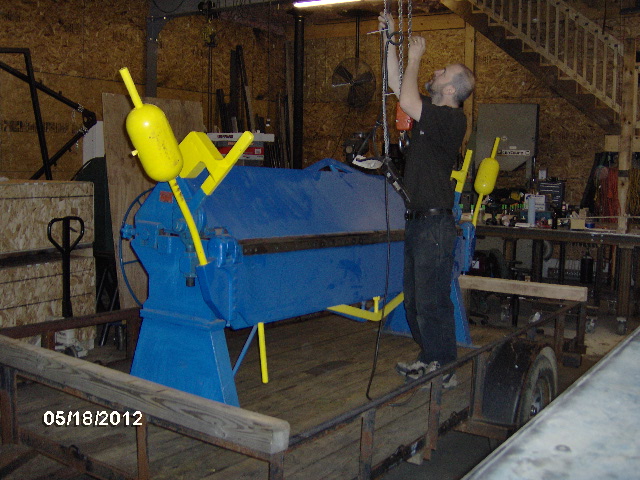
(It has legs?)
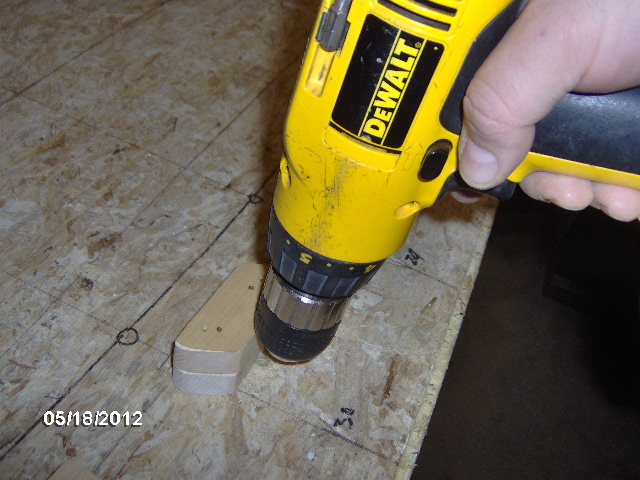
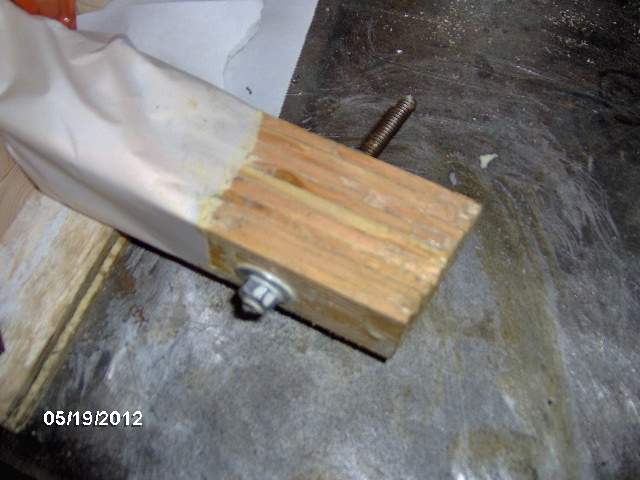
The clamp blocks on the laminating jig were nailed down with the pneumatic finish nailer, but they were still a little flexible, so I wanted to screw them to the jig board from the back side. Rather than do the whole lay out again I just drilled a reference hole behind each block so that I could find them on the other side.
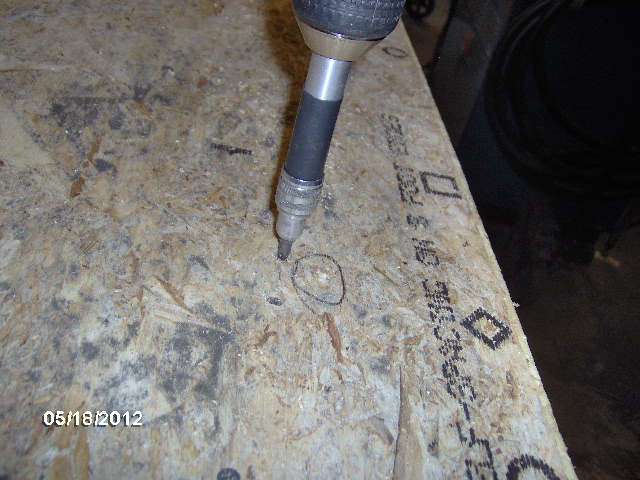
Here you can see the sharpie mark on the back where I went around and found each of the drilled holes. Used the quick change countersink drill/driver bit tool to pilot and drive two sheet rock screws into each block.
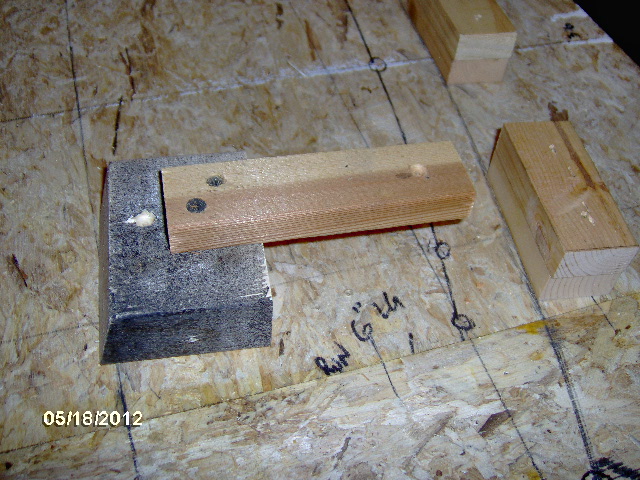
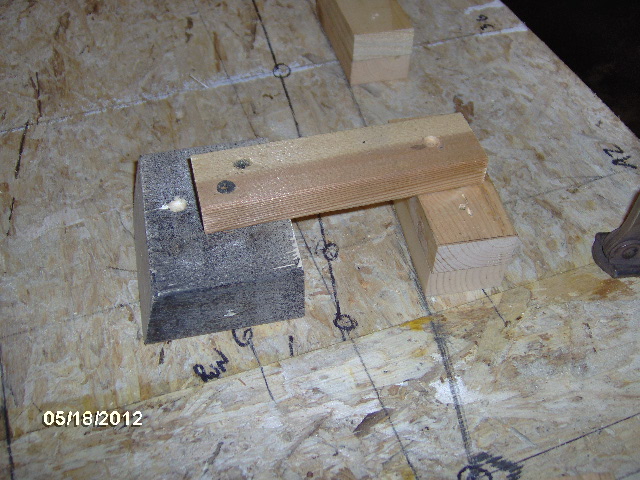
Then I made up a few of these dog down dogs that would hopefully help keep the slats in align if they were to want to slide up due to the slipperiness of the glue.
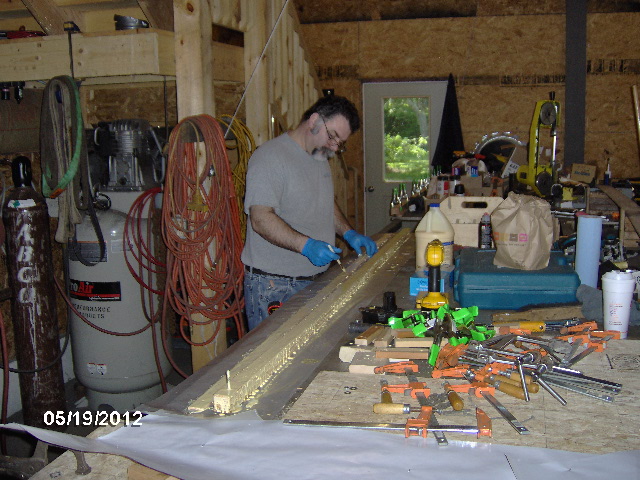
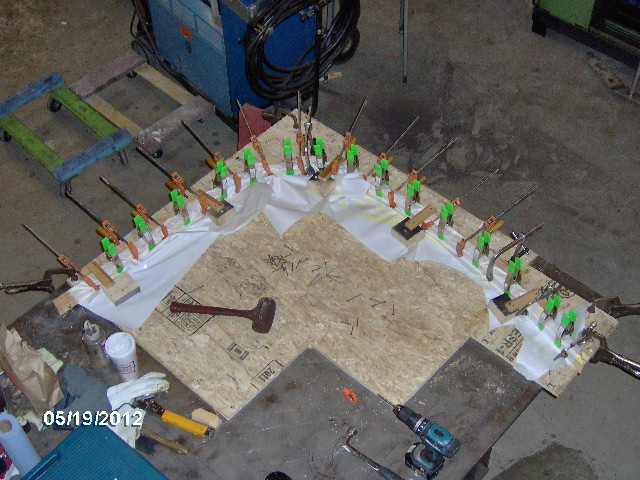
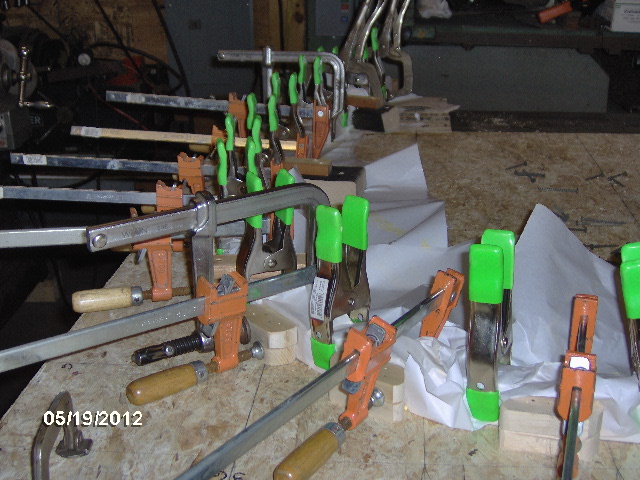
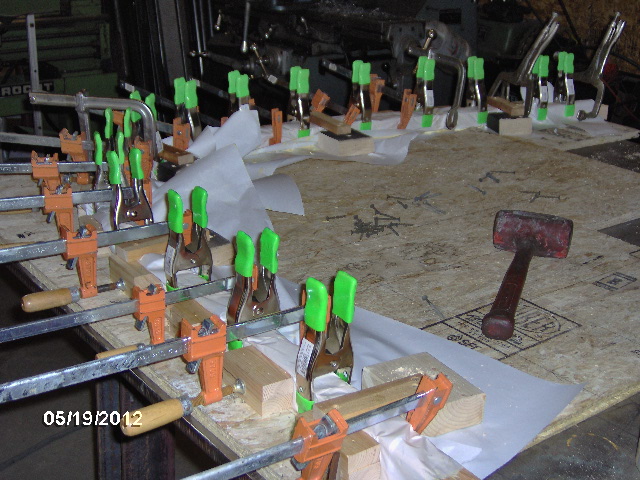
Here you can see that I have pre-fit a pile of clamps and staged all of the dogs and screws making ready for the big event; glue up.
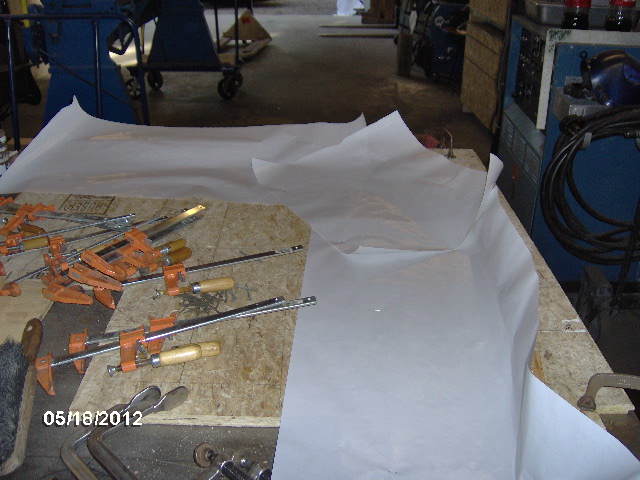
I lined the jig with freezer paper, plastic side up, tacked in with a few staples from the staple tacker (the type of stapler with a handle like a hammer used by roofers to fasten tar paper). In hindsight I should have just waxed the jig and gone without the paper. It ended up getting messy in the end.
Here you can see how I have selected and oriented each of the slats. They were not all even in thickness and had a bit of taper side-to-side. Before flipping every other slat the stack was quite trapezoidal. I also made sure that any that had knots near the end were at the far end where they would be trimmed off later (slats with knots in the middle were rejected previously). The threaded rod was pre-fit and used to keep one end aligned during the glue up, per Rover Mike's recommendation.

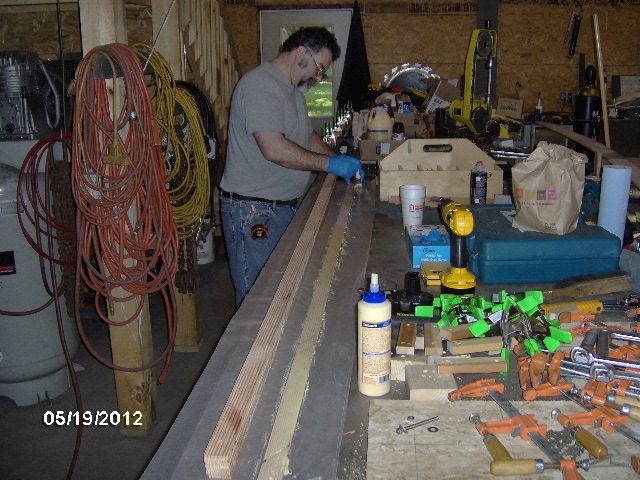
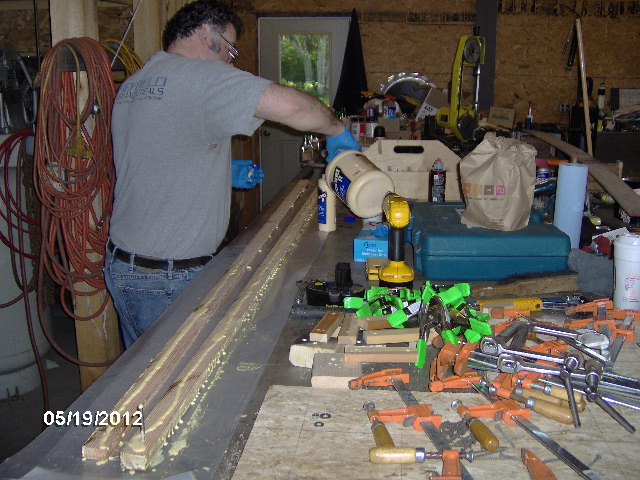
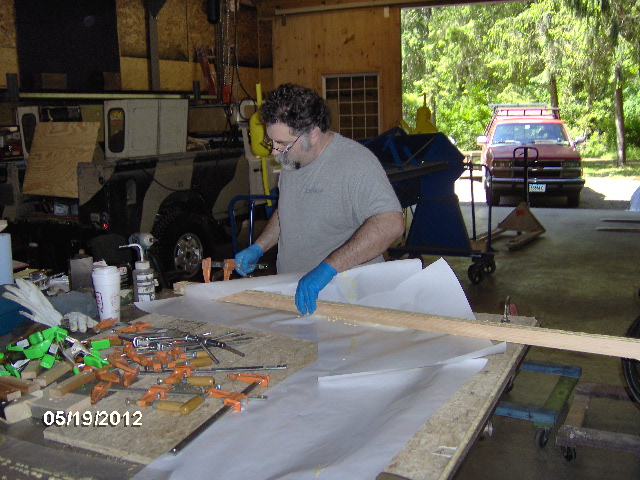
First thing Saturday morning I laid out a long strip of waxed paper on the bench and started running glue down each face of all of the slats. Spread the glue evenly with a cheap brush to insure full coverage.
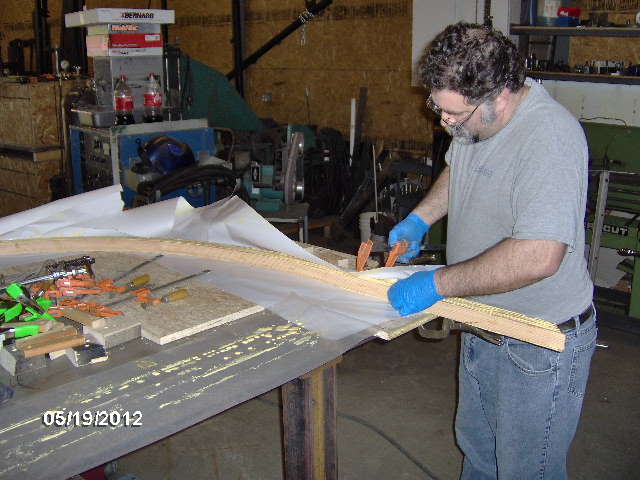
Once I had a few slats glued I started the threaded rod alignment pin and began stacking.

Here you can see that I picked up some efficiency by running a glue bead up one slat and down the other before switching to the brush. Also, it didn't take long to go thru the first pint of glue, so I was happy to have bought the gallon refill in advance.
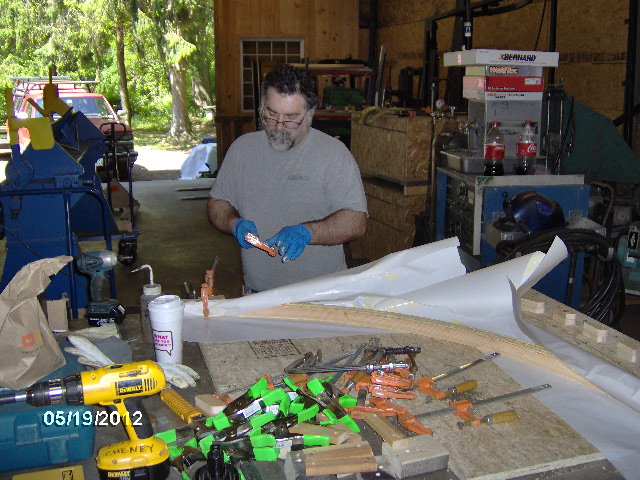
Last piece. See the pin?
Starting to "get jiggy with it".
Just reigning it in loosely to start.
Karl was a big help taking pictures of all of this (I had glue on my gloved hands), and shortly started helping by pushing on the free end to help force it into the mold while I clamped. Started at the top end and worked my way around toward the bottom.
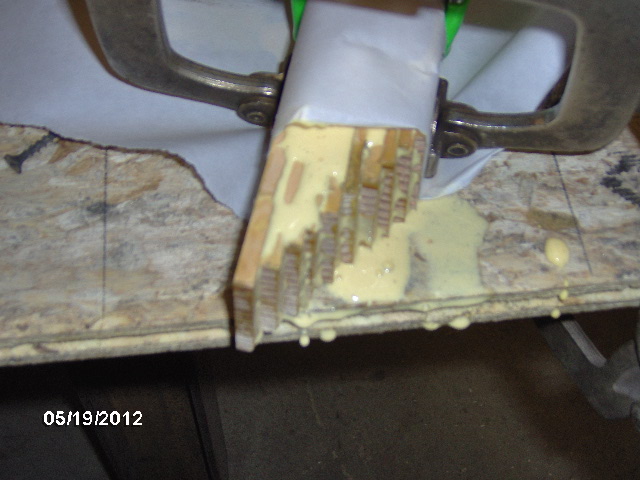
After the bar clamps were snugged up I went around with the big rubber dead blown hammer whacking the slats down against the jig board while Karl followed screwing the dogs down. Then I went back and added the spring clamps between each clamp block while also wrapping the paper over in an attempt to keep glue off of the clamps.
Here you can see the splay in the free end.
Got clamps?
Here's the top pinned end.
Next I went around with a drywall screw tearing away the extra paper and wiping up the excess glue so that the air could get to it better. Wish I had just waxed the jig well and not used the paper.

Here's a close up of one of the dog down dogs. The slats had some curve to them so they did not all lay down perfectly even, but it shouldn't be too hard to plane the high spots down and the corresponding lows on the other side will either be filled or covered by the galley inside wall skins. After discussing the idea of offsetting some of the slats to act as built in trim for the galley side skins with Karl, I decided that that would add unnecessary complication and would throw off the template profile by an indeterminate amount, so I just did the lay up straight and will seal and paint the plywood edge black to "hide" the end grain. Karl's rationale, "It's just a camper."

After all of this, the sawing, jig construction, glue up, clamping, etc., I have decided that I am happy to have tried this technique. It is intriguing. But it is also fairly involved and a lot of work. I will do the other side this way as well, but am having second thoughts about the time that it will take to do all of the hatch ribs this way. Those will likely be done using the mitered method.
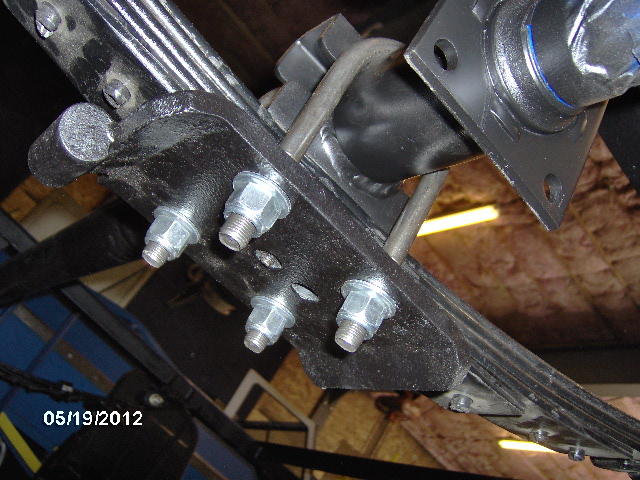
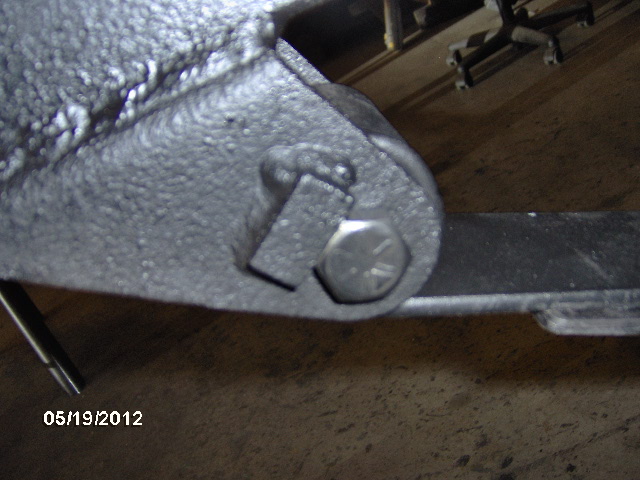
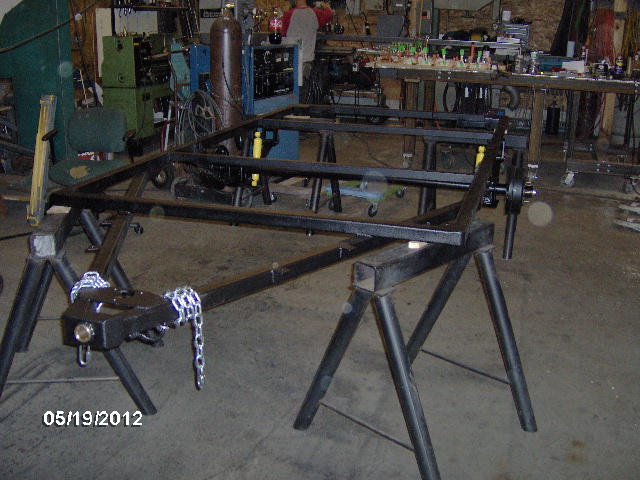
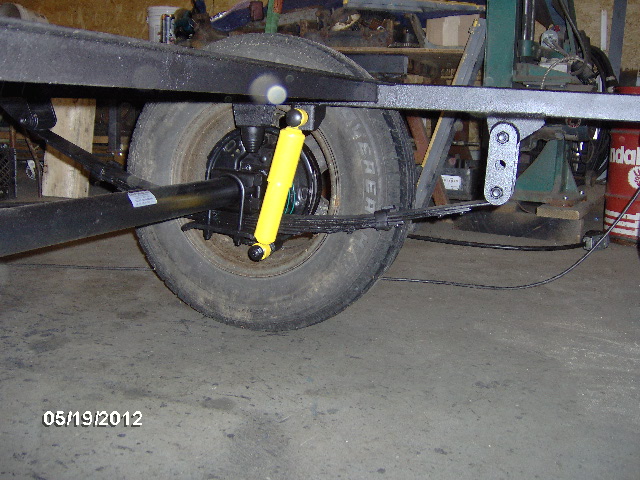
While that was setting up I moved my attention back to assembling the trailer. This is the fun part, installing all of the nice clean detailed parts. U-Bolt and axle install.

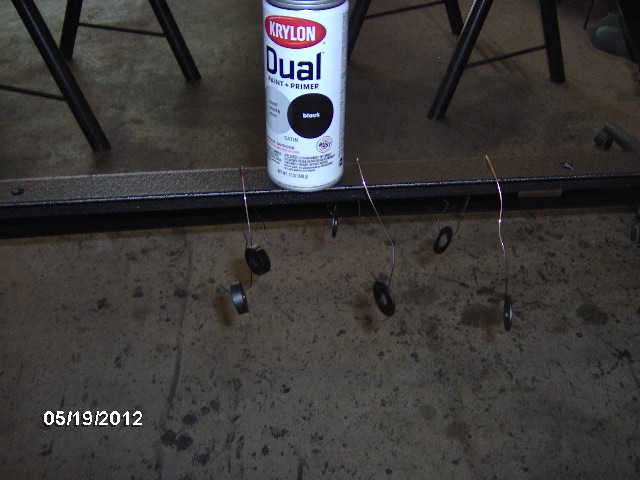
Before installing the shocks (to avoid over spray) I went around and hit the fasteners with a protective coat of spray paint.
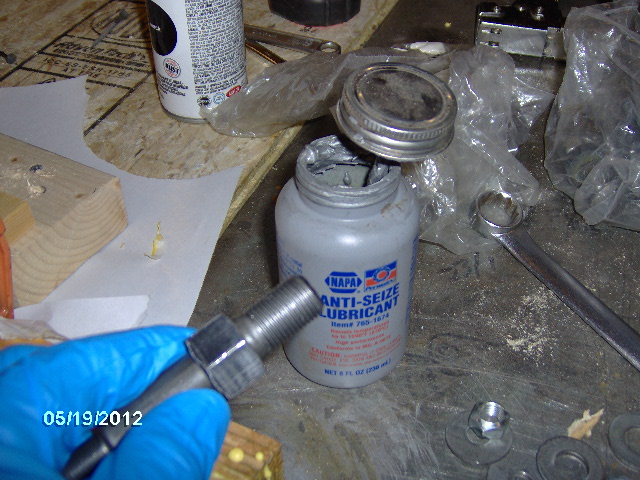
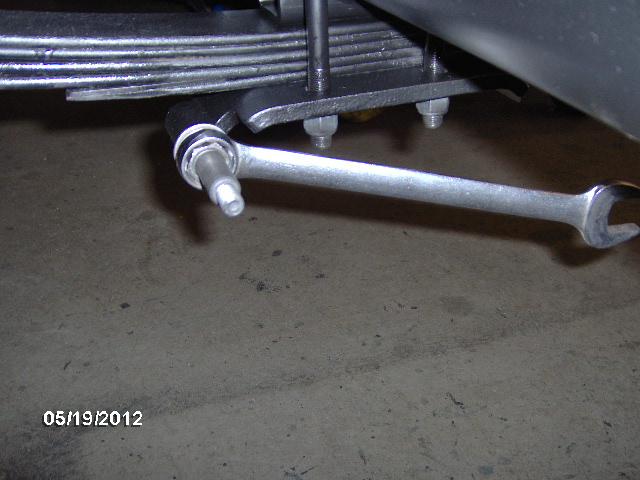
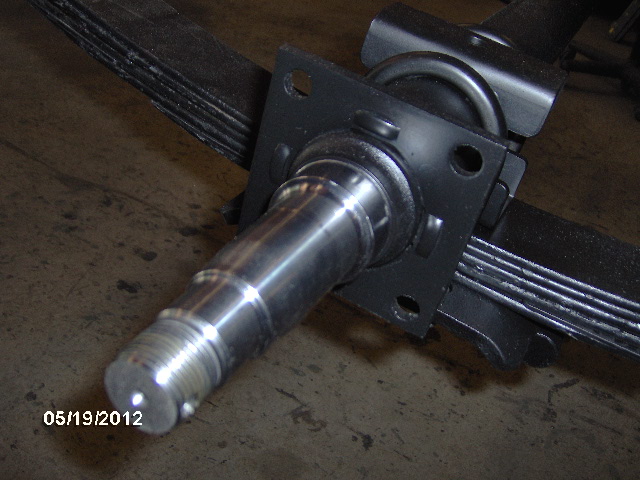
Anti-seize on the lower shock mounting studs...
Before installing.
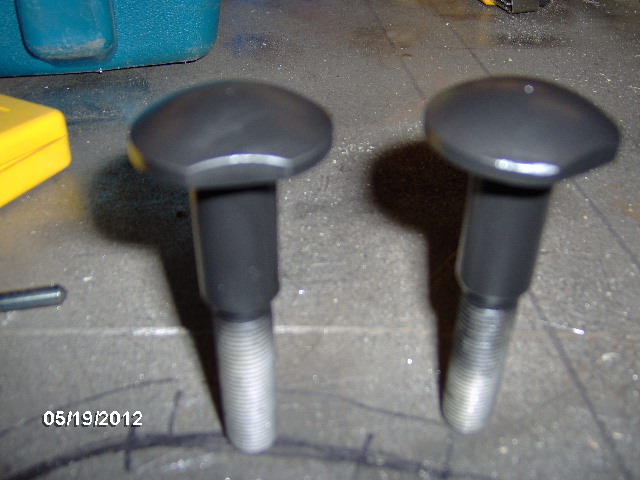
Painted the upper shock mounting studs.
And the washers and spacers.
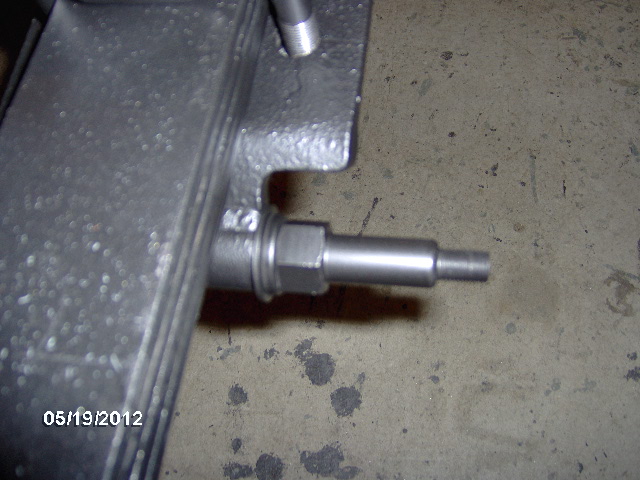
And the installed lower studs.
And all of the spring mounting fasteners (a little added rust protection).
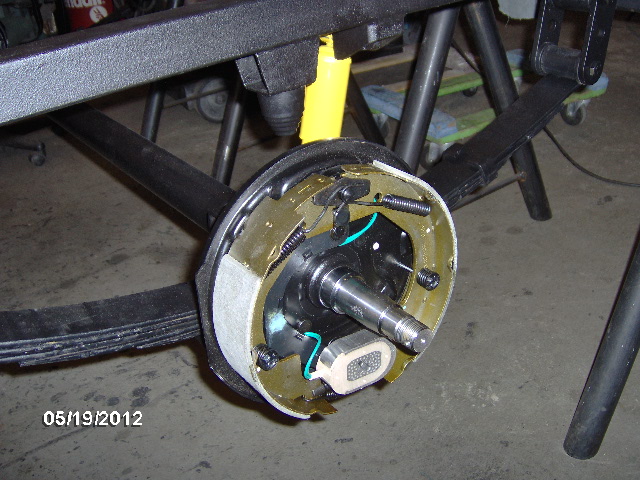
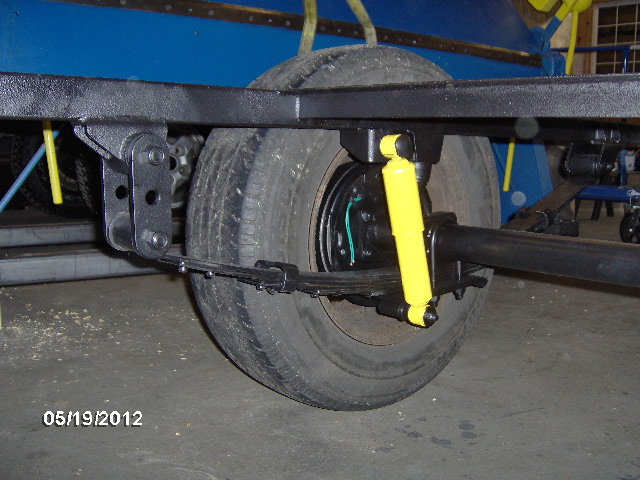
Took the masking off the spindles, removed the nuts and cleaned them up.
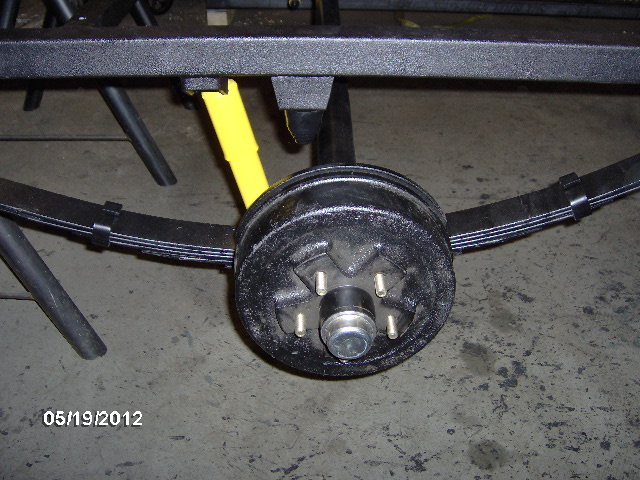
Put the brake backing plates on and painted the retaining nuts on the back side. Note that the shoe with the shorter lining goes toward the front (the plates are marked "R" and "L", but I checked anyway).
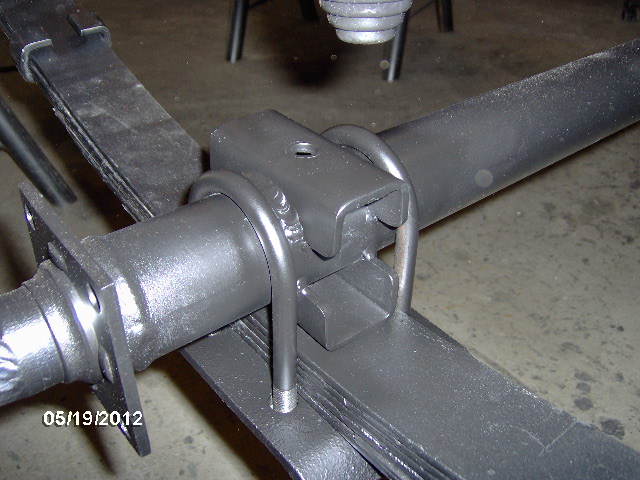
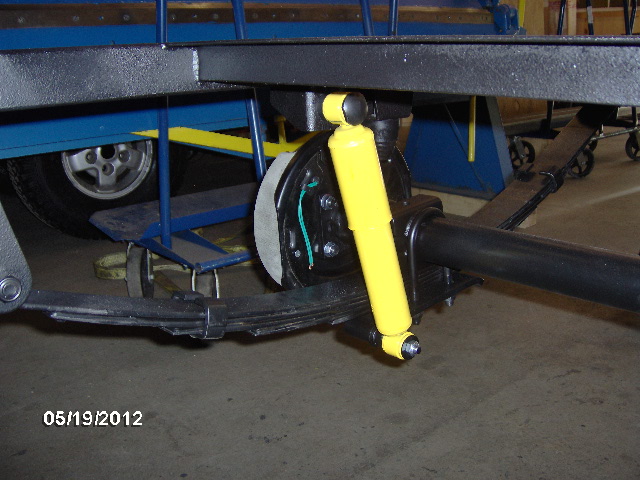
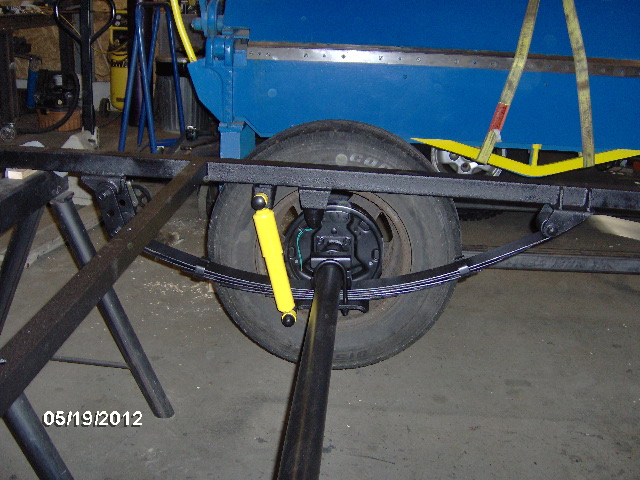
Here I have installed the shocks. Later I came back around using the brown paper sack from this morning's dough nuts to mask off the shocks and spray painted the retaining nuts.
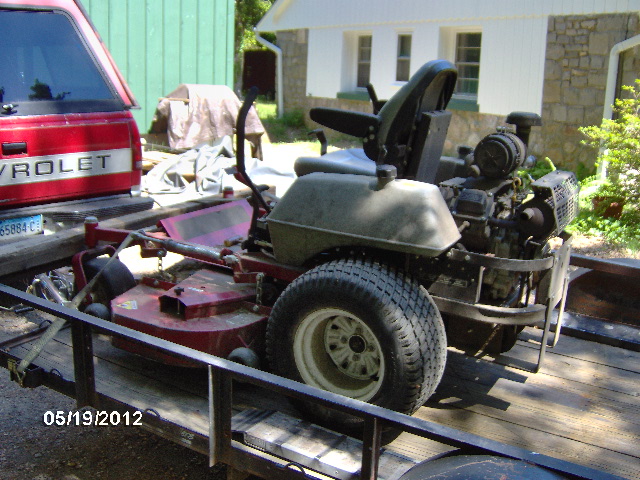
I have been spending so much time on this project and we have had so much spring rain that my lawn is now waist high. Karl offered to bring his big mower over and mow it quick (easier to throw it on the trailer and take it to the pump for gas, than it is to fill with a big jug, so might as well).
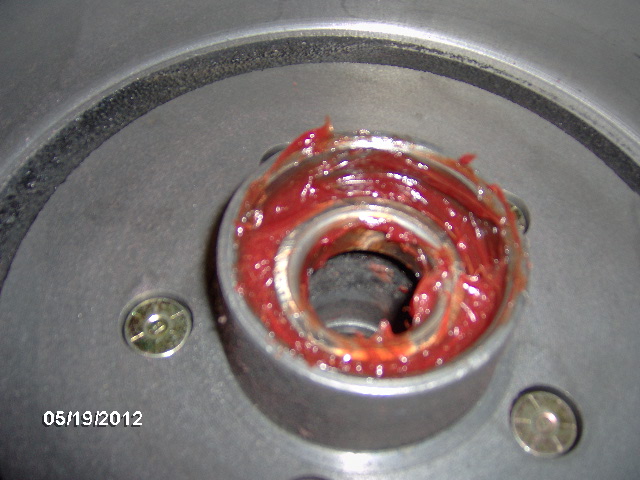
Cleaned the hub/drums with brake cleaner and hand packed the wheel bearings using the palm slapping method. Kind of hard to take pictures when you have your (gloved) hands full of grease.
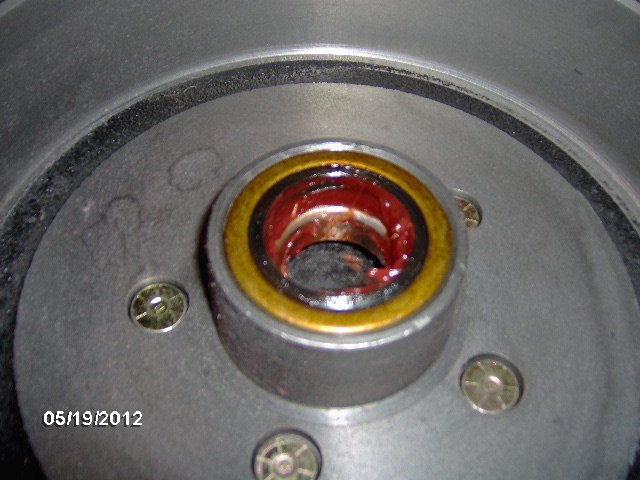
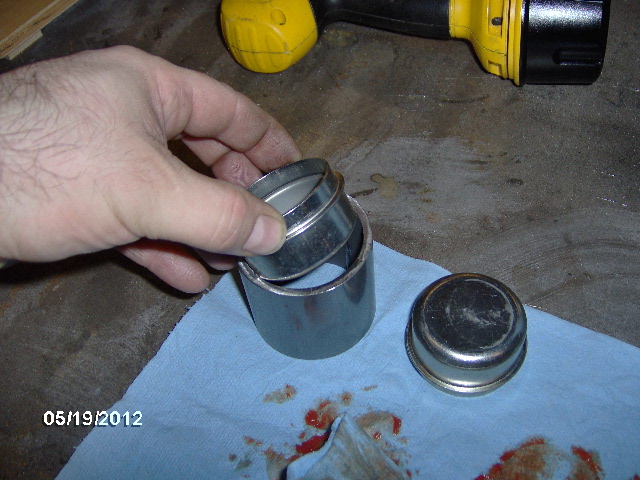
I used a flat piece of steel to protect the seal and tapped on that to drive the seal into place. Also note the grease applied into the lip of the seal. Don't hit the seal casing directly with the hammer as it will warp it and affect the seal profile.
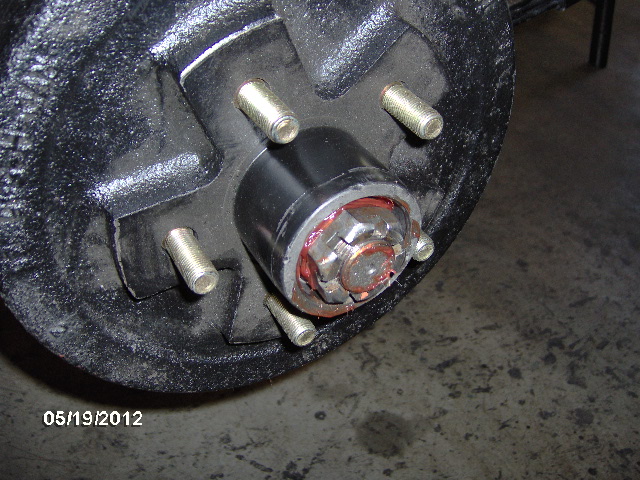
Hub, outer bearing and spindle nut installed. Cotter pin came next.
I started to make a driver to install the bearing dust caps, but Karl jumped in producing a large socket and ended up driving them on that way (my piece of pipe would have needed something welded over the center to help it drive evenly).
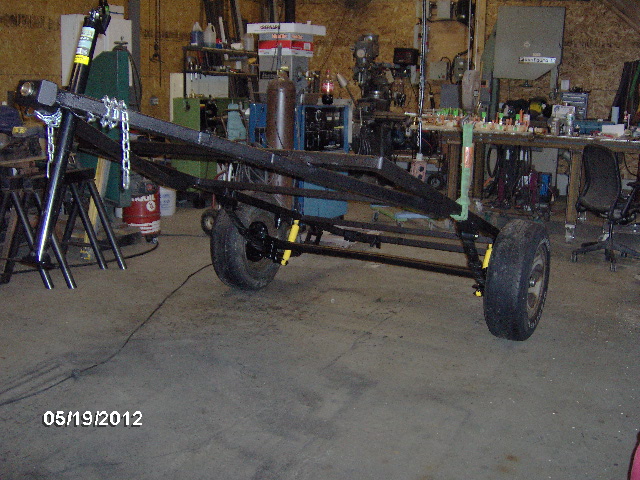
Not a very good picture of overall progress.
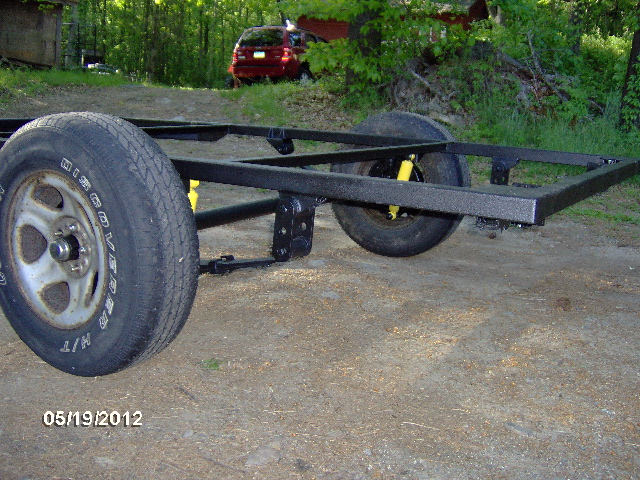
Temporary wheel and tire on. Had to remove the plastic center cap to fit.
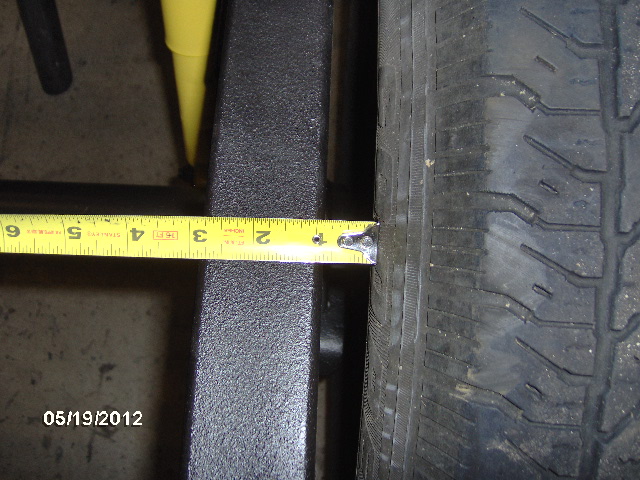
The tire clearance was a little bit more than what I had predicted, so the permanent wheels and tires, with less back spacing, should have great clearance.

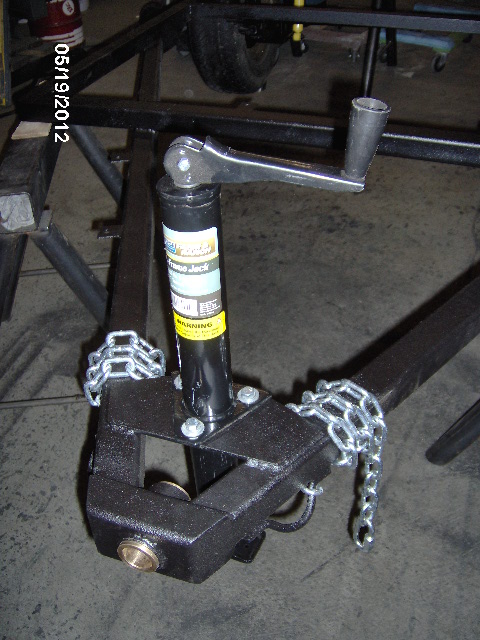
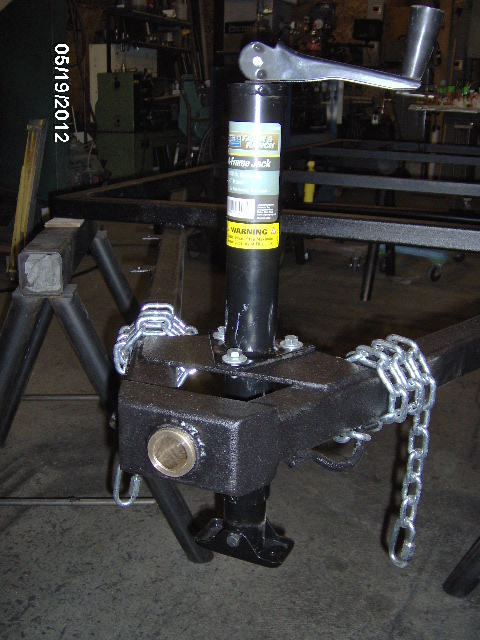
Tongue jack installed. Will probably take this back off during coupler installation.
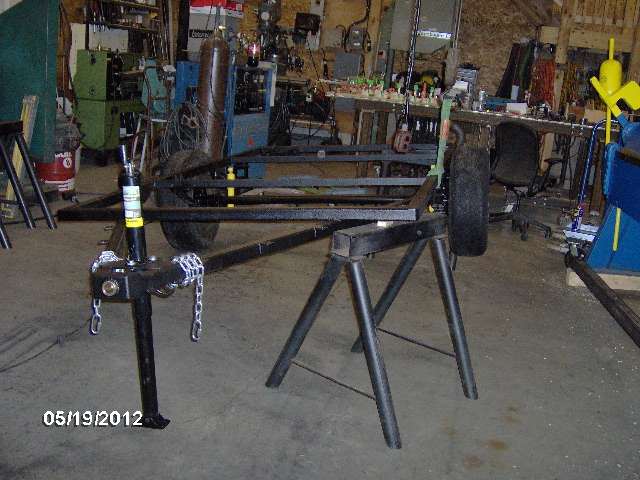
Dismounting the saw horses.
Wheelie.
The eagle has landed.
The springs immediately took a set and the shackle angle started looking much improved. Couldn't wait to wheel it out for some pictures in the wilds of Karl's driveway.
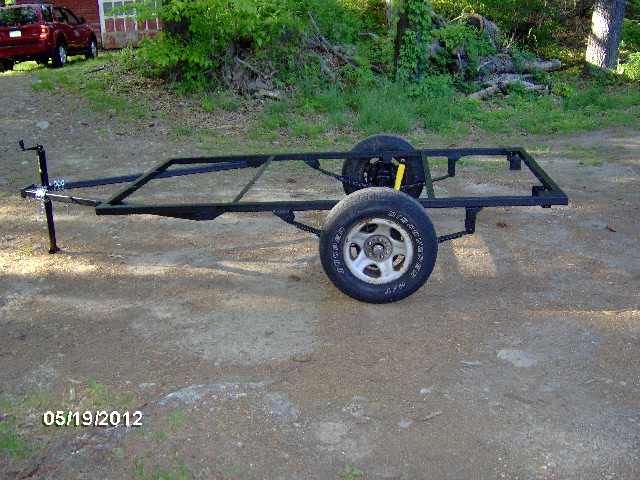
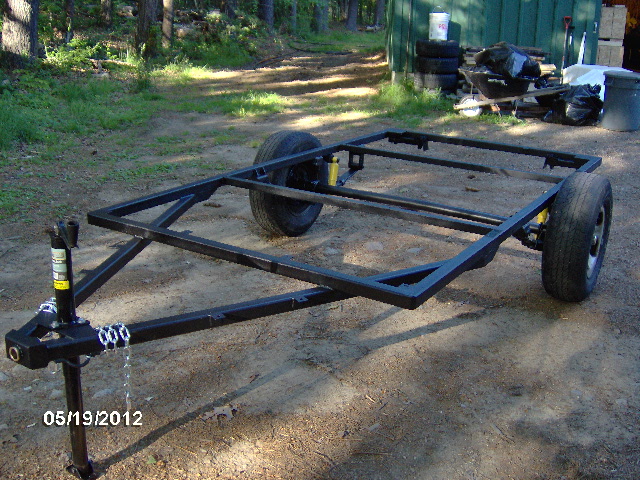
Ground is uneven, not the trailer.
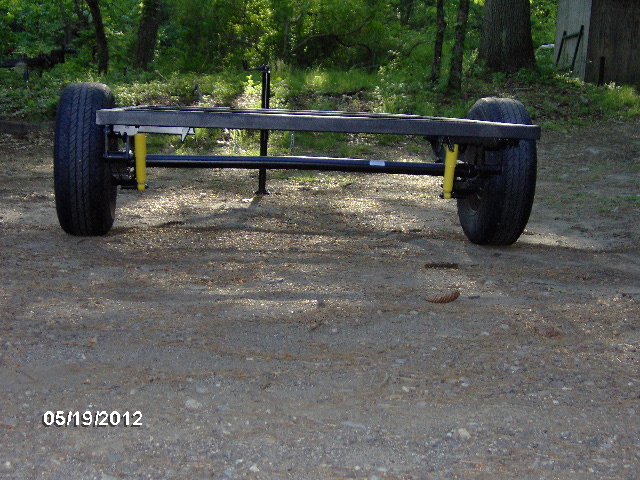
With both Karl and me sitting on one side rail (about 1/3 of total weight) we could get the frame to sit on the bump stop, so longer shackles are definitely in my future, but all and all I am thoroughly pleased with how the trailer has turned out. Looks smaller outside.
(I fell asleep last night with the netpad in my lap while uploading these pics and woke up at about 4AM this morning to finish this post, so now off to bed for an hour or so before starting again.)


 You must be getting excited to go camping. I gather that you're a wind sailor ("Oldragbaggers" kind of leans that way, I'm guessing), but you may still enjoy checking out Dales boat restoration I linked to a few posts back. He too is a craftsman to be admired.


 . Ticker says 4480 views, but who's counting? Besides, at least half of those counts are me.


 .
.