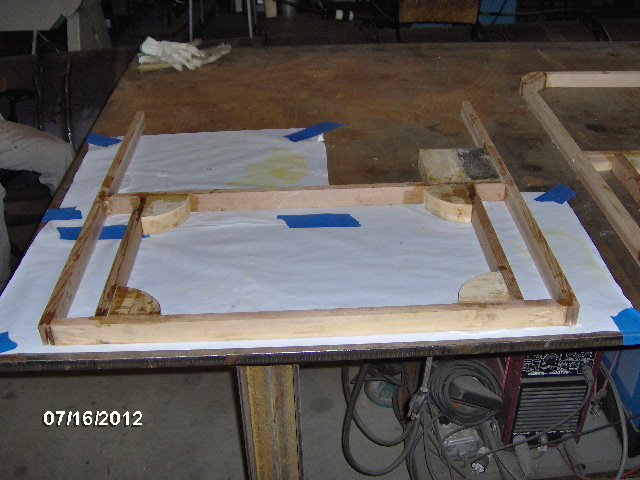
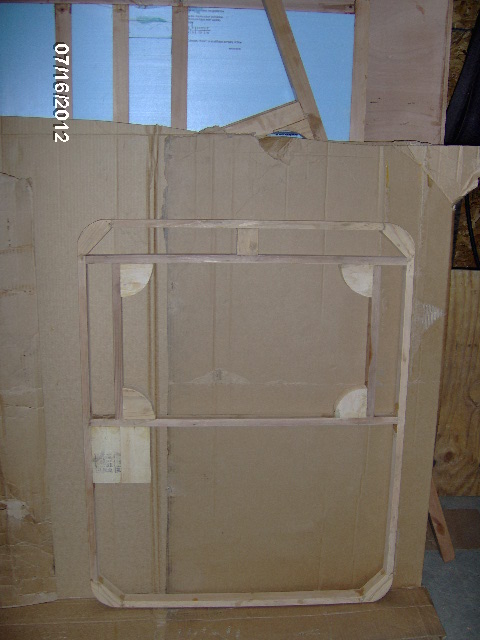
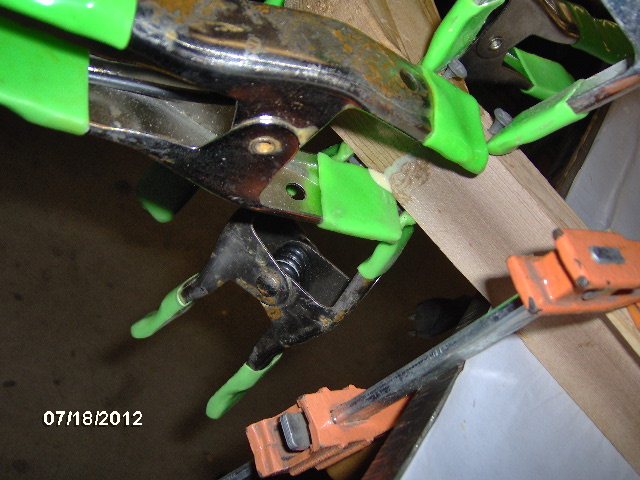
On Monday I removed the clamps from both door frames from their respective glue ups. Door Frame 1 was all glued up, and Door Frame 2 had no sill or header yet. I decided to lay Door 2 on top of Door 1 to compare.

Pretty damn close.
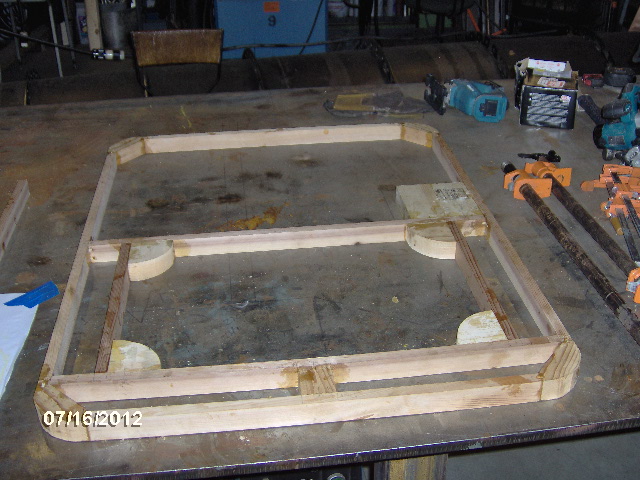
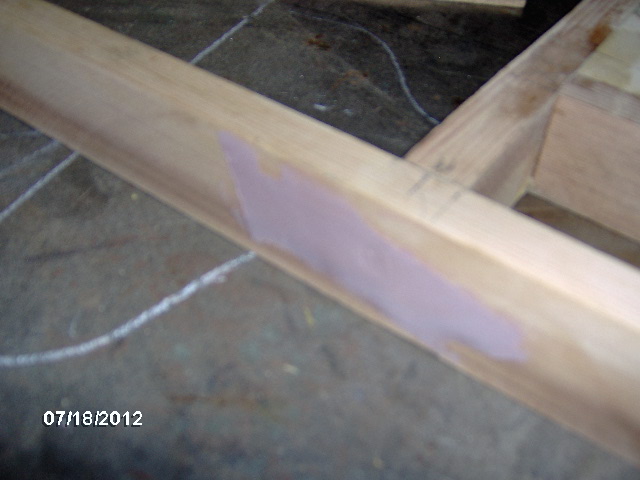
So first I scraped down the excess glue on Door 2 so that I could get the header glued on and setting.
(Shown upside down.)
While I was at it I scraped down Door 1.
(Also upside down.)
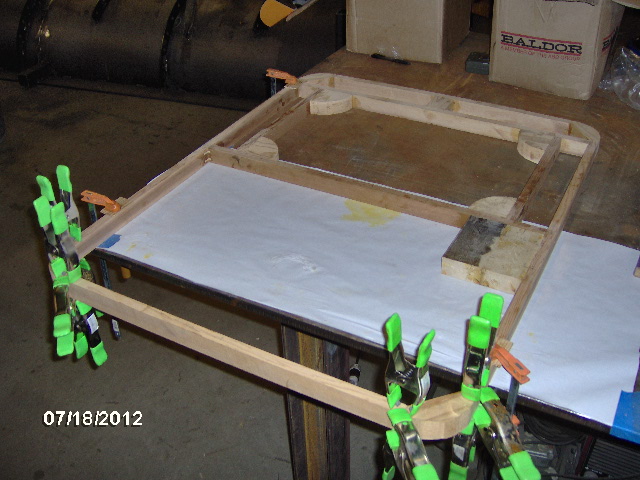
Then back to Door 2 to dry fit the header. Note the additional center block to add stability for the glue up. In hind sight I could have just done the drywall screw & spring clamp method, but I wanted to have consistency between the doors so I did the same thing on 2 that I had done on 1.
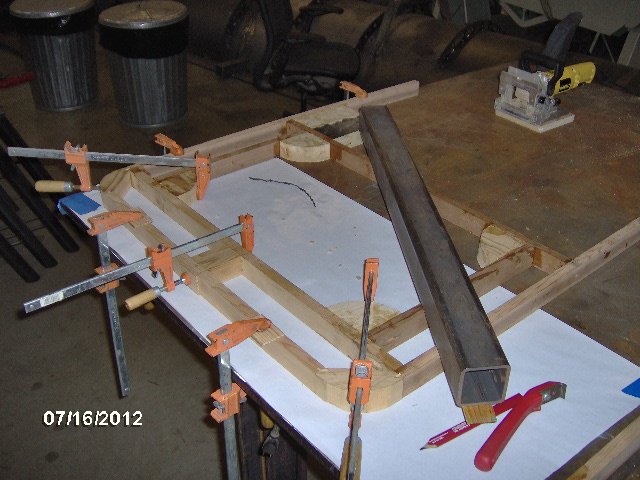
There was a little high spot on the under side of the latch block that was holding the opposite side up off of the table when clamped down, so the box tube is just weighing the assembly down rather than welding a clamp to the table.
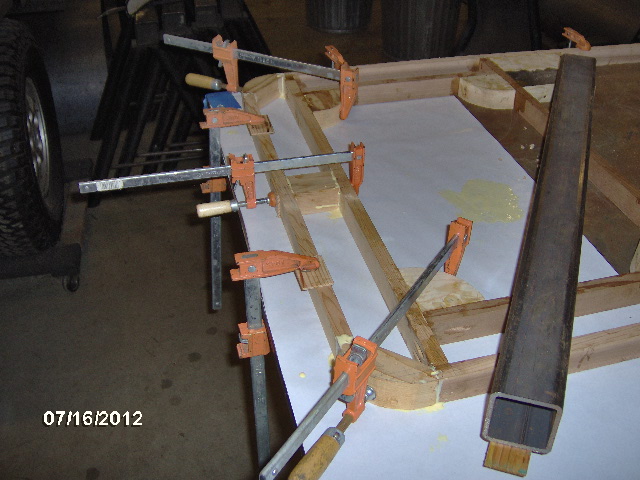
Then glue.
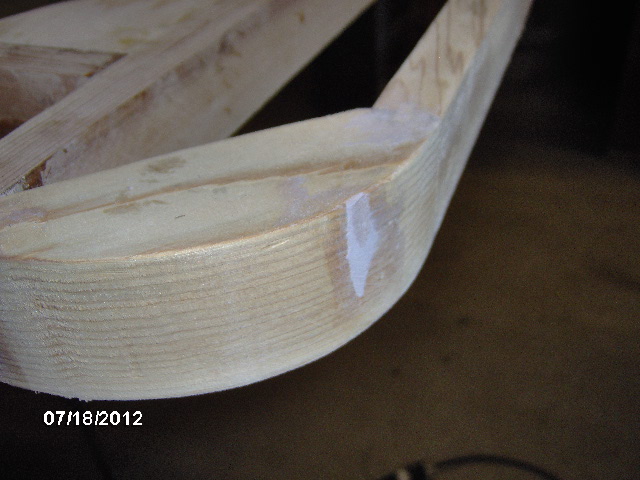
Then I spent some quality time on Door Frame 1. Smoothed all the ever so slightly off joints with the bench plane, and sanded it nice.
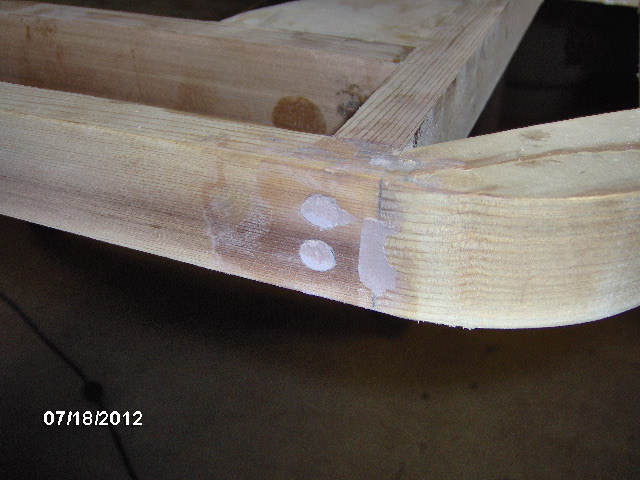
Tonight (Wednesday) I removed the clamps from Door header 2 and scraped that down, did a little planing and sanding. Here's another look at how I cut the biscuits down using the "Bob Vila" cutters.
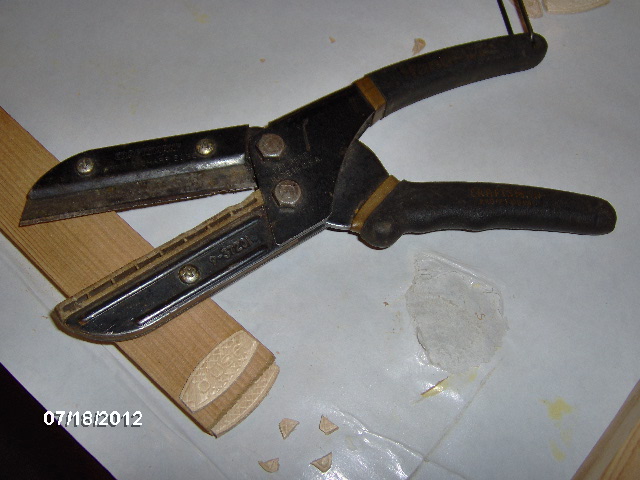
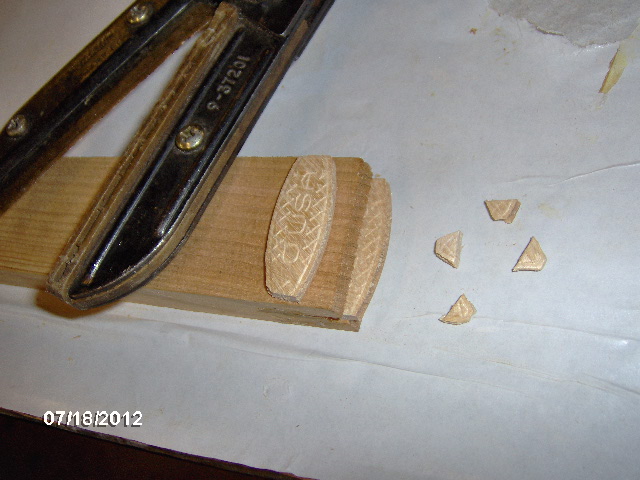
Not sure why I cut these down ahead of time because with them hanging off of the bench I could have done it later and had less to fill, but like I said, I was just repeating what I had done previously.
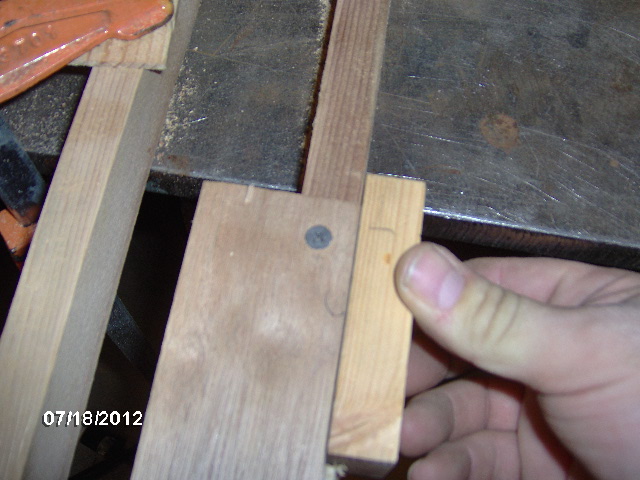
Here's the dry fit of Door 2 sill plate.
And a detail shot of the glue up.
Karl had left an open can of bearing grease with a brush sticking out of it on the bench, so rather than get myself all messy cleaning the brush off and putting the lid on the can (so it did not get full of saw dust) I just stuck a rubber glove over it with the brush handle sticking up into one of the fingers... artistic?

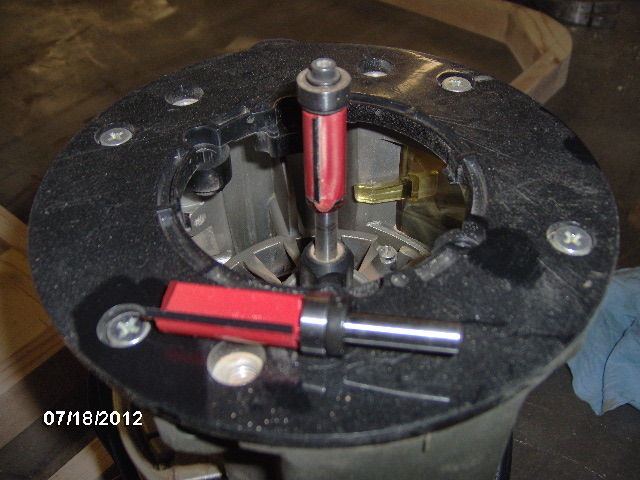
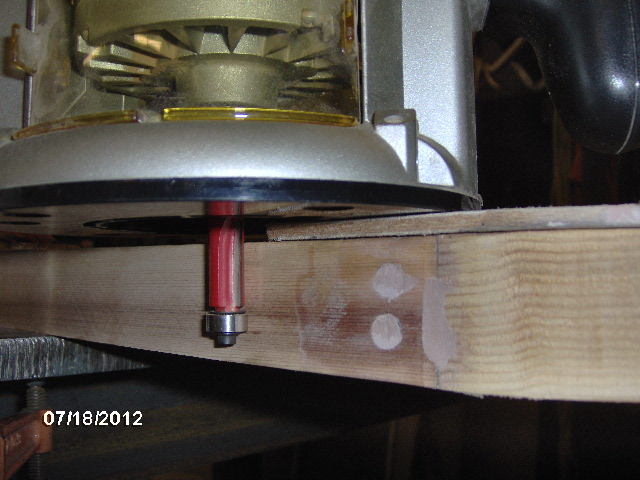
Okay, back to Door 1. Here's a comparison of the bottom bearing flush trim router bit (1/2 inch OD, 1/4 inch shank) in the router, and the top bearing bit of the same description sitting on the router shoe. Pic was taken just before swapping out the bits.
I arbitrarily started on the top corner of the door, attached the outside radius template using the double sided carpet tape and jumped right into routing the corner. Learned right away the difference between the top and bottom bearing bits. With the bottom bearing you can come in at a little angle and the cutter won't bite until the shoe is squared up. While running the bottom bearing is more stable because the bit is stabilized by the shoe at the top and the bearing at the bottom. The top bearing bit, on the other hand, is much more reliant on holding the shoe nice and true to the work. Get a little sloppy and let your grips turn off plane to where the shoe tips a little and wham, instant Eeyore! The bearing must have slipped off of the top of the template allowing the cutter portion to dig into both the corner block and the template. Oops.

About this time I was wishing that I had started on the bottom of the door where my learning curve would have been less obvious.
It can be fixed. Polyester filler (Bondo) to the rescue.
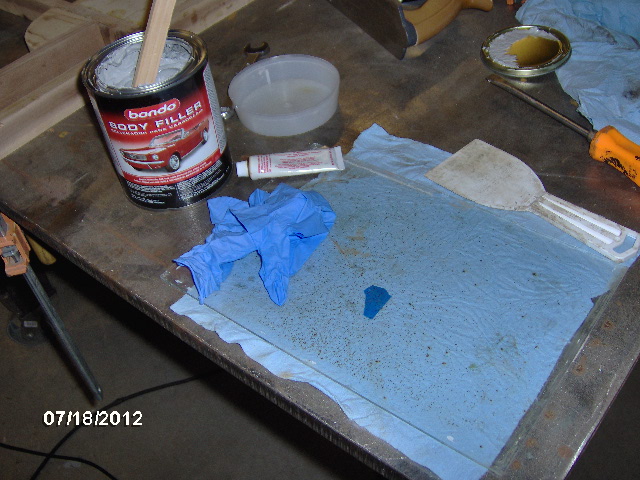
Filled.
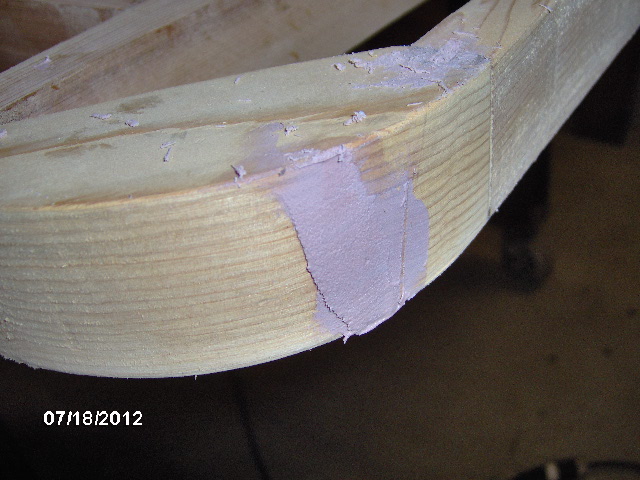
While I was at it I filled a few of the screw head counter sinks and the small voids where the biscuits didn't fill out the biscuit slots.
Rough sanded.
Then I had to fix the template. So I stuck it on with the edges sticking off just a tad, switched back to the bottom bearing bit, and ran the router around with the bearing riding on the good portion of the original trimming.
Which took care of fixing the template without having to start from scratch.
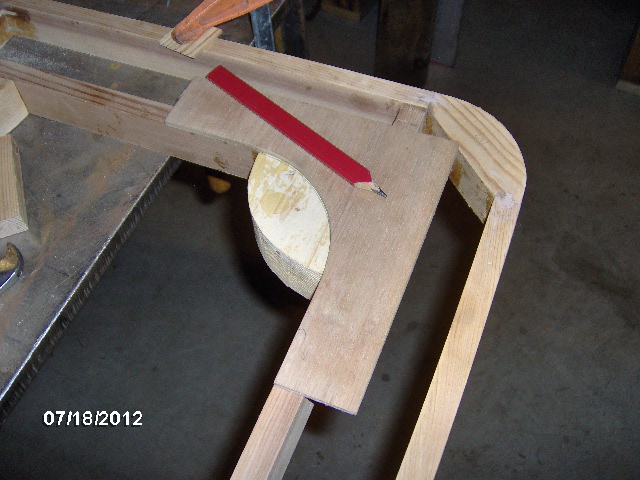
Did that to the other top corner, since it was already hanging off of the bench, then I switched to the window inside corners. First I held the template up and just traced a pencil line for the rough cut.
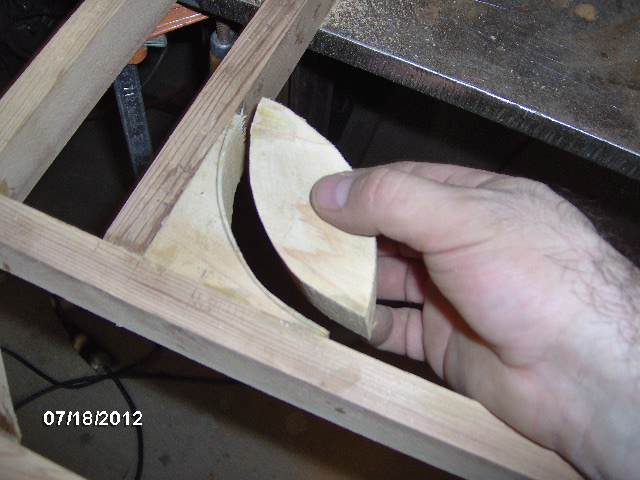
Then I zipped it out close to the line using the cordless jigsaw.
Then I aligned the template using a small block to check for flush. Also note that I switched to using countersunk drywall screws to hold the template. I found this method to be easier to apply more accurately, more secure (the tape allowed the template to move a little if forced) and I think it will be quicker for multiple applications rather than cutting, applying and peeling up tape for each application.
Back to the top bearing bit, which worked better once I used the proper care. Template on top, so less flipping of the part, and no issues with the cutter not taking all of a slightly fat rough cut (since the bottom of the bit also cuts, unlike the top of the bottom bearing bit).
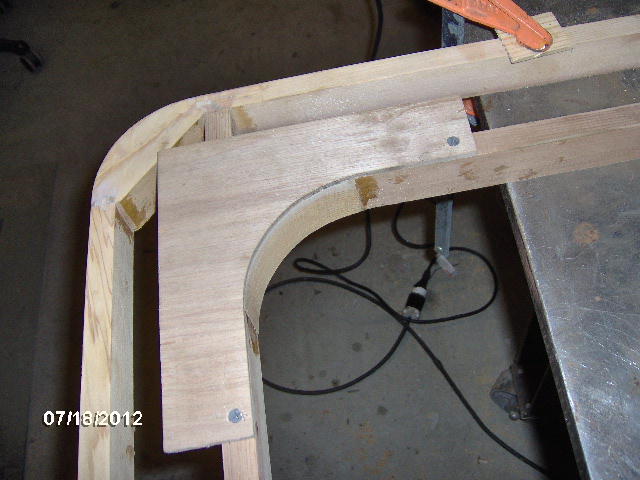
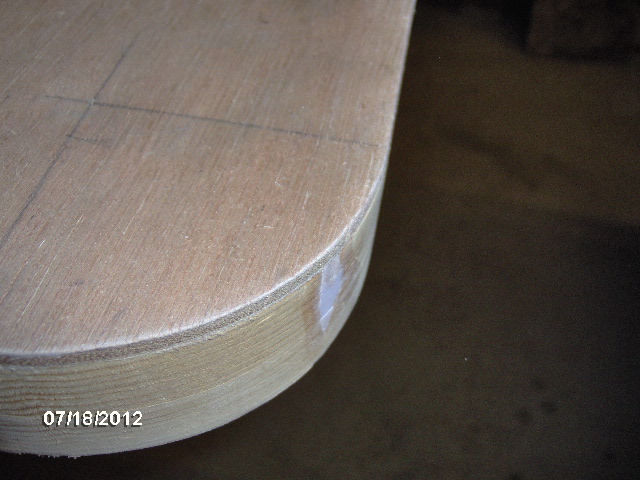
Here is the routed inside window corner with the template removed.

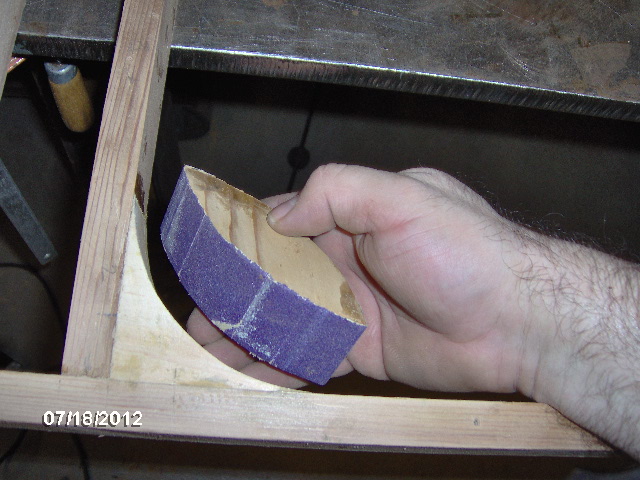
Getting the sand paper stapled into place on the cut off piece using the staple tacker was a little tricky, and ...I know, I know, why bother sanding here when it is all going to be covered by canvas or paneling and the window trim/frame, but I just couldn't resist giving it a little finishing touch. Call it an urge to be a better cabinet maker... practice honing my techniques for later when it counts.
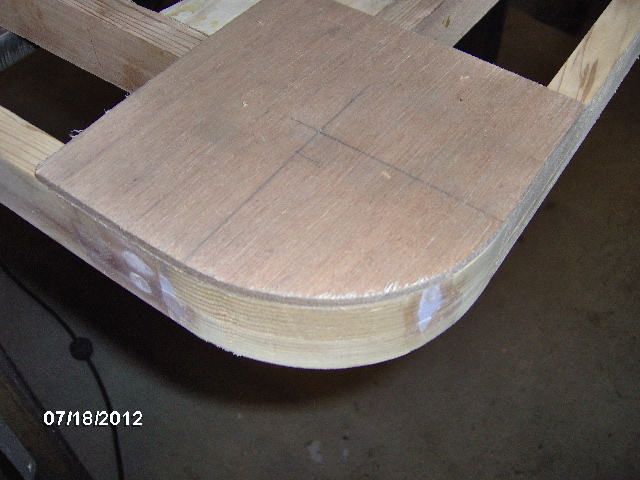
Leaned Door 1 up against the outside of the barn for a little color contrast, The top outer corners are trimmed flush and the upper right window corner is too.
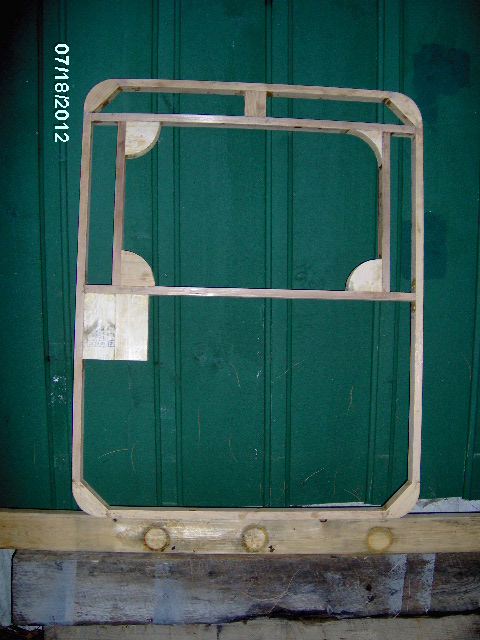
All I had time for this evening. I'm very happy with it so far. Looks almost just like the plan.
Nighty night.


 (mixed emotions)


