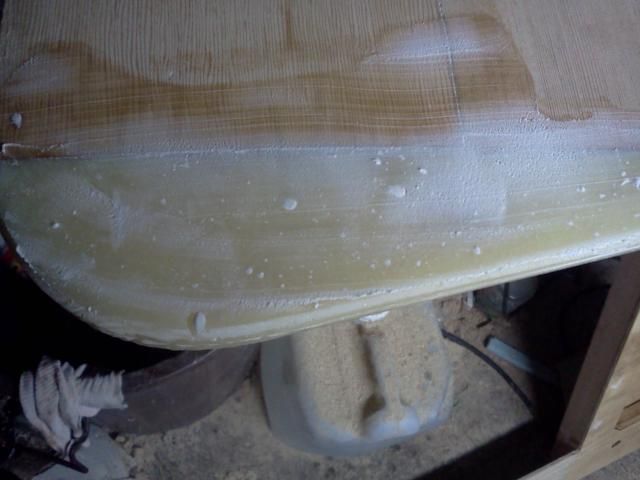
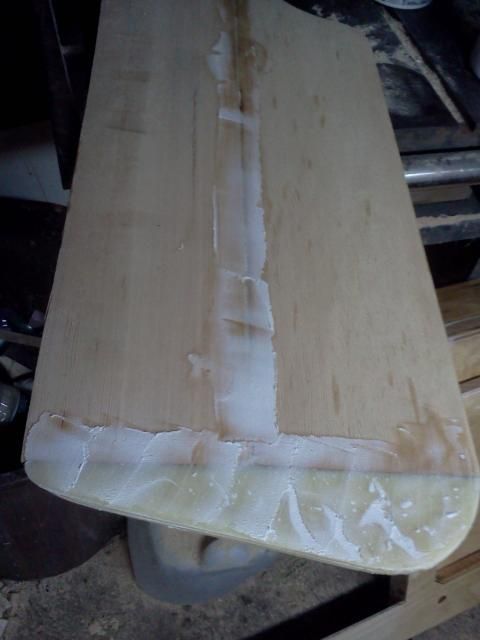
I've been moving forward using materials at hand and have made up the wheel well boxes.
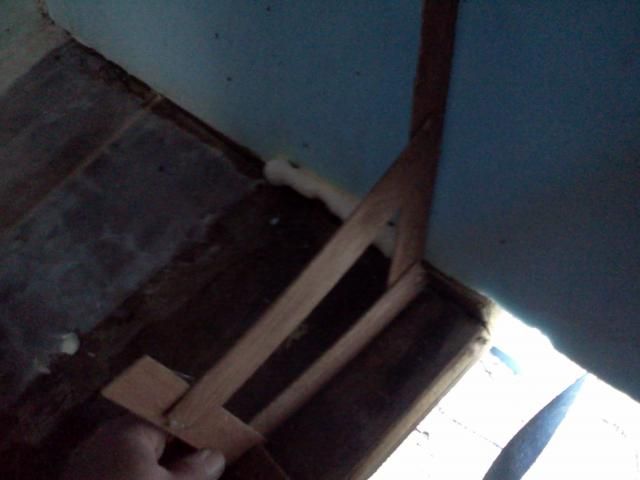
I started by making a stick pattern using scrap pieces of 1/8 doorskin scrap ripped into 1" wide strips and a hot glue gun.
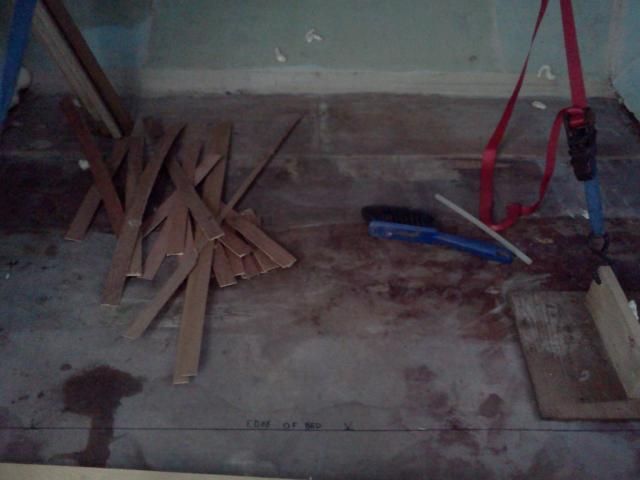
It's a quick and easy way to make a 2D pattern that one can use repeatable and consistently. This one is for the end plates of the boxes - if I've done my job right, the pattern will be work for all four plates.
The pattern:
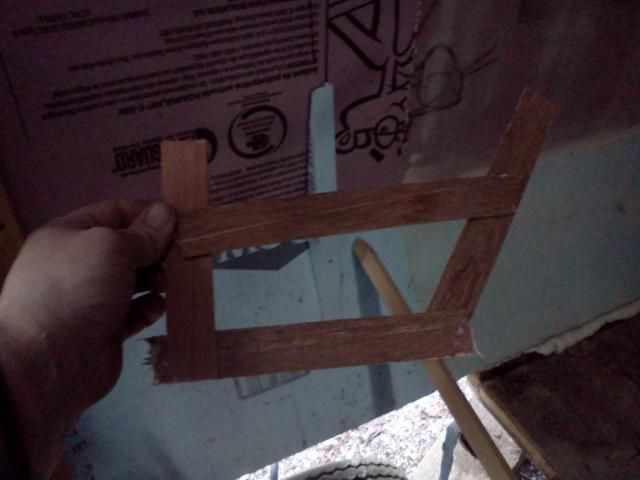
The top of the pattern is deliberately crooked so that I don't mistakenly measure from it when I'm down in the shop, since I haven't yet fixed the height of the boxes.
Checking it on the the other side - perfect fit (I love it when a plan comes together):
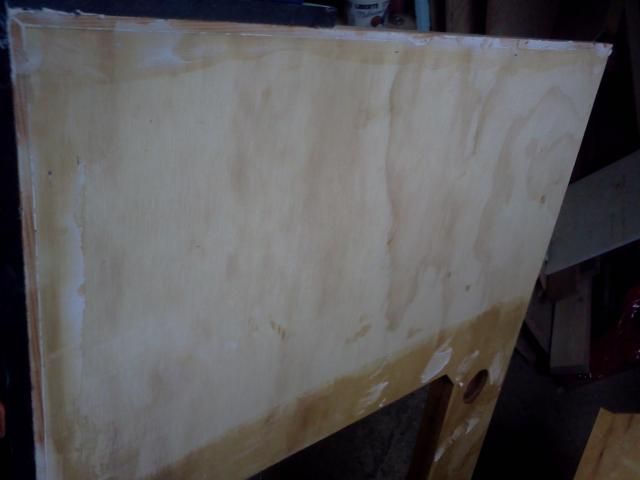
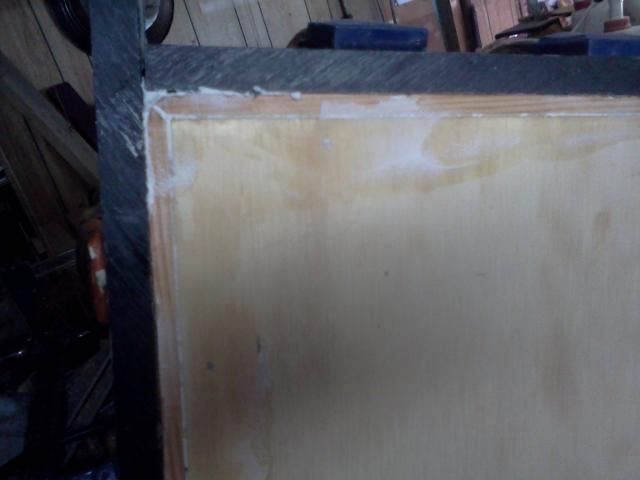
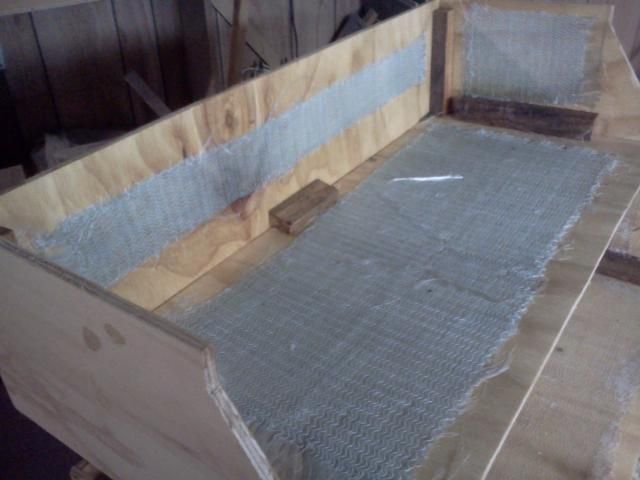
The boxes are 1/4" ply with 18oz Dynel cloth to provide a little more strength in the event of a blowout. The glass is mainly to add some structural strength to the ply and isn't normally used with epoxy resin, so I did the underside (road side) of the wheel wells with conventional styrene-based fiberglass resin. I thinned the first pot of resin 10% with acetone as a flood coat to absorb into the ply, then used full strength resin to wet out the cloth. The idea of the Dynel strips is to provide some tensile strength that the plywood doesn't have in the event of pieces of rubber hitting it at highway speed.
Nevermind that my truck doesn't make 'highway speed' even without a trailer...

And offered up into place:
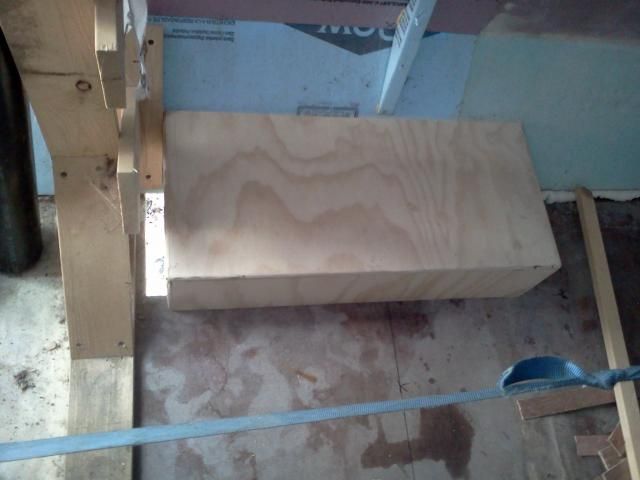
The box is sitting a couple inches off where it would normally be - you can see the plate on the former that's holding the wall in place. That's a drawback to this style of 'mold': you need to get the shell done and rip those things out because they're in the way for everything else.
Soldiering on, the fit between the box and the canted sidewall:
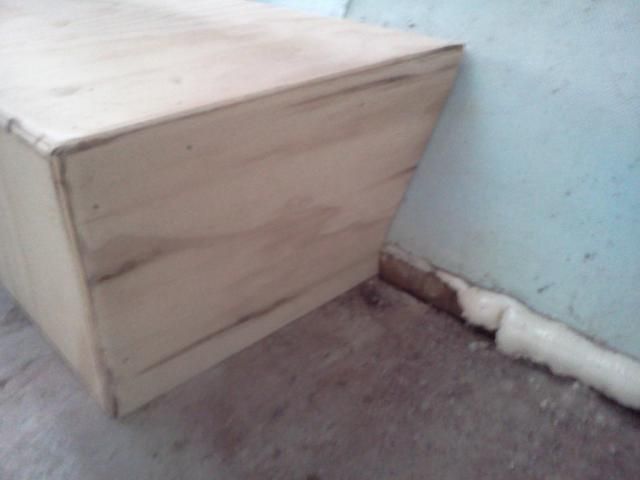
Like a glove...
They will get filleted and glassed in, but not until there's some glass on those sidewalls to tape them to.
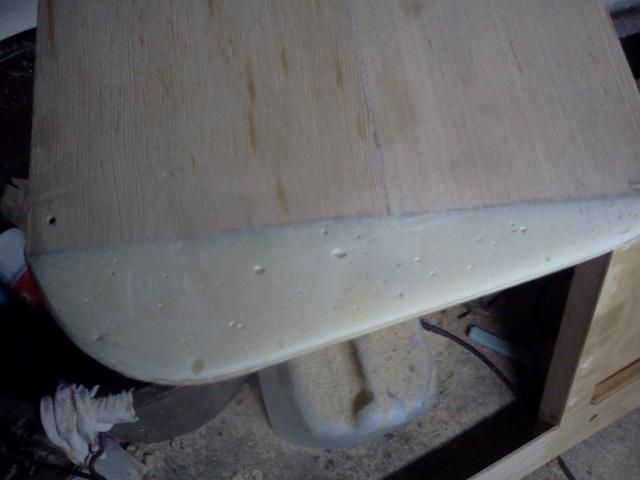
Another thing I'm kicking around is the tail lights. I want to change them out eventually for automotive ones that wrap around the rear corners, but that's a mod for a later date. I have some conventional round lights I want to use for the time being, so my thought is to build a surface-mounted pod for each side to house the lights. That way, the only wall penetration is for the screws holding the pods on. I figure I'll shape the pod in foam with a base plate of 1/4" ply. I read somewhere about thinned TB3 as a primer to prevent polystyrene foam from being eaten by polyester resins. Since I want to use the foam as a plug from which I'll make a mold and lay up two identical gel-coated parts, it's the perfect opportunity to put that bit of info to a practical (and hopefully NON destructive...) test.
This is the shape I'm kicking around but I don't have nearly the artistic eye that many here do, so ideas/inspiration are always more than welcome.
The teardrop lens is in there only because I had it handy - I don't much like it.
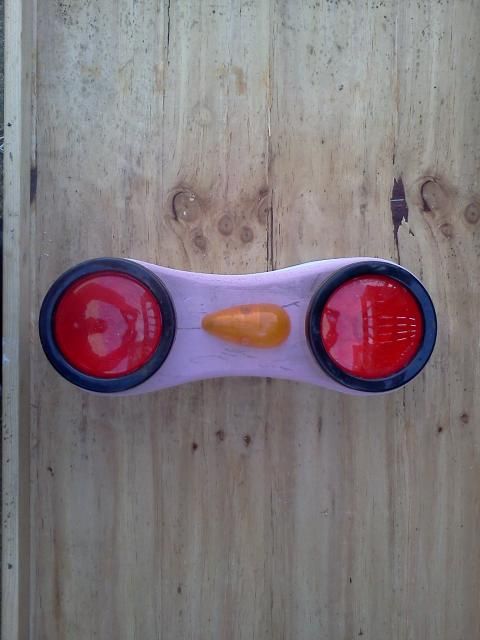
And without the black grommets
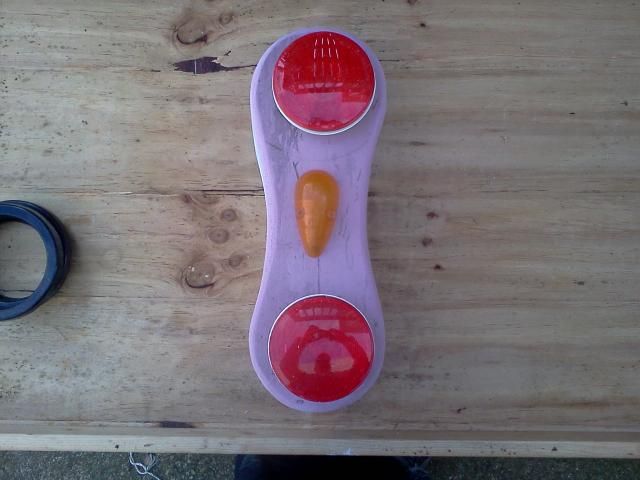
Side view - built up from bits of scrap bonded with latex contact cement
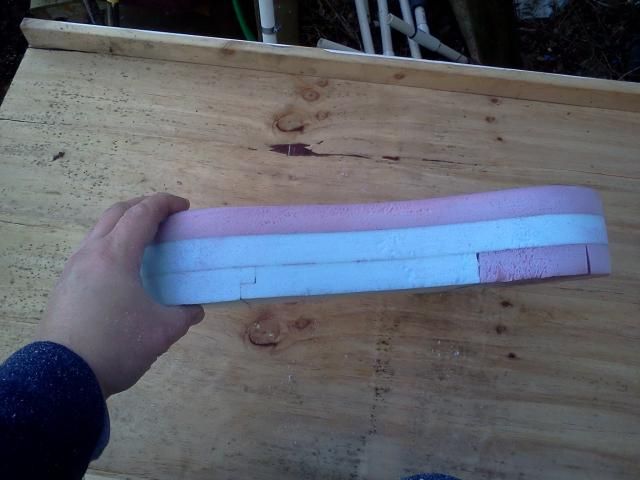
What I'd really like to do is tail fins with bullet lenses like an old Caddy, but that's another build...

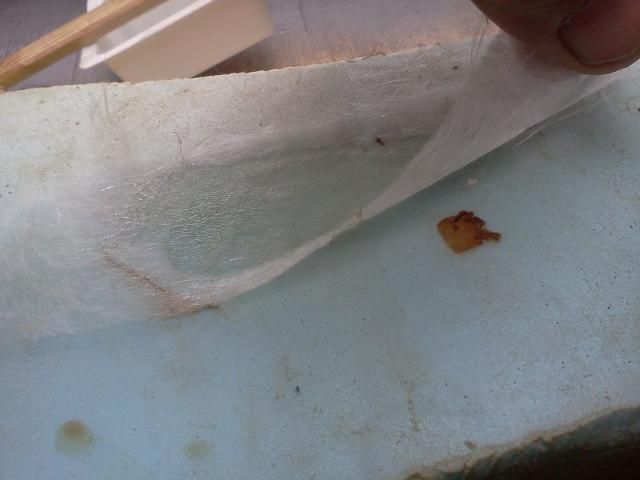
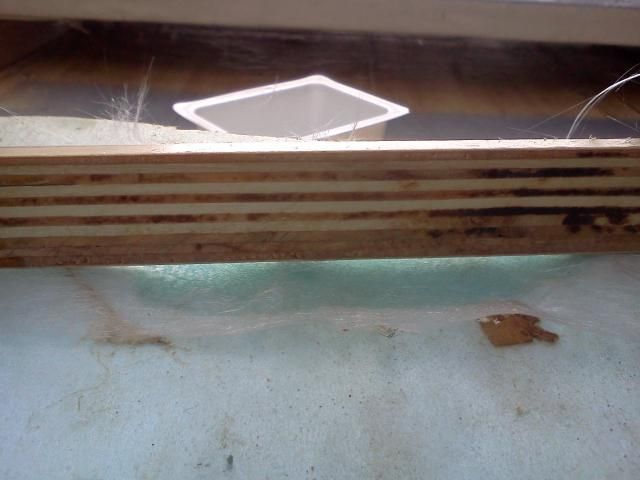
Tonight I got the top (cabin side) of the wheel well boxes epoxied and the corners taped and put a coat of thinned glue onto the 'pod'. When I was making up the wheel well boxes, I also made up a test piece by laminating a piece of the Dynel to a flat scrap of ply. I have a couple tests planned for it and I don't expect it to survive them all...

Stay tuned.


 Everybody wants those Caddy lights !!! The sequential T-bird lights would be Cool too ... But seeing your Foamie light housings gives me a few ideas...


