Having a little inspiration from recently attending the best DAM gathering ever and also having a few days off with really nice weather I was able to make some progress.
I am following Steve Frederick's construction guide on most of my build, although I am not following the order that he uses. I mention this, so those that know will understand my galley side wall construction methods.
Here I am installing the 1/8 plywood spacer in the galley sidewall area. This is to allow space for the hatch and seal area.
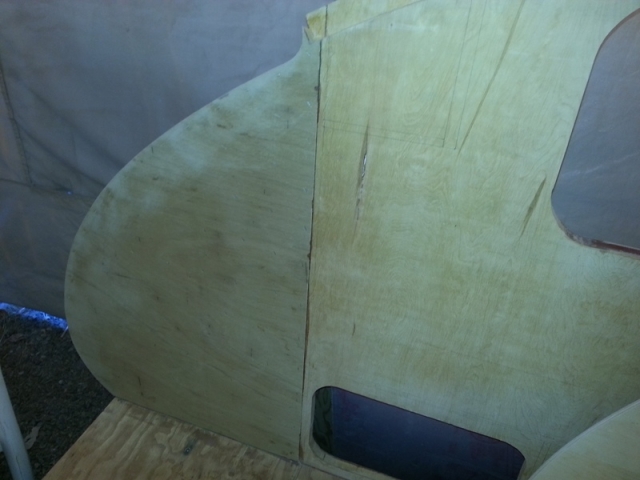
Here is the finished galley side wall cut out.
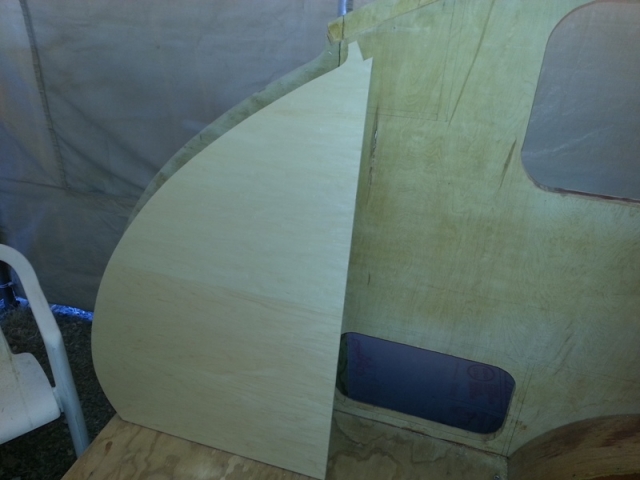
I glued the walls on with thickened epoxy. The bottom and cabin side edges were finish nailed, while the hatch edge was clamped.
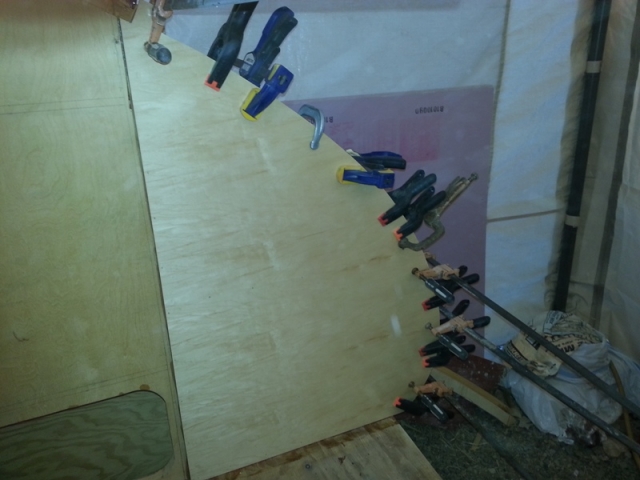
This is the galley area with the finished walls epoxied in and ready to be fitted out at a later date.
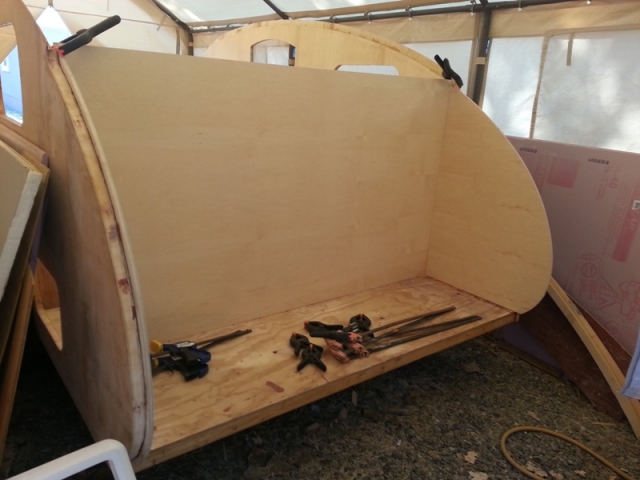
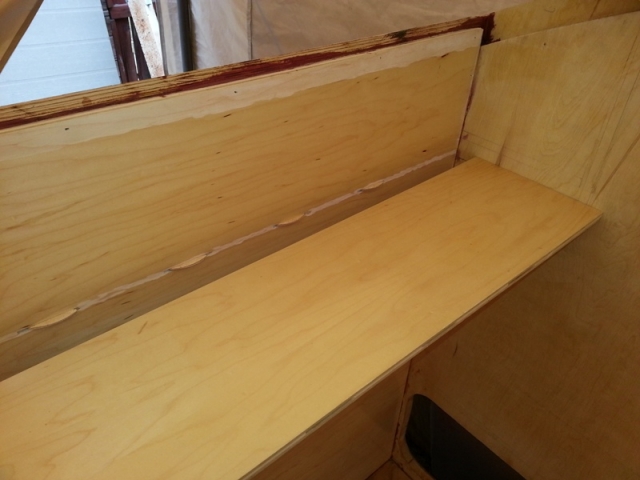
Next I worked on the rear shelf. This is the rear shelf being test fitted. The sides of the shelf has a slot to slide on wood biscuits that are in the side walls. The shelf then is futher supported by the biscuits in the rear galley wall.
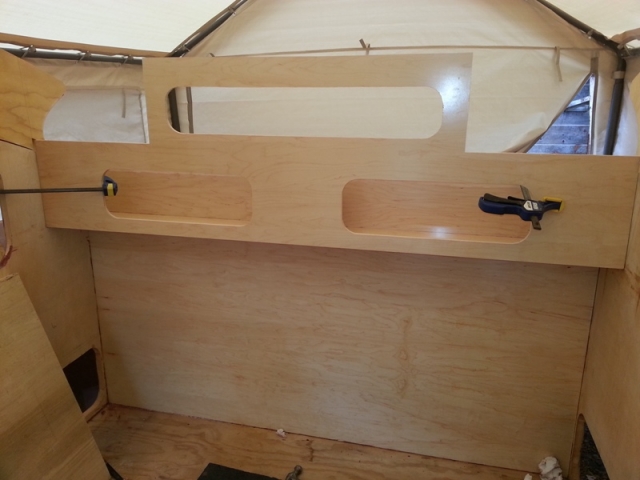
Here is a picture of the rear shelf/radio area and rear window area put together and epoxied in to place. Still have to install some dividers inside the cubby areas and make cutouts for the radio, speakers and whatever else I decide to install. The window is in the trolley top section and will look out over the hatch area when the hatch is closed.
Well that is it for now, have to go back to work. More to hopefully follow soon.
Dan


 awesome build

 It shows you are very skilled and have a great eye for design.