Thanks Thom.
Mary, Sorry if this is too long winded for you, but I hope that others will get something useful out of it.

Okay, big day and a big milestone. About 6-1/2 hrs, including a run for supplies.
First, still celebrating our anniversary, we went to breakfast. Two over easy on grilled cinnamon scone… a good one (perfect)… flaky and rich… egg was just crispy around the edges of the white and perfectly runny at the yolk. Had a side of one piece of banana bread French toast with powdered sugar, and French Vanilla decaf to wash it down. Yum. For the second cup I put a sprinkle of nutmeg and cinnamon stirred into the coffee. Somewhere In Time, Mystic, Ct.
Yup GPW, 265, But I am thinking about getting back on the wagon, probably help my back issues to be healthier.
Anyway, that’s not why you came. Let’s bag it! Curb side inner panels are going on today!
I had thought about taping freezer paper to the floor and then just capping the wall assembly with plastic, taping that down; but decided that it would take more time and material than just using all plastic, and I was not concerned about the potato chip effect that might happen if the bag were to twist, or lift off of the table.
Of course all of this was complicated by the fact that I had to shut the fan down in order to manage all of the plastic sheets and to avoid having the glue dry too quickly, and we just had a rain storm come thru bringing hotter and much more humid weather. But I digress.
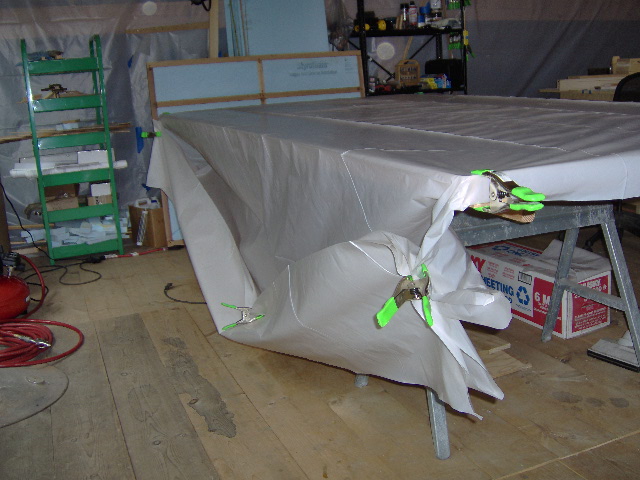
Here I am with the plastic sheet pulled out to length and cut off (I thought I had left plenty of excess, but later found that I only had a couple of extra inches at front and rear of the wall).
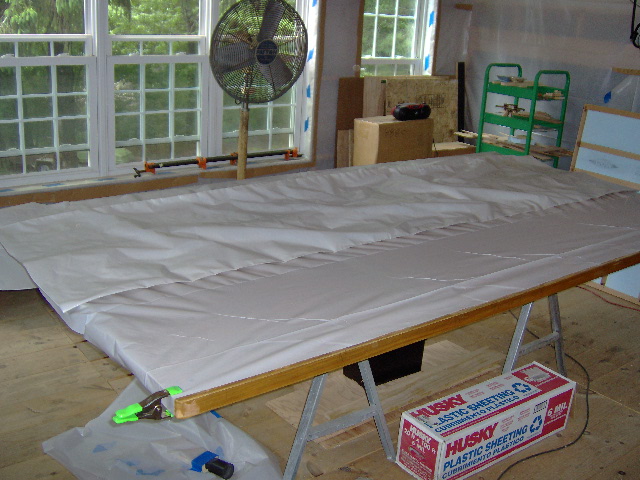
Made taping the ends a little harder later so will do better if there is a next time. I used the spring clamps to help control and keep tension in the plastic sheet. With all of the reverse folds it is kind of hard to get it all wrangled into control without turning it into a heap or dragging it on the floor (since the floor is raw wood plank with dust and whatnot, I didn’t want the excess dragging on the floor and collecting static cling debris). Here I have pulled some excess into the fold at the top of the wall.
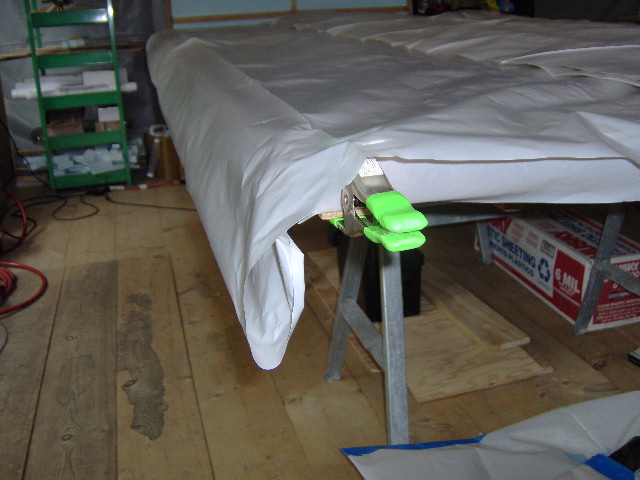
The sheet comes in a roll with the 20 ft width folded back on itself multiple times. So I unfolded it out what I thought was about 10 ft, and planned on trimming about half off in the other direction to get a 10+ x 10 ft sheet.
That left me with this crease at the bottom of the wall which made a nice easy place to slit the top layer with the razor knife.
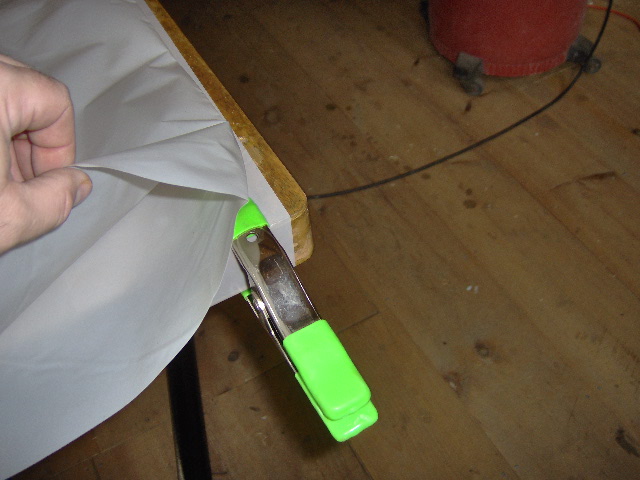
Here I have laid the top layer open and pulled the bottom layer taught to the floor with the spring clamps.
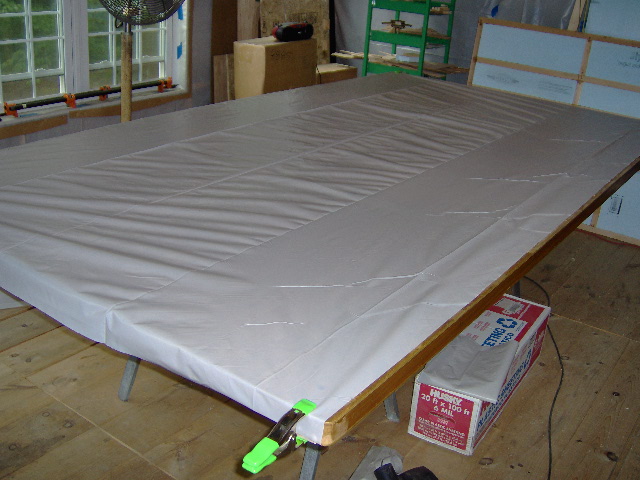
I wrangled the top layer with a few extra spring clamps to keep it from dragging in the dirt.
Laid the wall up on top, dry fit the inner panels again, added the predrilled Wiremold to see where those mounting screws would go, and laid out the staple locations that will pin the bottom edge of the panels to the wall sill so that they would not conflict with the screws that will hold the wall to the floor, nor the screws that will hold the Wiremold to the sill.
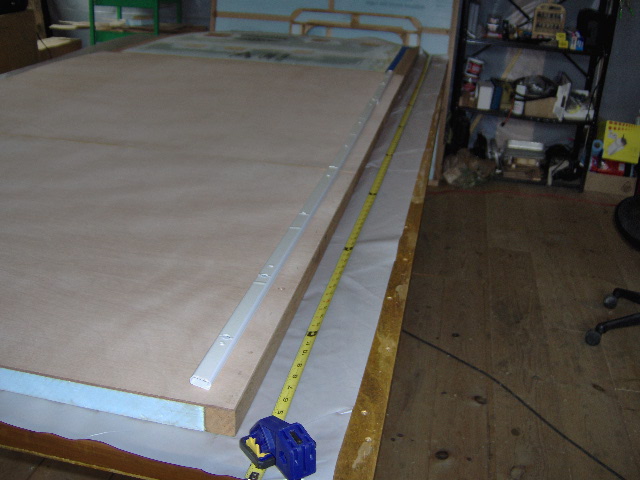
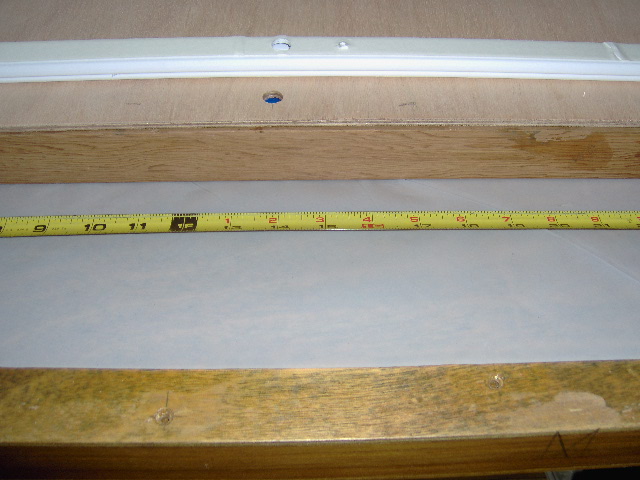
If you look closely in this next pic you can see the dashed pencil marks 1 inch to the left of the floor to wall screws, 6 inch on center, and clear of the other fasteners and wire holes.
I used the other door to trace the window opening onto a scrap piece of 1-1/2 inch foam to act as a backer block filler piece to support the inner panels over the window opening.
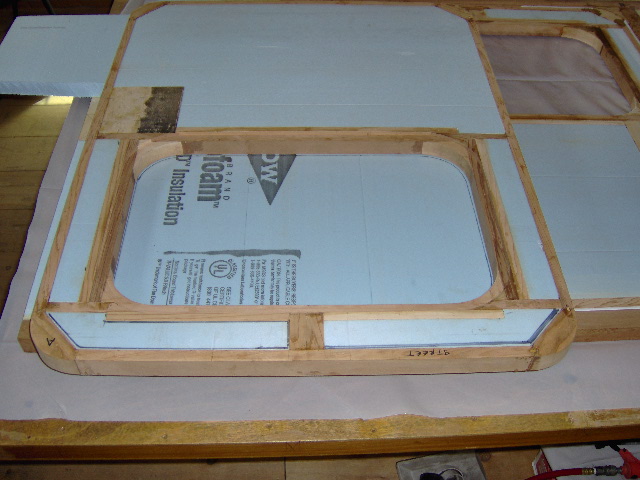
The part of the inner skin blanks over the window will be trimmed out later (very soon) using the router and flush trim bit.
Trimmed out the foam window blank with the serrated steak knife and cleaned it up a bit with the coarse grit medium block.
Dropped the window filler in and it was a bit too low. Found a piece of corrugated cardboard, cut that out to match, and it put the foam a touch high.

Put the cardboard down on the floor (of the loft) and rolled the ball of my shoe (Keen sandal, actually) over and over to crush all of the corrugations. There was some spring back so in this next pick it looks like the foam window plug is sitting high, but just a gently push and it was level.
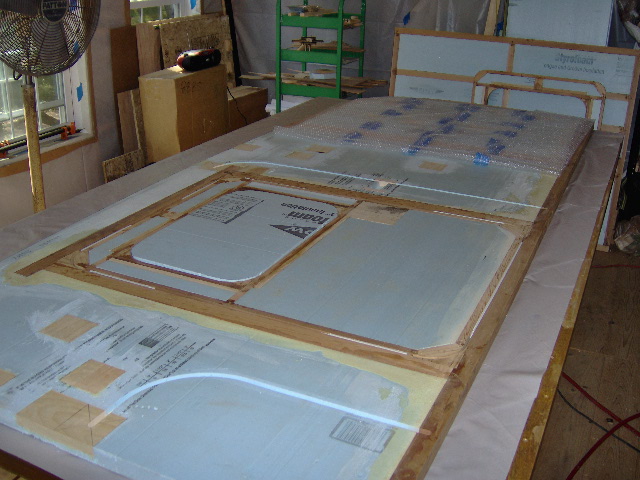
Why such fuss? Well I didn’t want minor surface irregularities to put waves in the panels that would keep them from being solidly glued near the edges. If I left the window plug out the vacuum might have crushed the panels into the window hole lifting the panels off of the edge of the window sill. If the plug were high it might have held the panel up off of the edge of the window opening and kept the panel from being glued down around the edge solidly.
Not shown, I rolled out several lengths of the bubble wrap (1 ft wide roll) and taped a sheet of it together that would cover all of the paneling. Found the center of the panels and cut an access hole in the bubble wrap allowing for the vacuum diffuser. Then I rolled the top sheet of plastic back over this sheet of bubble, flipped the edge back and taped the bubble to the inside of the leading edge of the top sheet of plastic, so that it would stay in place, then cut out the same access hole in the top sheet.
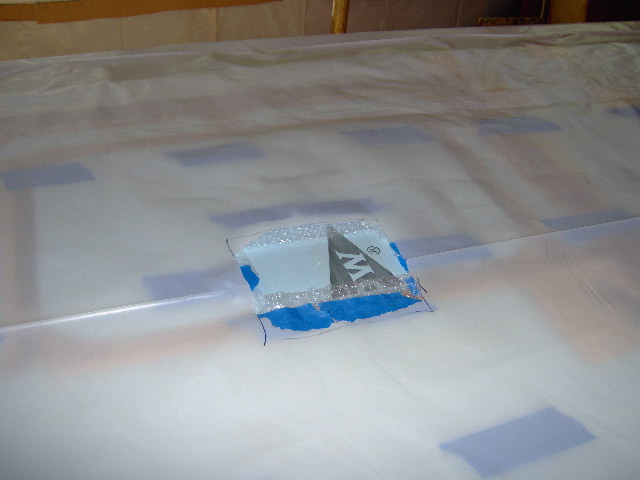
Jumping ahead a bit, rather than try to reseal the vacuum wand and diffuser into this top sheet, I cut the top half of my “medium small scale” test bag off, stuffed the diffuser head into this new top sheet, and taped the perimeter of the small bag top down to the full size bag top.
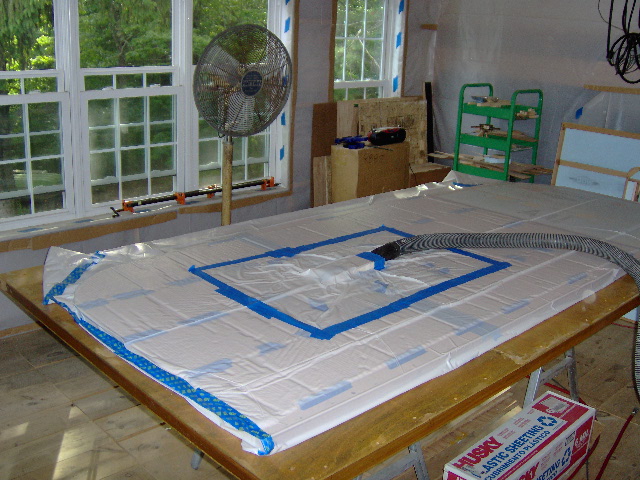
Where the small bag top didn’t lay flat and I was forced to create a dart, I used the following technique to ensure that the dart did not create a leak under the flap. First I taped straight over the dart.
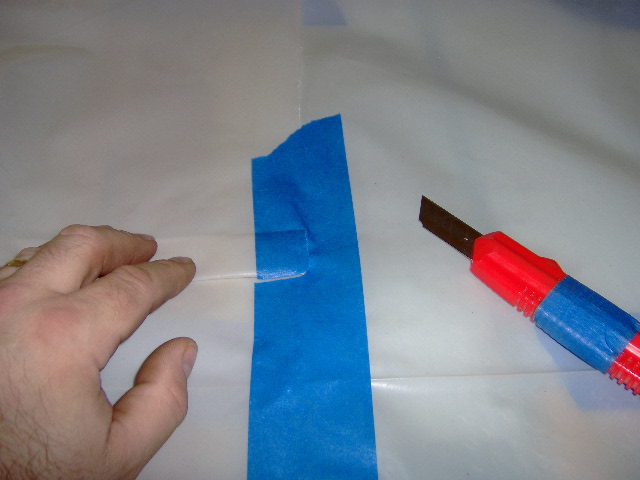
Then I slit the tape under the dart.
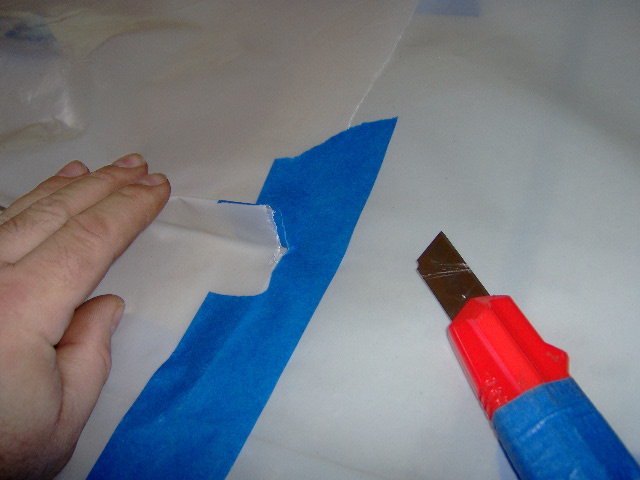
Fold the dart back flat in the opposite direction…
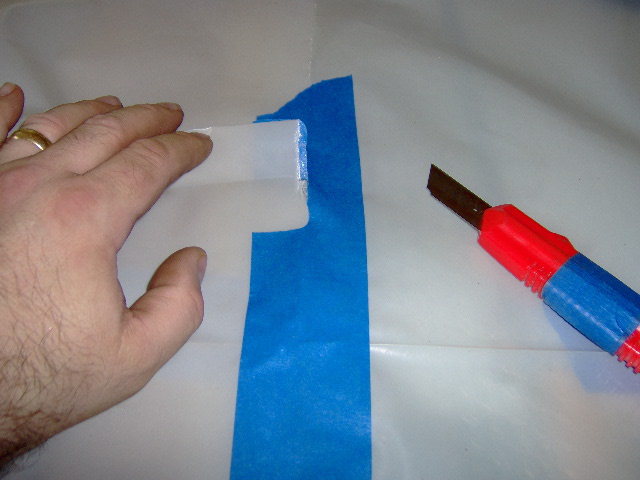
… and taped the dart back down.
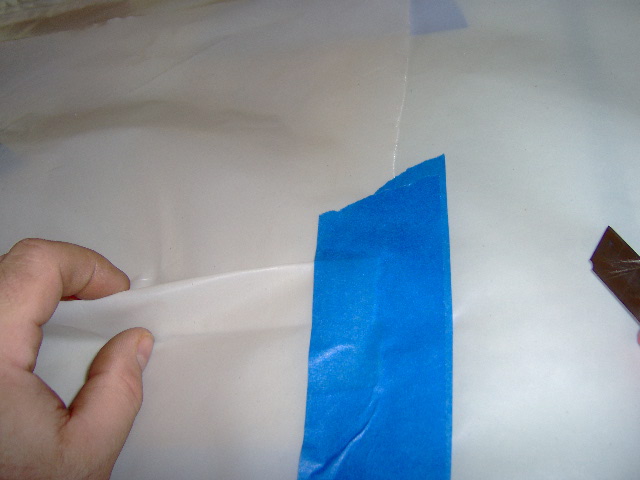
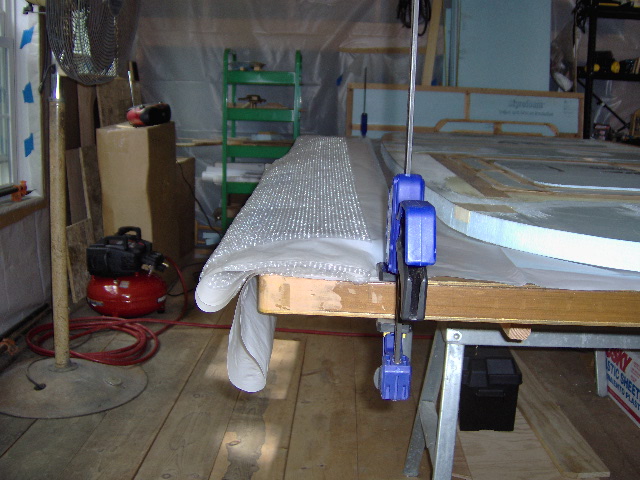
After prepping all of this, I folded the top layer back on itself carefully and held it to the edge of the floor with quick clamps so that it would stay out of the way of the glue roller and not fall on the floor.
Next I taped the line where the rear cabin panel met the bulkhead dado that would be formed by the edge of the rear cabin panel and the galley panel. I didn’t want to have to dig glue squeeze out out of this point.
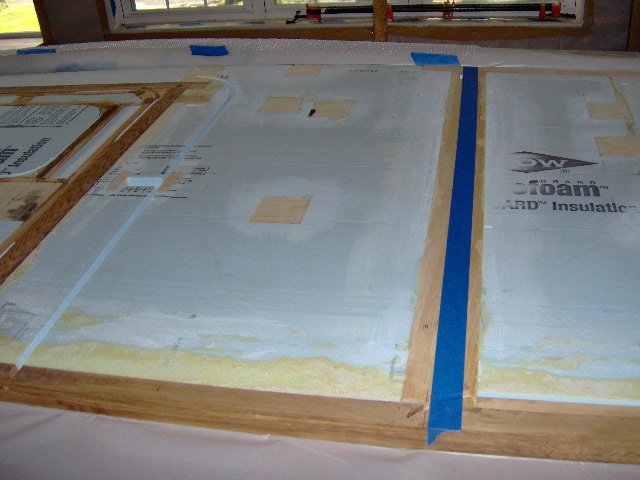
I should have also taped the edges of the front and rear panels where they were to butt, but I forgot and had to do that on the fly during glue up. Oops. It was exciting, but no big deal in the end.
After running out to Wallowitz’s to get more glue rollers (1/4 inch nap) and… huh. What’s this, no 2 inch blue tape! What the heck. Crap, they’ve done it again. 1.88 blue tape. You just can’t get around the corporate greed and marketing crap. You used to be able to buy a 1/2 gal of ice cream and 2 inch painters tape, and now you can only get 1.75 quarts of ice cream and 1.88 wide tape for the same price. The tape comes with the 3M logo printed on the back side now so I guess that is where your extra money went… NOT. Jeez, or as I have taken to saying lately, “crickey, Dick”; Dick being a nickname for Richard, of course, and crickey being a British colloquialism that I picked up in NZ, since made popular by the late great Steve Irwin.
Anyway, here we are ready to do the deed. No time for in between pics after this as things started to move quickly.
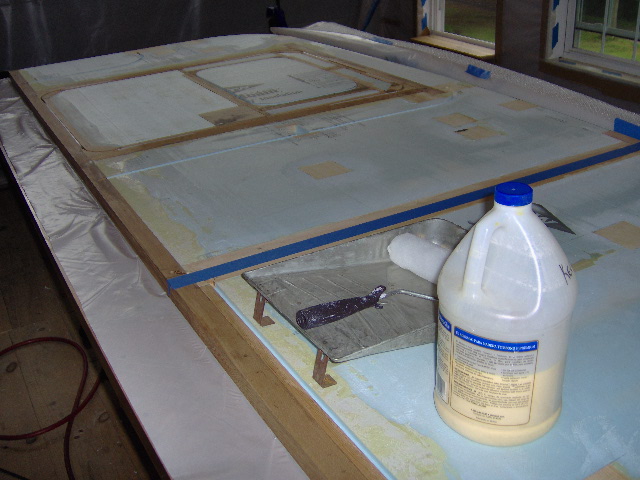
I rolled out the glue making sure to pull the window plug so as not to glue that to the panels. I quickly realized that I had forgotten to mask the edges of the panels to guard against glue squeeze out. Taped them, added an extra bead of glue to brush up on to the butt edges of the panels. Struggled with the pneumatic stapler that I had set previously when it started shooting blanks and/or not driving the staples as far as I had set it to do (I suspect the regulator on the new pancake compressor that I bought to use in the loft).
Got thru all that, got the panels in place, unrolled and taped the bag shut on the sides, folded the bottom edge under to seal, and started up the vac.
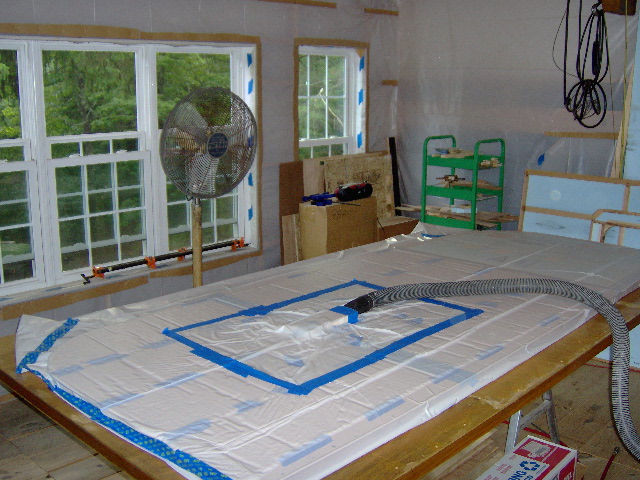
Helped Karl a bit tuning up the big Marvel saw, trimming Simon’s toenails, and shooting the breeze for about an hour before shutting the vac off and heading home for a shower.


 You're doing very good work!!
 You may want to “finish" the exposed foam areas to prevent "incidental damage after the fact" ...
  Maybe a temporary covering ... sort of an inner layer thingie’ ... I’ve got a roll of heavy Kraft paper ... used it before for covering wings (over foam ) ... Thinking that might make a great “underlayment" for the final skins , inside or out ... It would glue easily to the foam , provide a smooth surface and would be easy to glue to/over ... just another idea ... FWIW


